Once the embroidery frame was mounted it was time to begin and the first week or so was spent preparing the background. There were several sections using the technique of creating linear relief with leather and another where beads were added in decorative patterns over a leather surface. The trickiest was applying sequins in vermicelli and stretching chiffon over them and then finally applying gold lamé using pointe-riche. During the classes the teachers would demonstrate the techniques in a certain section and these were usually repeated several times in the pattern. I would complete the remaining sections at home and needless to say the homework increased dramatically at this stage!
The teachers emphasised the importance of carefully checking the pattern pages, reading the legends and preparing the materials before starting anything. Invaluable advice that I forgot frequently and sometimes found myself re-doing entire sections because I had used the wrong colour thread, sequins or beads!
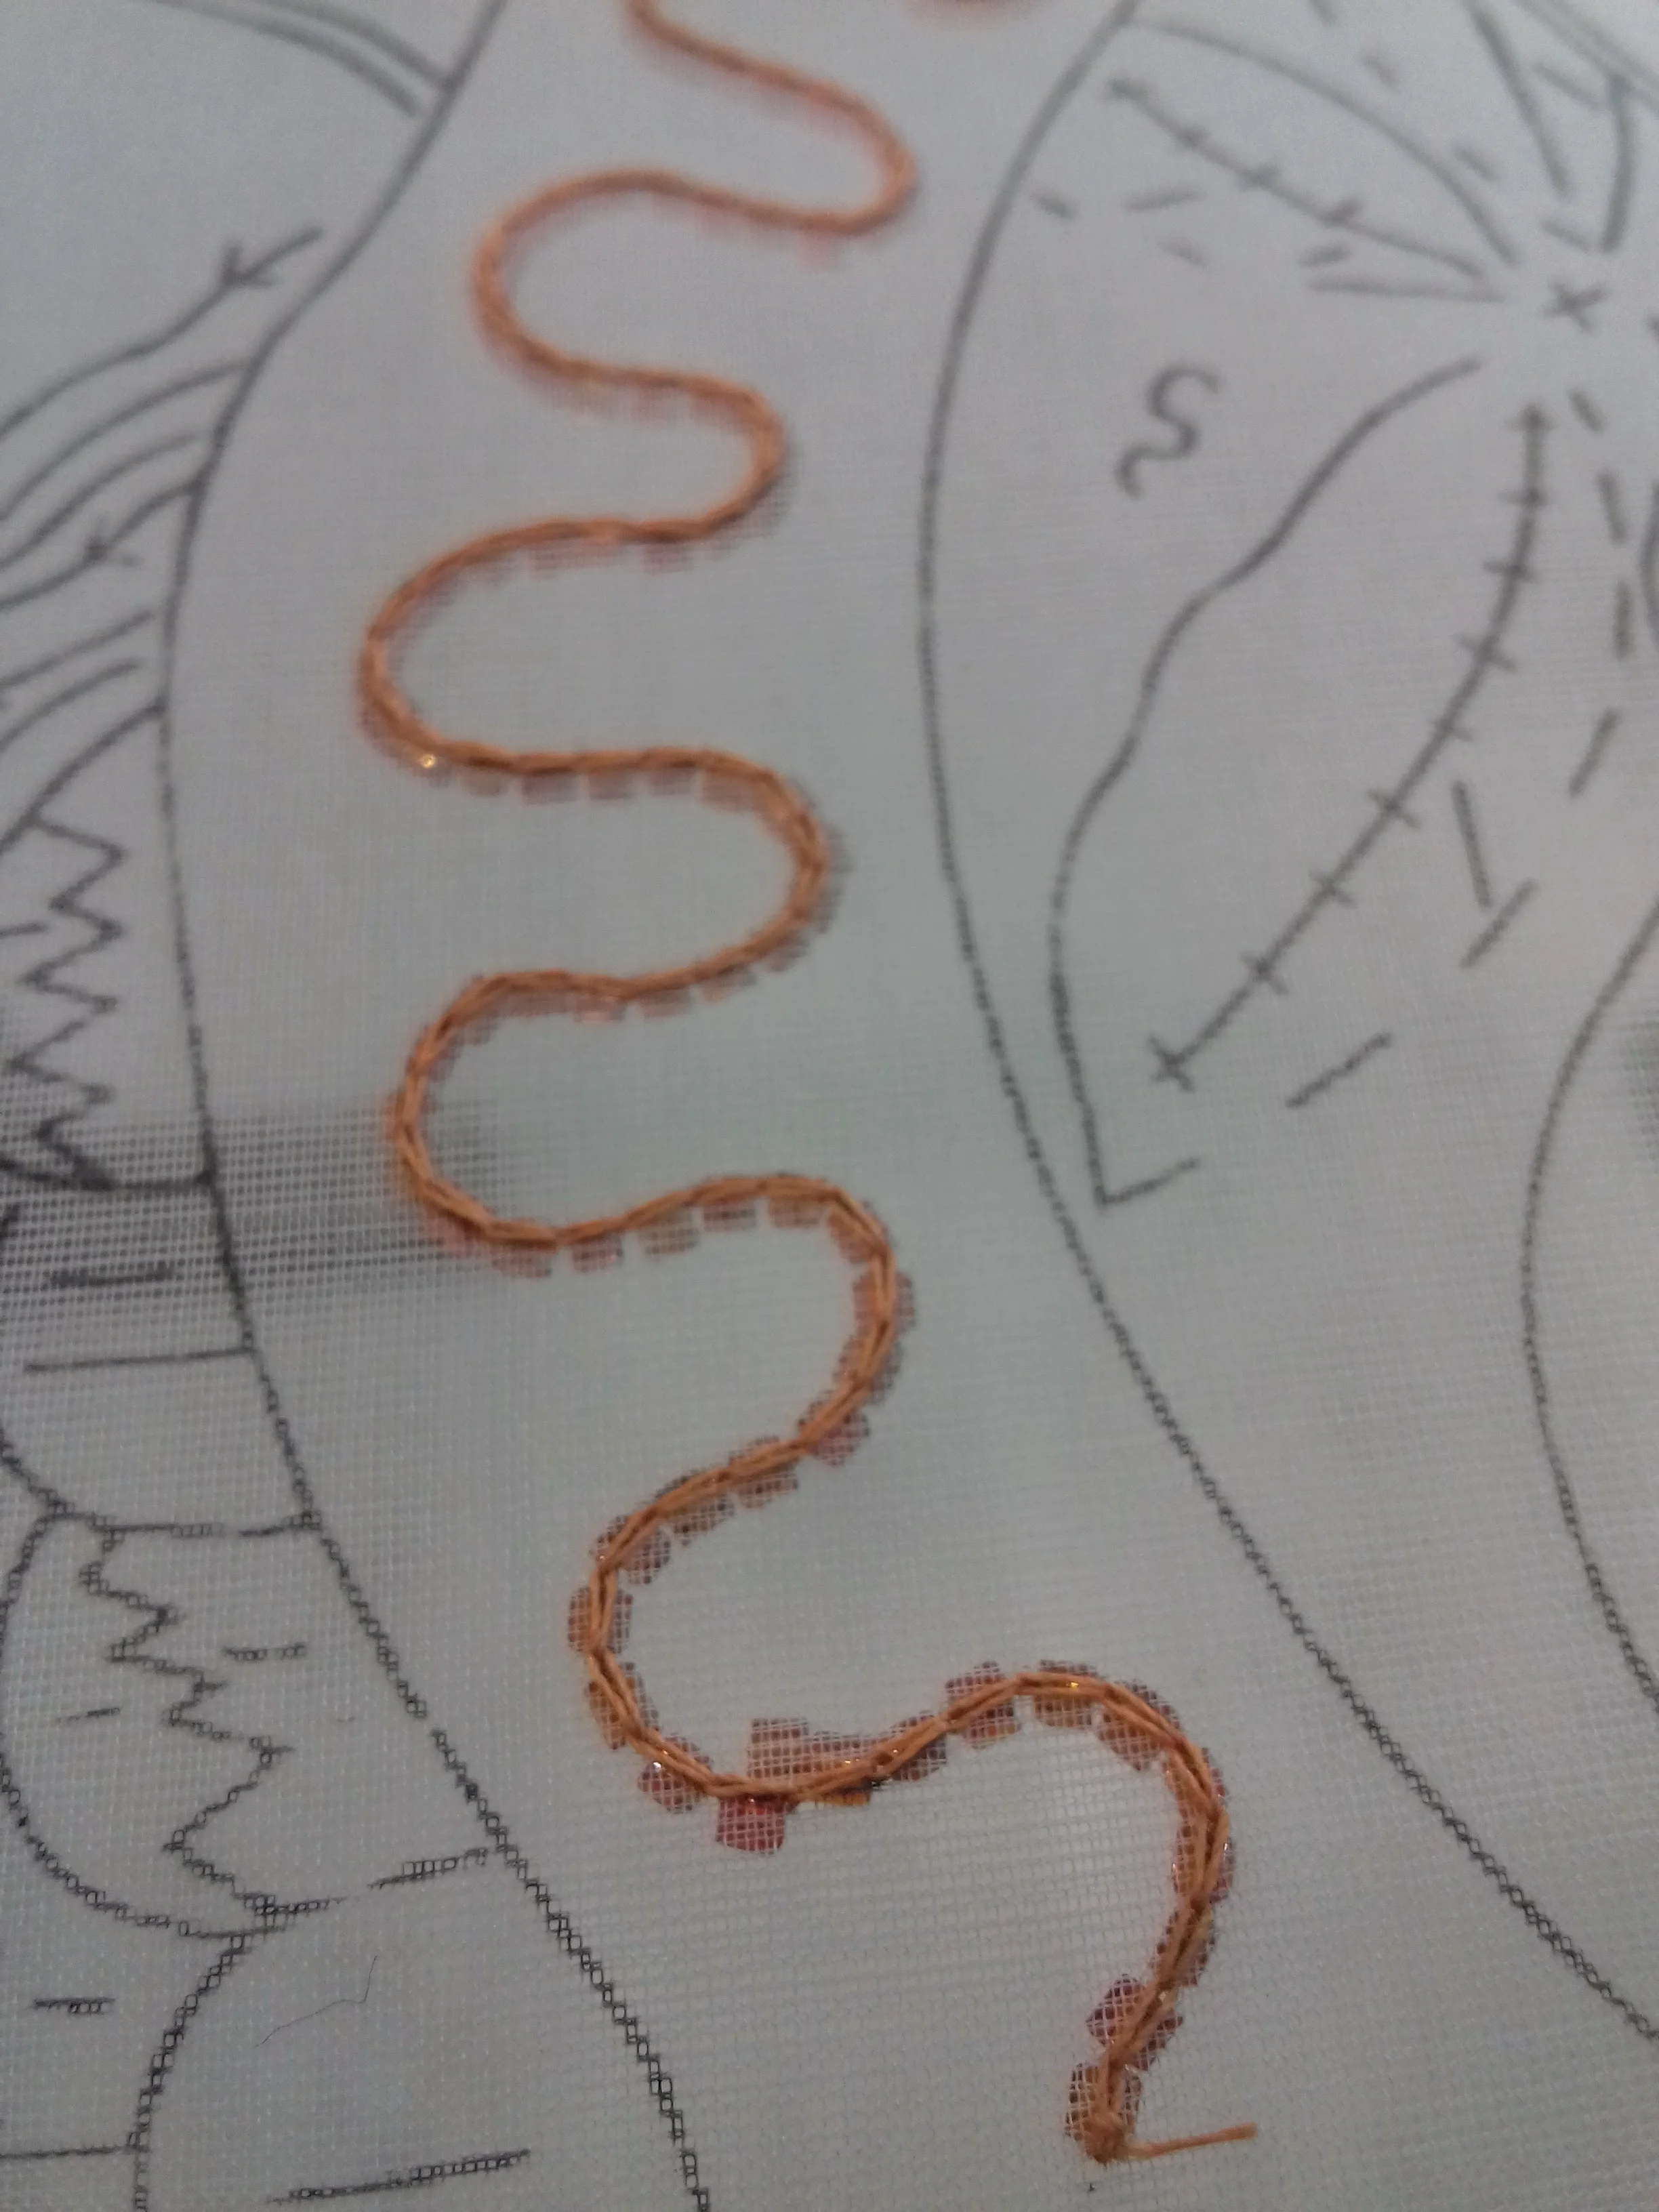
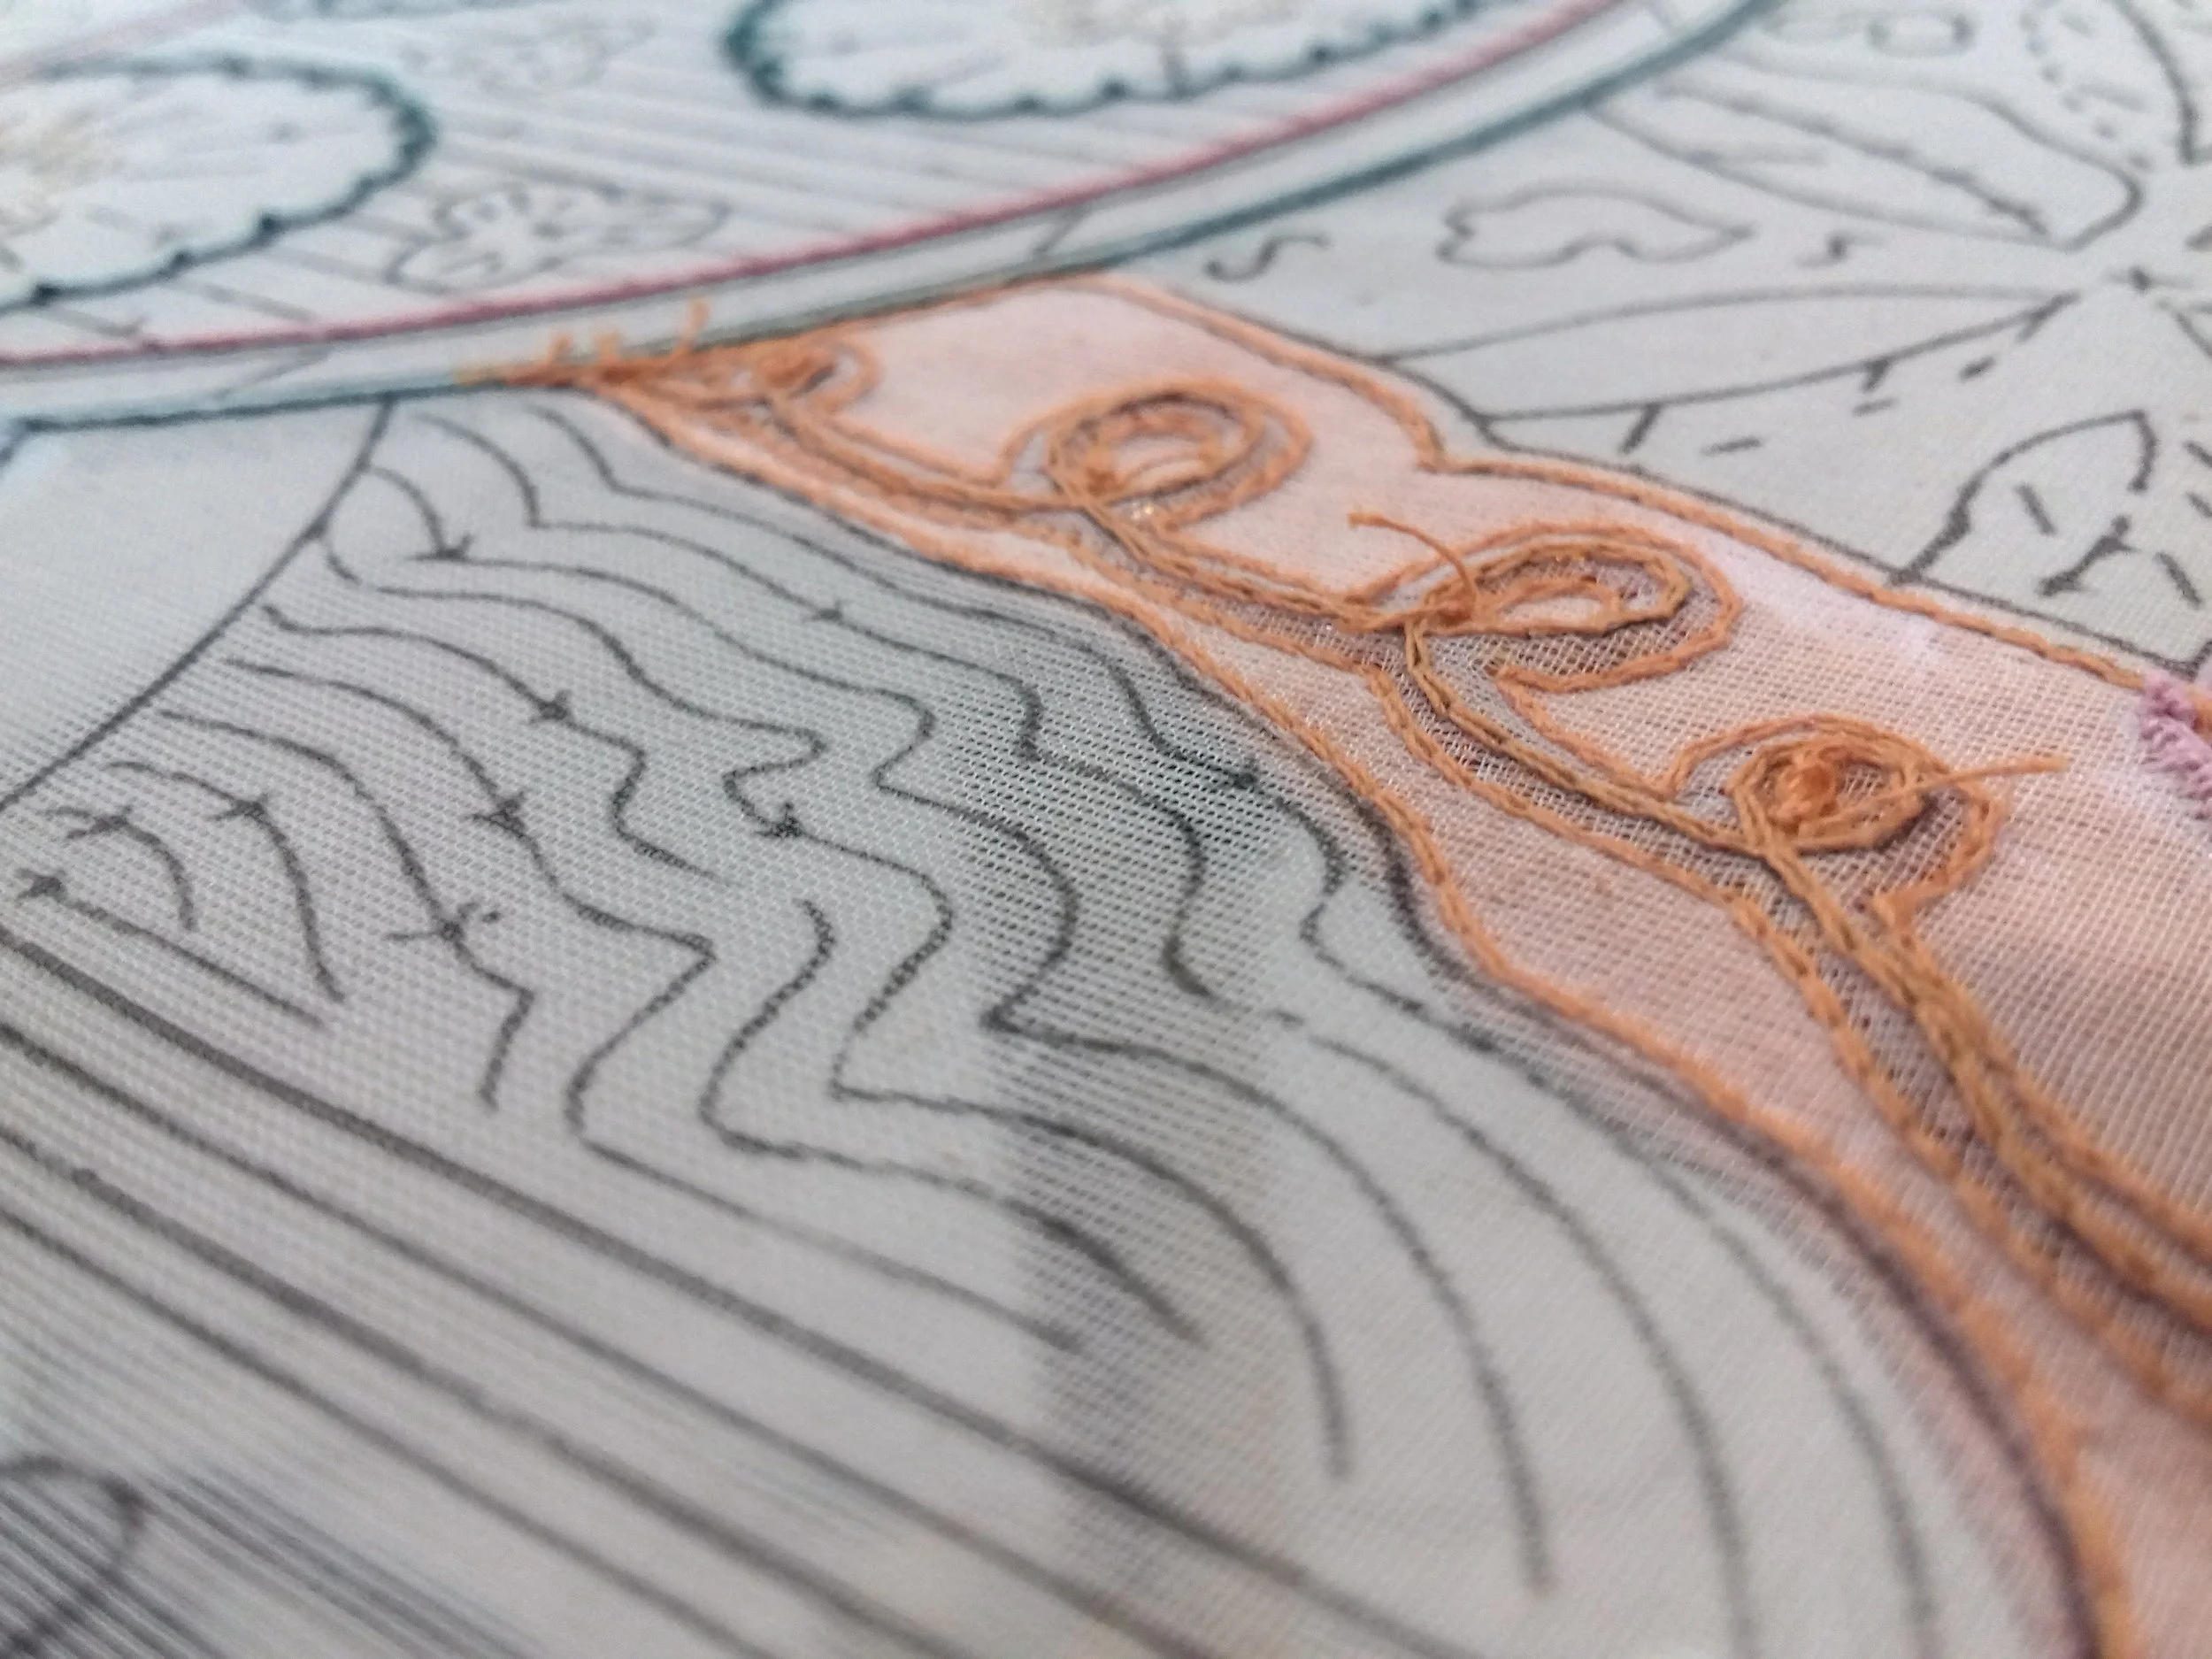
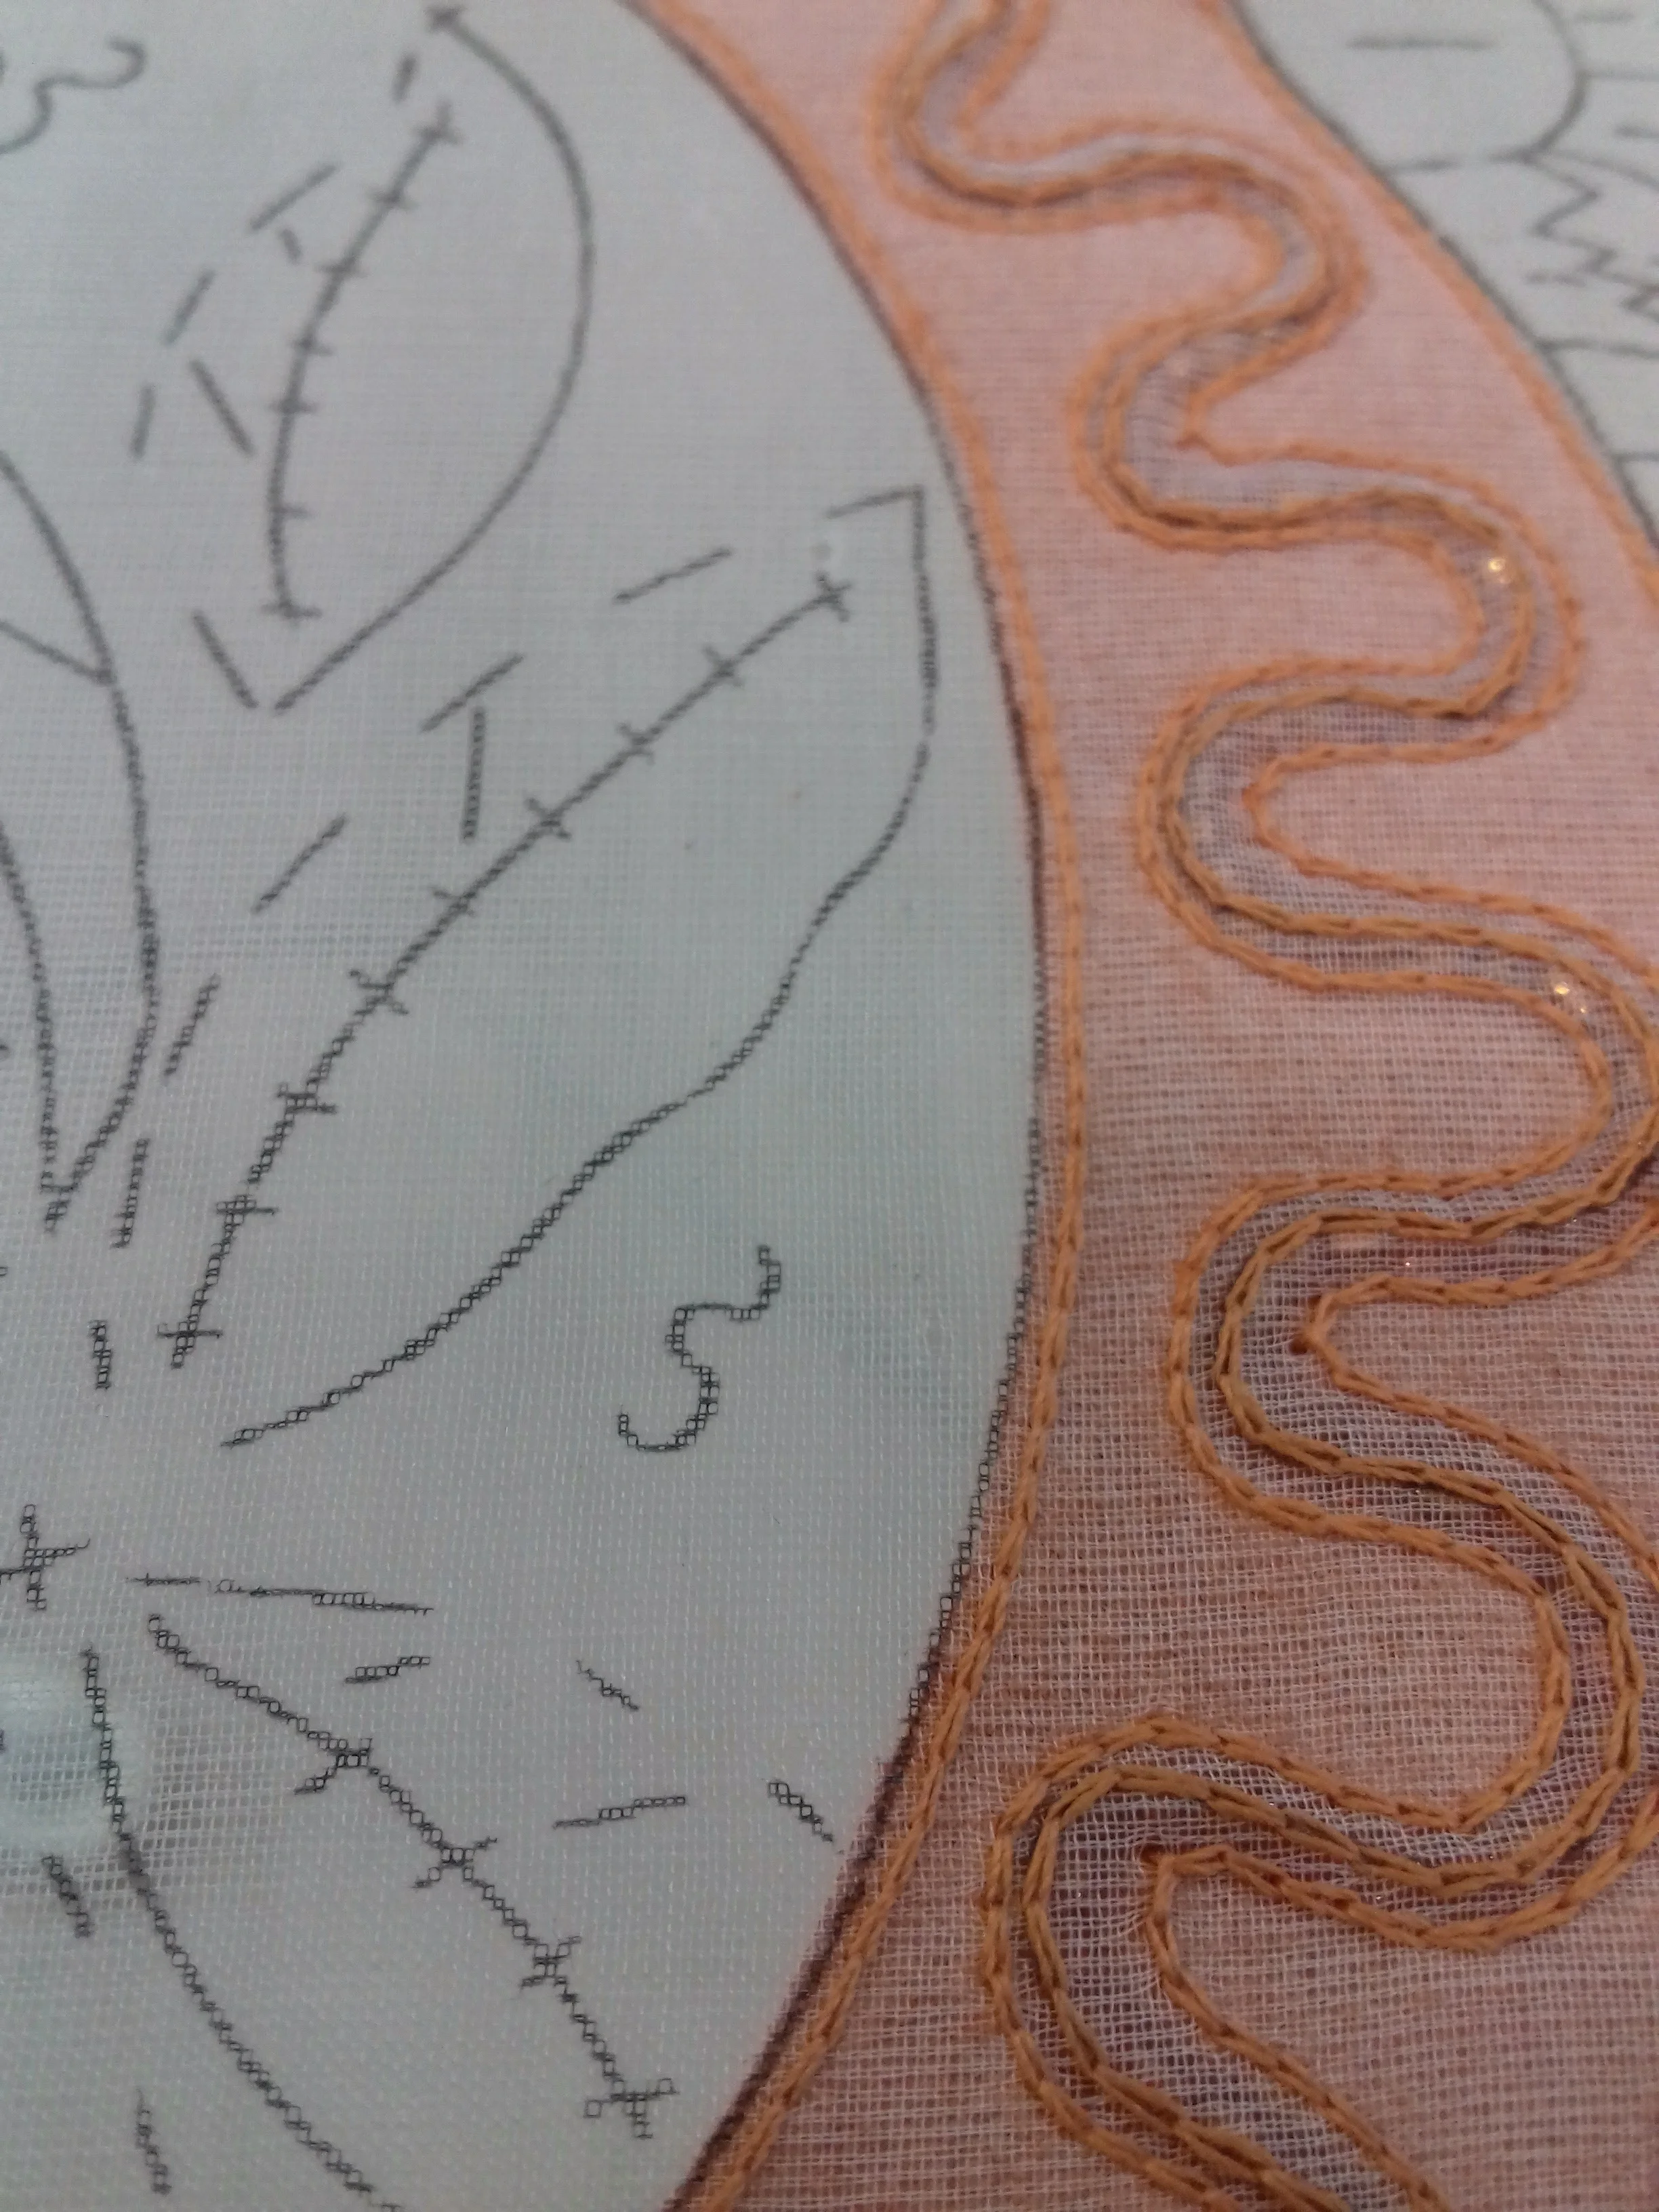
Linear Relief with Leather
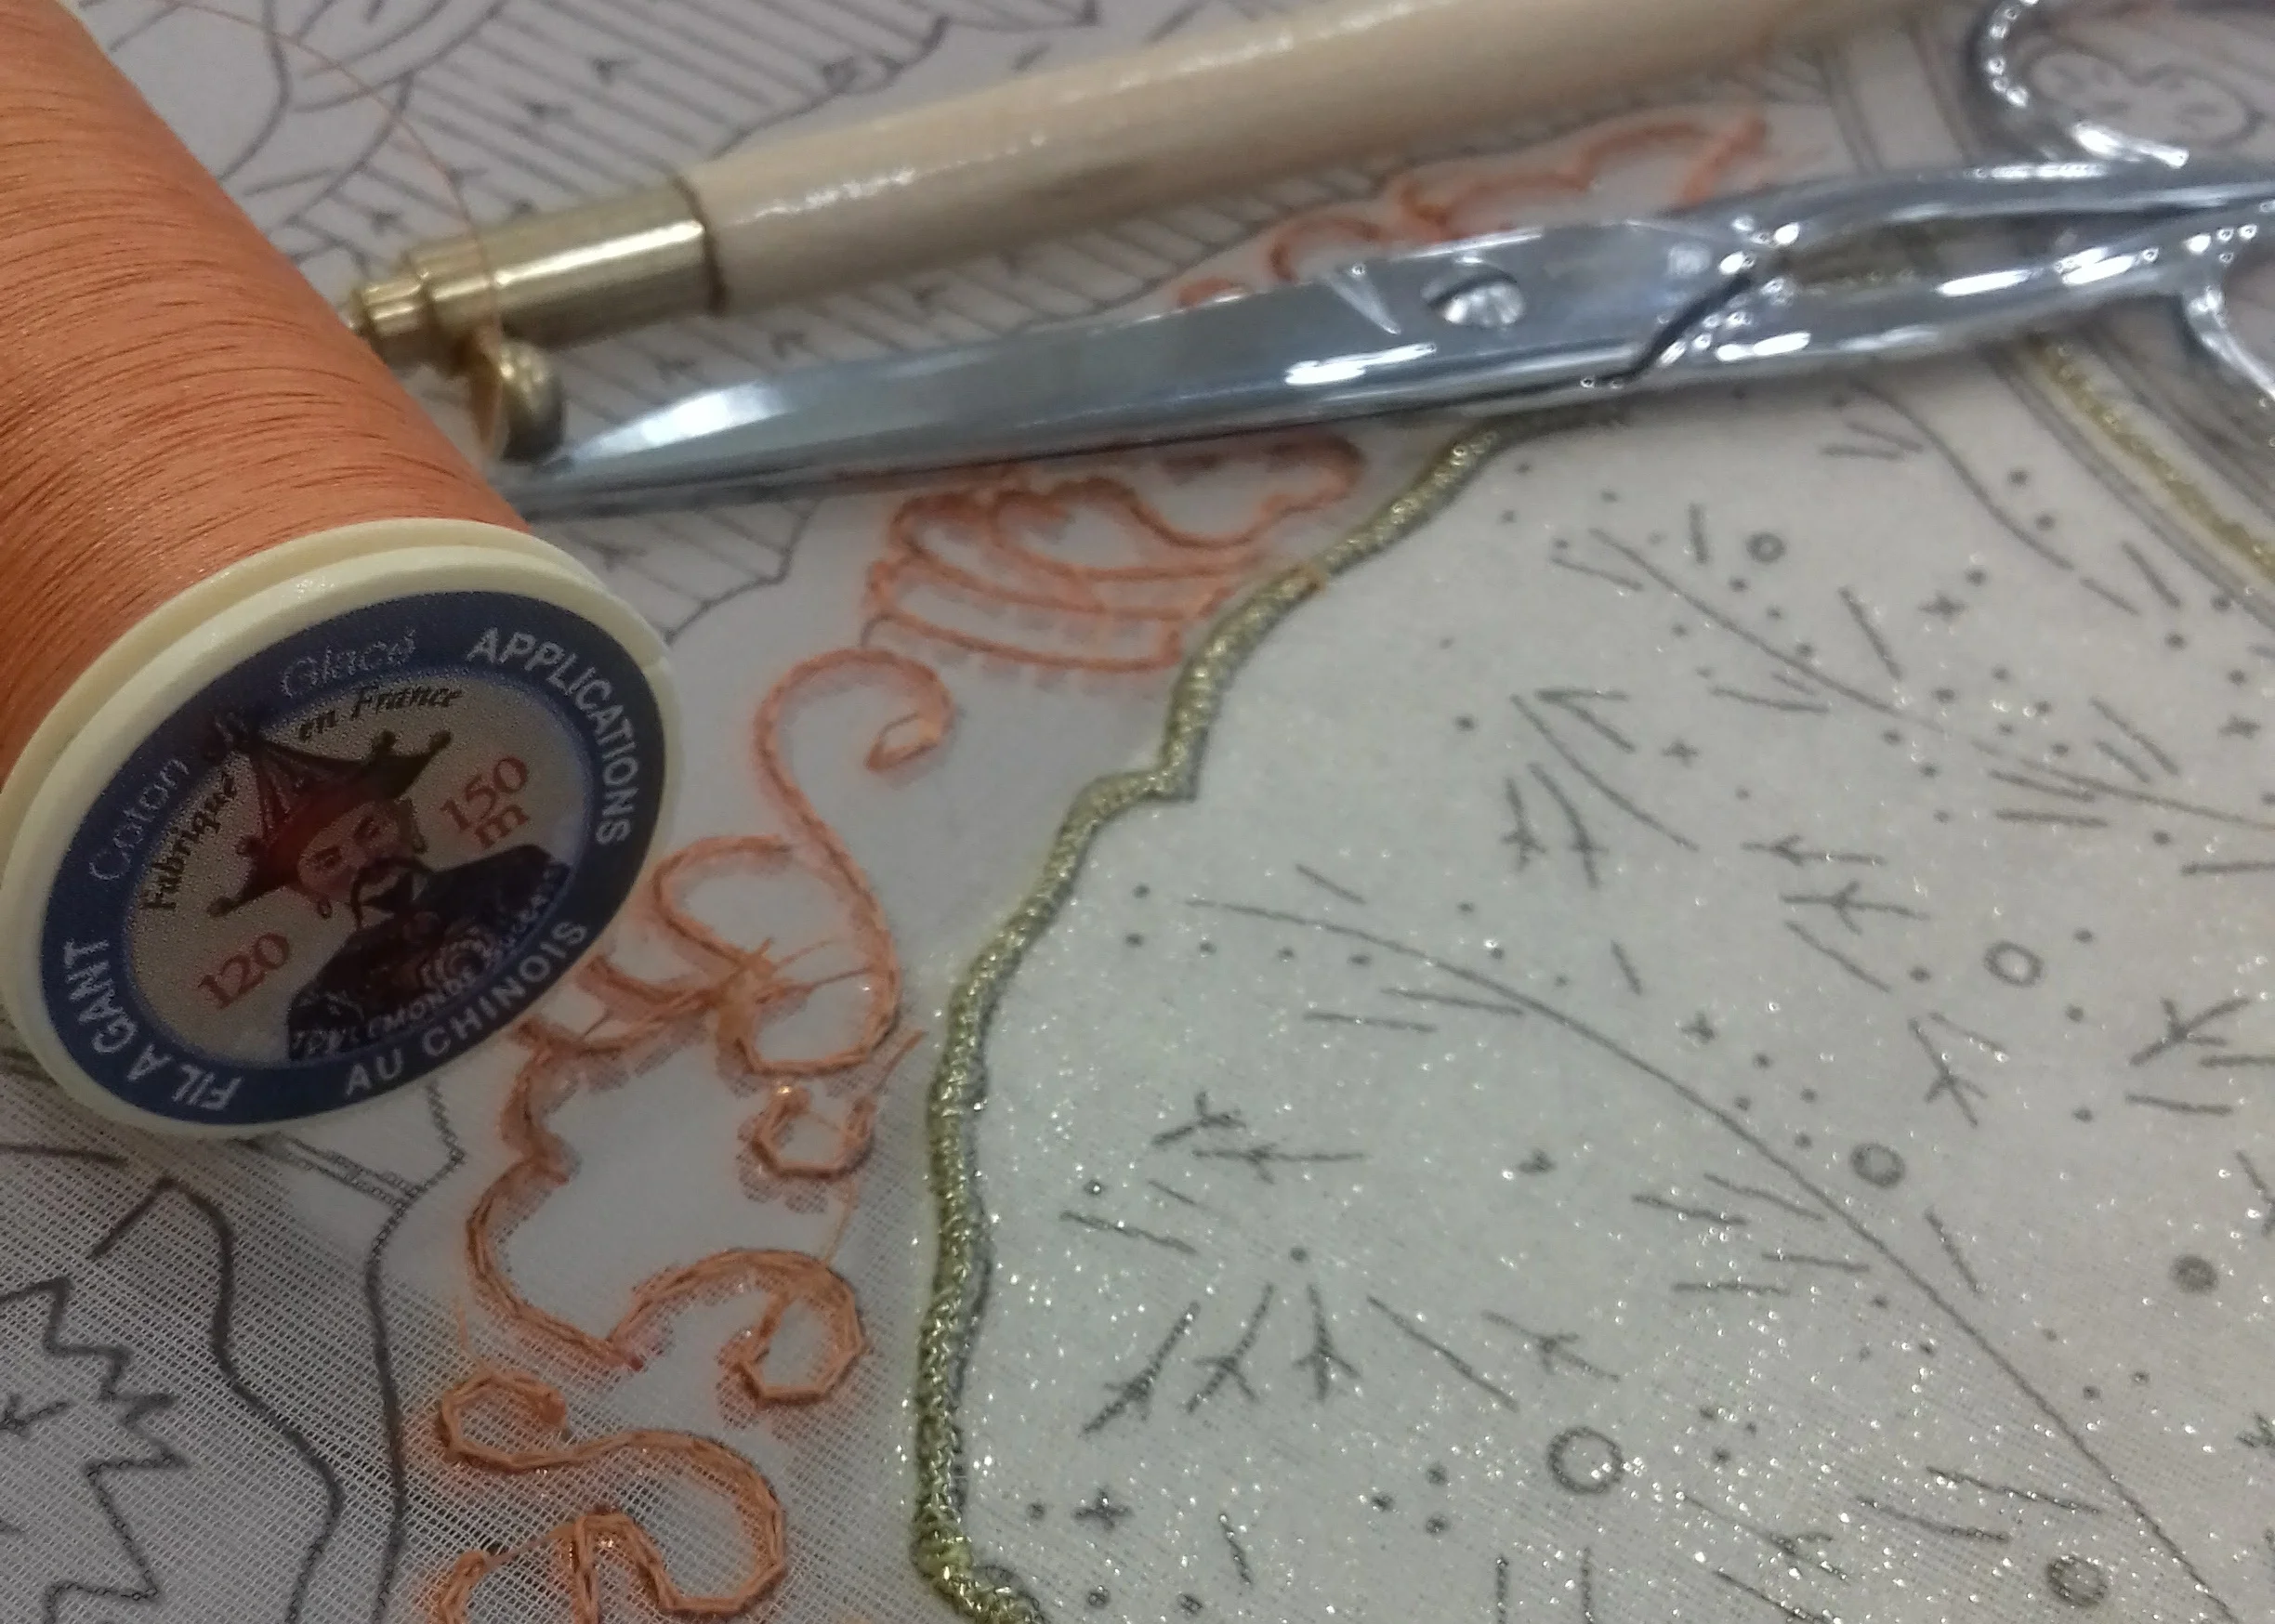
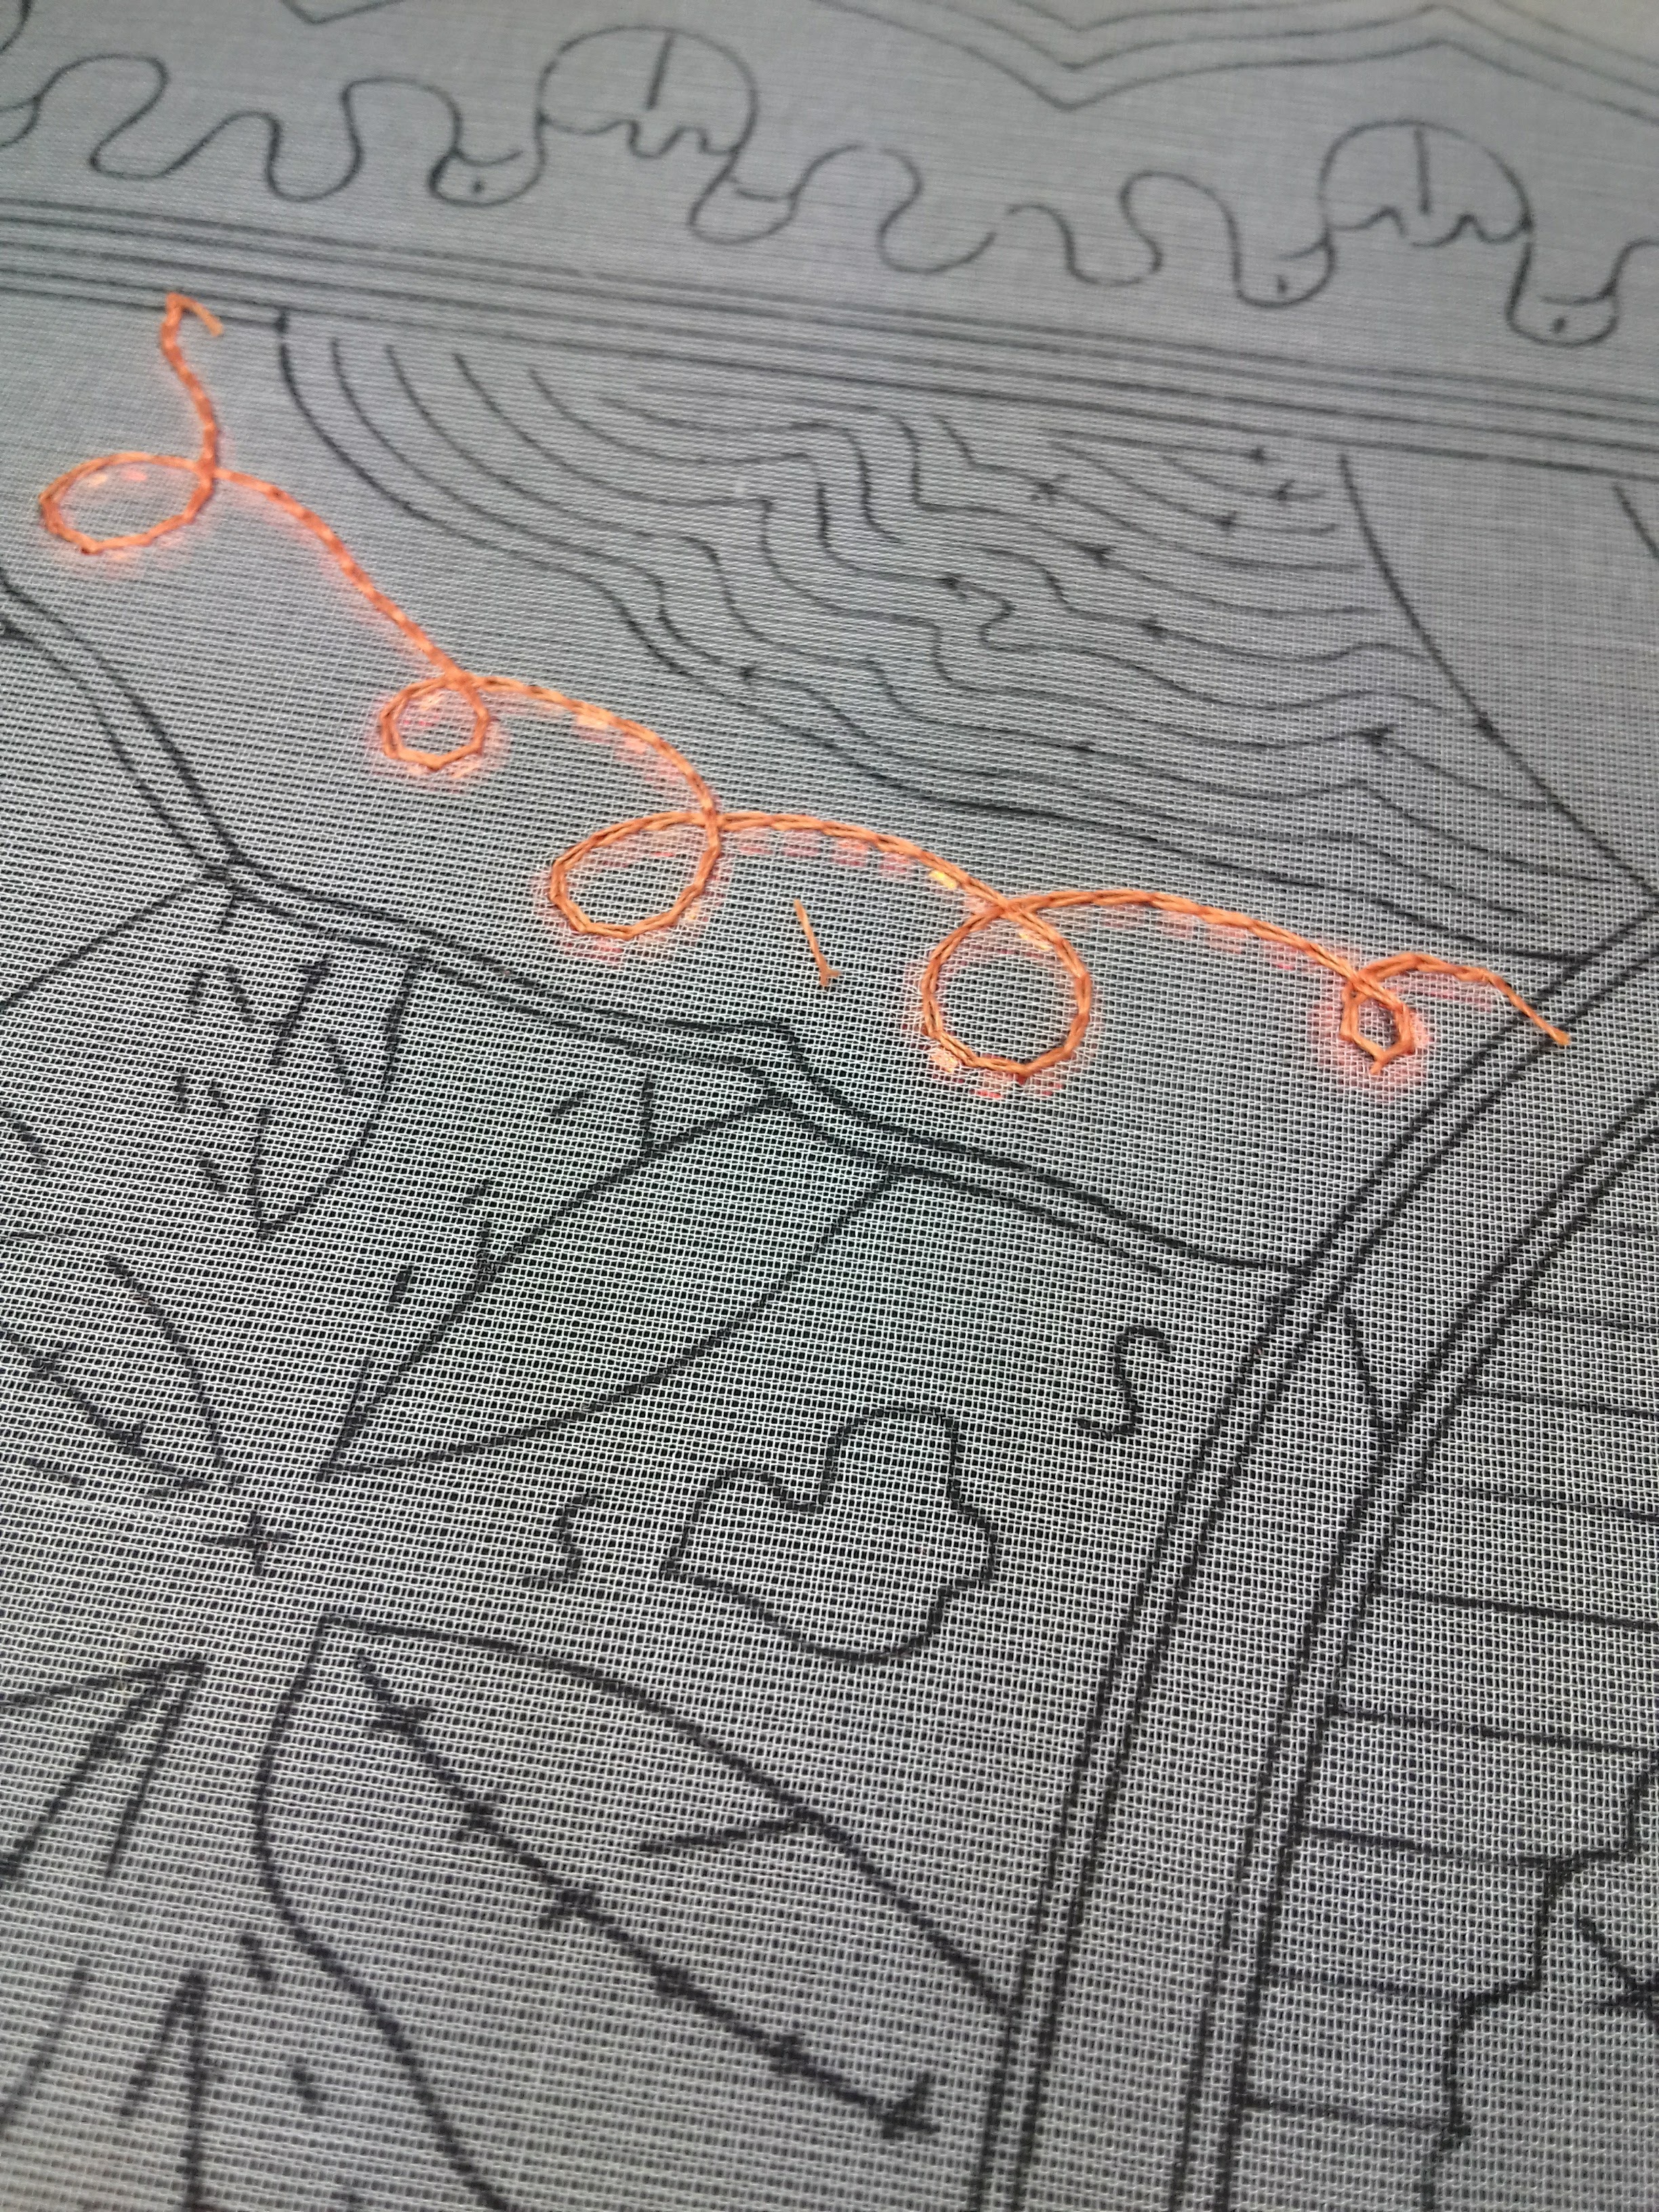
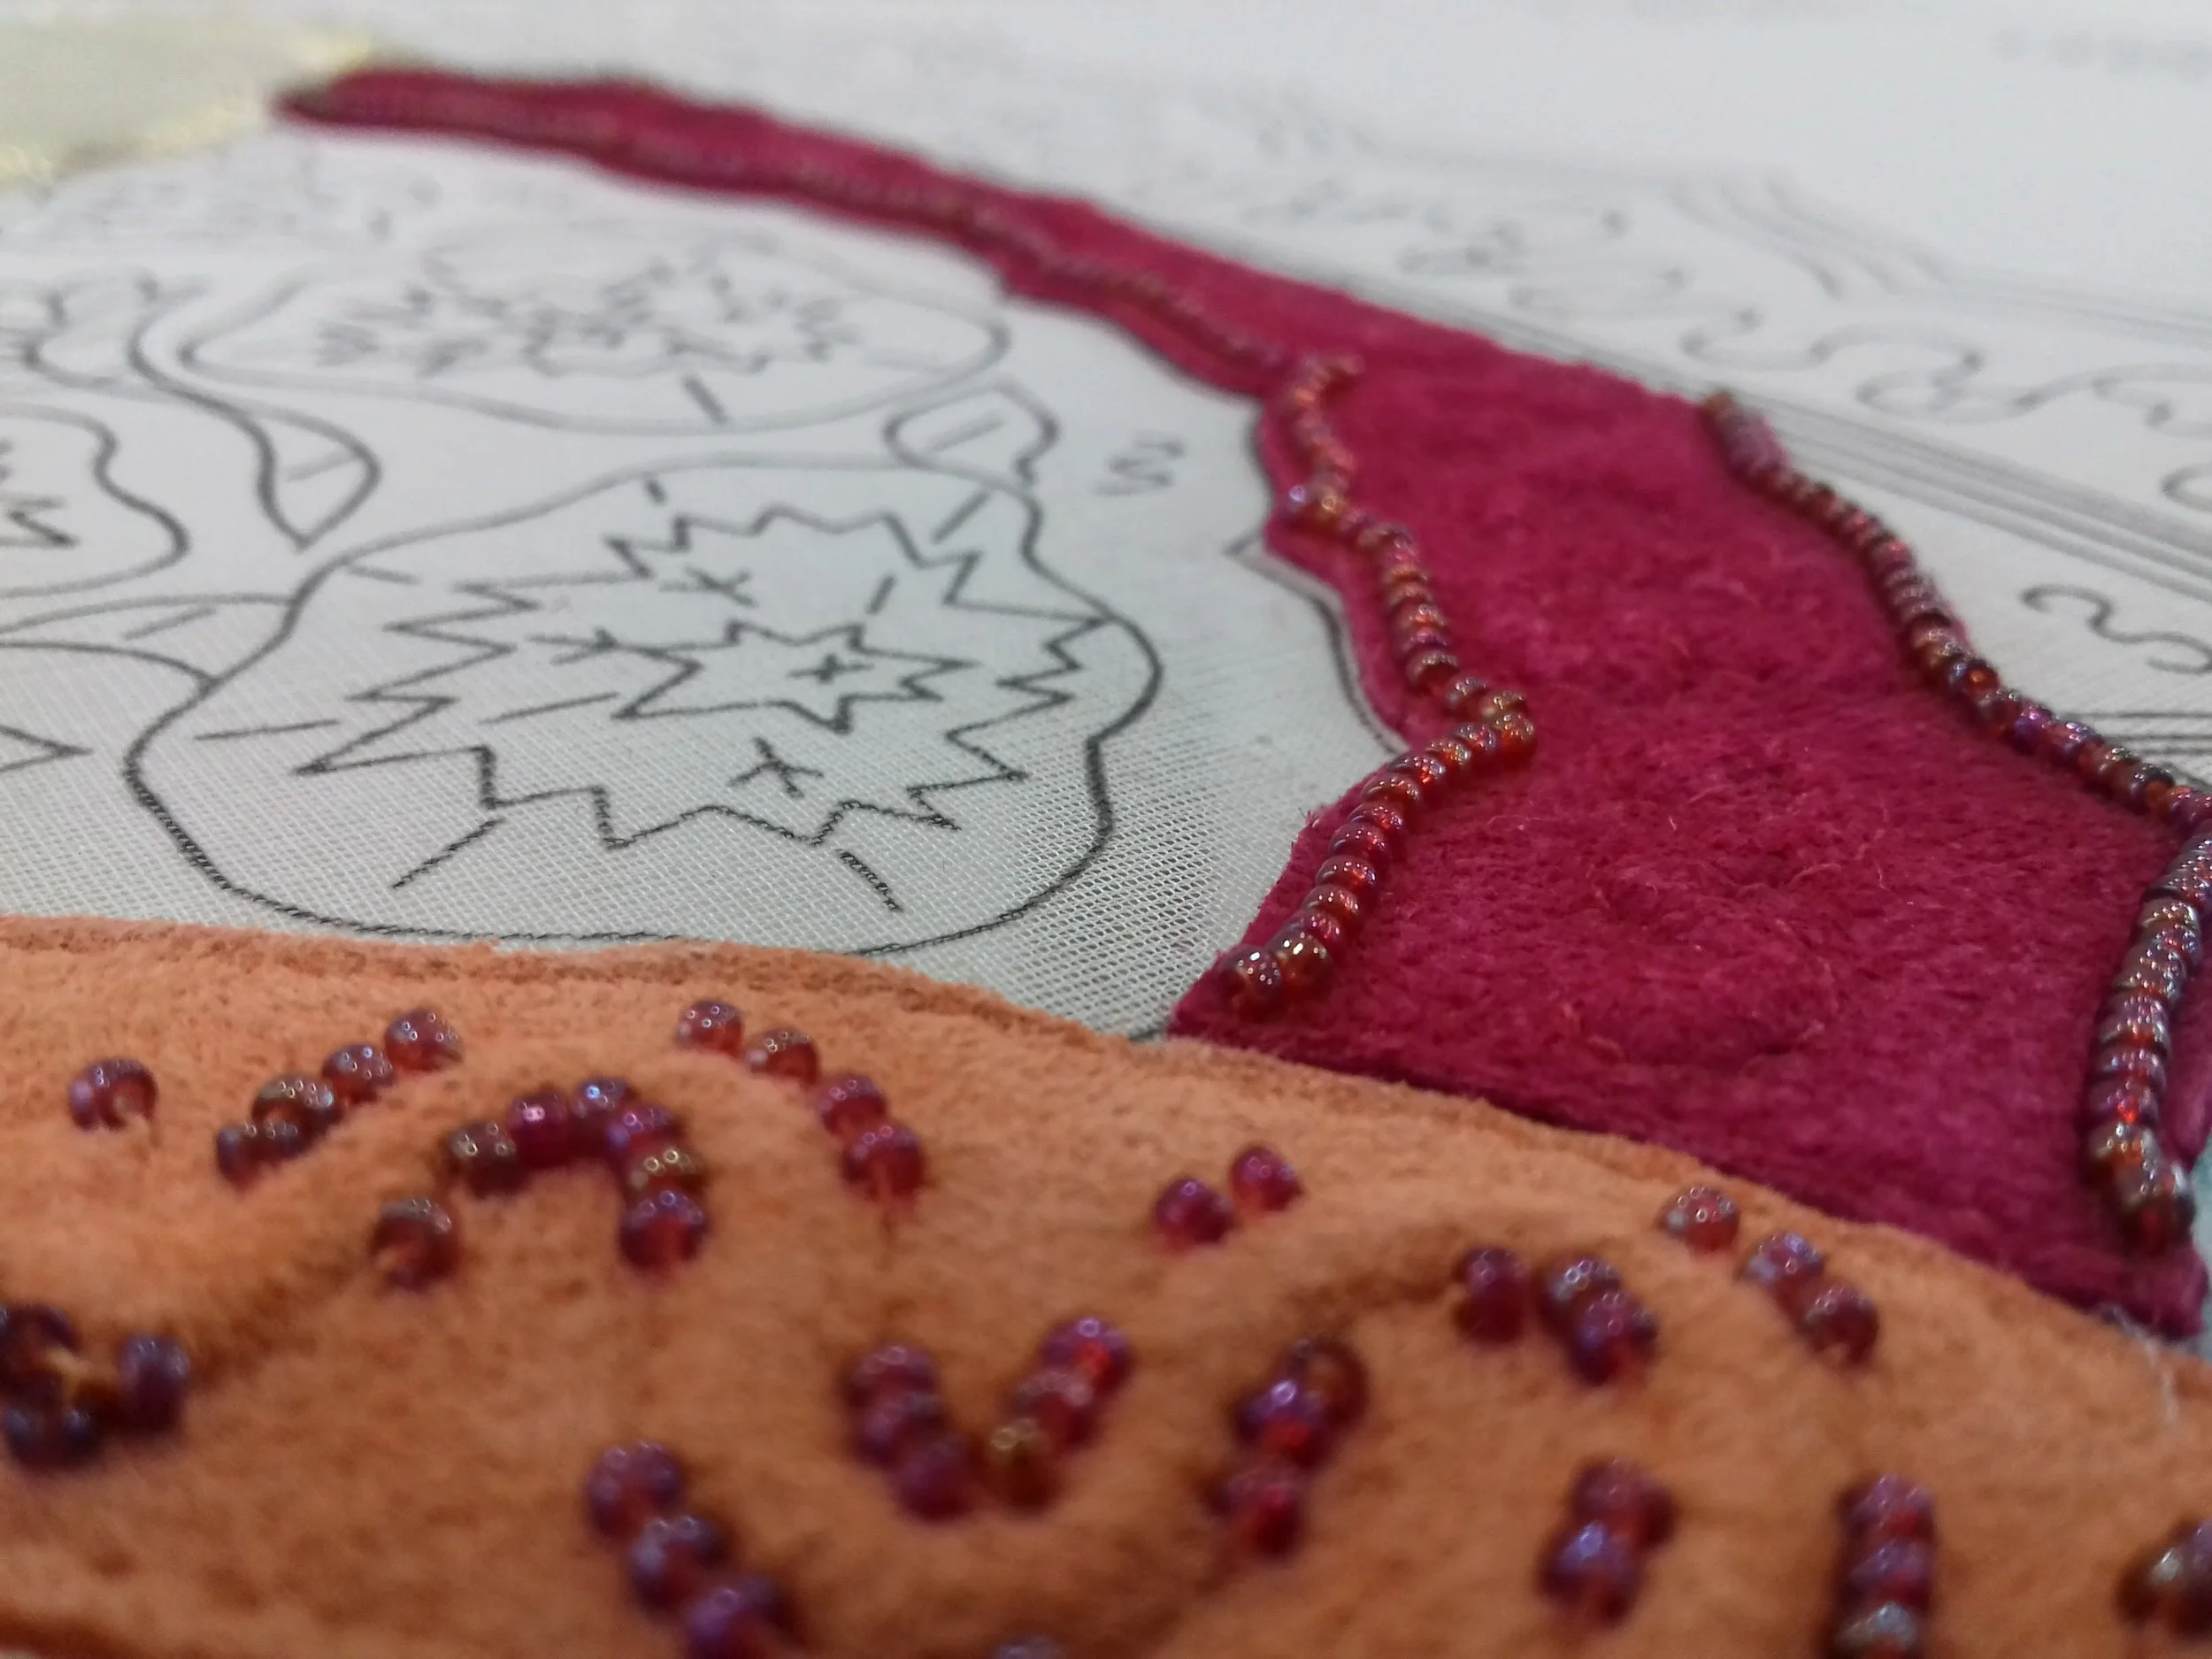
The yellow section on the left shows the pattern for applying orange tube beads in curved lines. Once these were finished the orange leather was stretched over the surface using pins. Working on the right-side of the fabric, the contour of the section was stitched through the leather and then the outline of the beads to create the relief. Gold thread was used in some curves to highlight the relief. Once this was completed the edges of the leather were pulled away from the organza fabric and using the rounded side of the scissors the leather was trimmed as close as possible to the stitched contour. I held my breath and hoped that I would not accidentally cut through the organza...
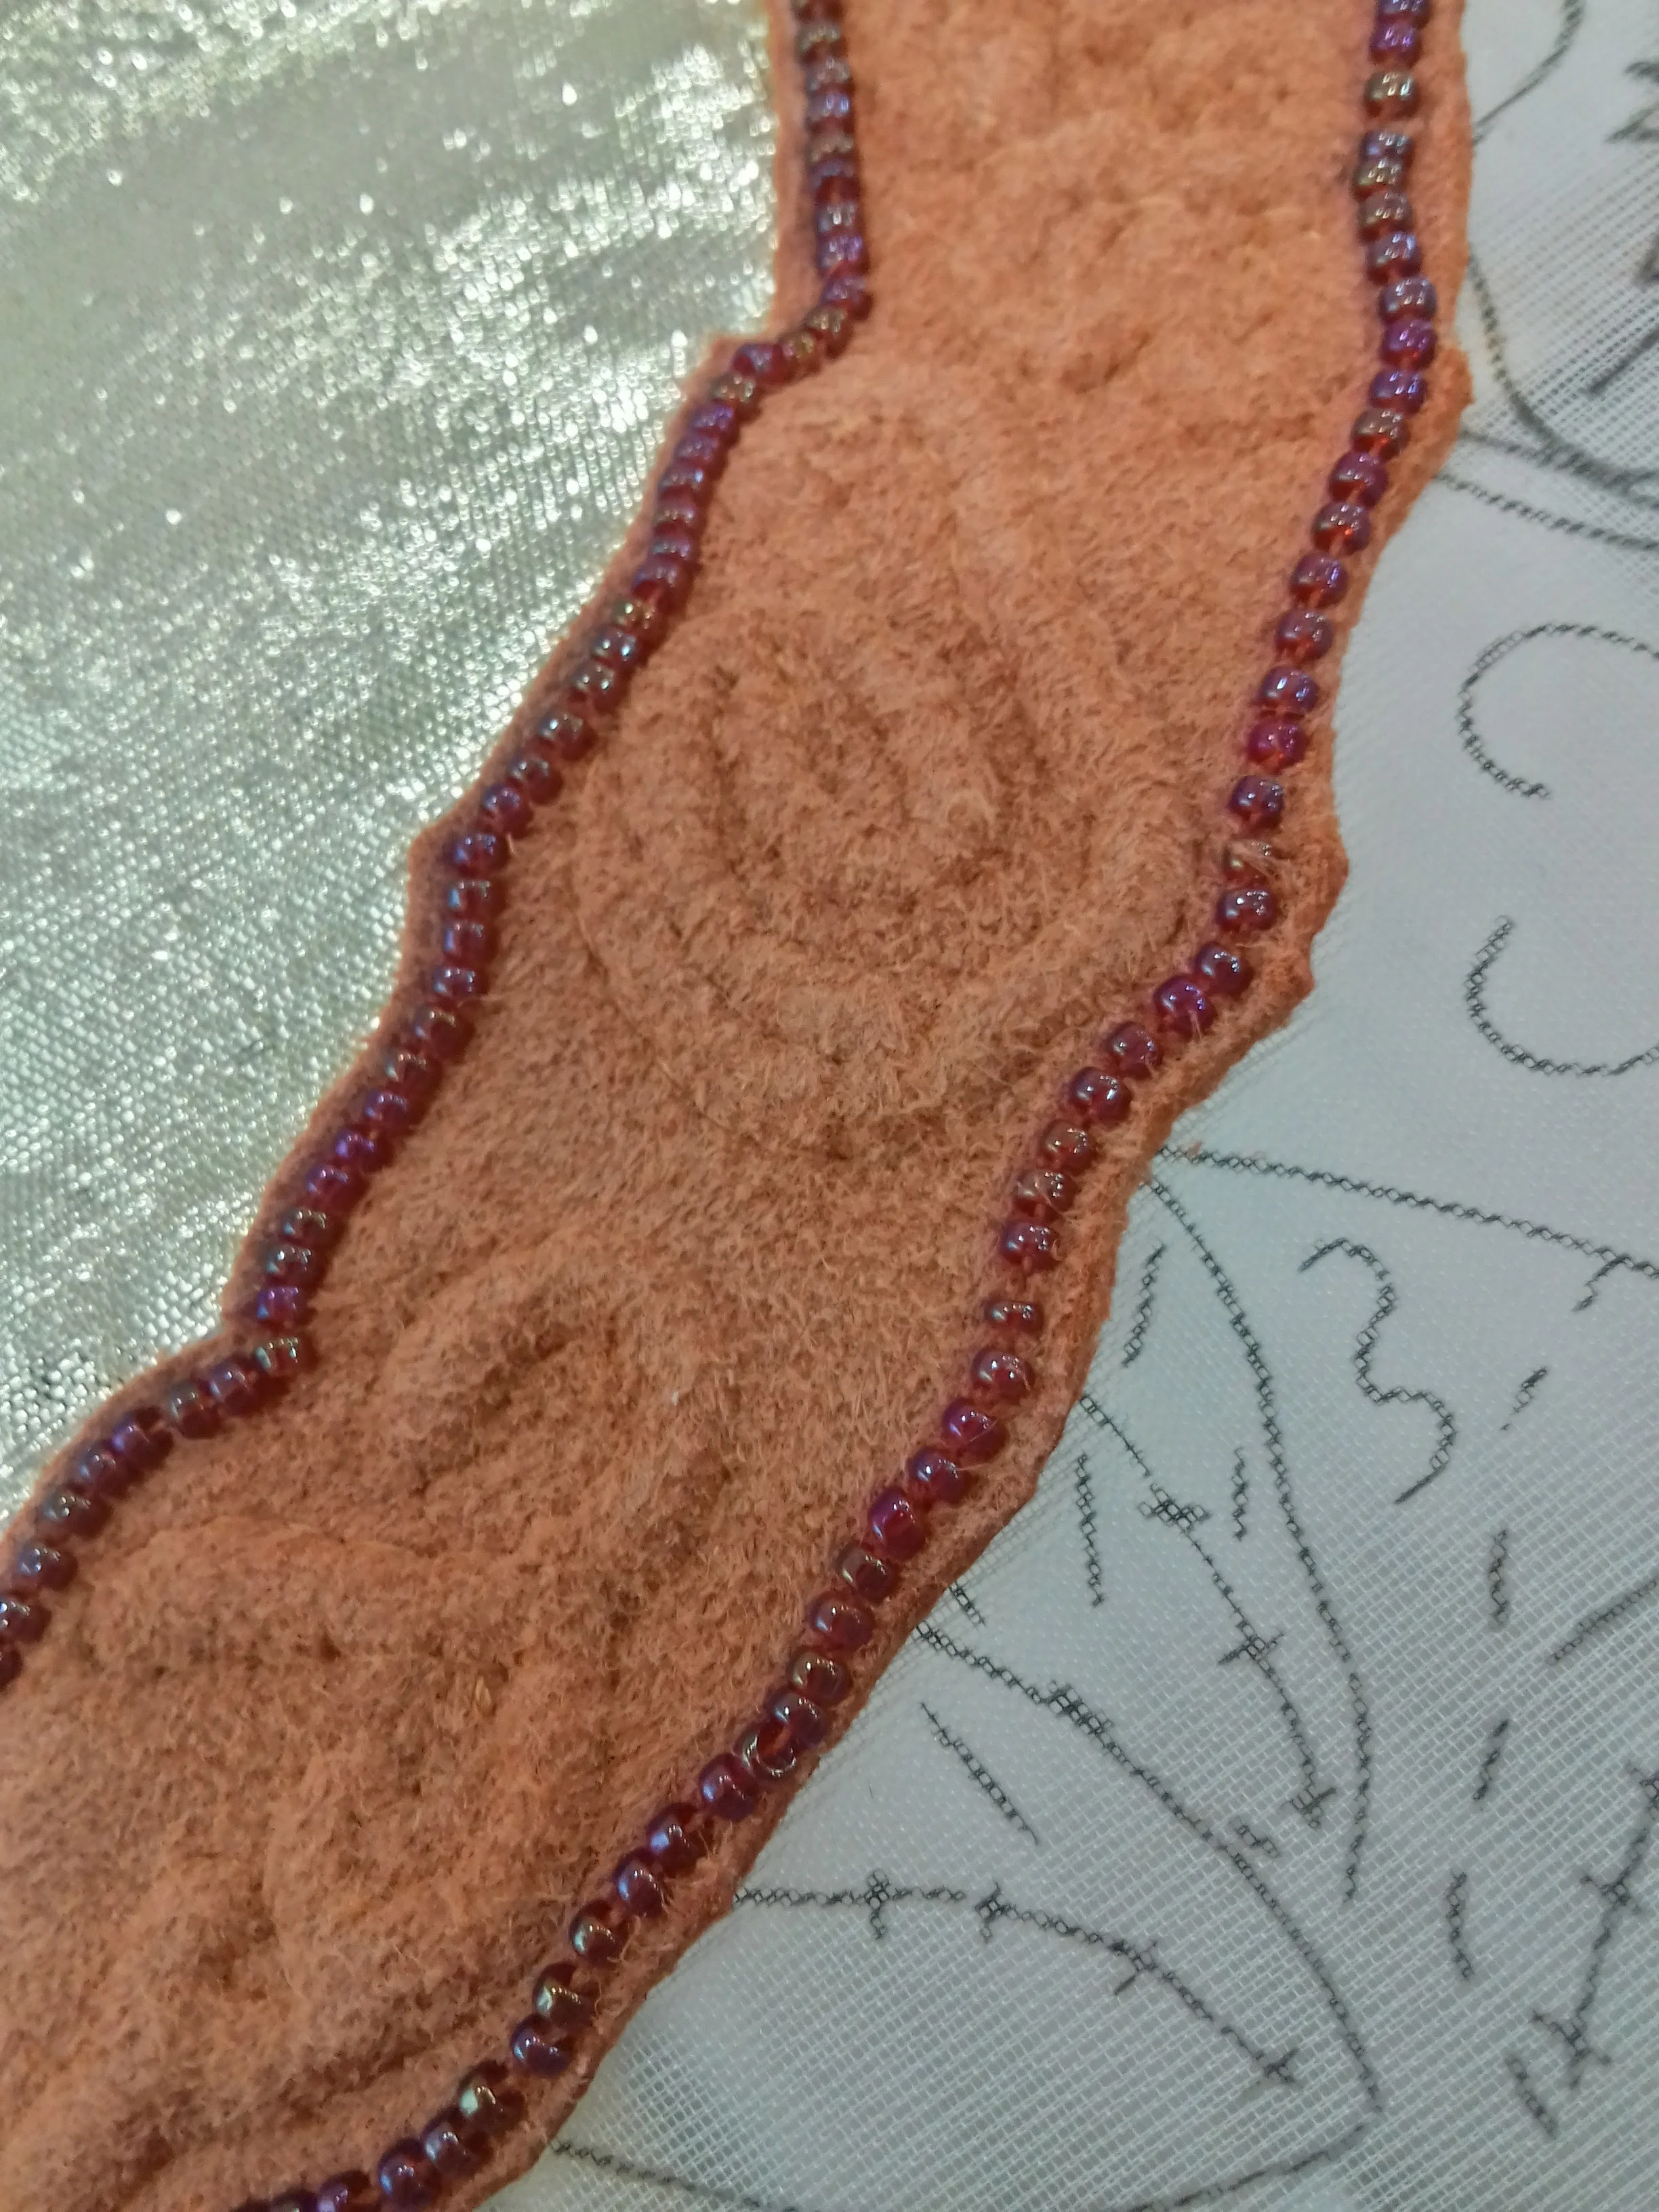
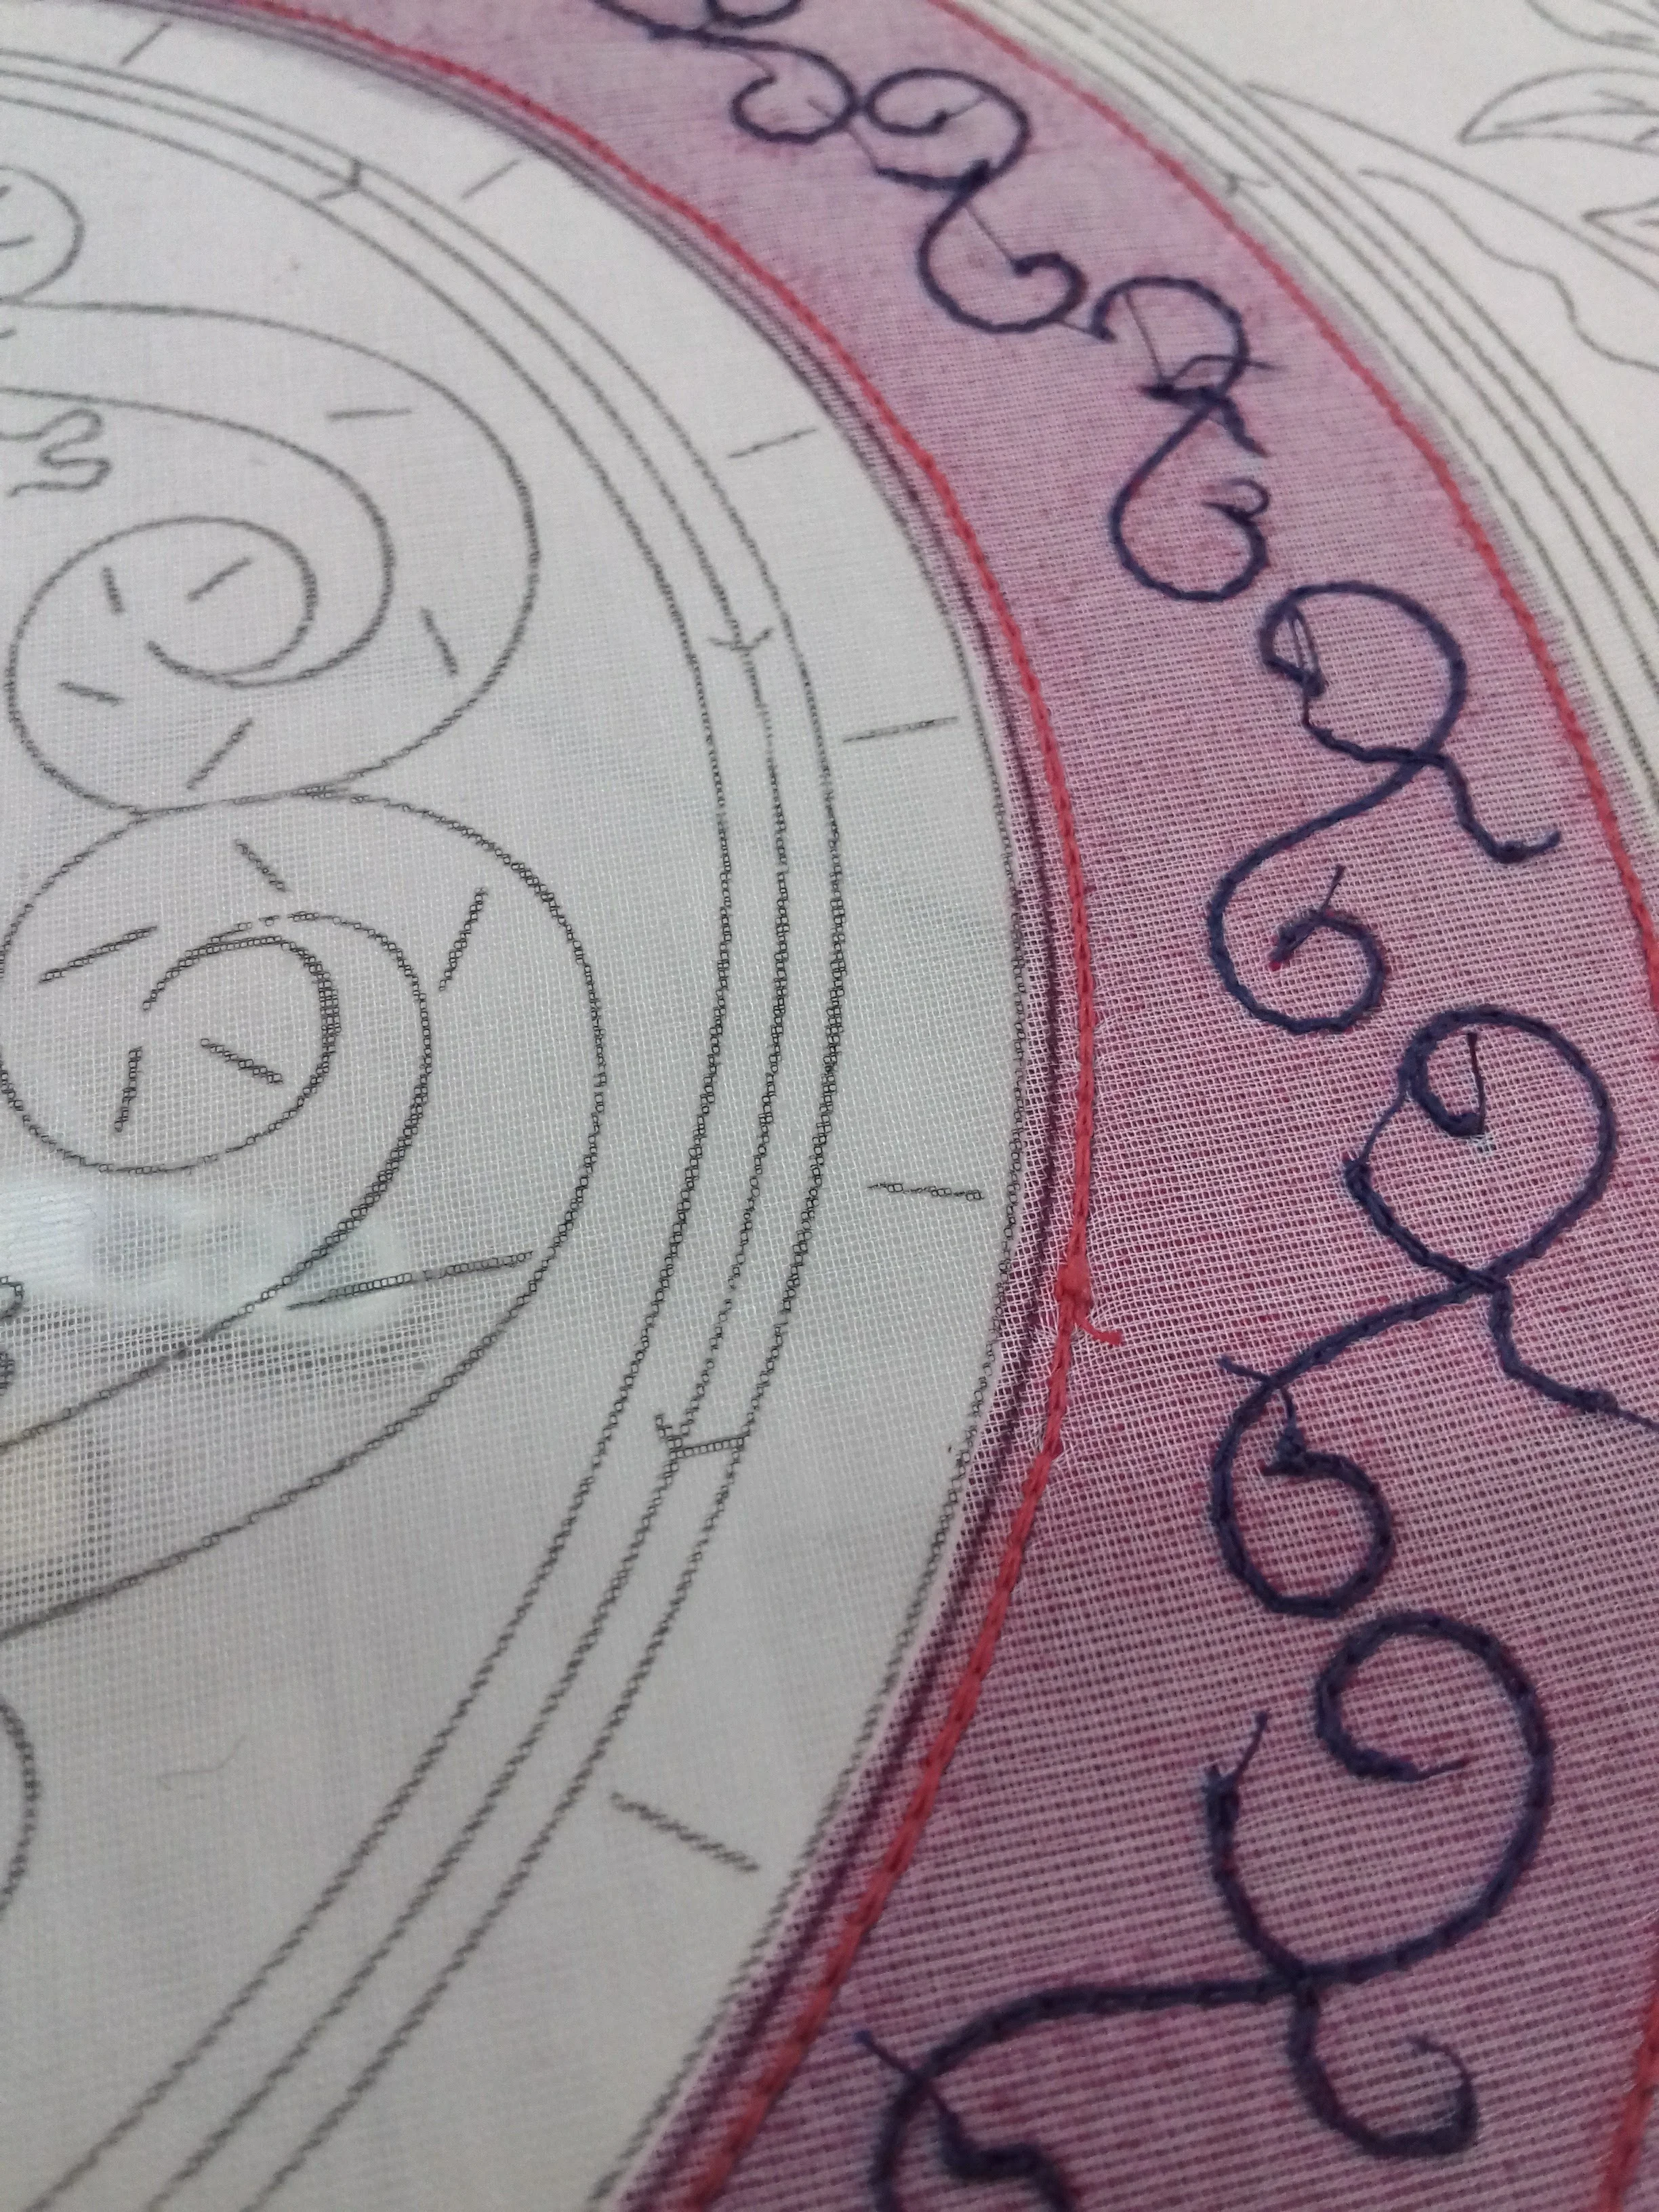
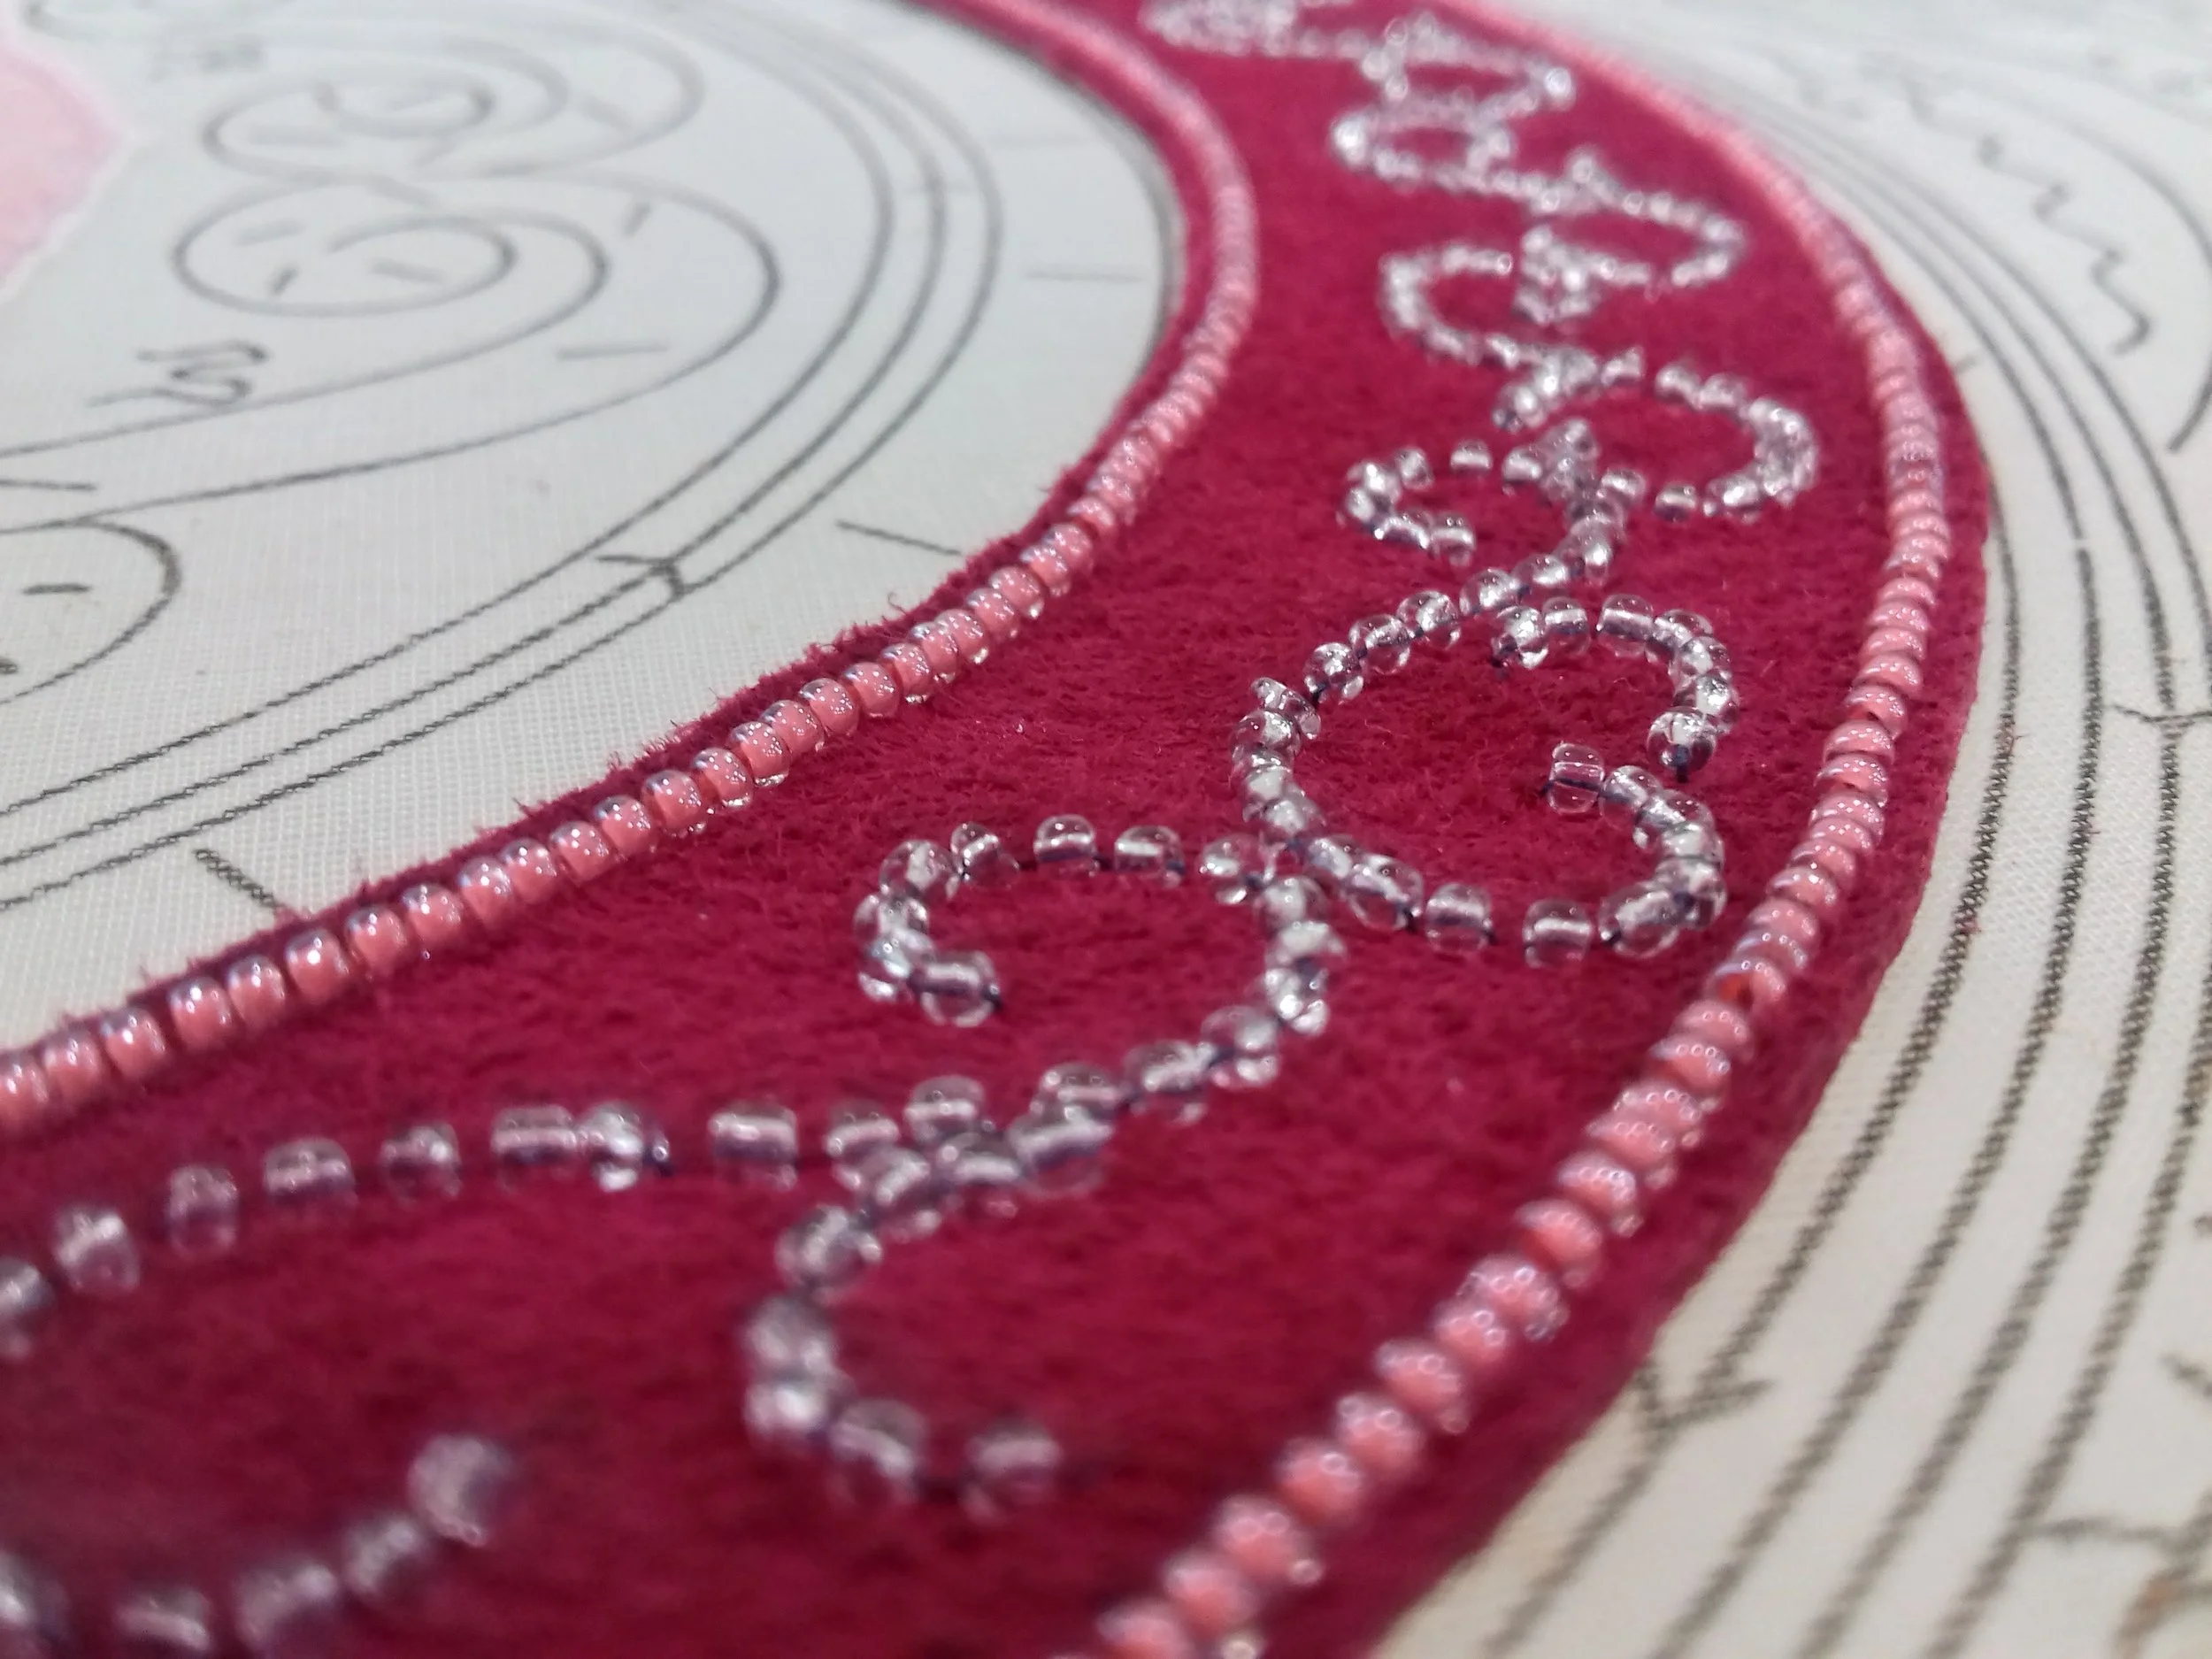
The red section above shows the pattern for applying the leather first to lay the surface. The transparent beads are applied without being able to see the surface. I learned the hard way that it is worthwhile checking your progress at regular intervals by turning the frame to see if you have accidentally added two beads or missed a bead entirely!
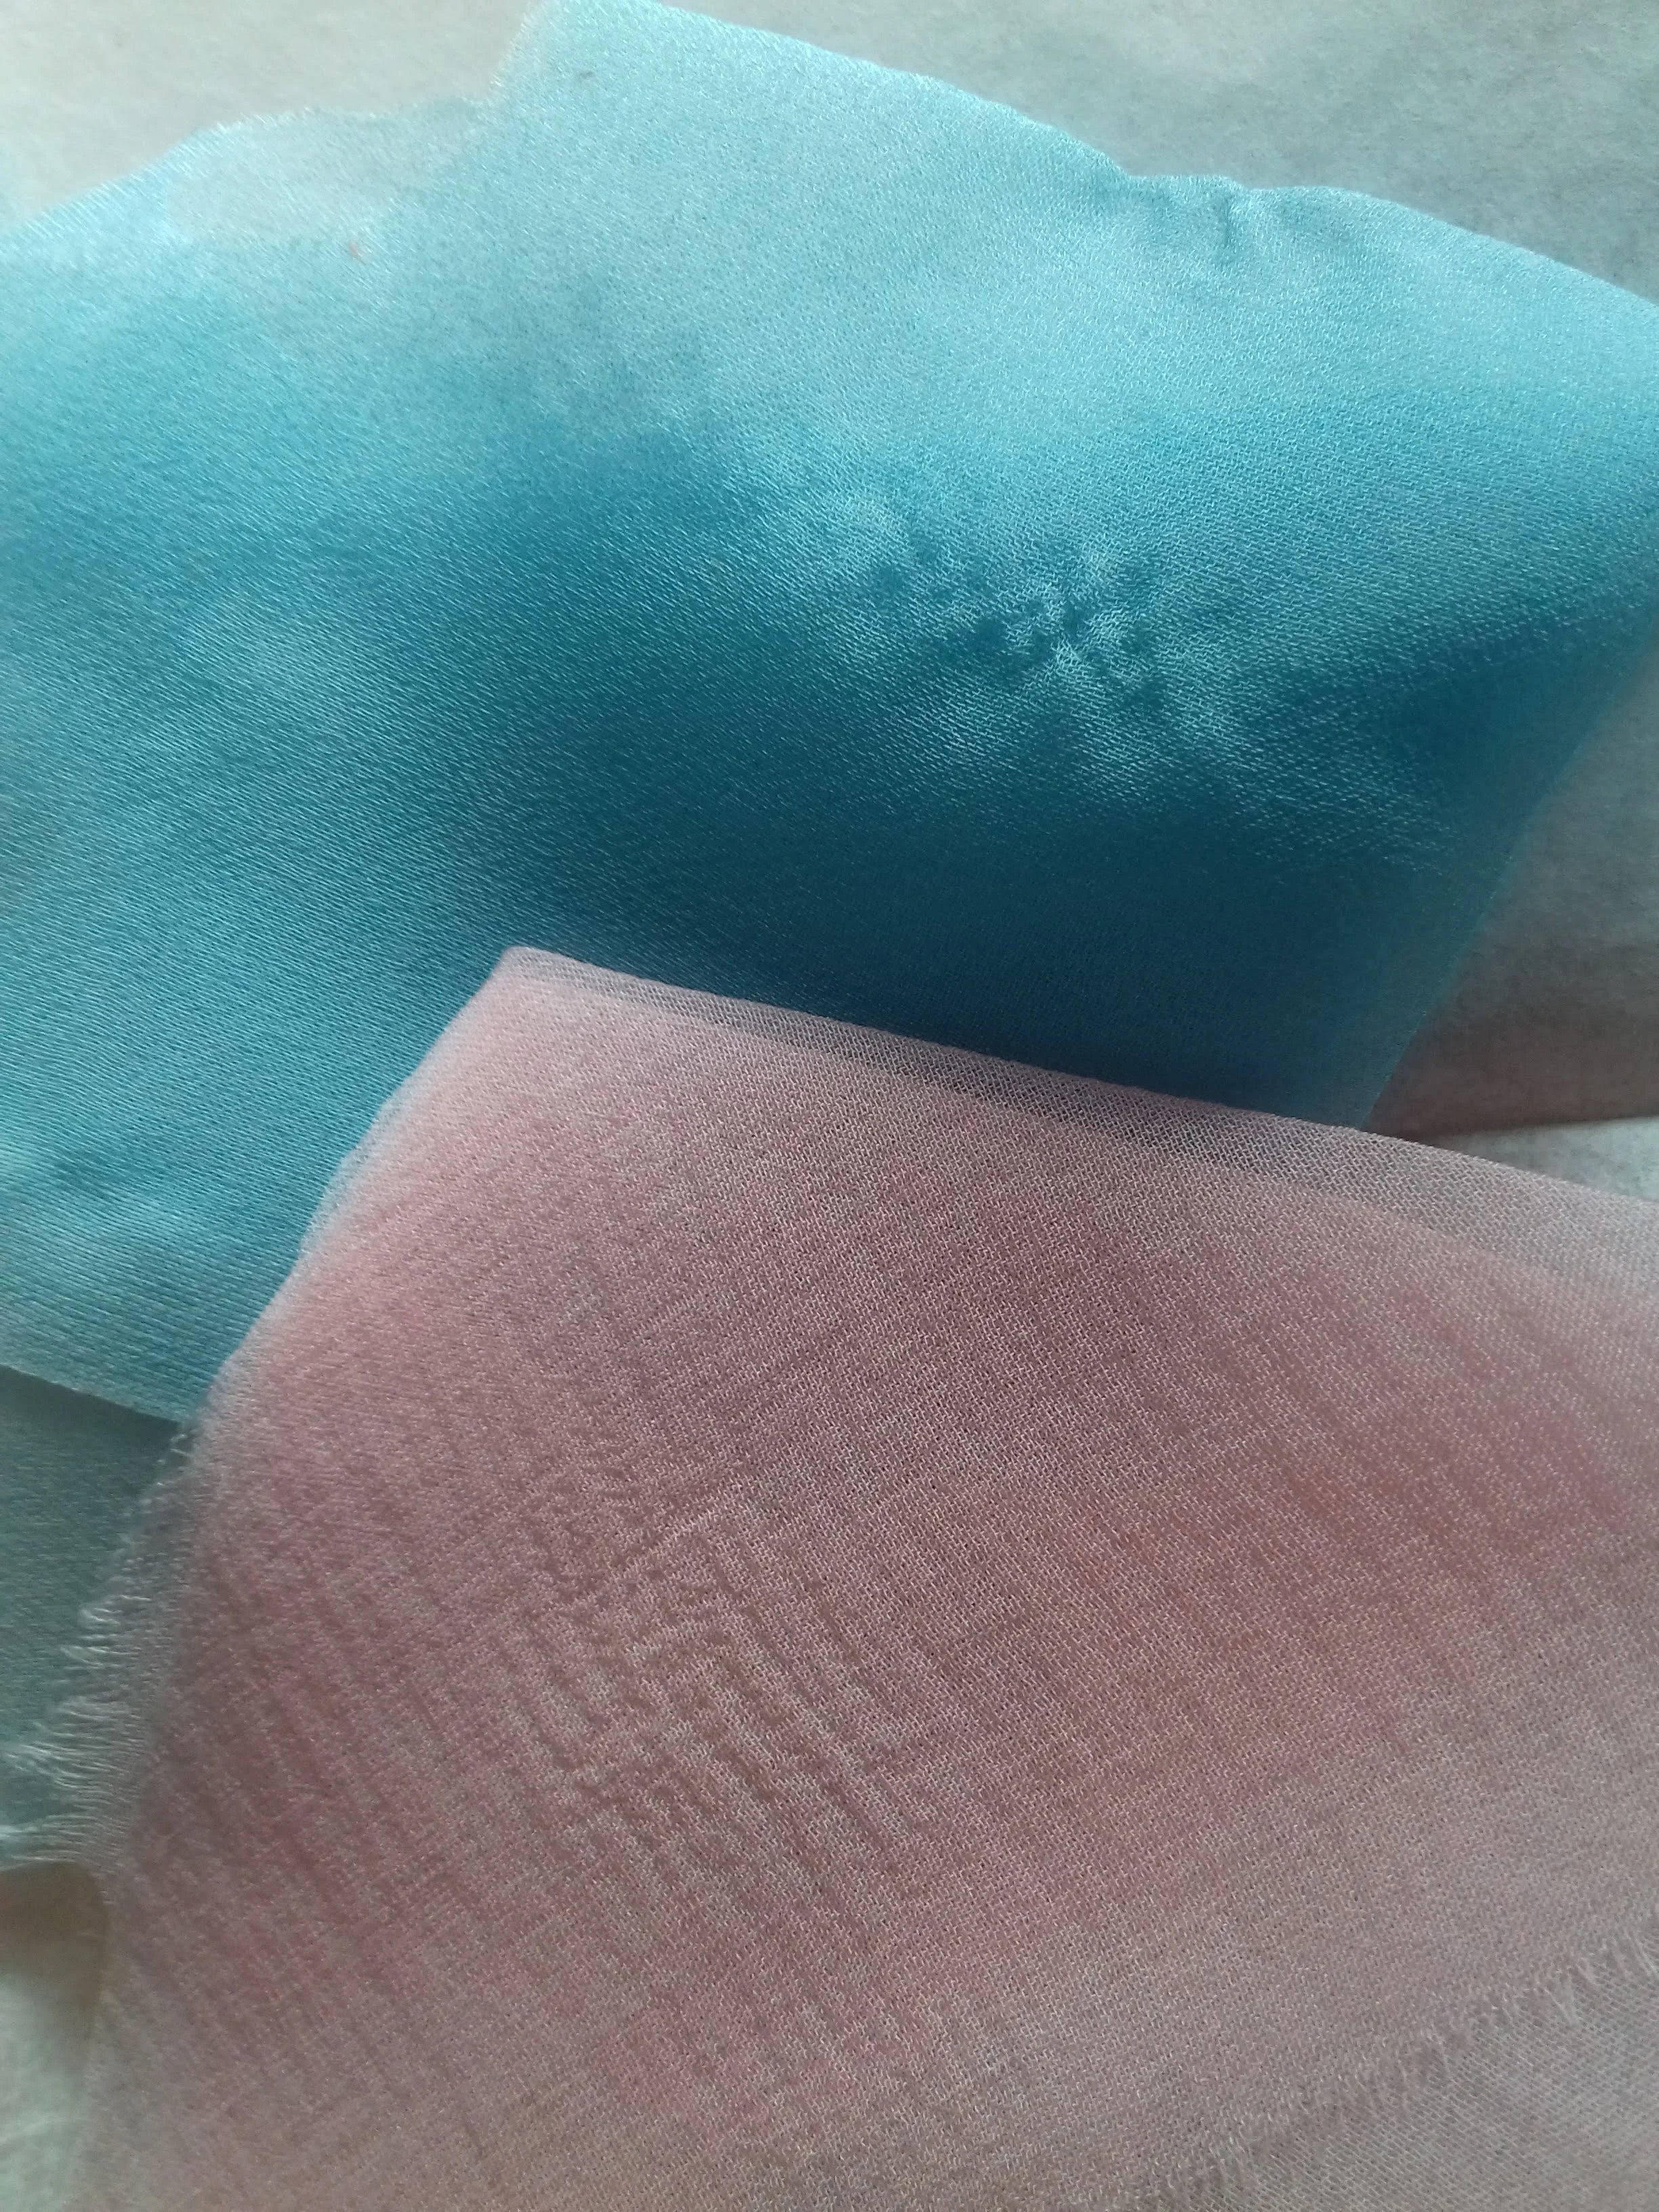
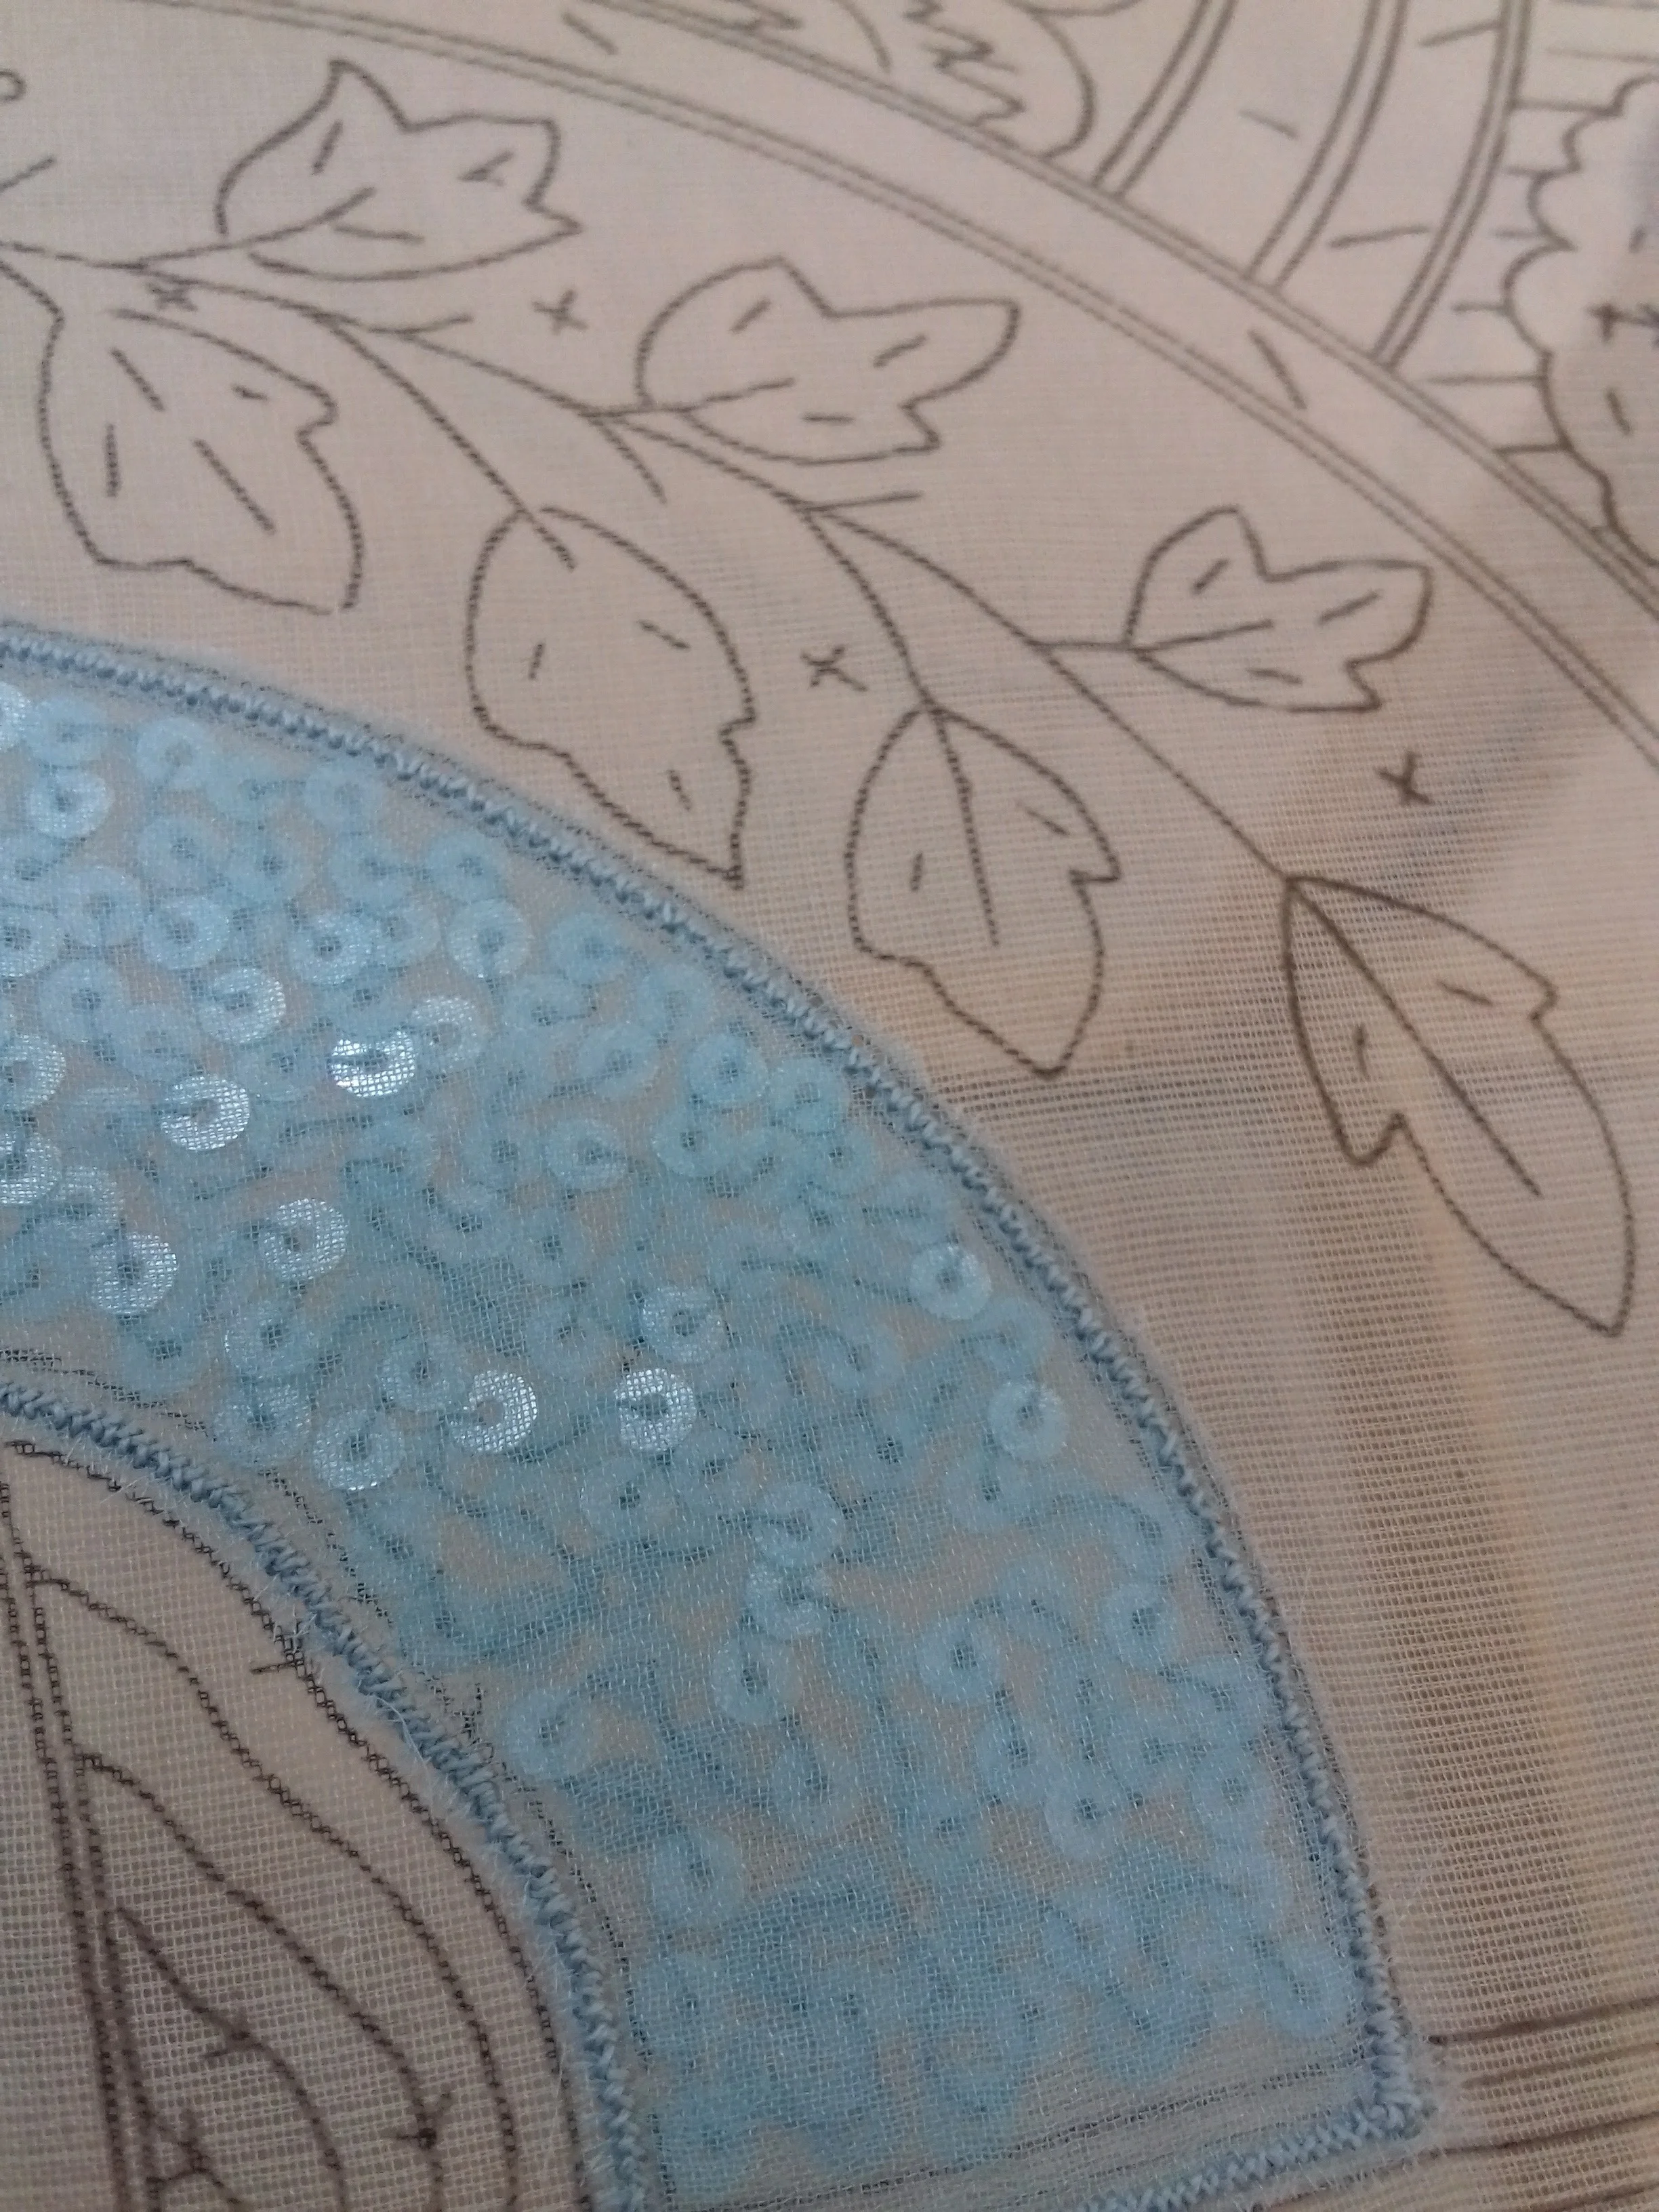
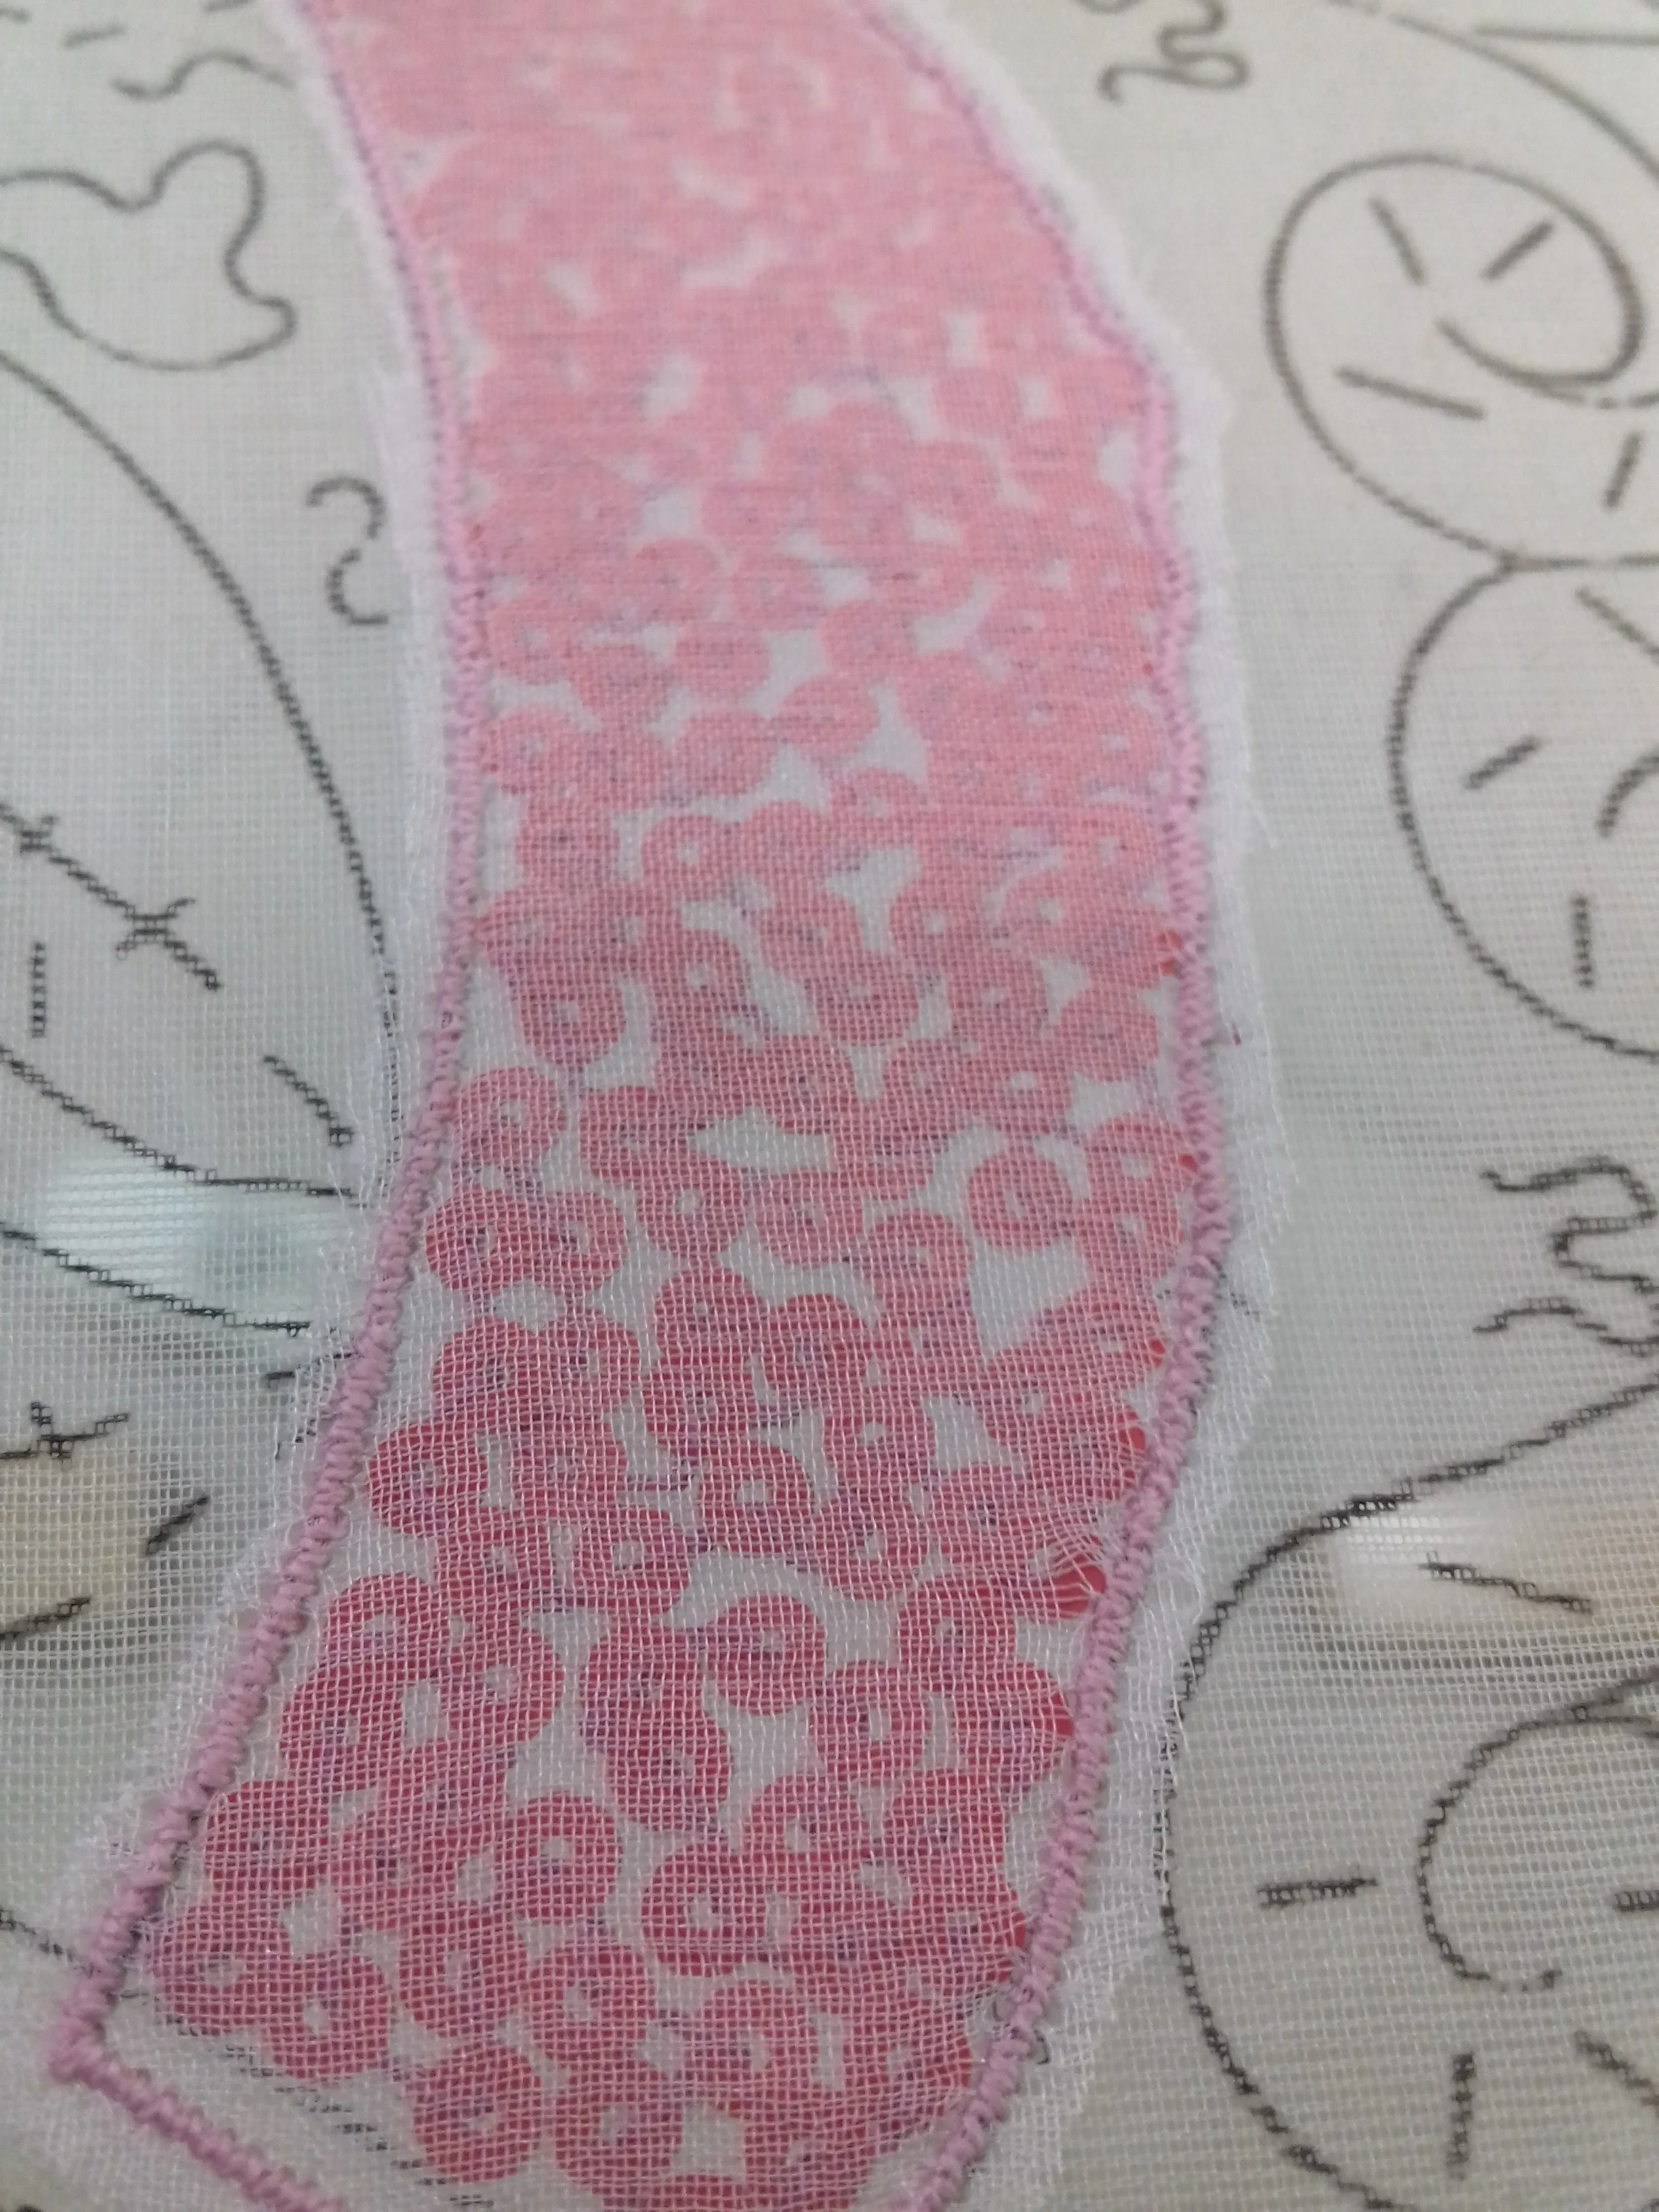
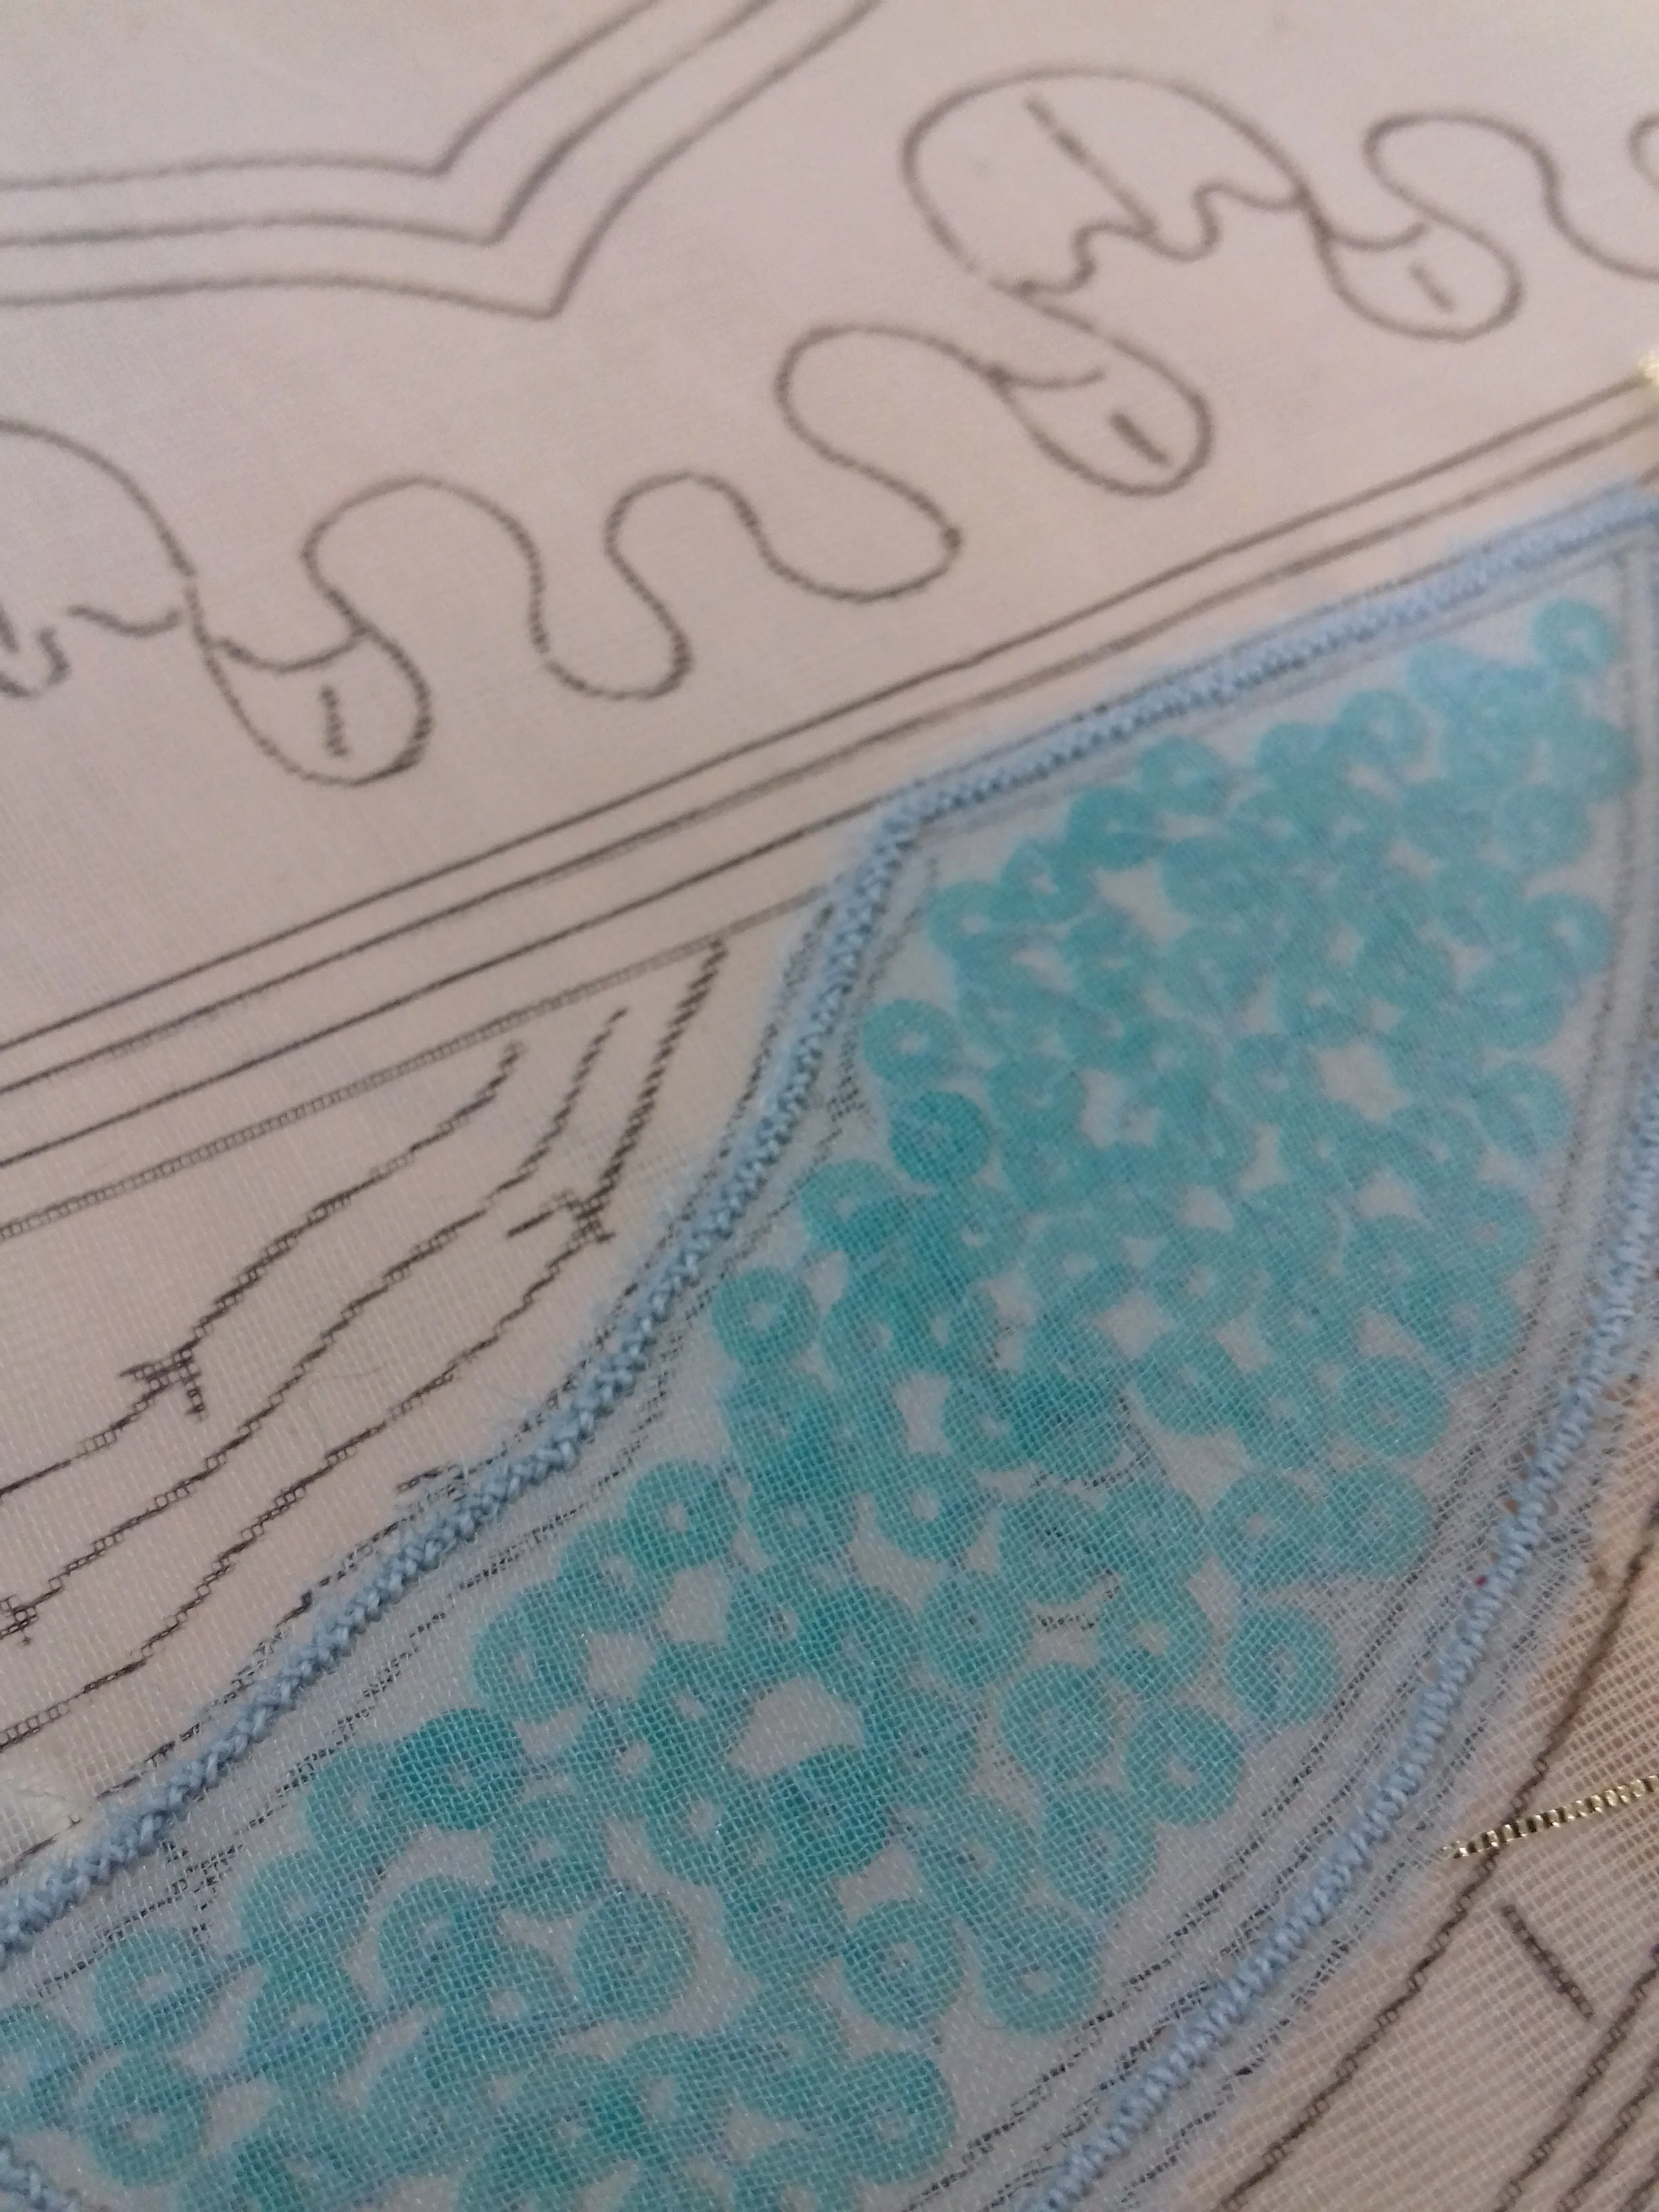
Vermicelli and Chiffon
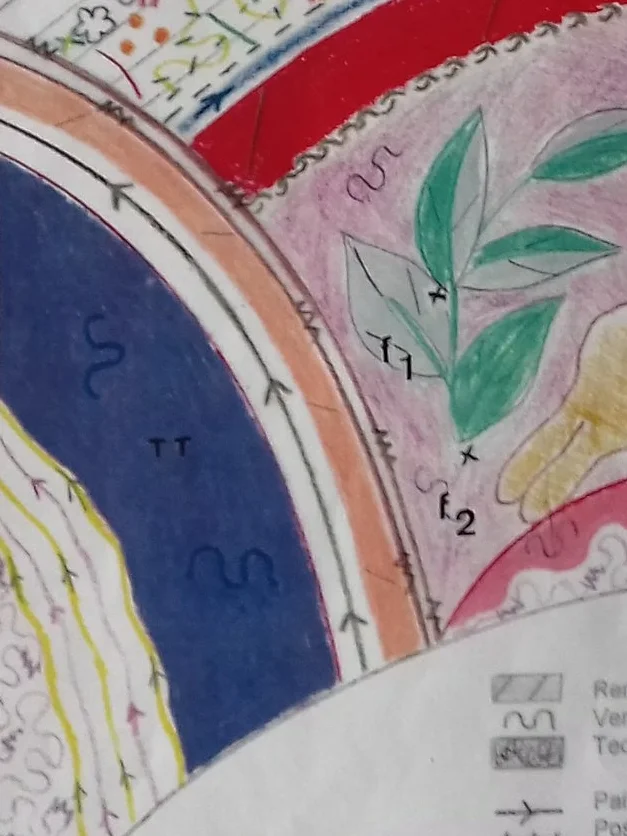
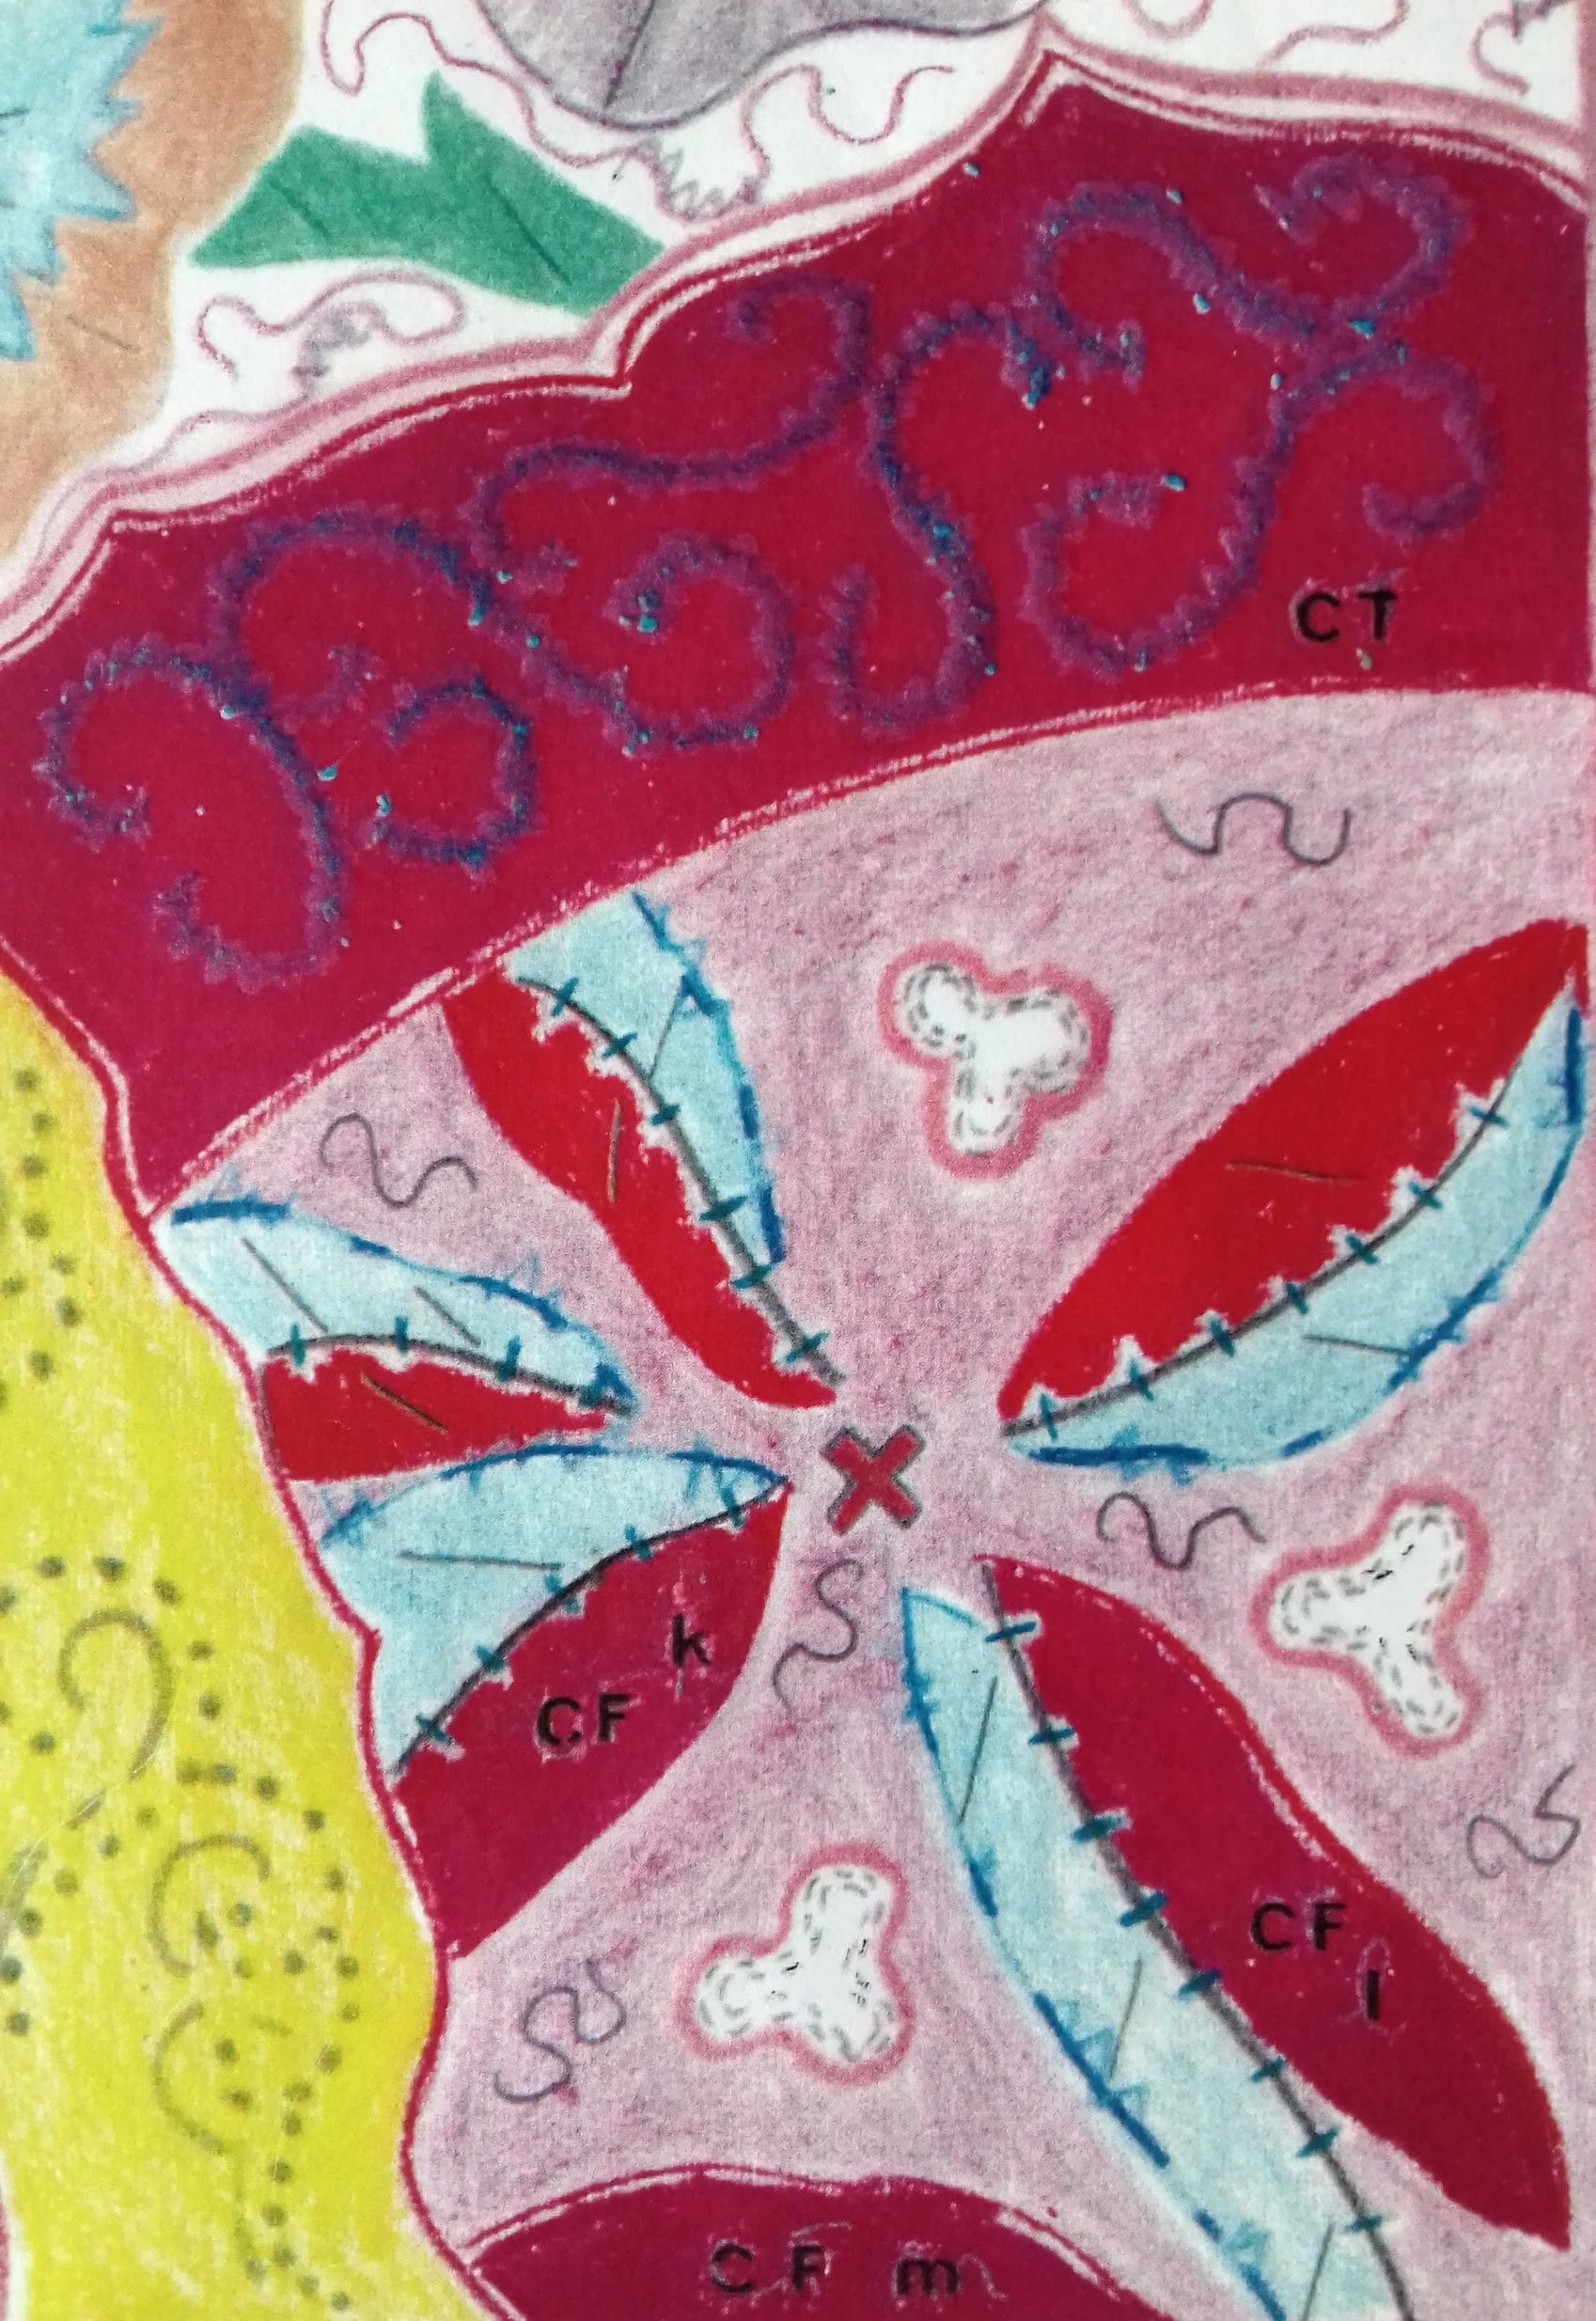
The blue arch shows the area to be filled with sequins using the vermicelli technique, this is indicated by the little squiggles and the TT stands for tissu tendu meaning stretched chiffon fabric. The sequins were the smallest I had ever seen, measuring just 3mm in diameter. They were applied first in sections of light blue, turquoise and matt coral. The matt beads were very tricky to work with as they didn't slide apart and were often stuck together. Once the sequins were finished the chiffon was stretched across the surface and applied using pointe-riche. The edges of the chiffon are pulled away from the organza and the rounded side of the scissors was used to trim away the fabric from the pointe-riche.
Applying Lamé using Pointe-Riche

The diagonal lines indicate the gold lamé fabric and before it was applied transfer adhesive was ironed onto the back to prevent the fabric from warping or contracting. Pointe-riche in gold metallic thread was used to secure the fabric in place. The edges were carefully trimmed away, although thankfully not as close as the leather or chiffon!
Finally the background was prepared and I was relieved to find that while the materials had changed somewhat, the techniques had been previously covered in the sampler. I was excited to discover what would come next but in the meantime I made a little trip to Maison Sajou....
Textile Tours of Paris
Join Rebecca on a tour of Paris’ charming haberdasheries nestled deep in the winding streets of Le Sentier, the city’s historic textile and fashion district. Enjoy a Sunday morning with Rebecca on a Flea Market Tour as she guides you through the labyrinth alleys of Paris’ oldest marché-aux-puces to uncover hidden treasure troves filled with vintage lace, linen, passementerie, golden threads and gossamer lingerie. To find out more visit Textile Tours of Paris.