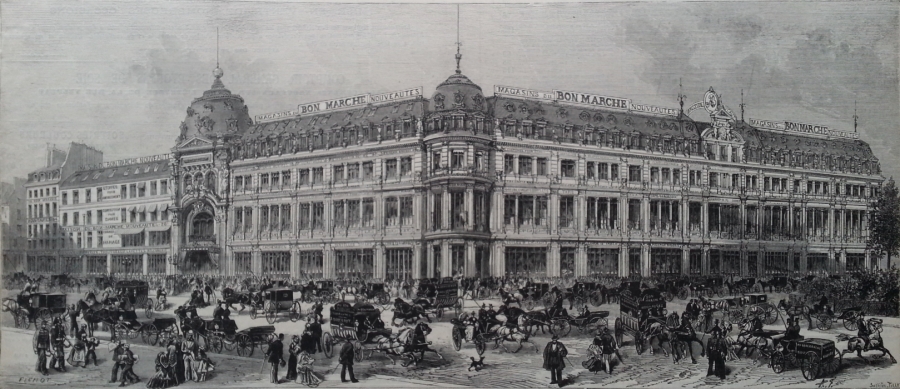
Paris has been considered the centre of fashion, style and shopping for centuries. And although careening horse-drawn carriages have been replaced by velibs, scooters, seg-ways, skateboards, rollerblades and roller-skates, chic ladies continue to sashay gracefully along the beautiful boulevards today. I had followed in their footsteps by visiting Au Printemps, Le Bon Marché and Galeries Lafayettes but hesitated at the doors of the boutiques along Rue de Fauborg Saint-Honoré and Avenue Montaigne. I gazed in the enticing window displays of Dior, Hermès, Chanel, Louis Vuitton, Yves Saint Laurent, Chloé, Valentino and Nina Ricci. Smiling sheepishly at the men guarding the doors as I soaked up every detail it took me a while to build up the confidence to enter.
Curiosity got the better of me one day as I gaped at the window display in Dolce & Gabbana. It was a visual feast of sumptuously rich, ornate and colourful embellishment and rather impulsively, I walked purposefully through the doors in the name of embroidery research! Once inside I was met by a welcoming team of staff dressed in elegant uniforms who were all smiling, asking how my day was and how they could help. I couldn't believe I was inside the door! Eventually, I returned their smiles and asked for directions to the ladies section with confidence. A flurry of responses I didn't understand, some knitted brows and before I knew it they had circled around me and I was ushered out the door - back onto the street.
Standing beside me on the pavement was an elegantly dressed man who gestured for me to follow him. I hesitated, was I in trouble? What had I done wrong? Was I being taken to the Fashion Police? He smiled reassuringly and as he was very handsome I followed despite my inner consternation. With a pronounced chivalry he opened the door of the next boutique, had a quick exchange with someone in the new welcoming troupe, assured me that I would be taken care of and then said his goodbyes. With no time to gather myself, I turned to the next elegantly dressed, handsome member of staff who was now in charge of my care and smiling down at me, he discreetly explained that people often confuse the Men's boutique with the Women's boutique. The relief swept over me and I finally understood - my crime was short-sightedness!
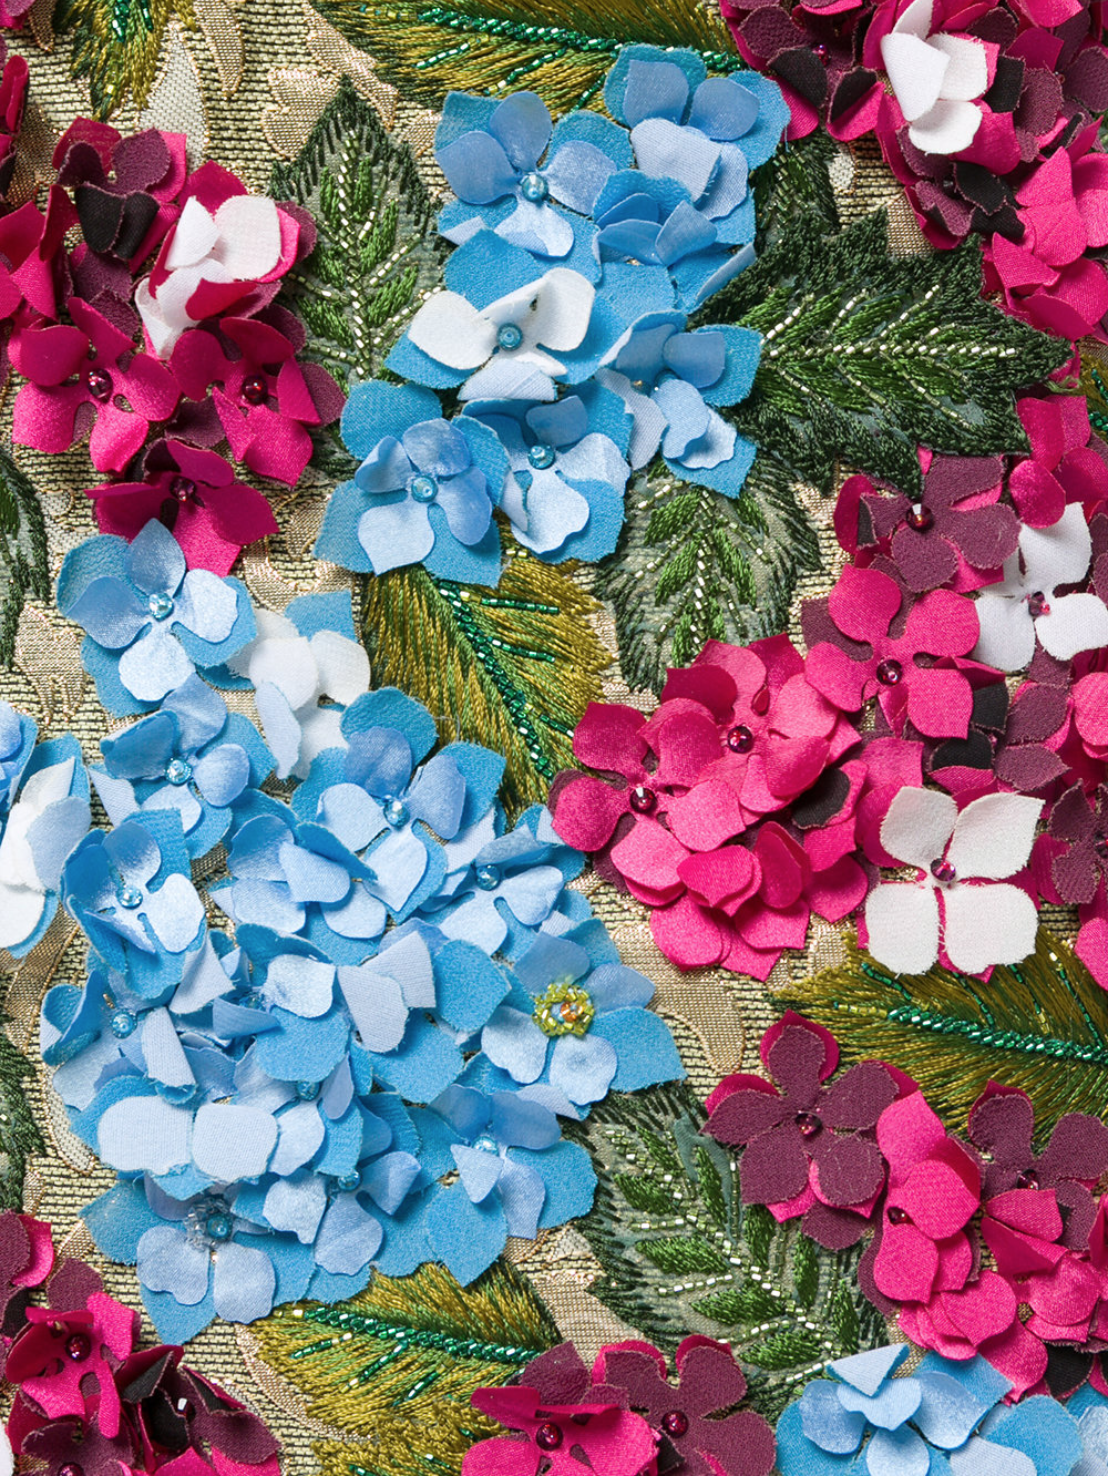
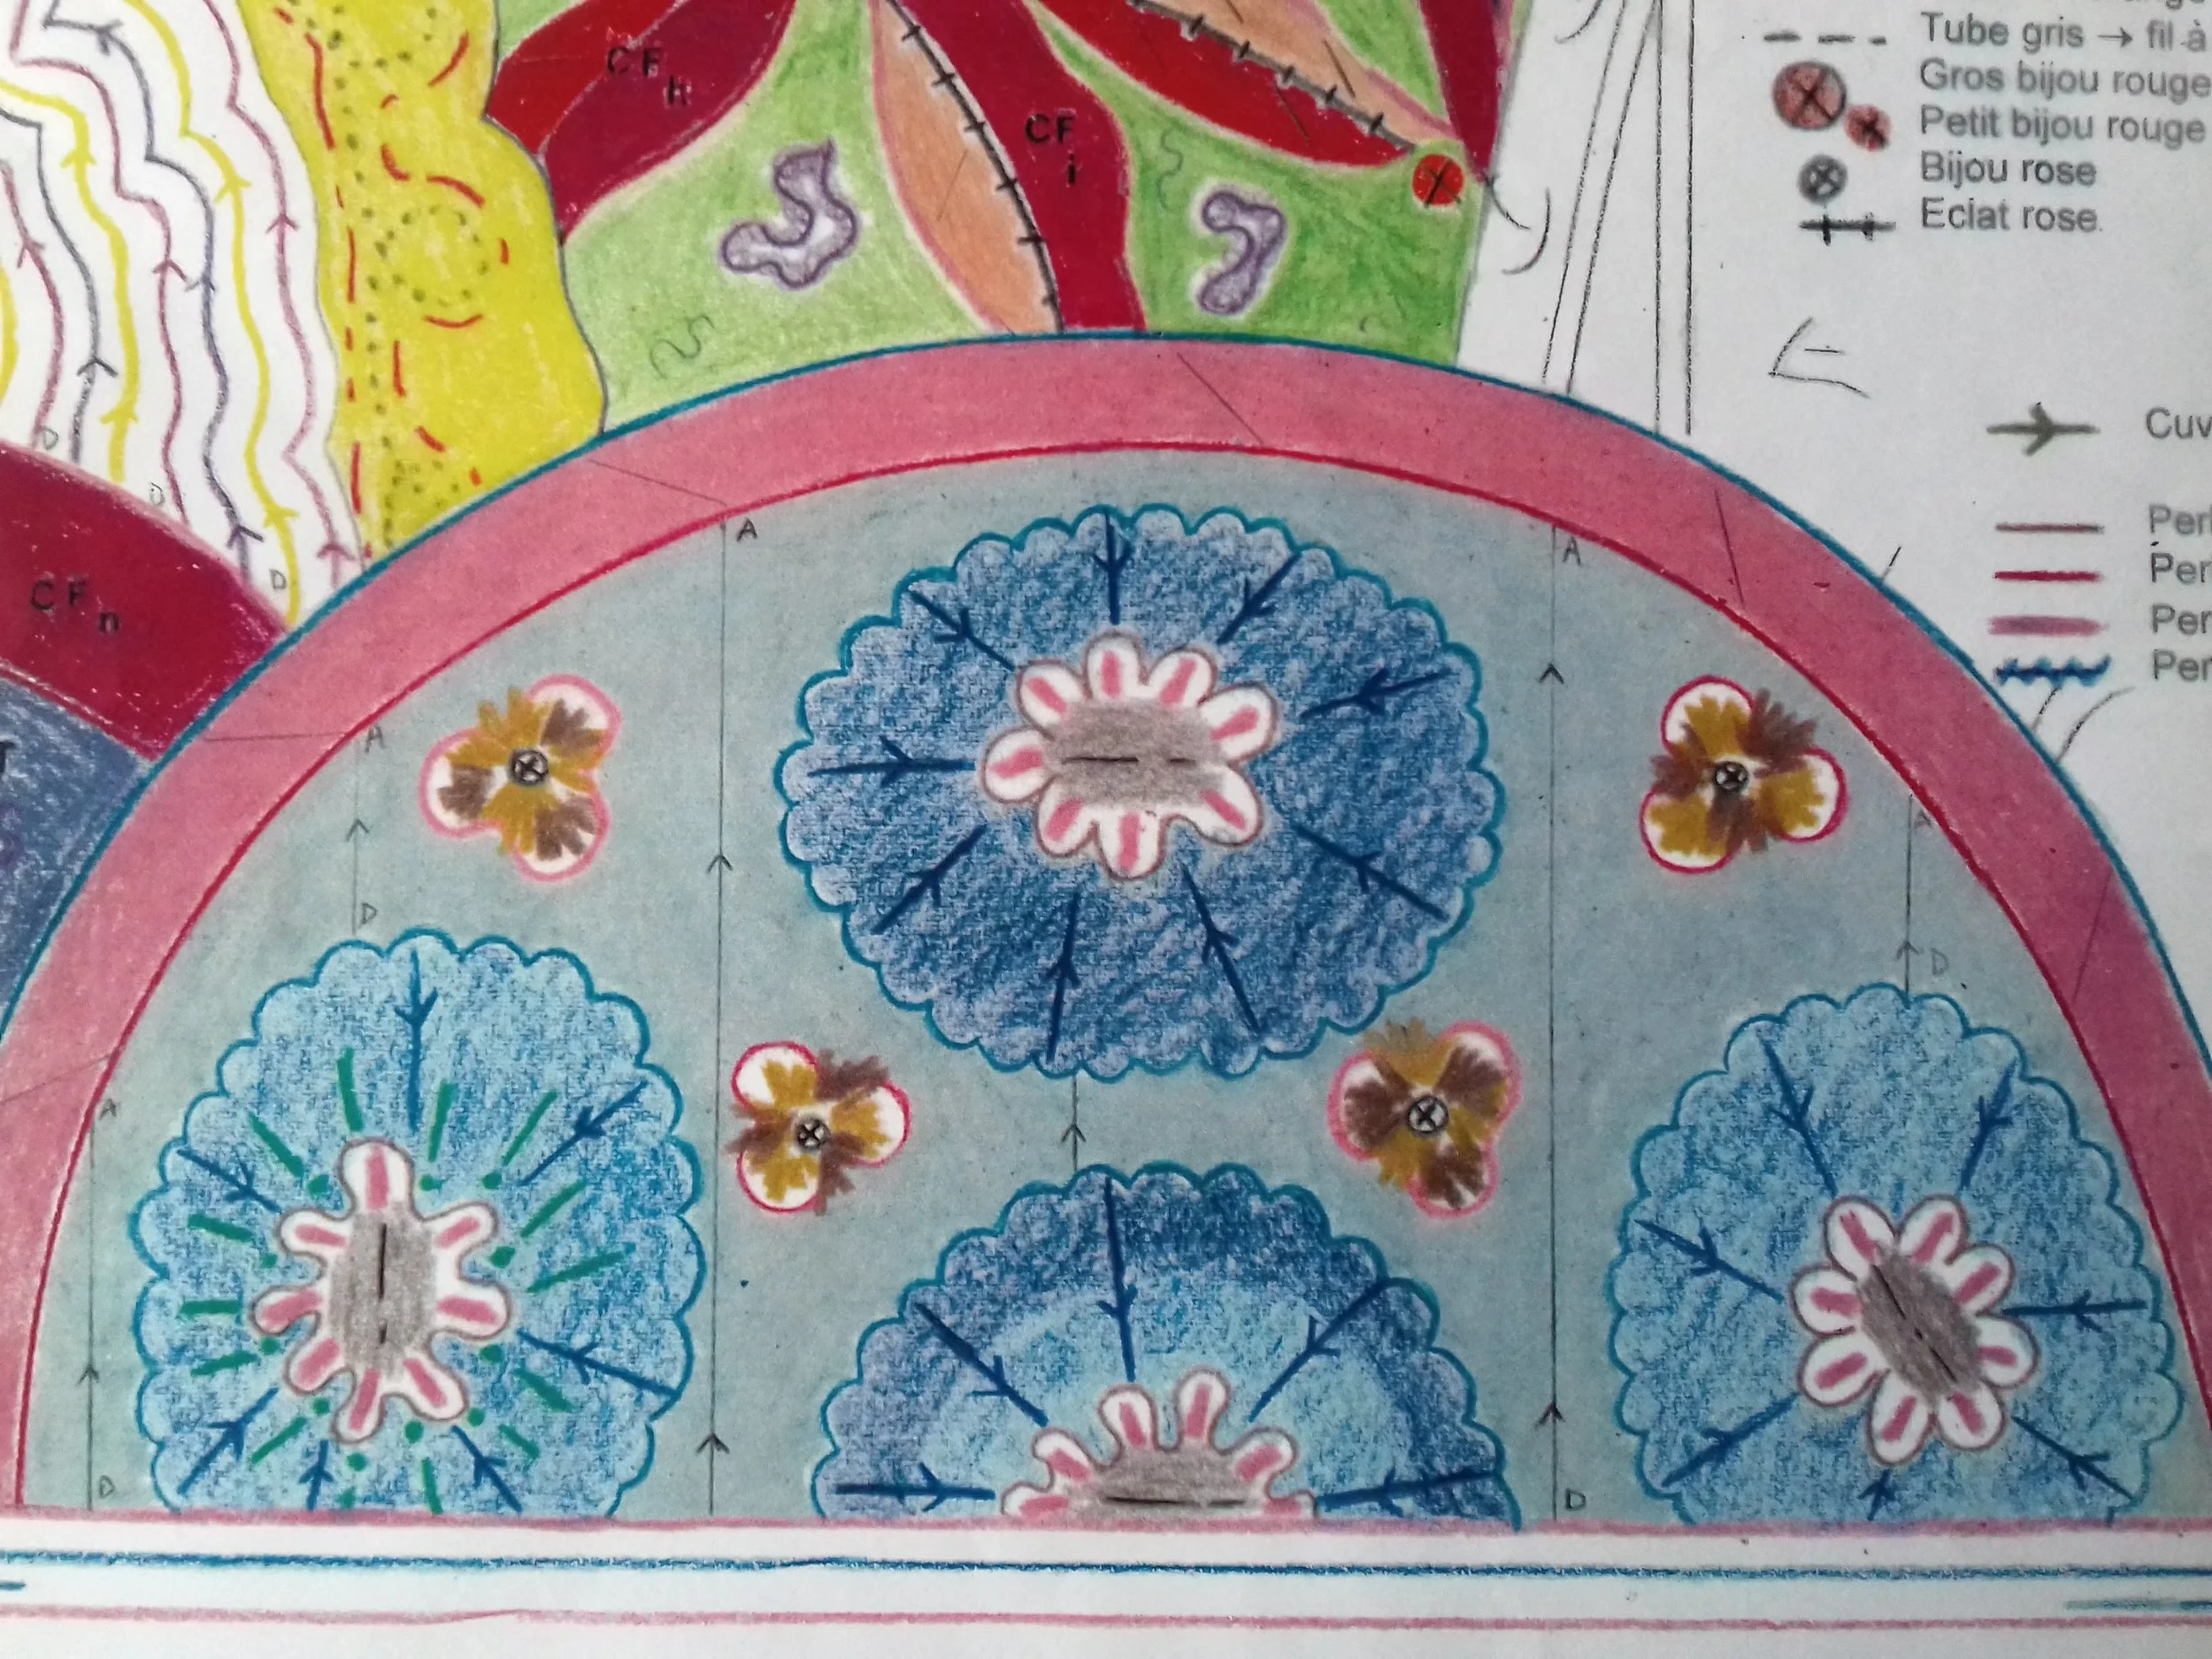
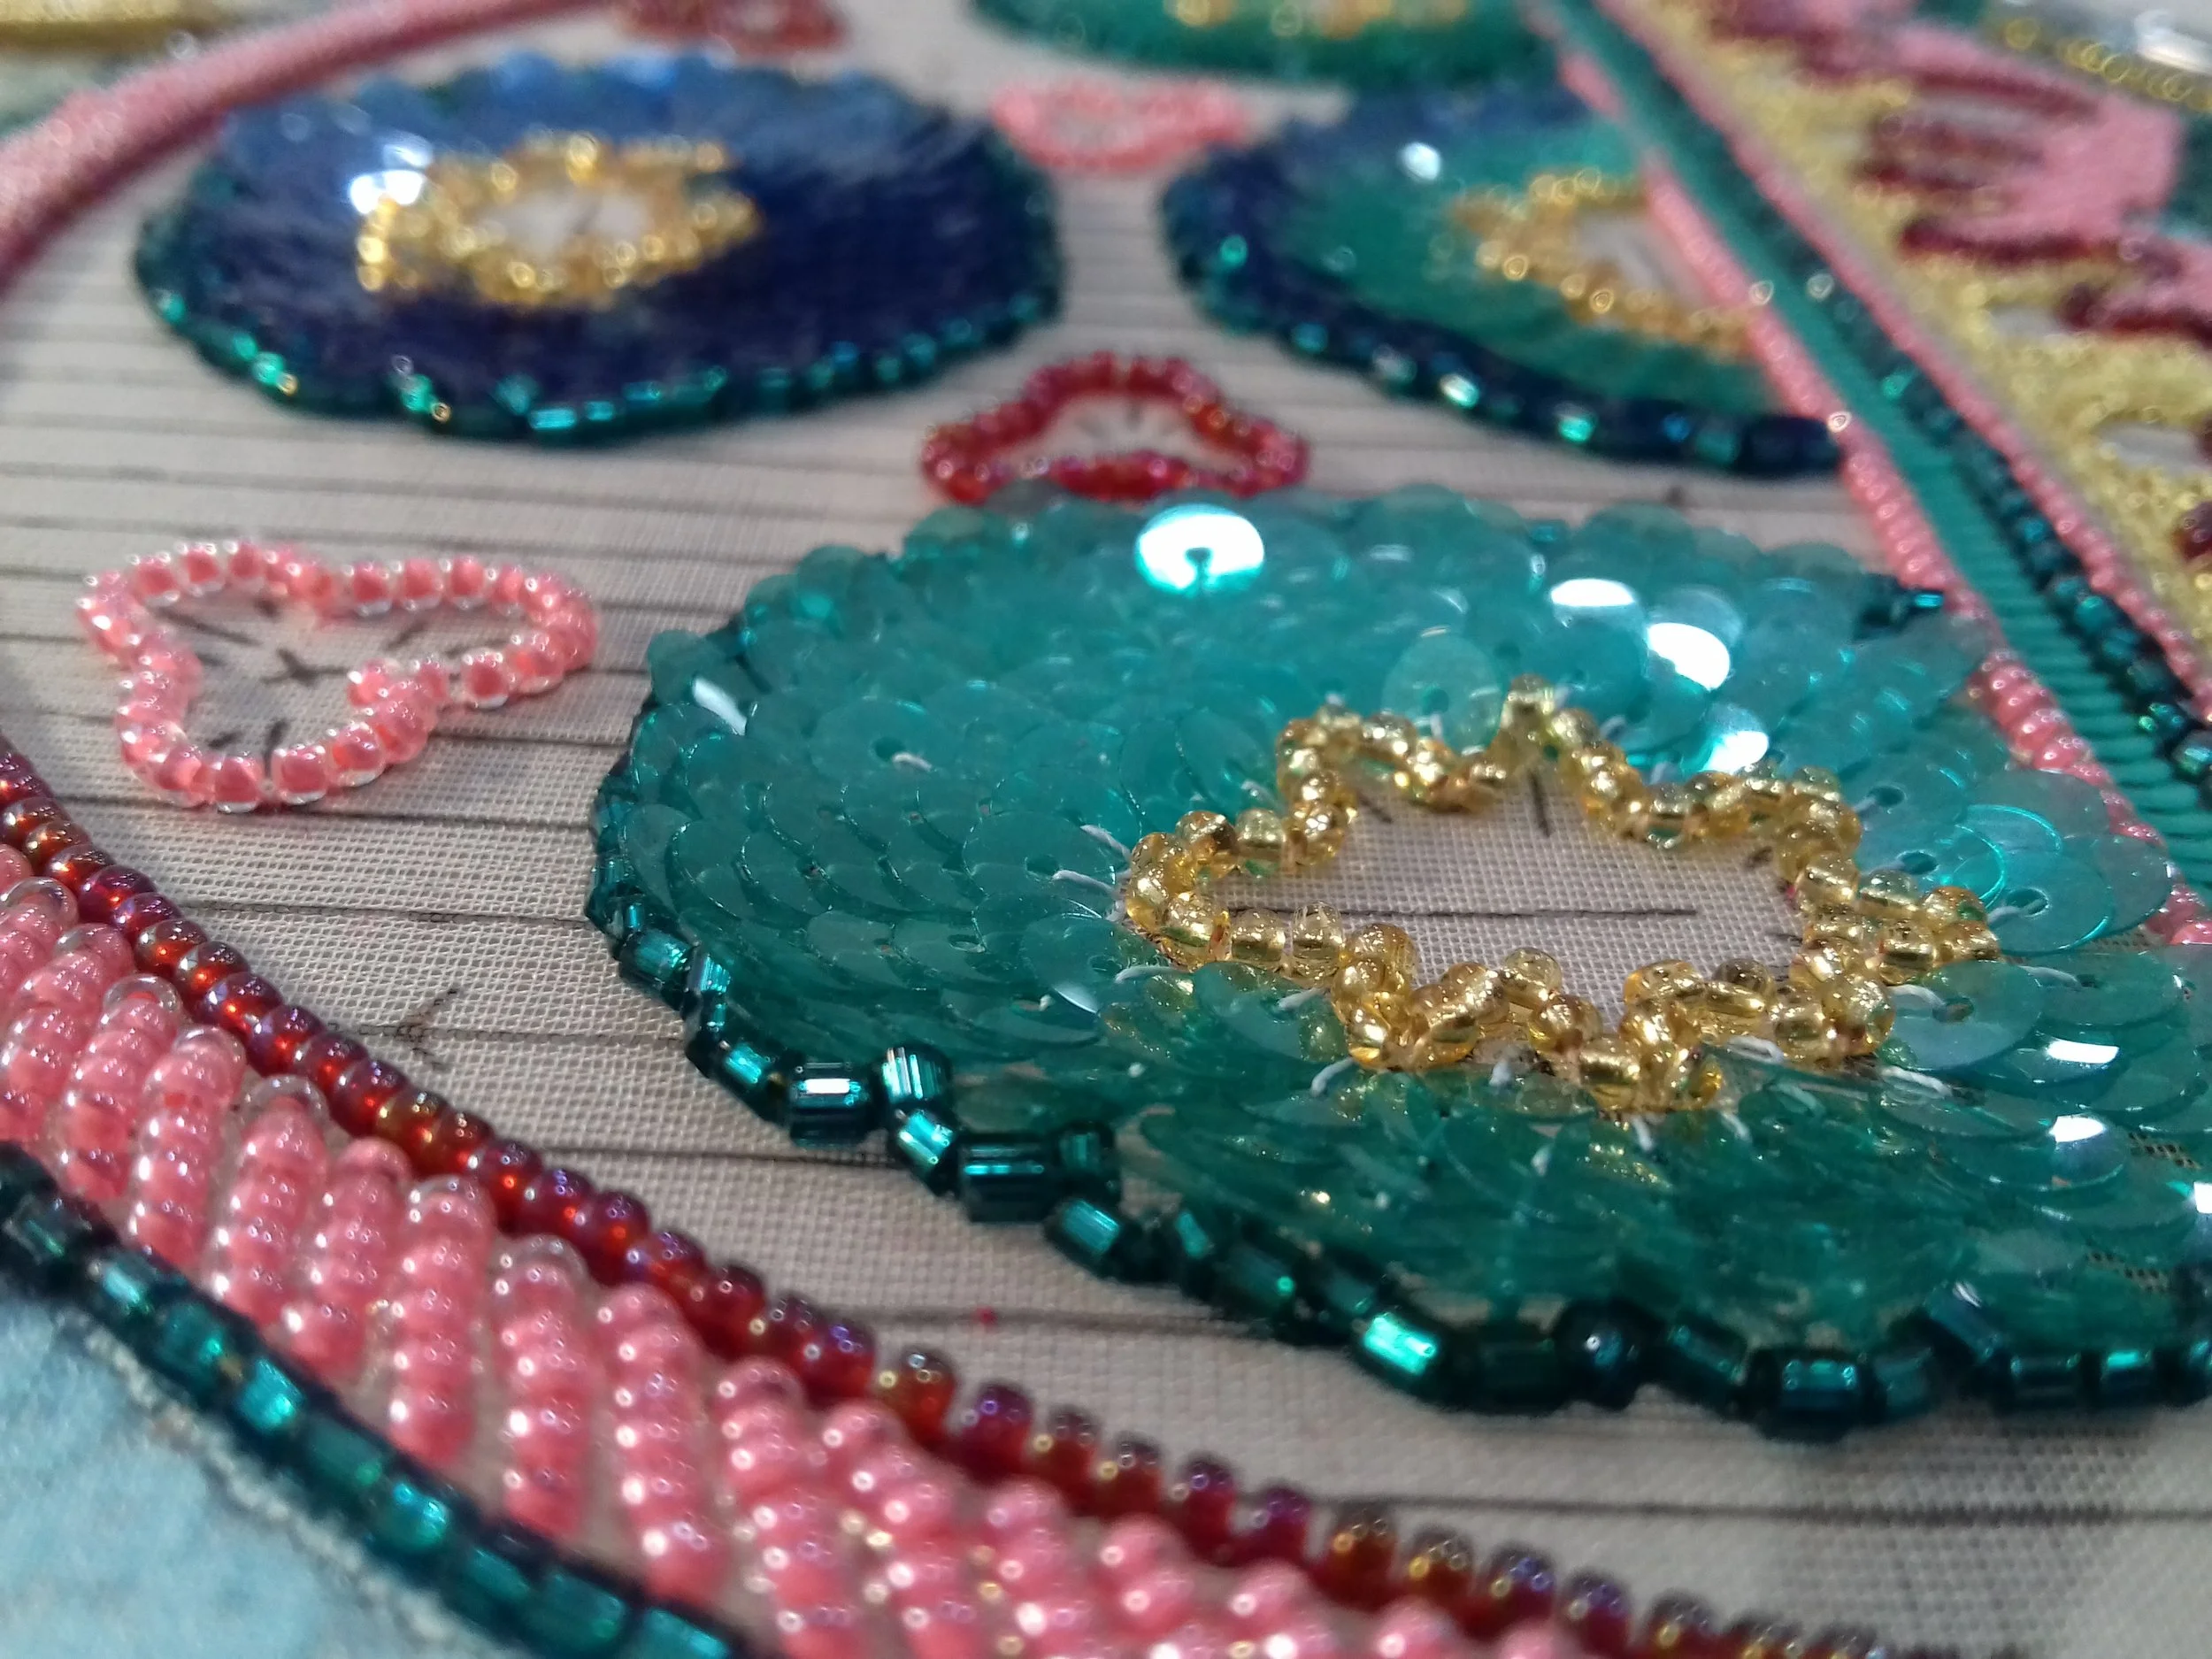
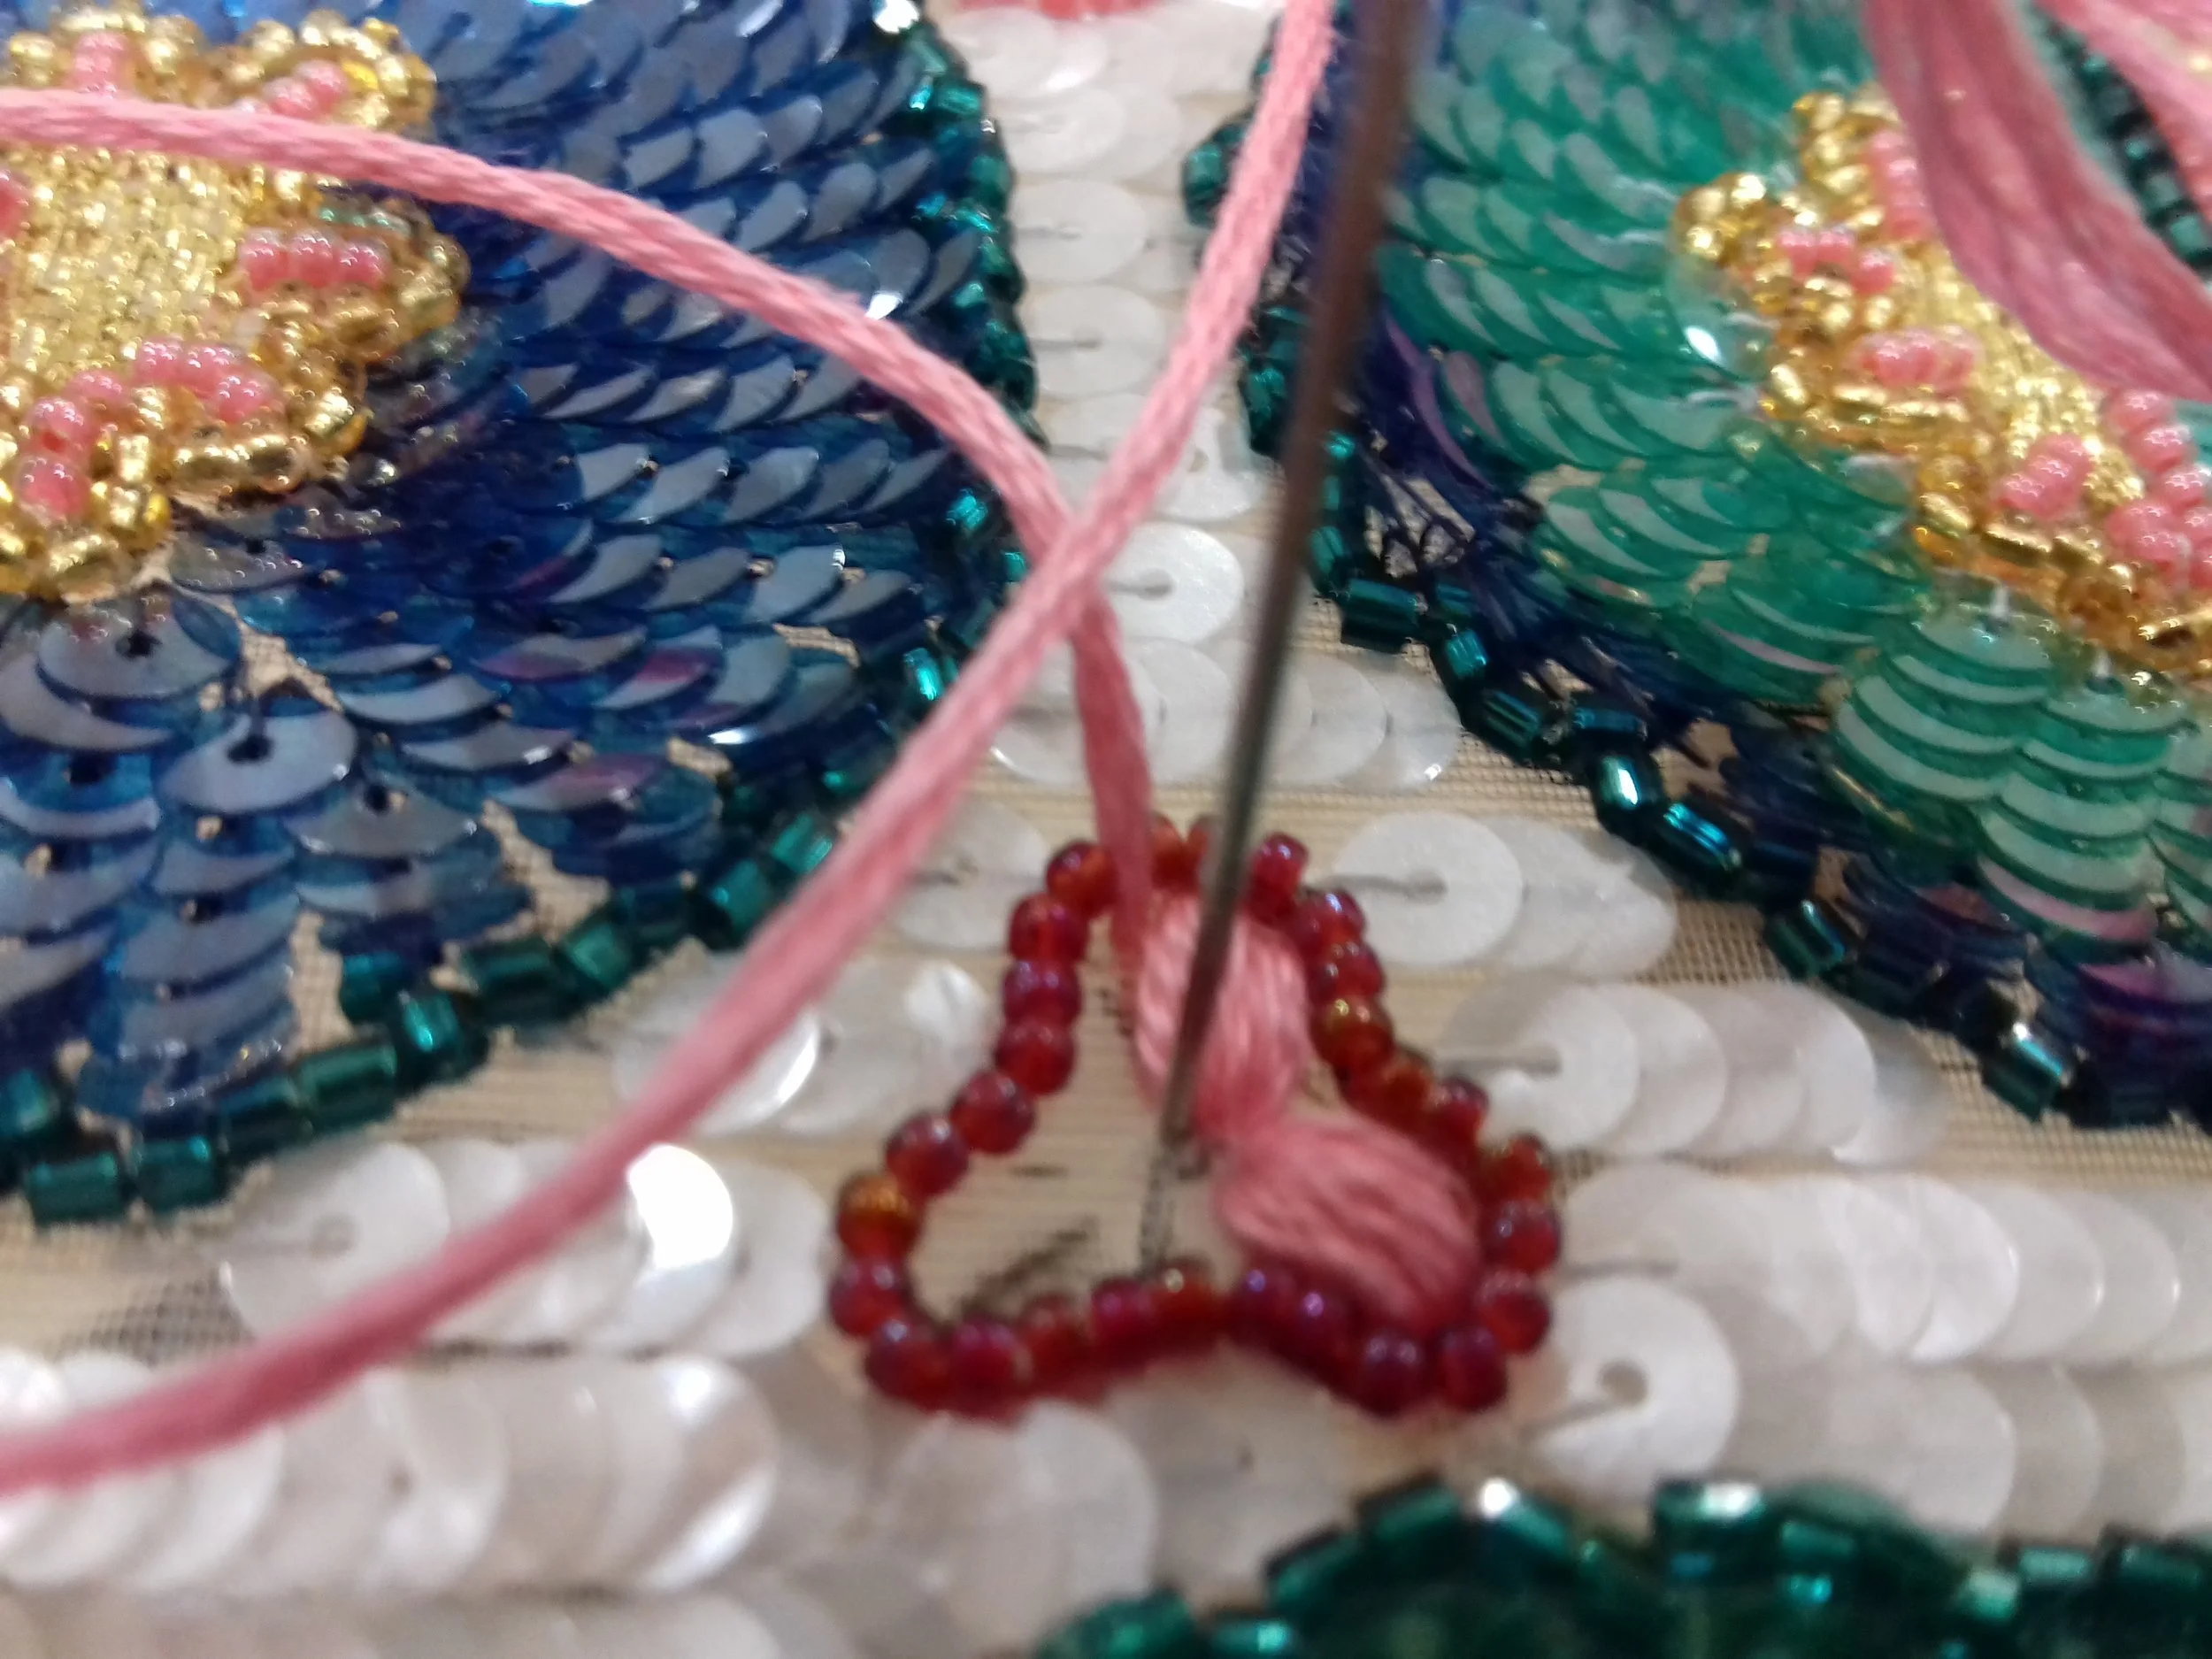
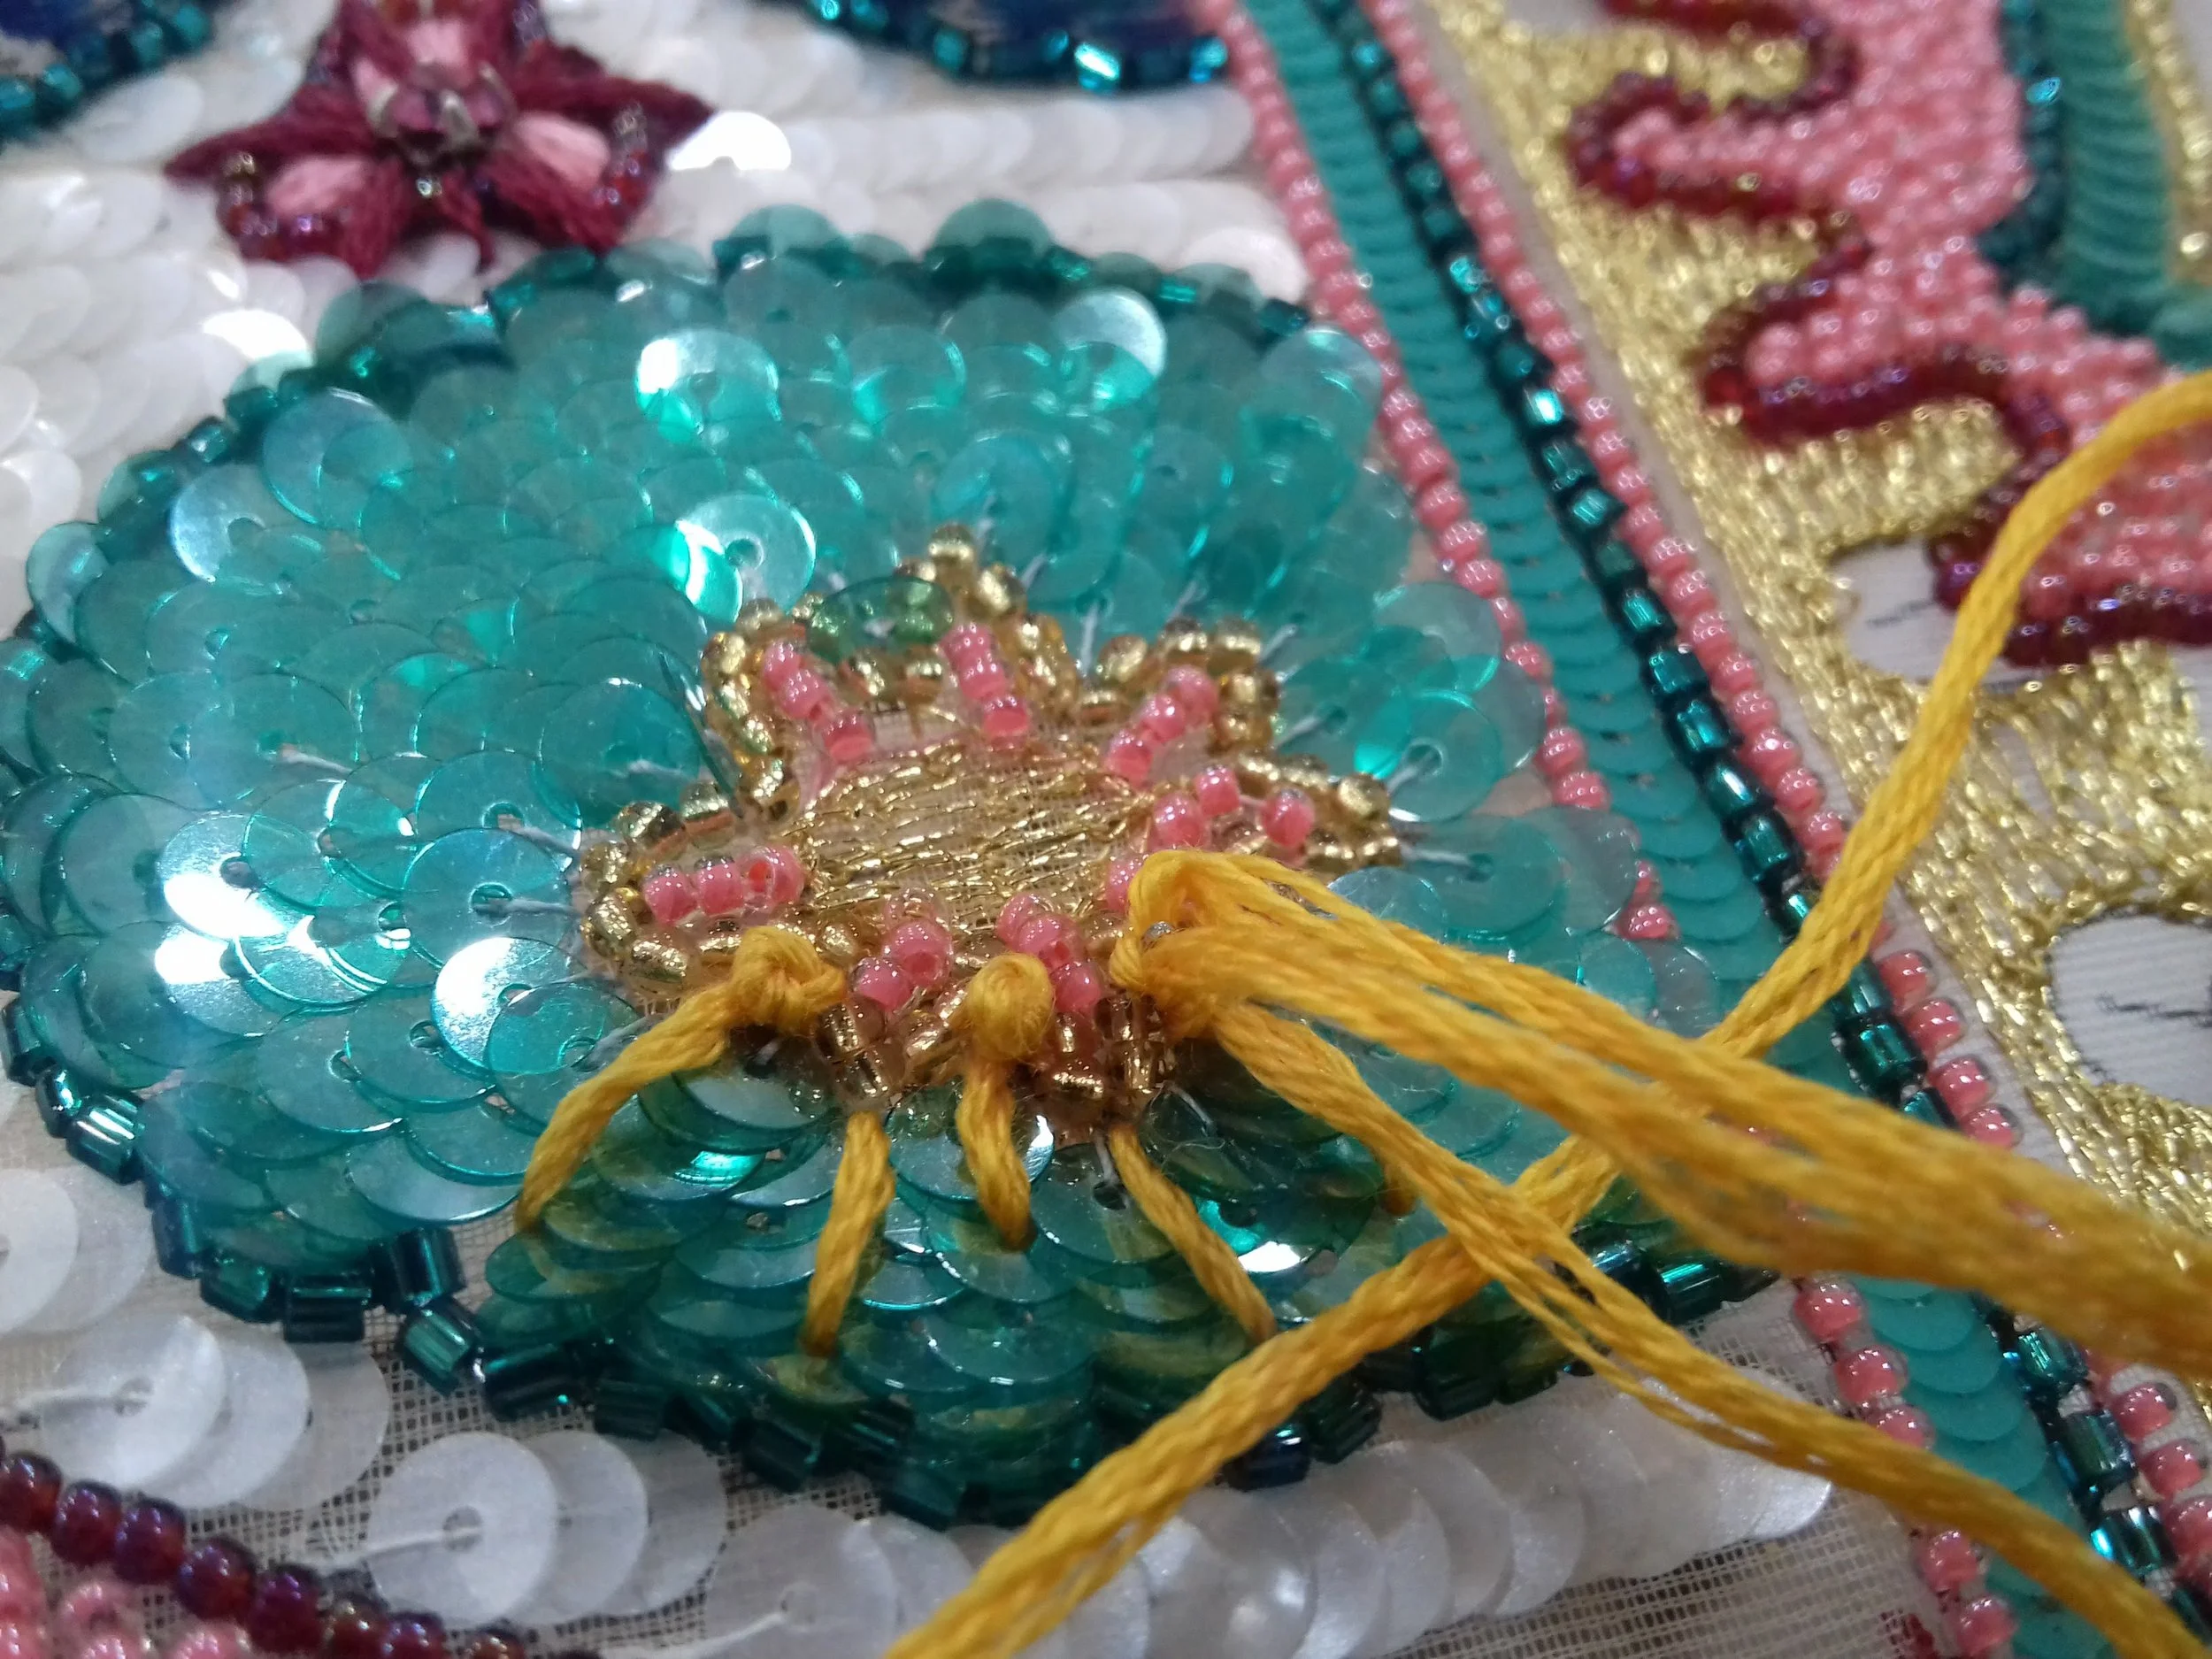
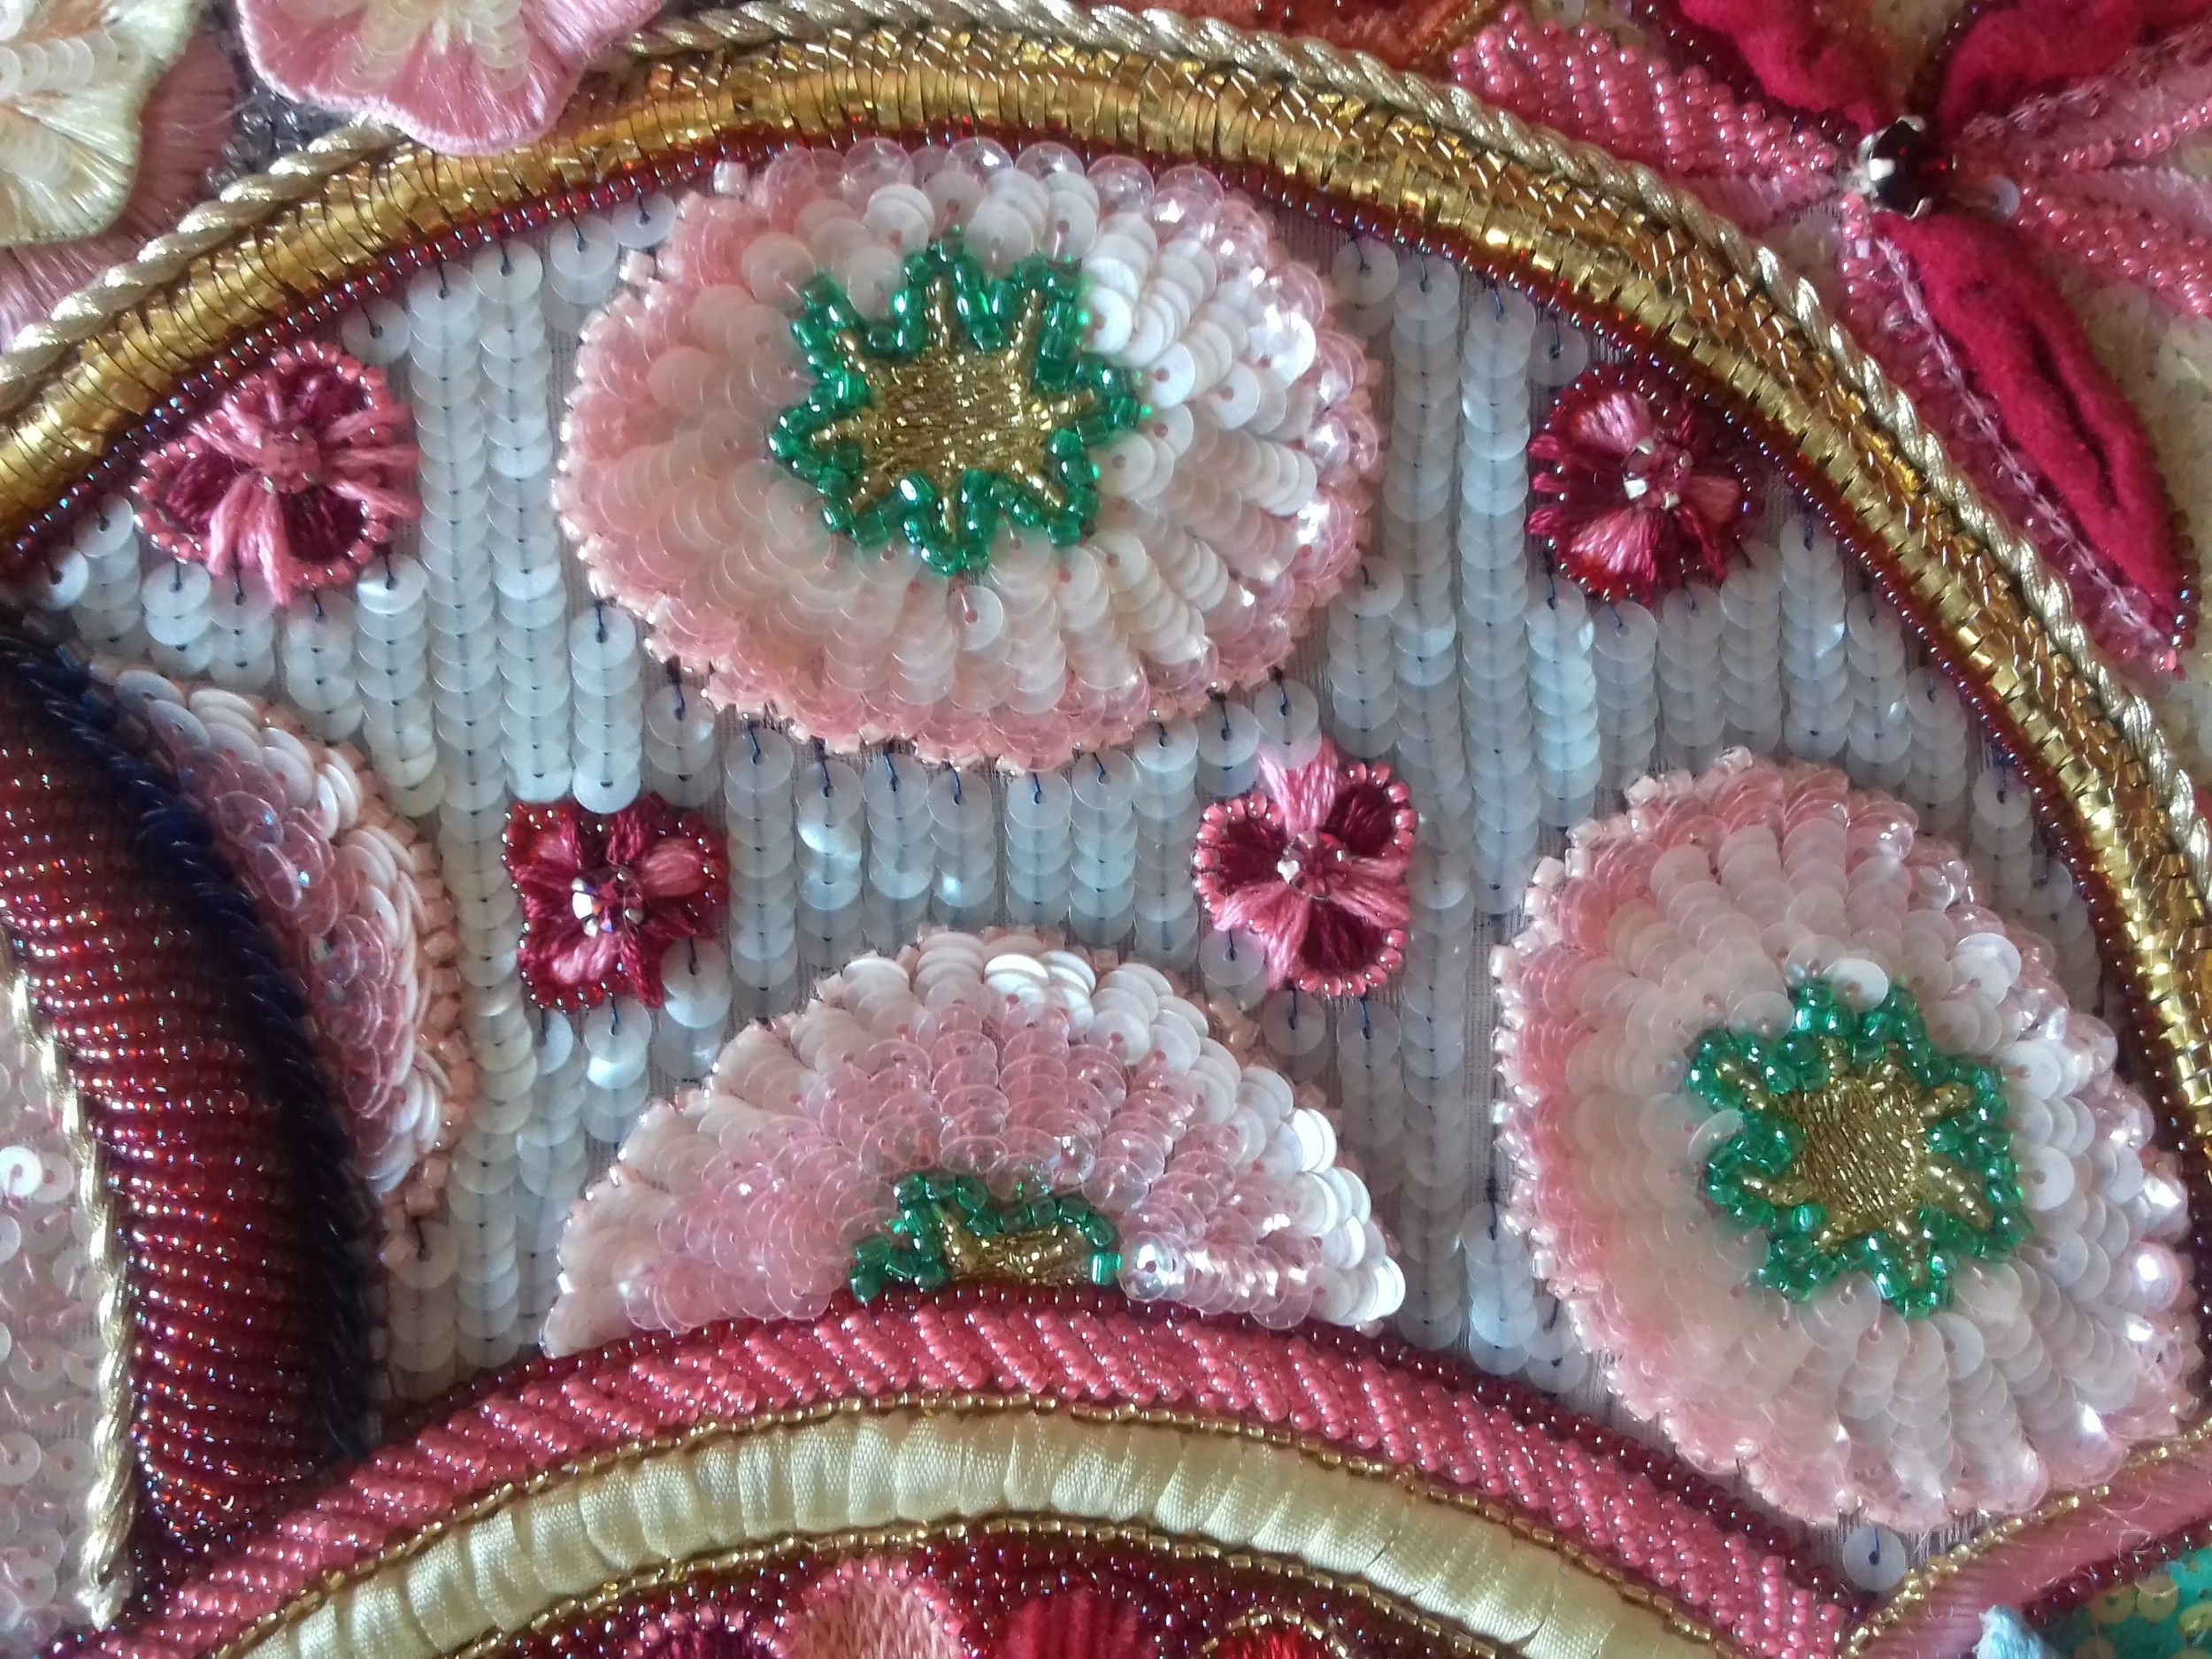
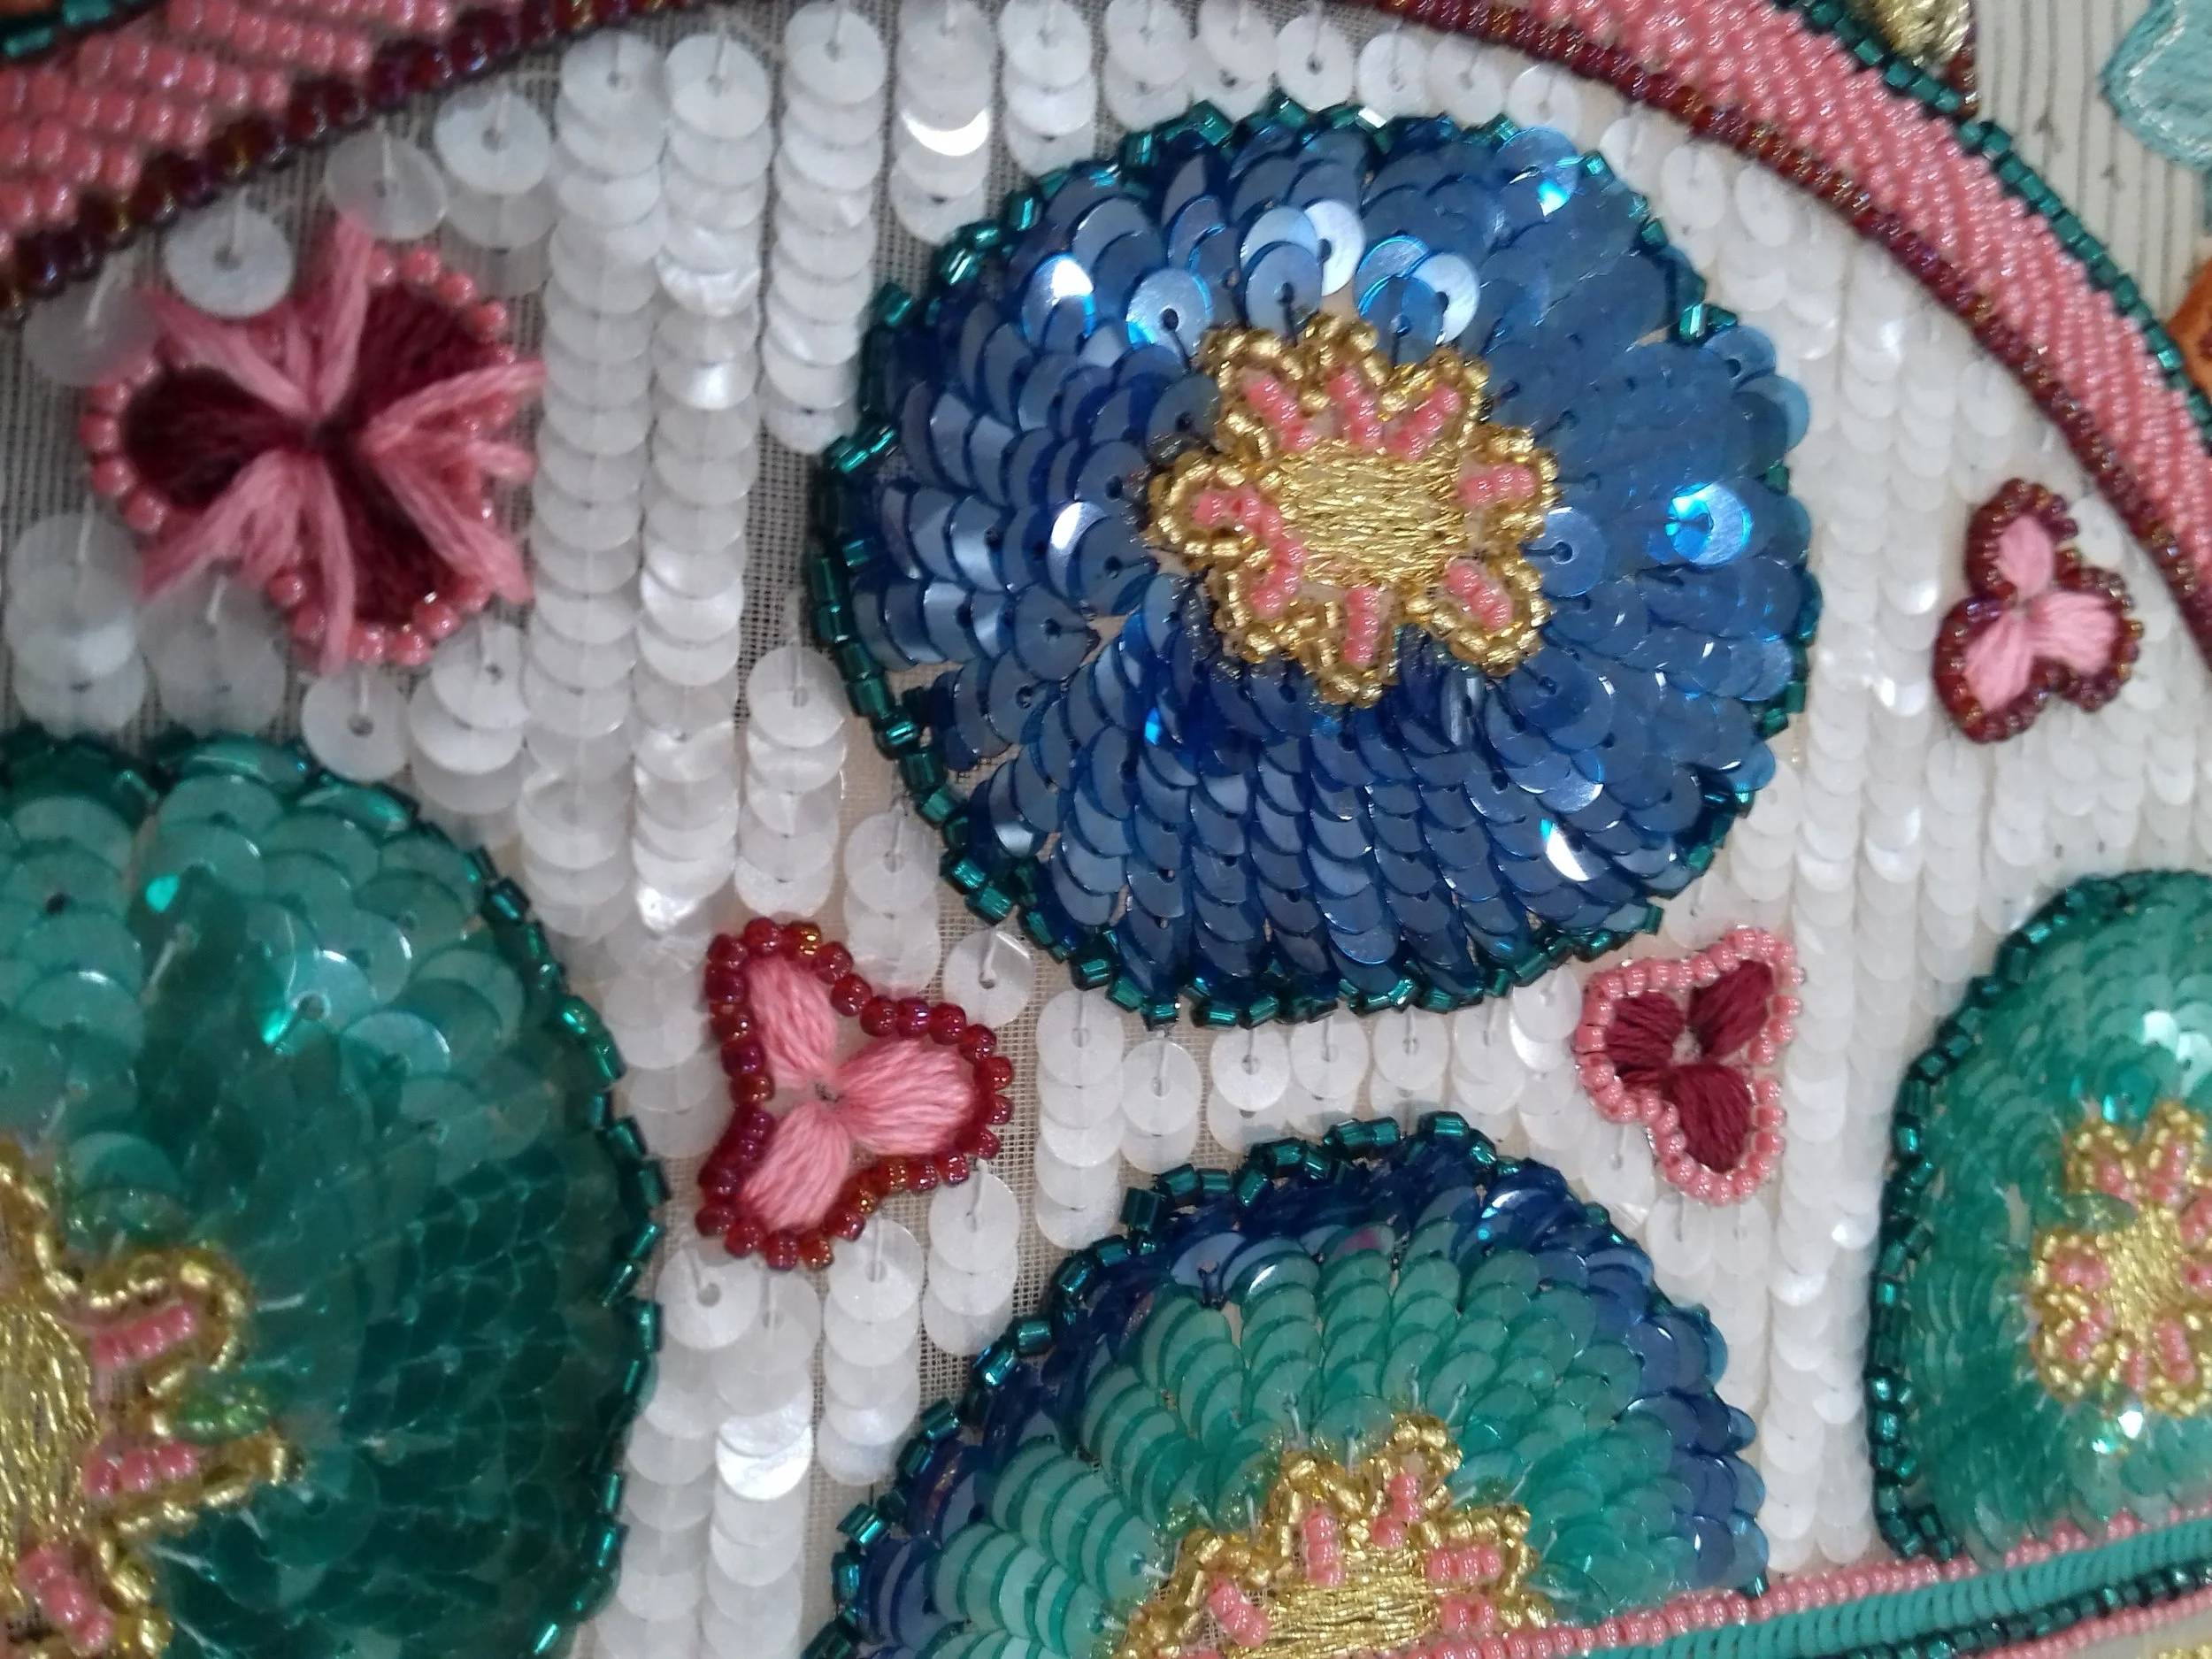
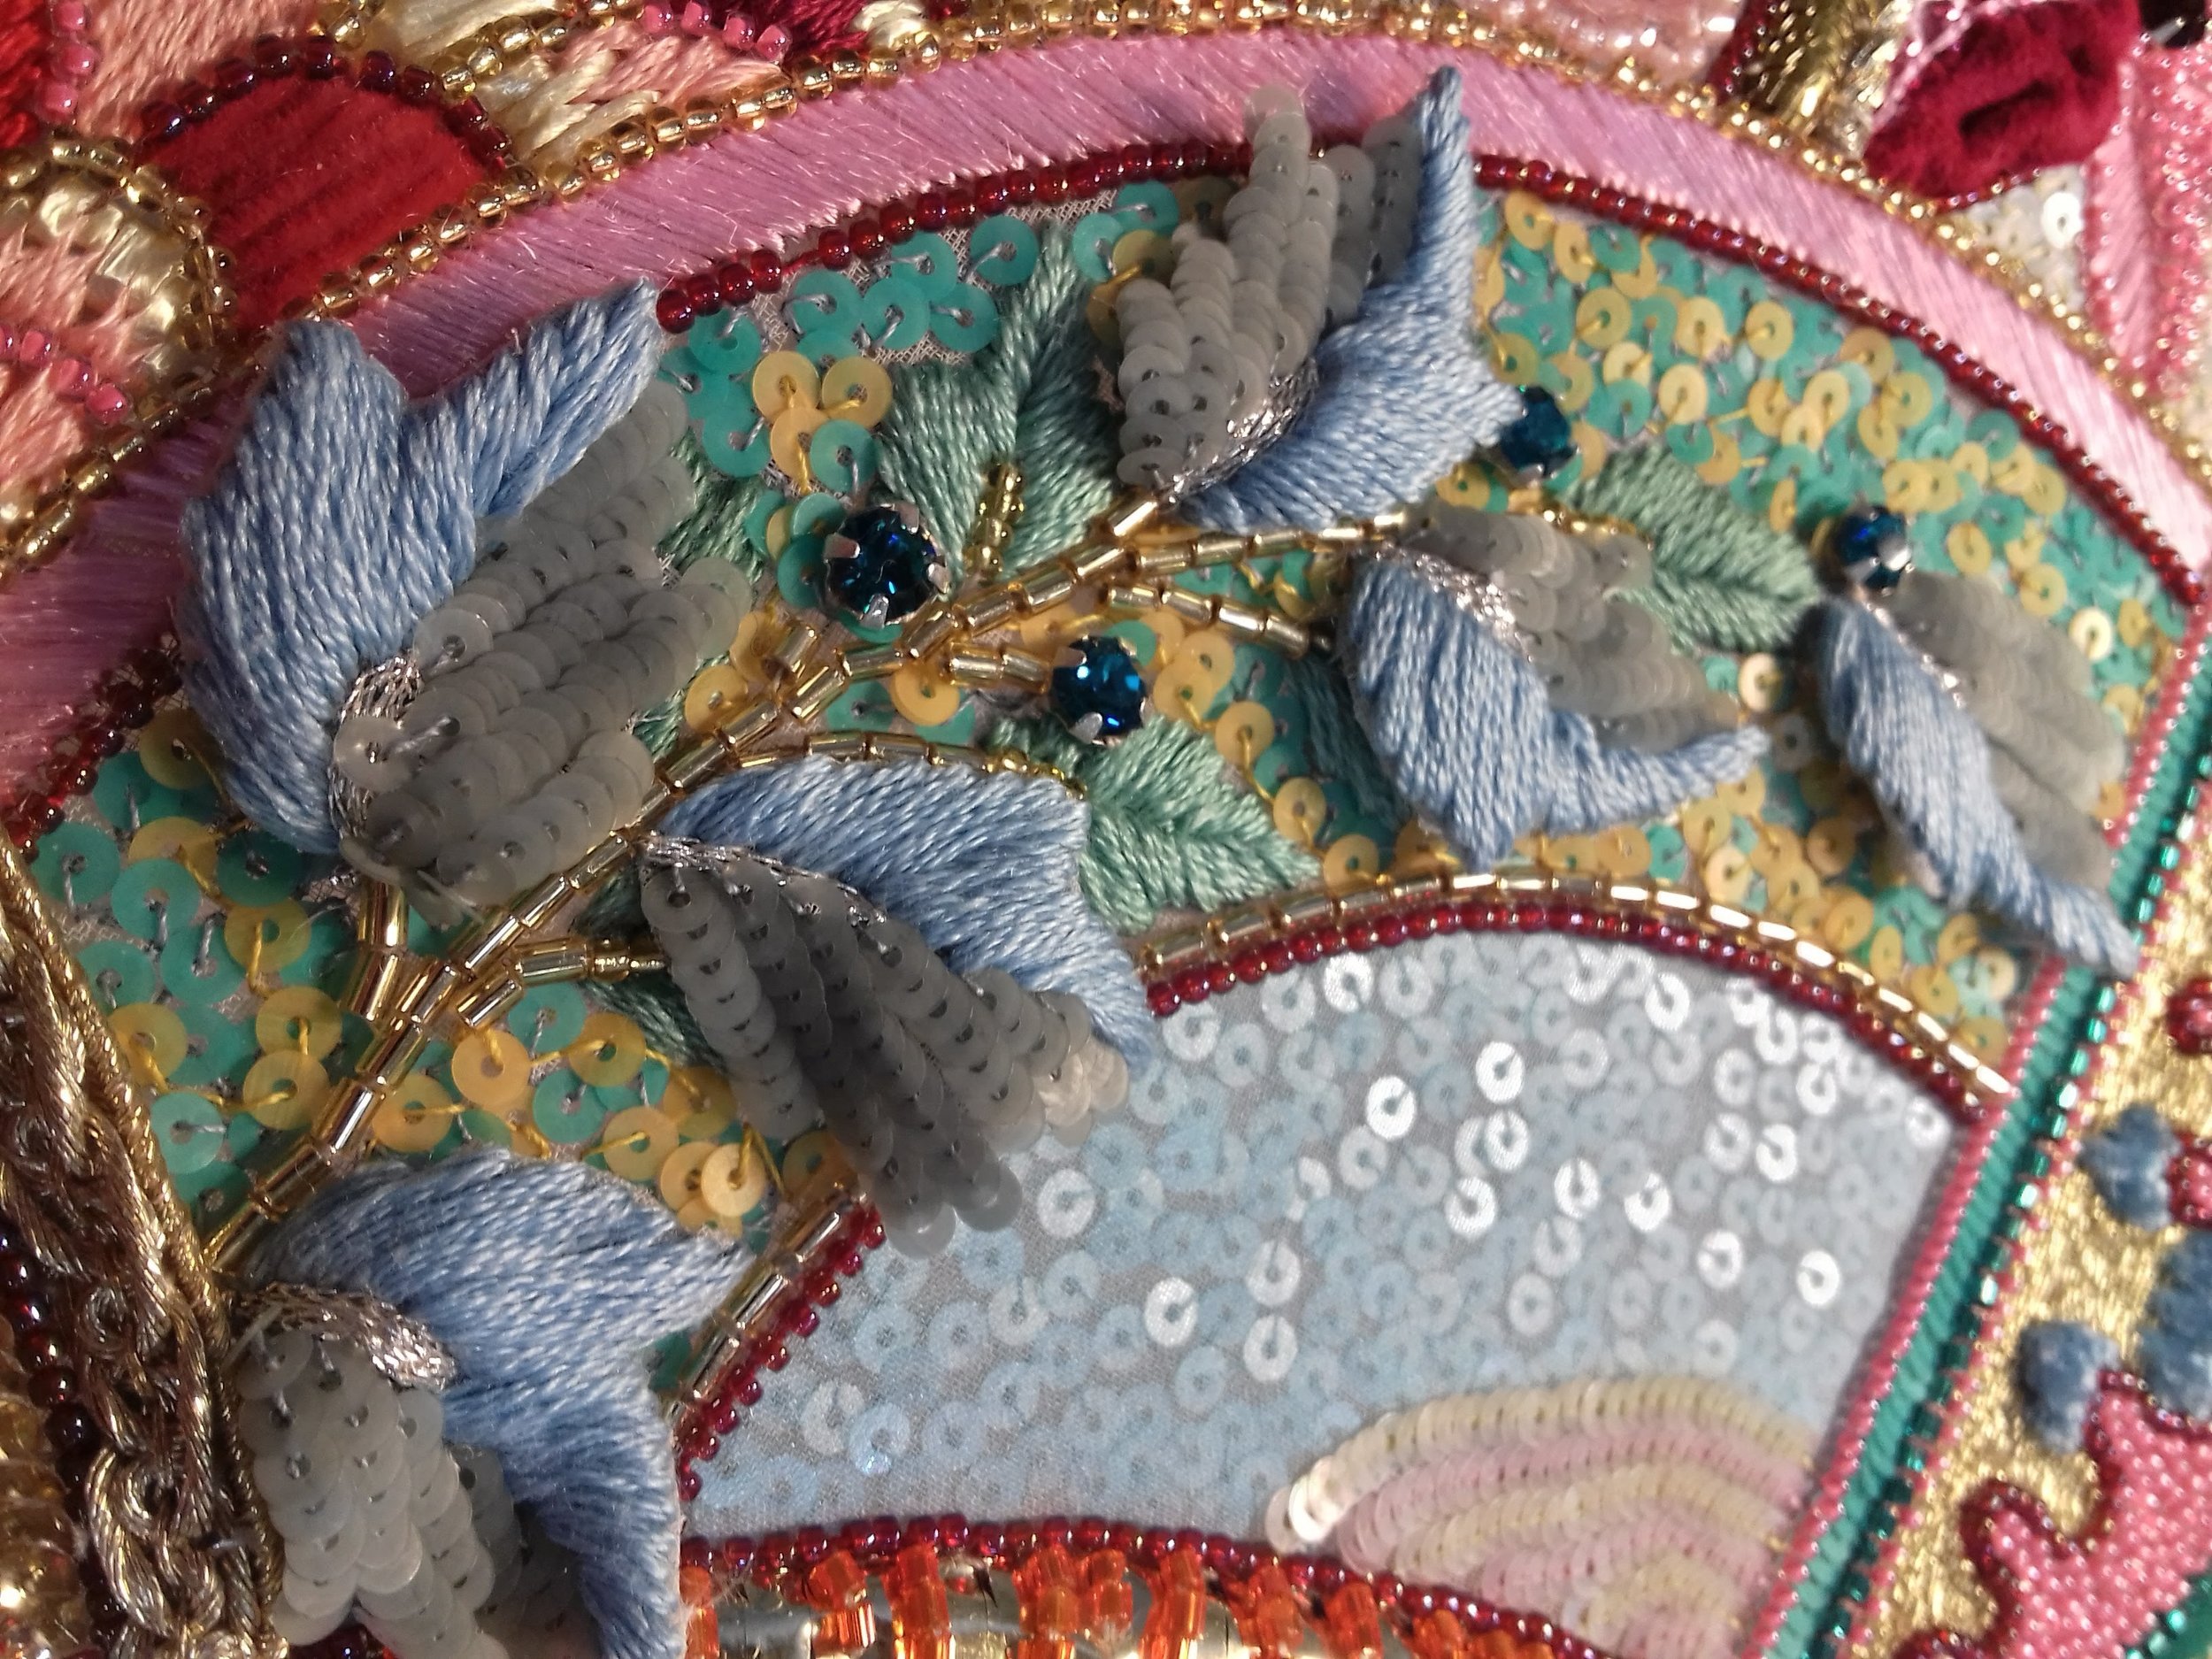
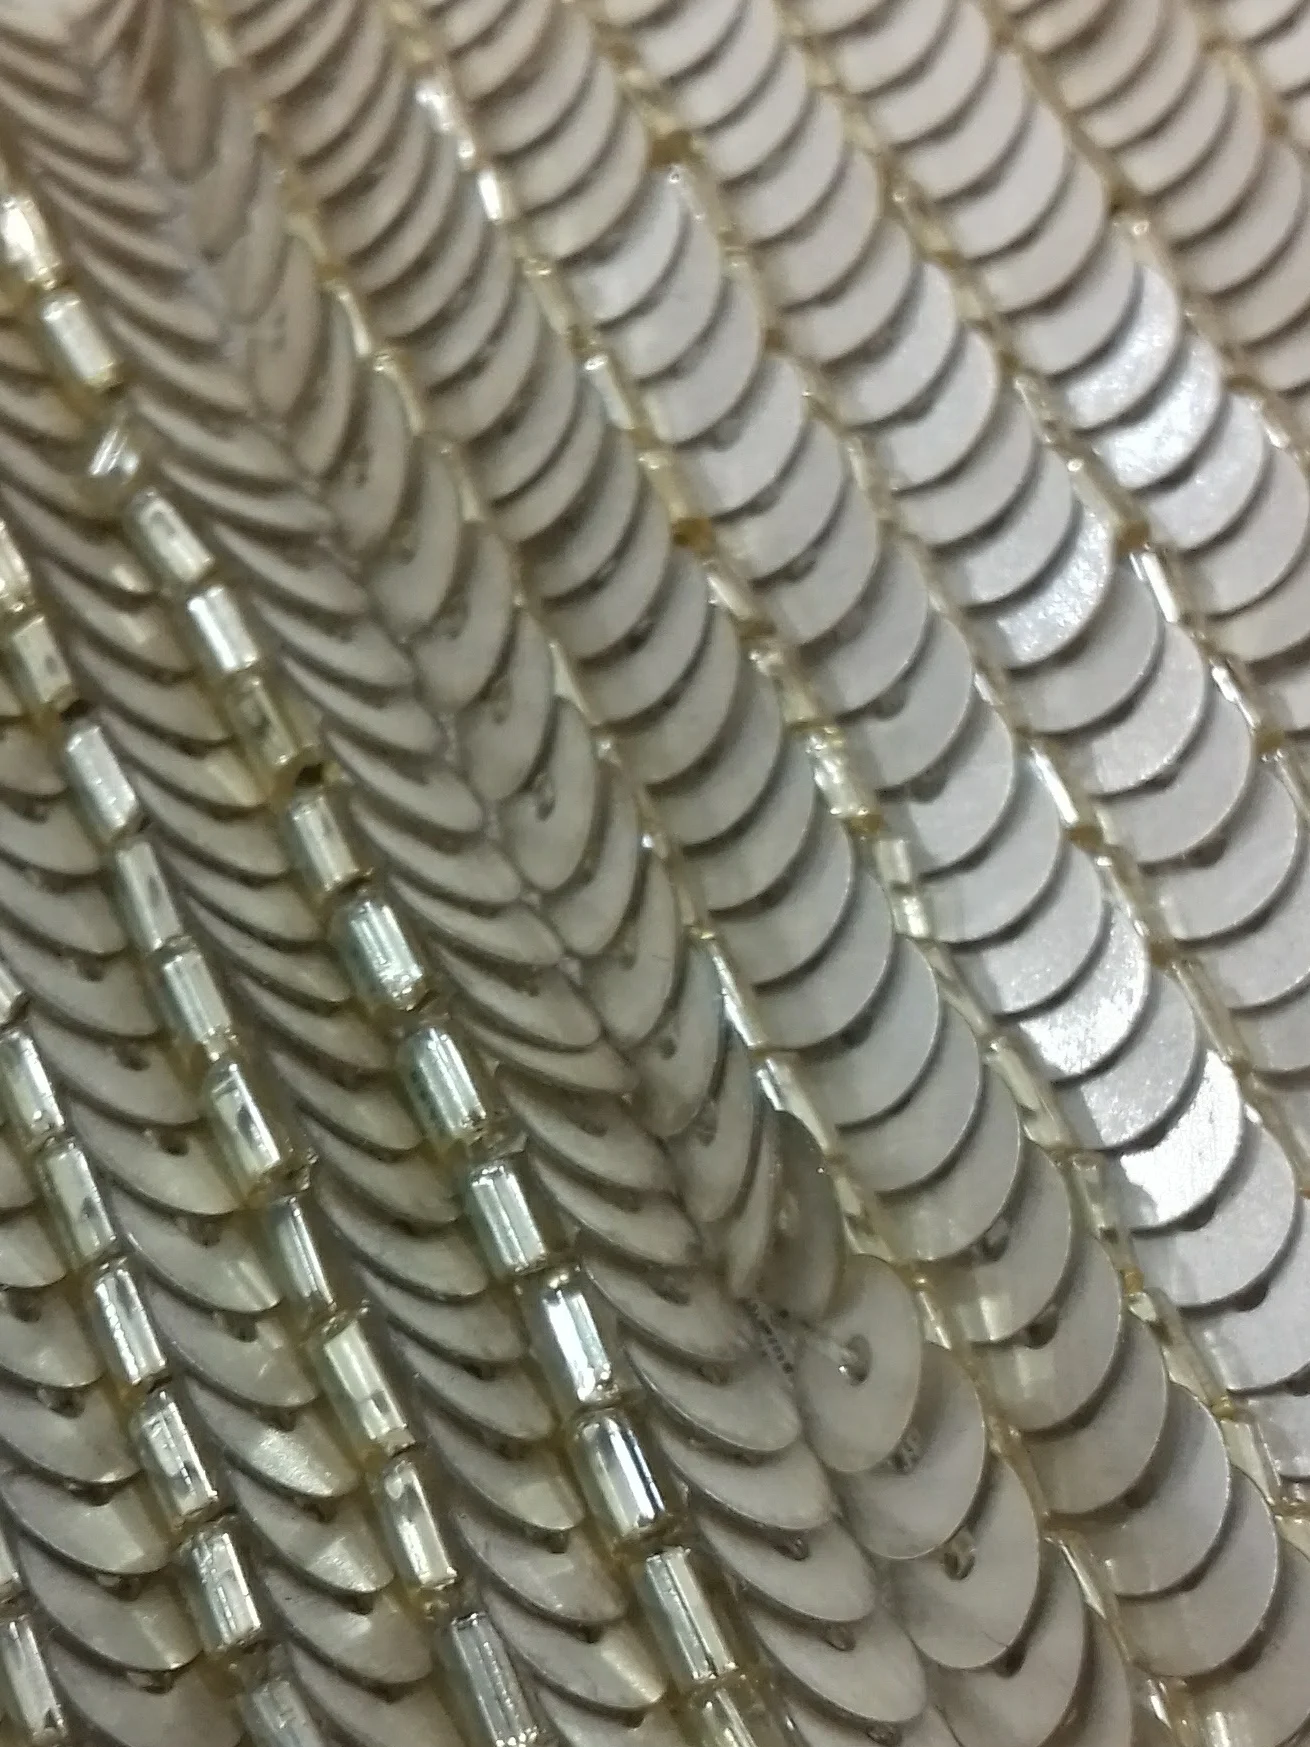
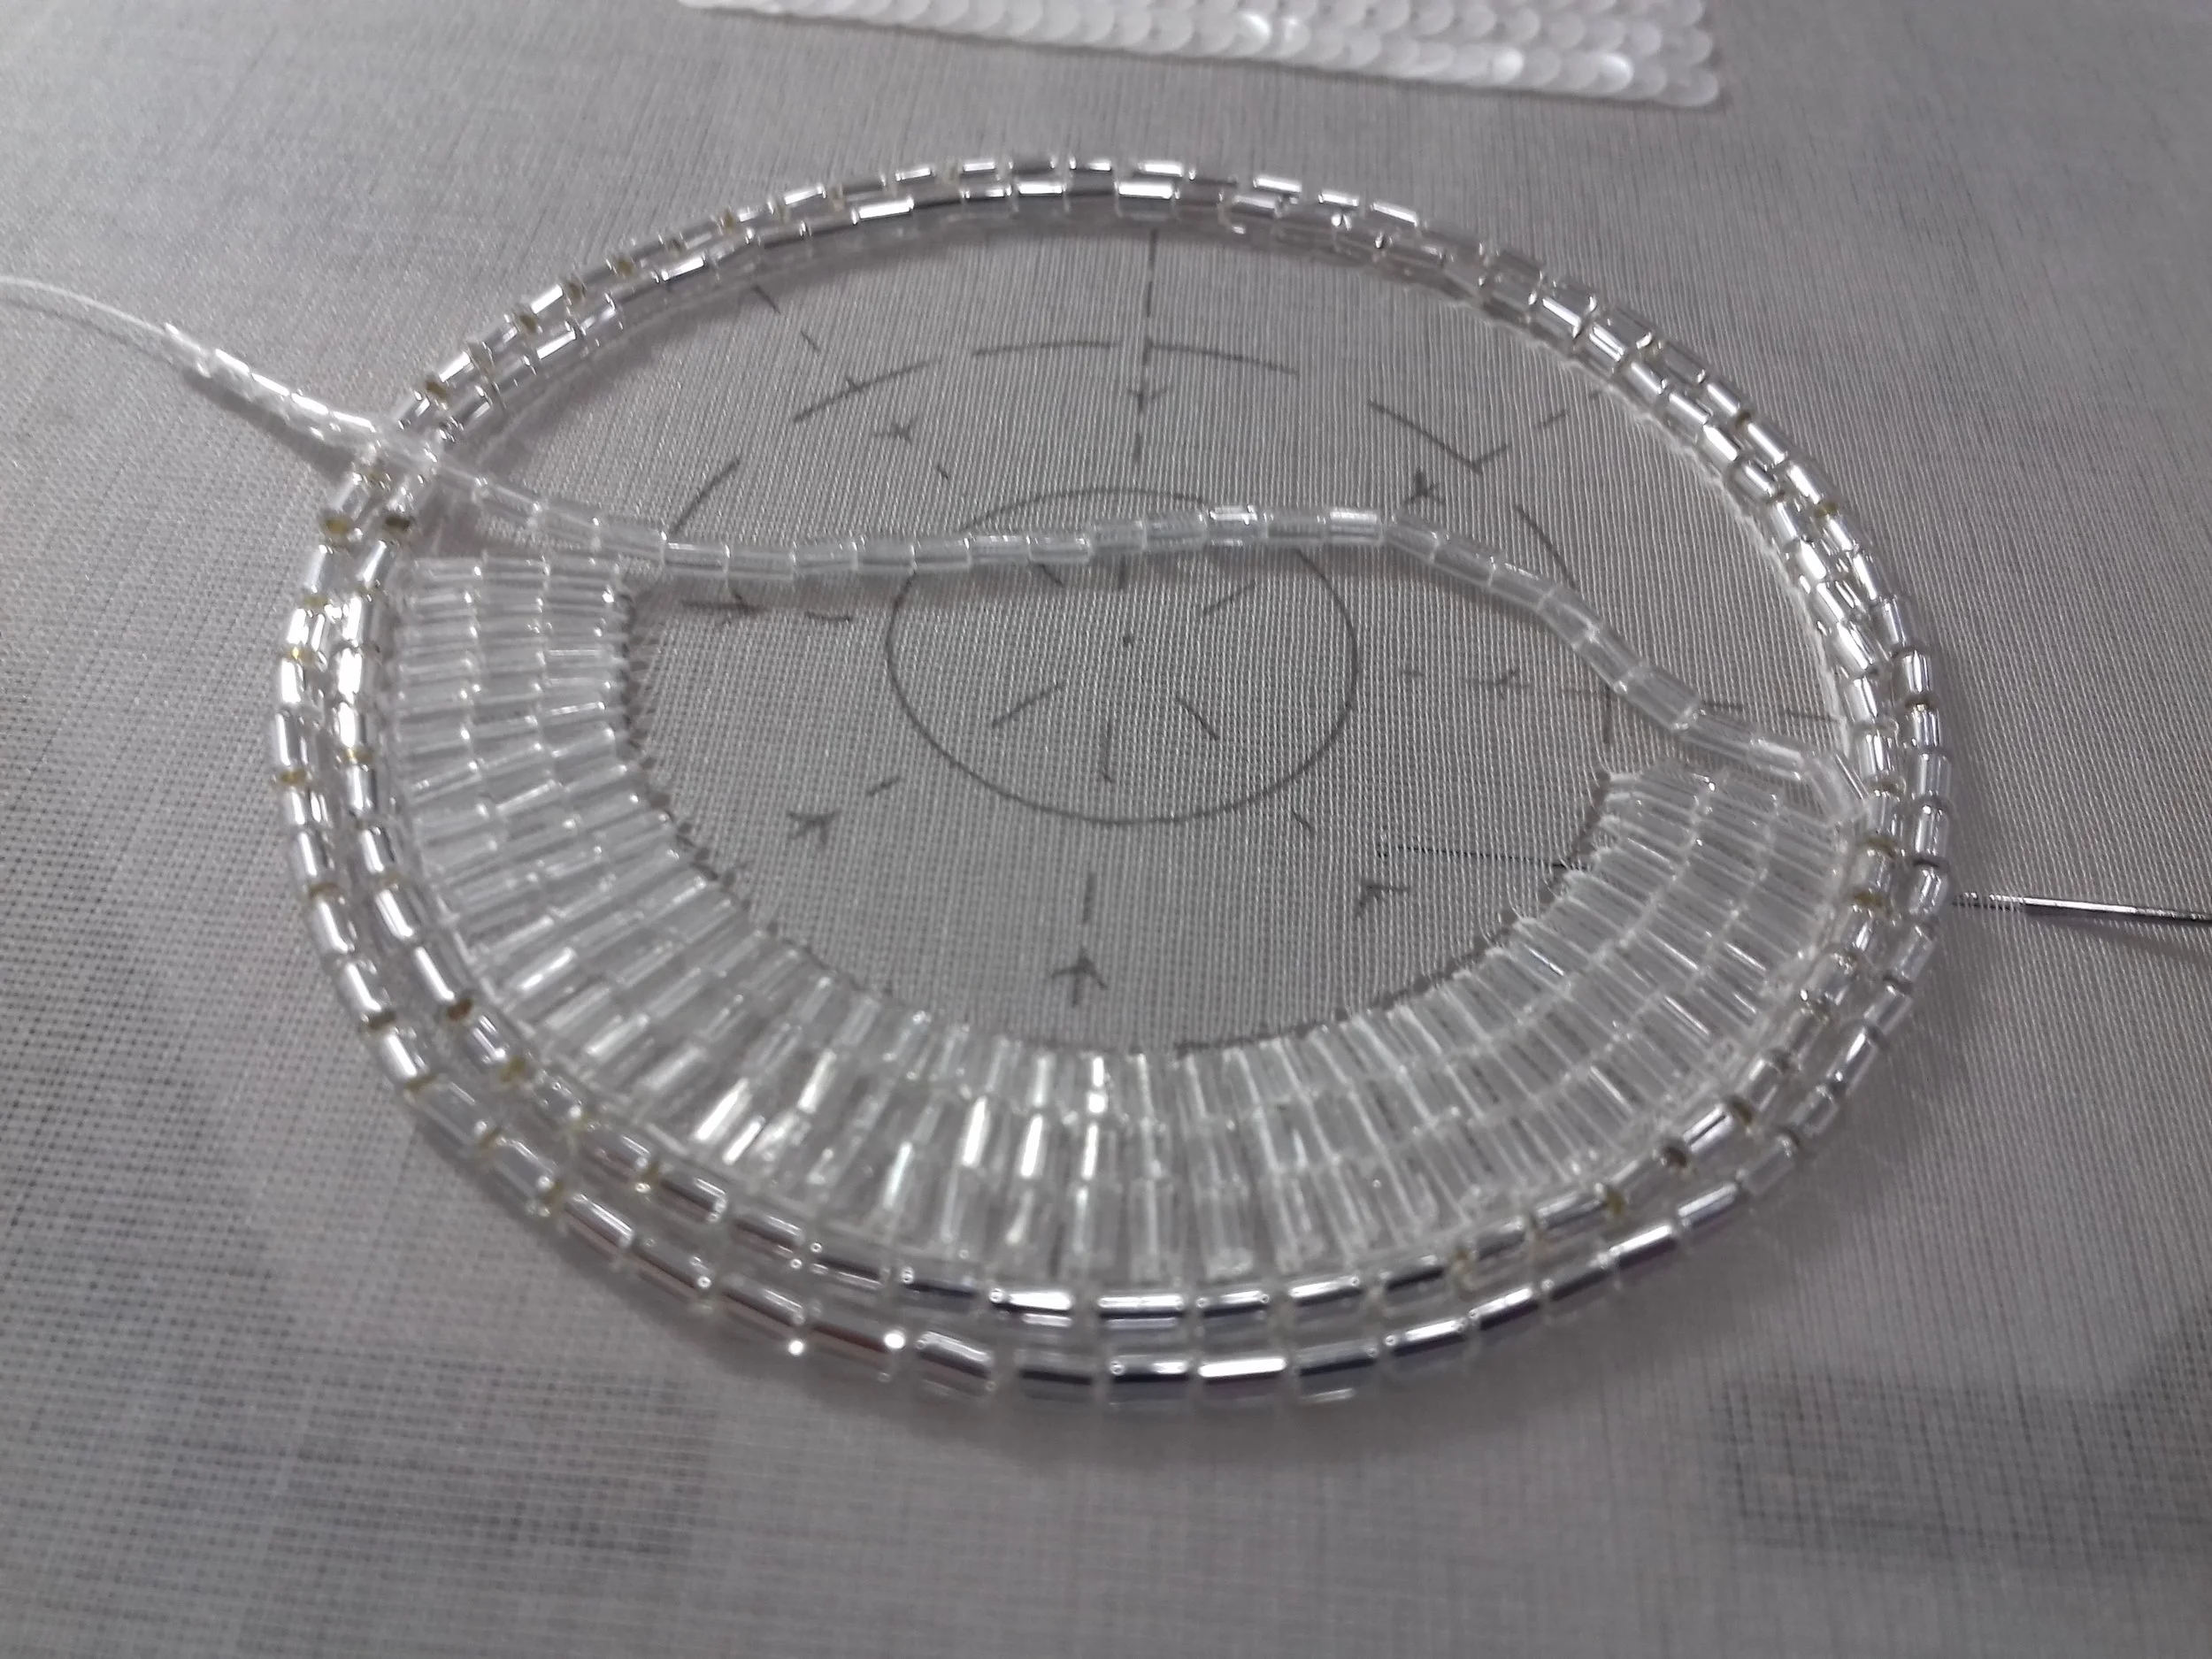
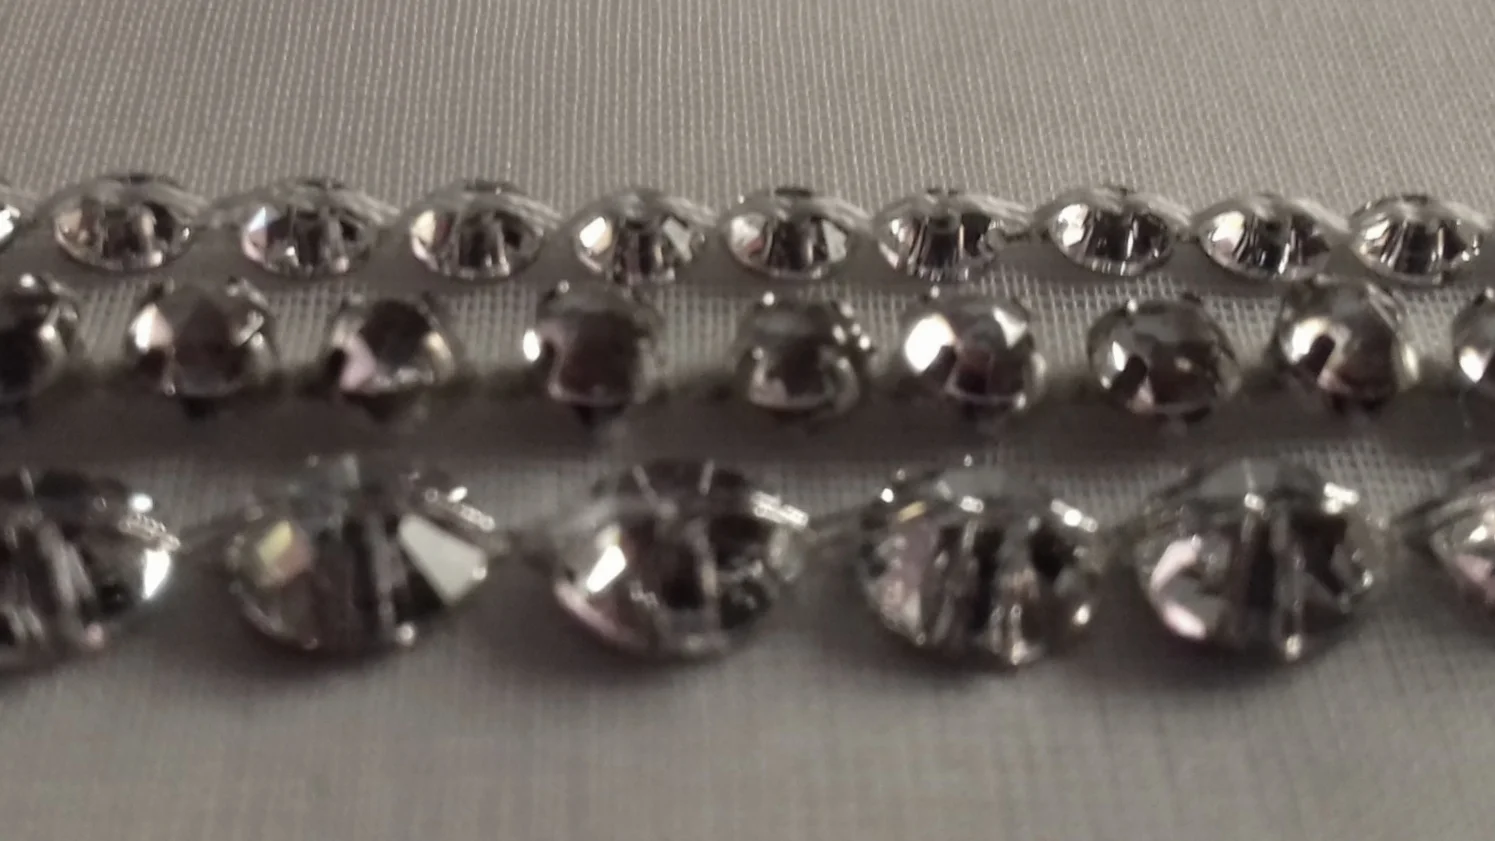
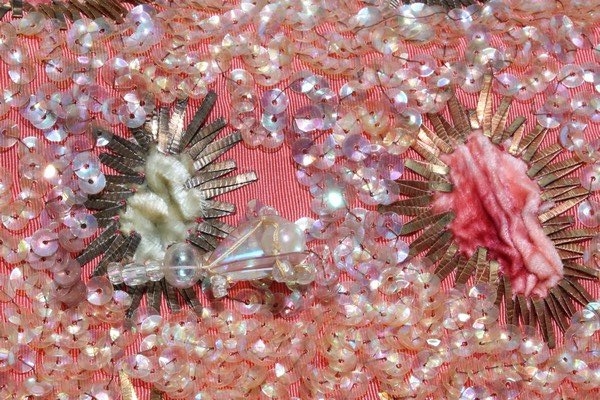
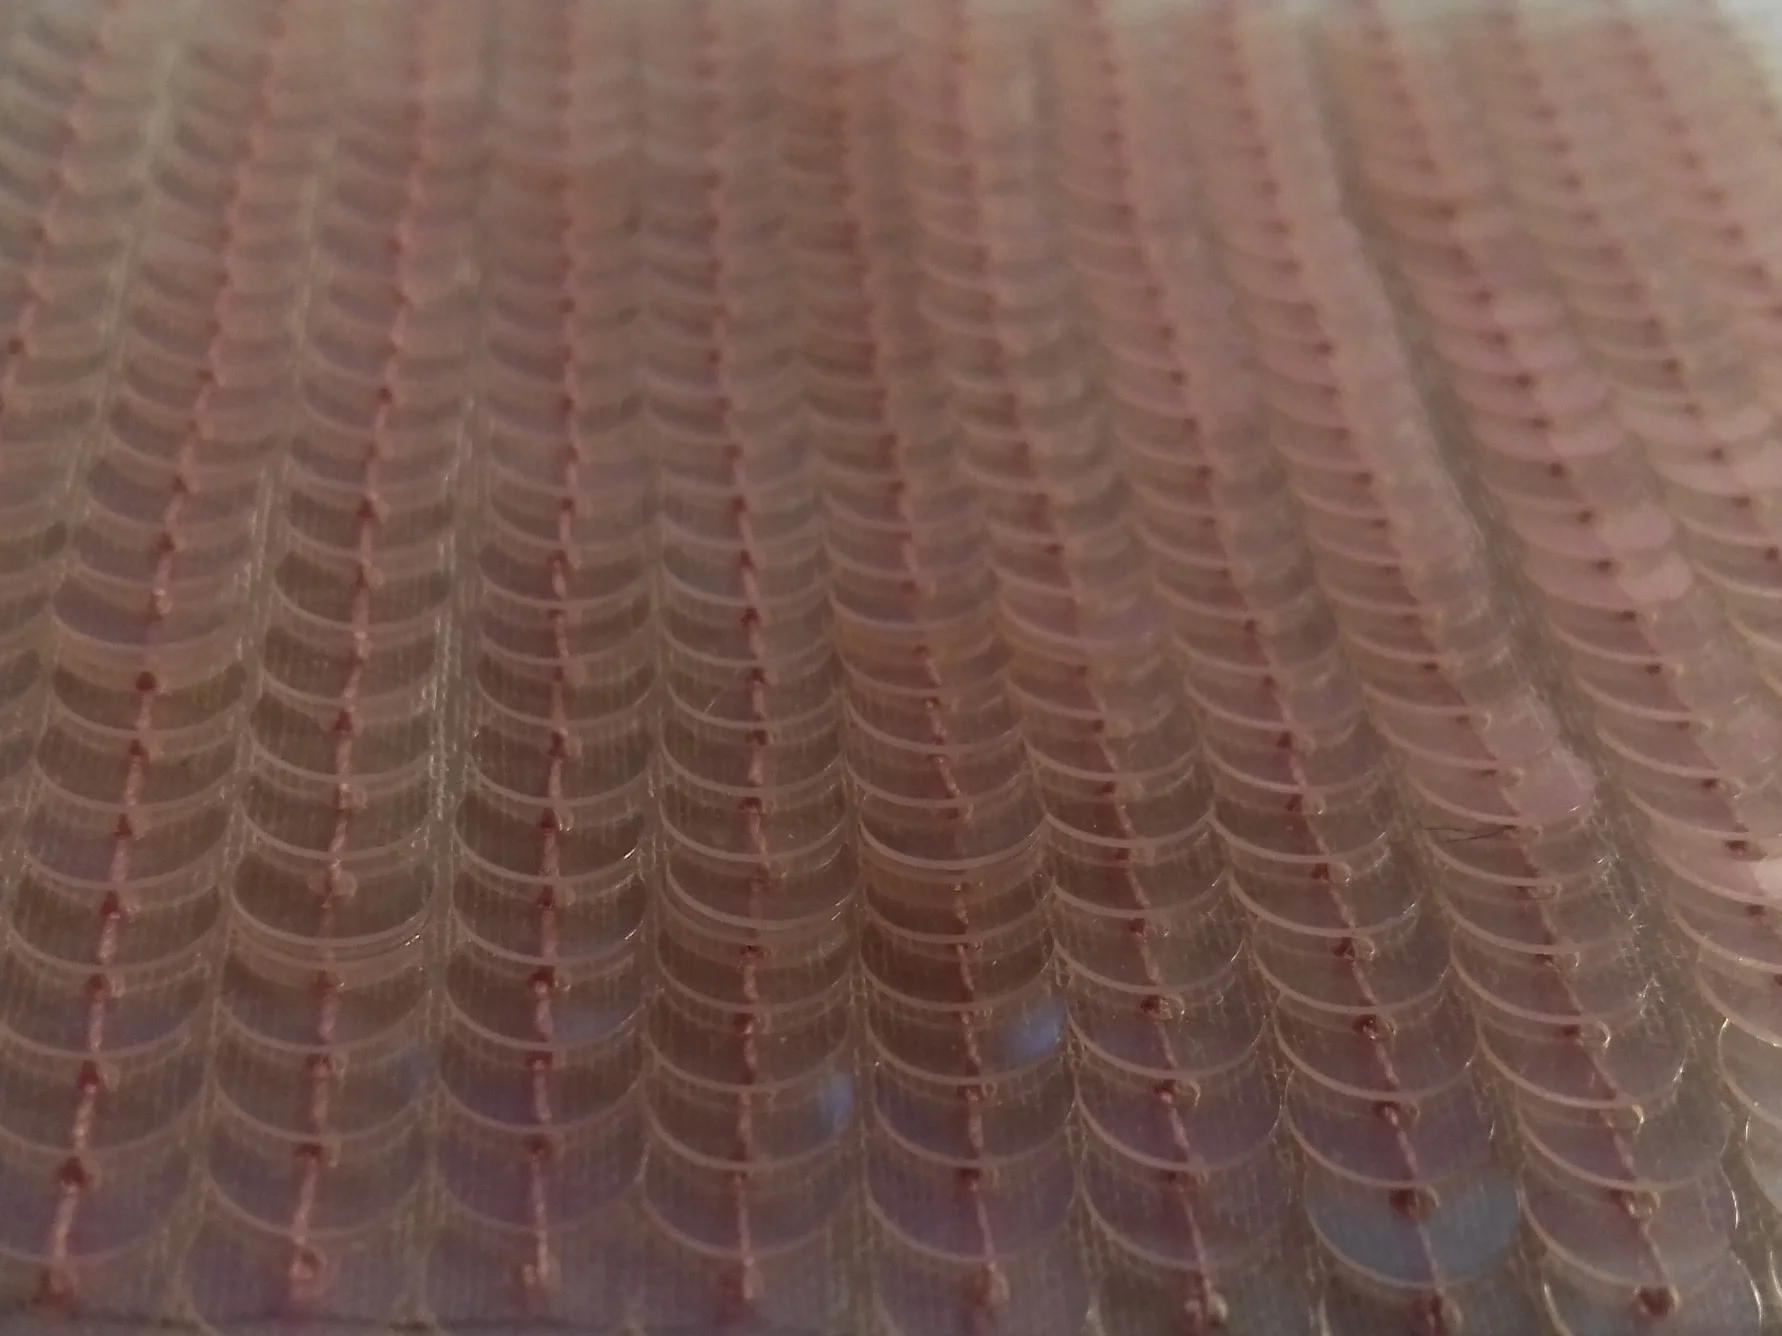
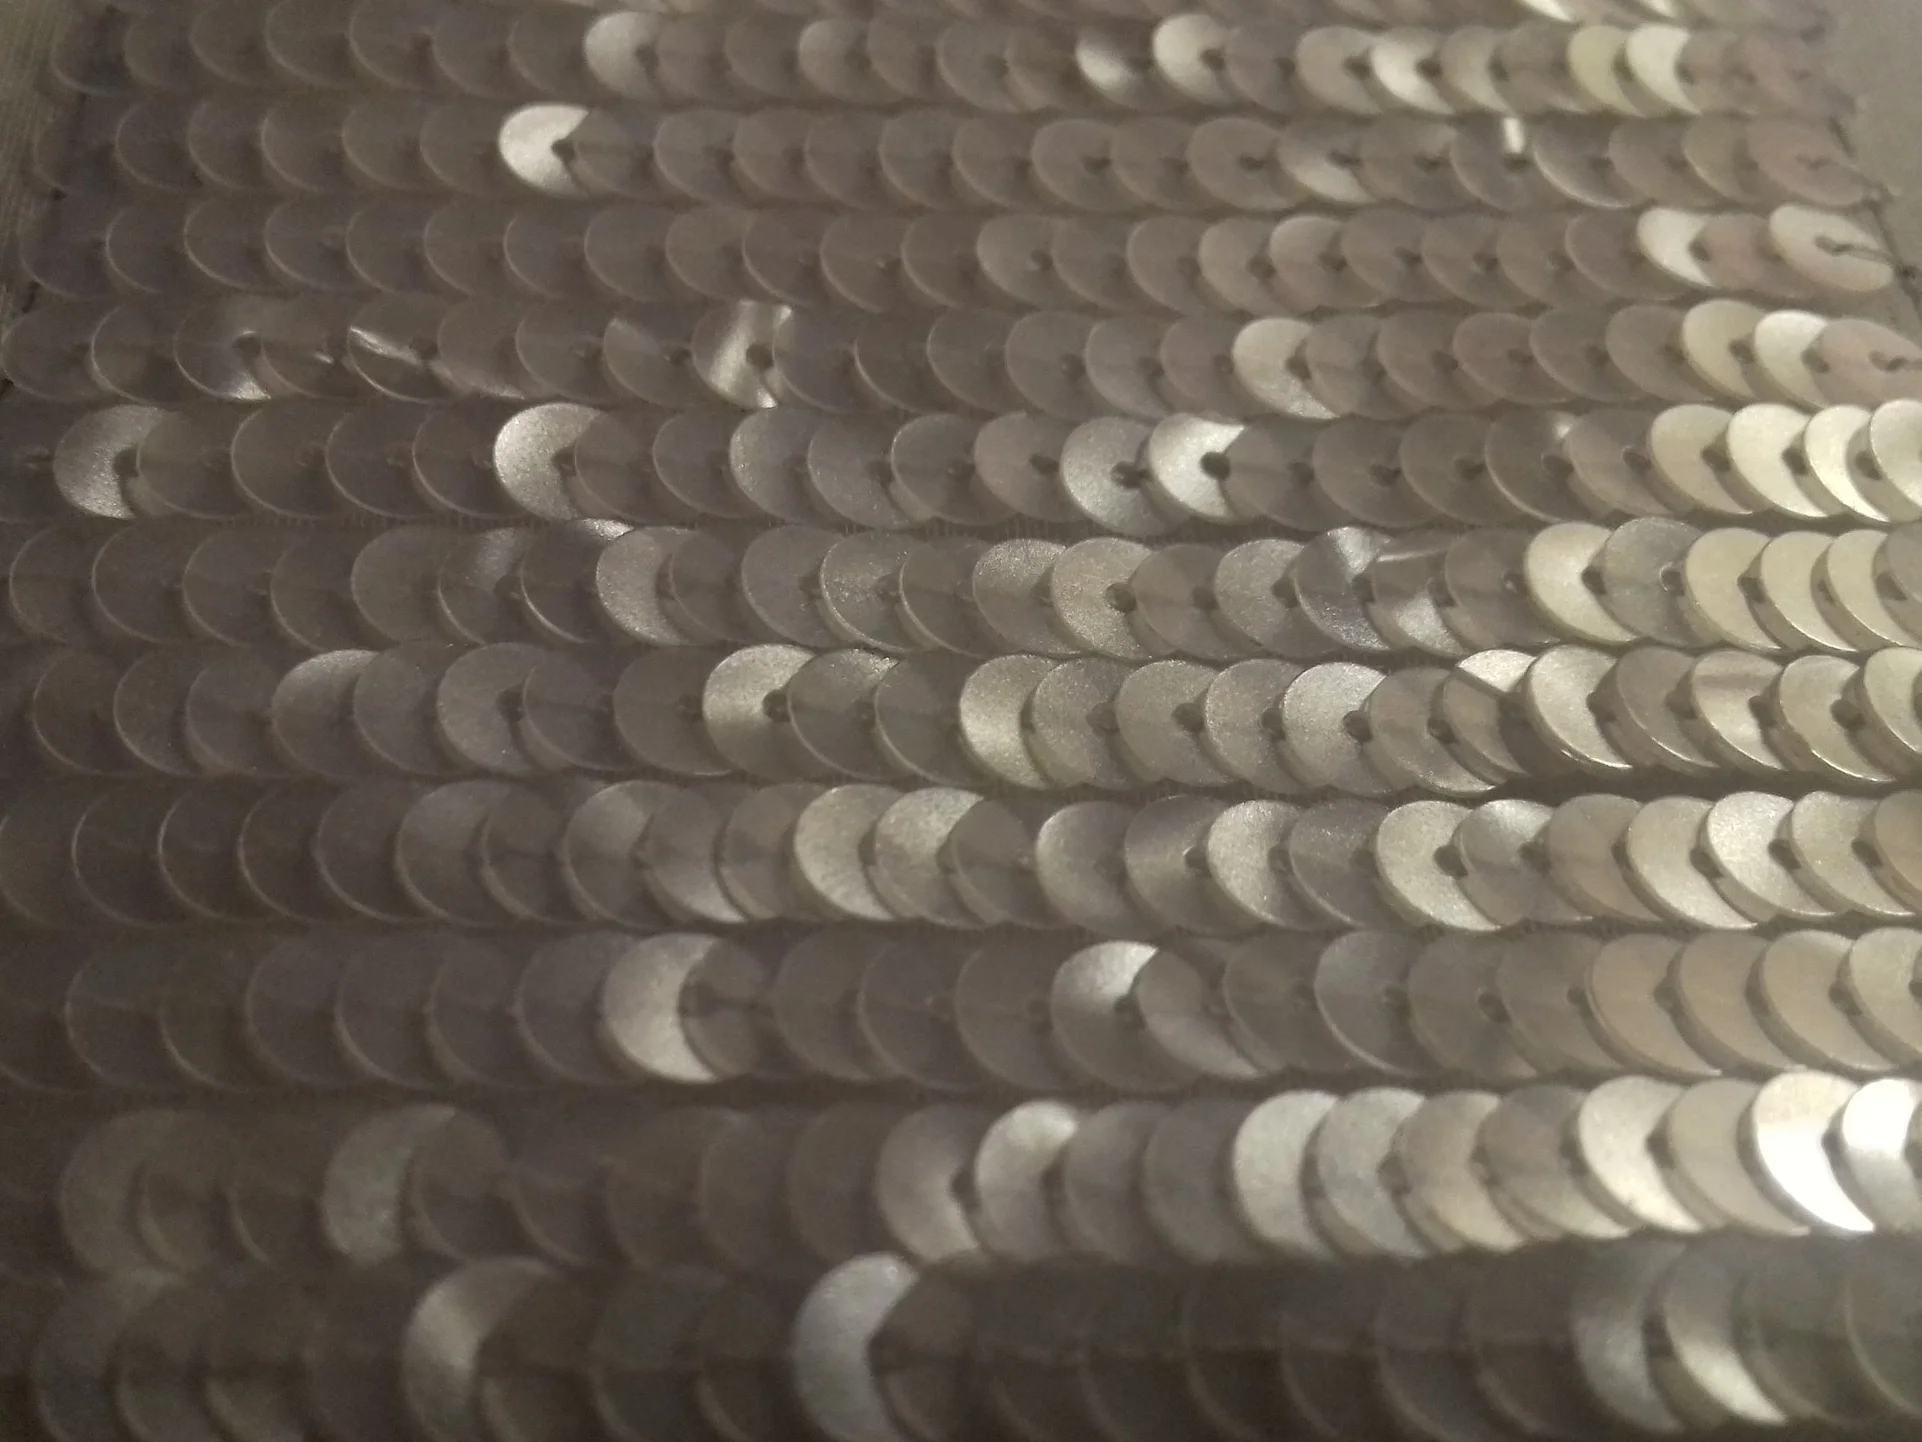
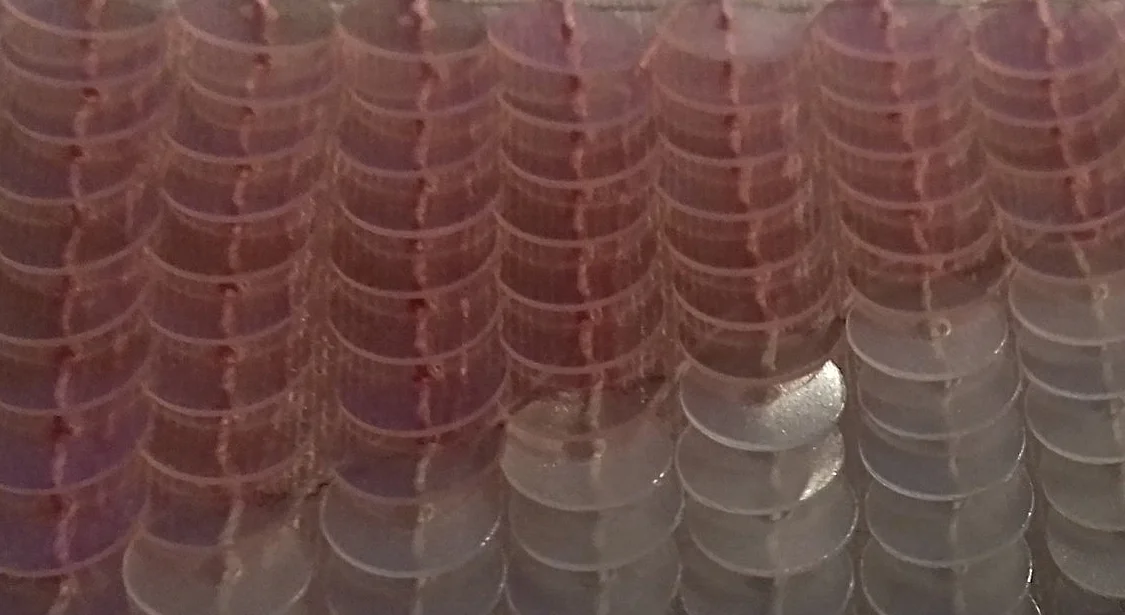
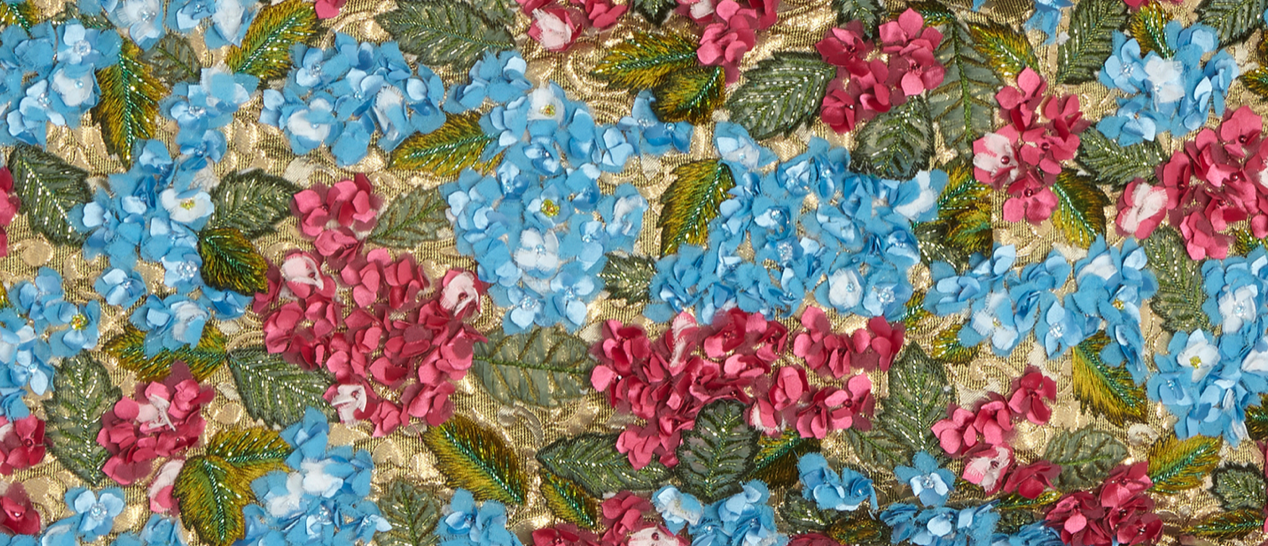
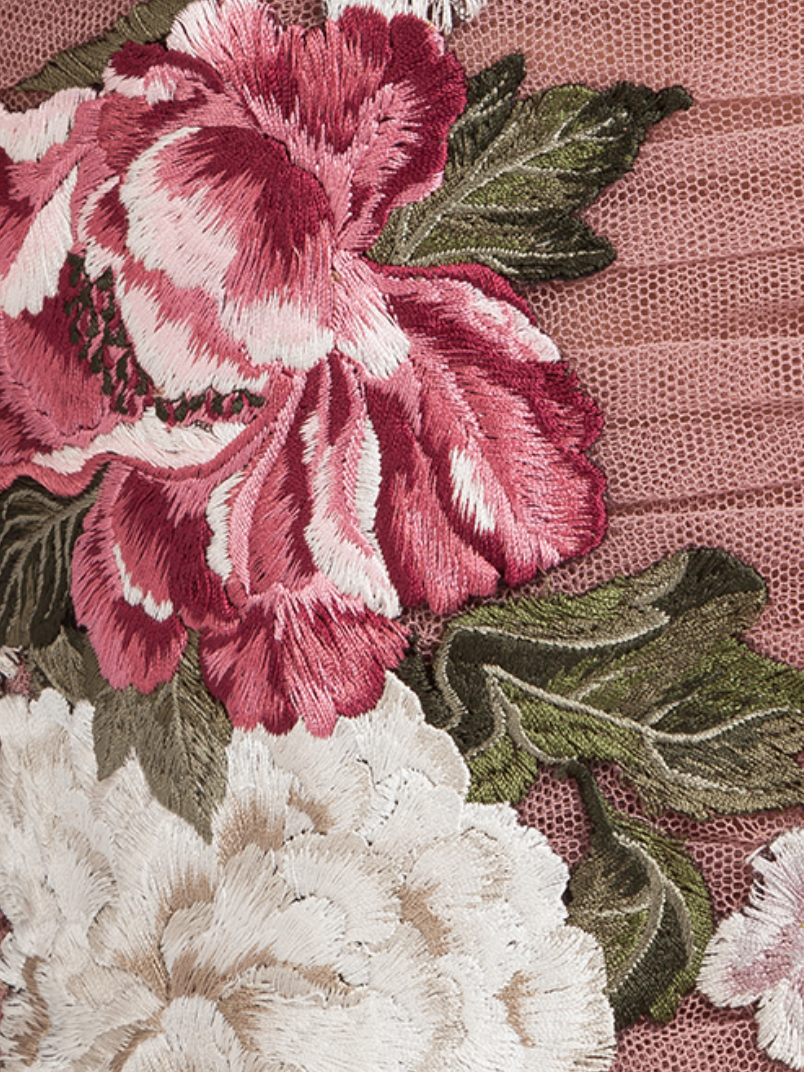
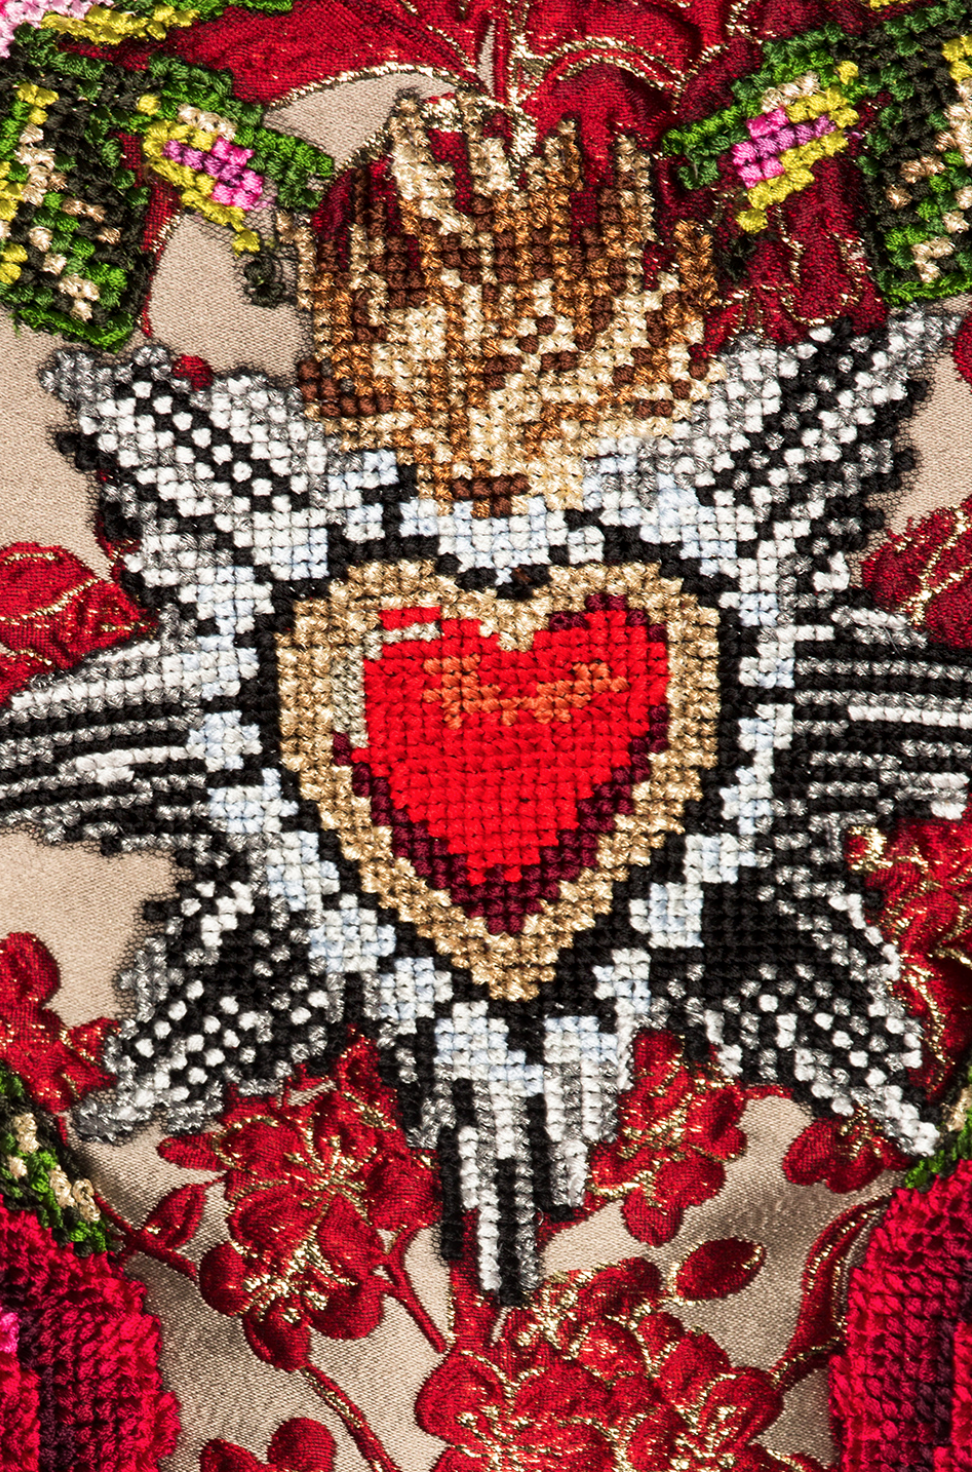
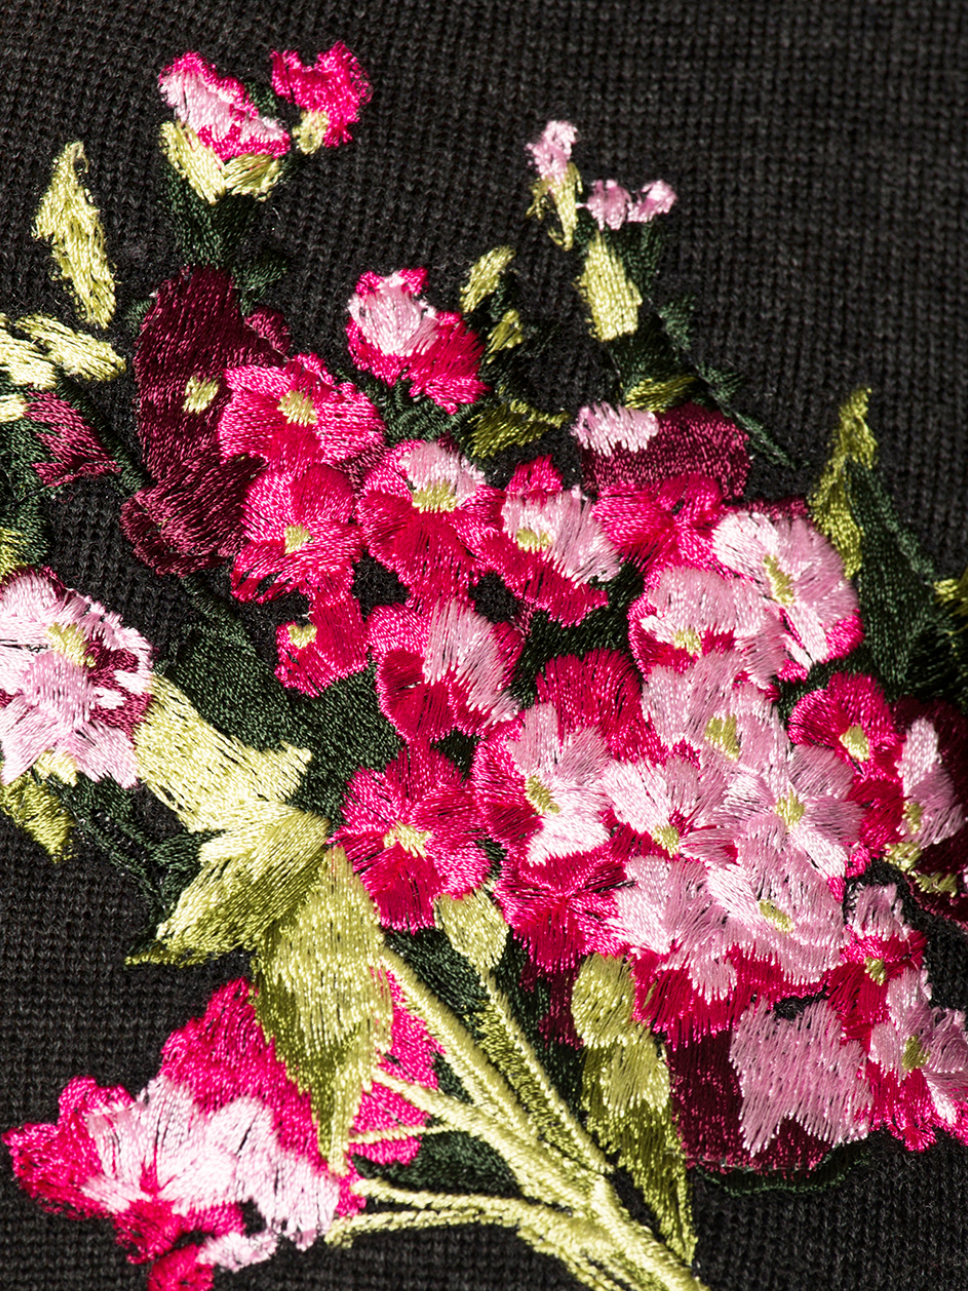
We walked up the beautiful marble staircase and with my newfound innocence I confessed that I was not there to buy anything, that I was a student from École Lesage and that I was there to do embroidery research. His eyebrows flew up to his hairline as we reached the top of the stairs and I held onto the ornate banister, ready to be ejected once again. In that case let me show you something special he smiled...and for the next twenty minutes or so he took me on a tour of the most beautifully embroidered and embellished garments from their collection. He explained the history of the Italian embroidery ateliers, the Sicilian inspiration for the floral, religious and baroque design motifs, the type of materials used from fabrics, to embroidery threads, to sequins and gold finishings. He asked me to wait on the shop floor and returned from the stock room with the pièce de la resistance, a stunning coat with magnificent hand embroidery in cross-stitch needlework, parades of sequins and beads applied with the Lunéville technique, floral embellishment in relief and hand-woven lurex metallic threads. He held it aloft for me to admire and I couldn't stop my hand from reaching out to delicately touch the surface and with that he handed it to me. The weight was incredible and he laughed at my surprise. I thought of the elegant ladies from the 19th century weighted down with their layers of corsets, crinolines, petticoats and finally their embroidered and embellished gowns.
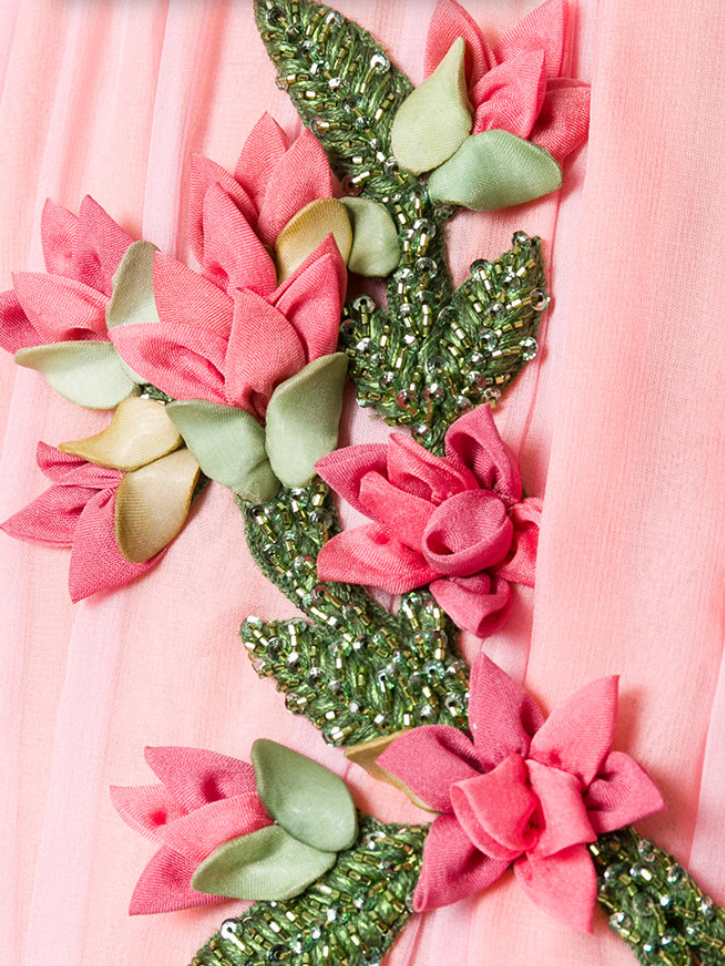
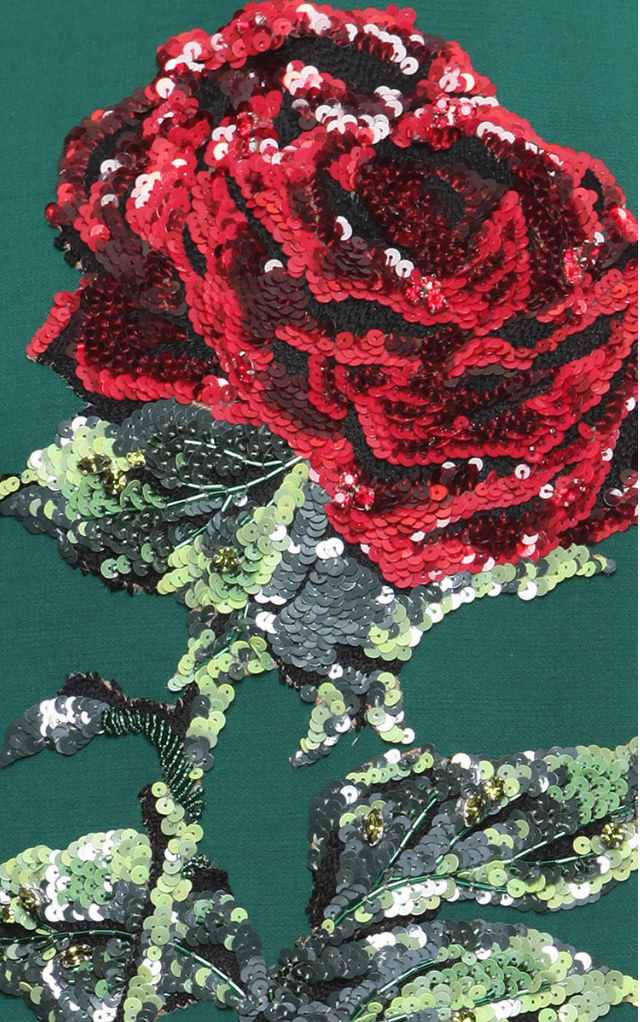
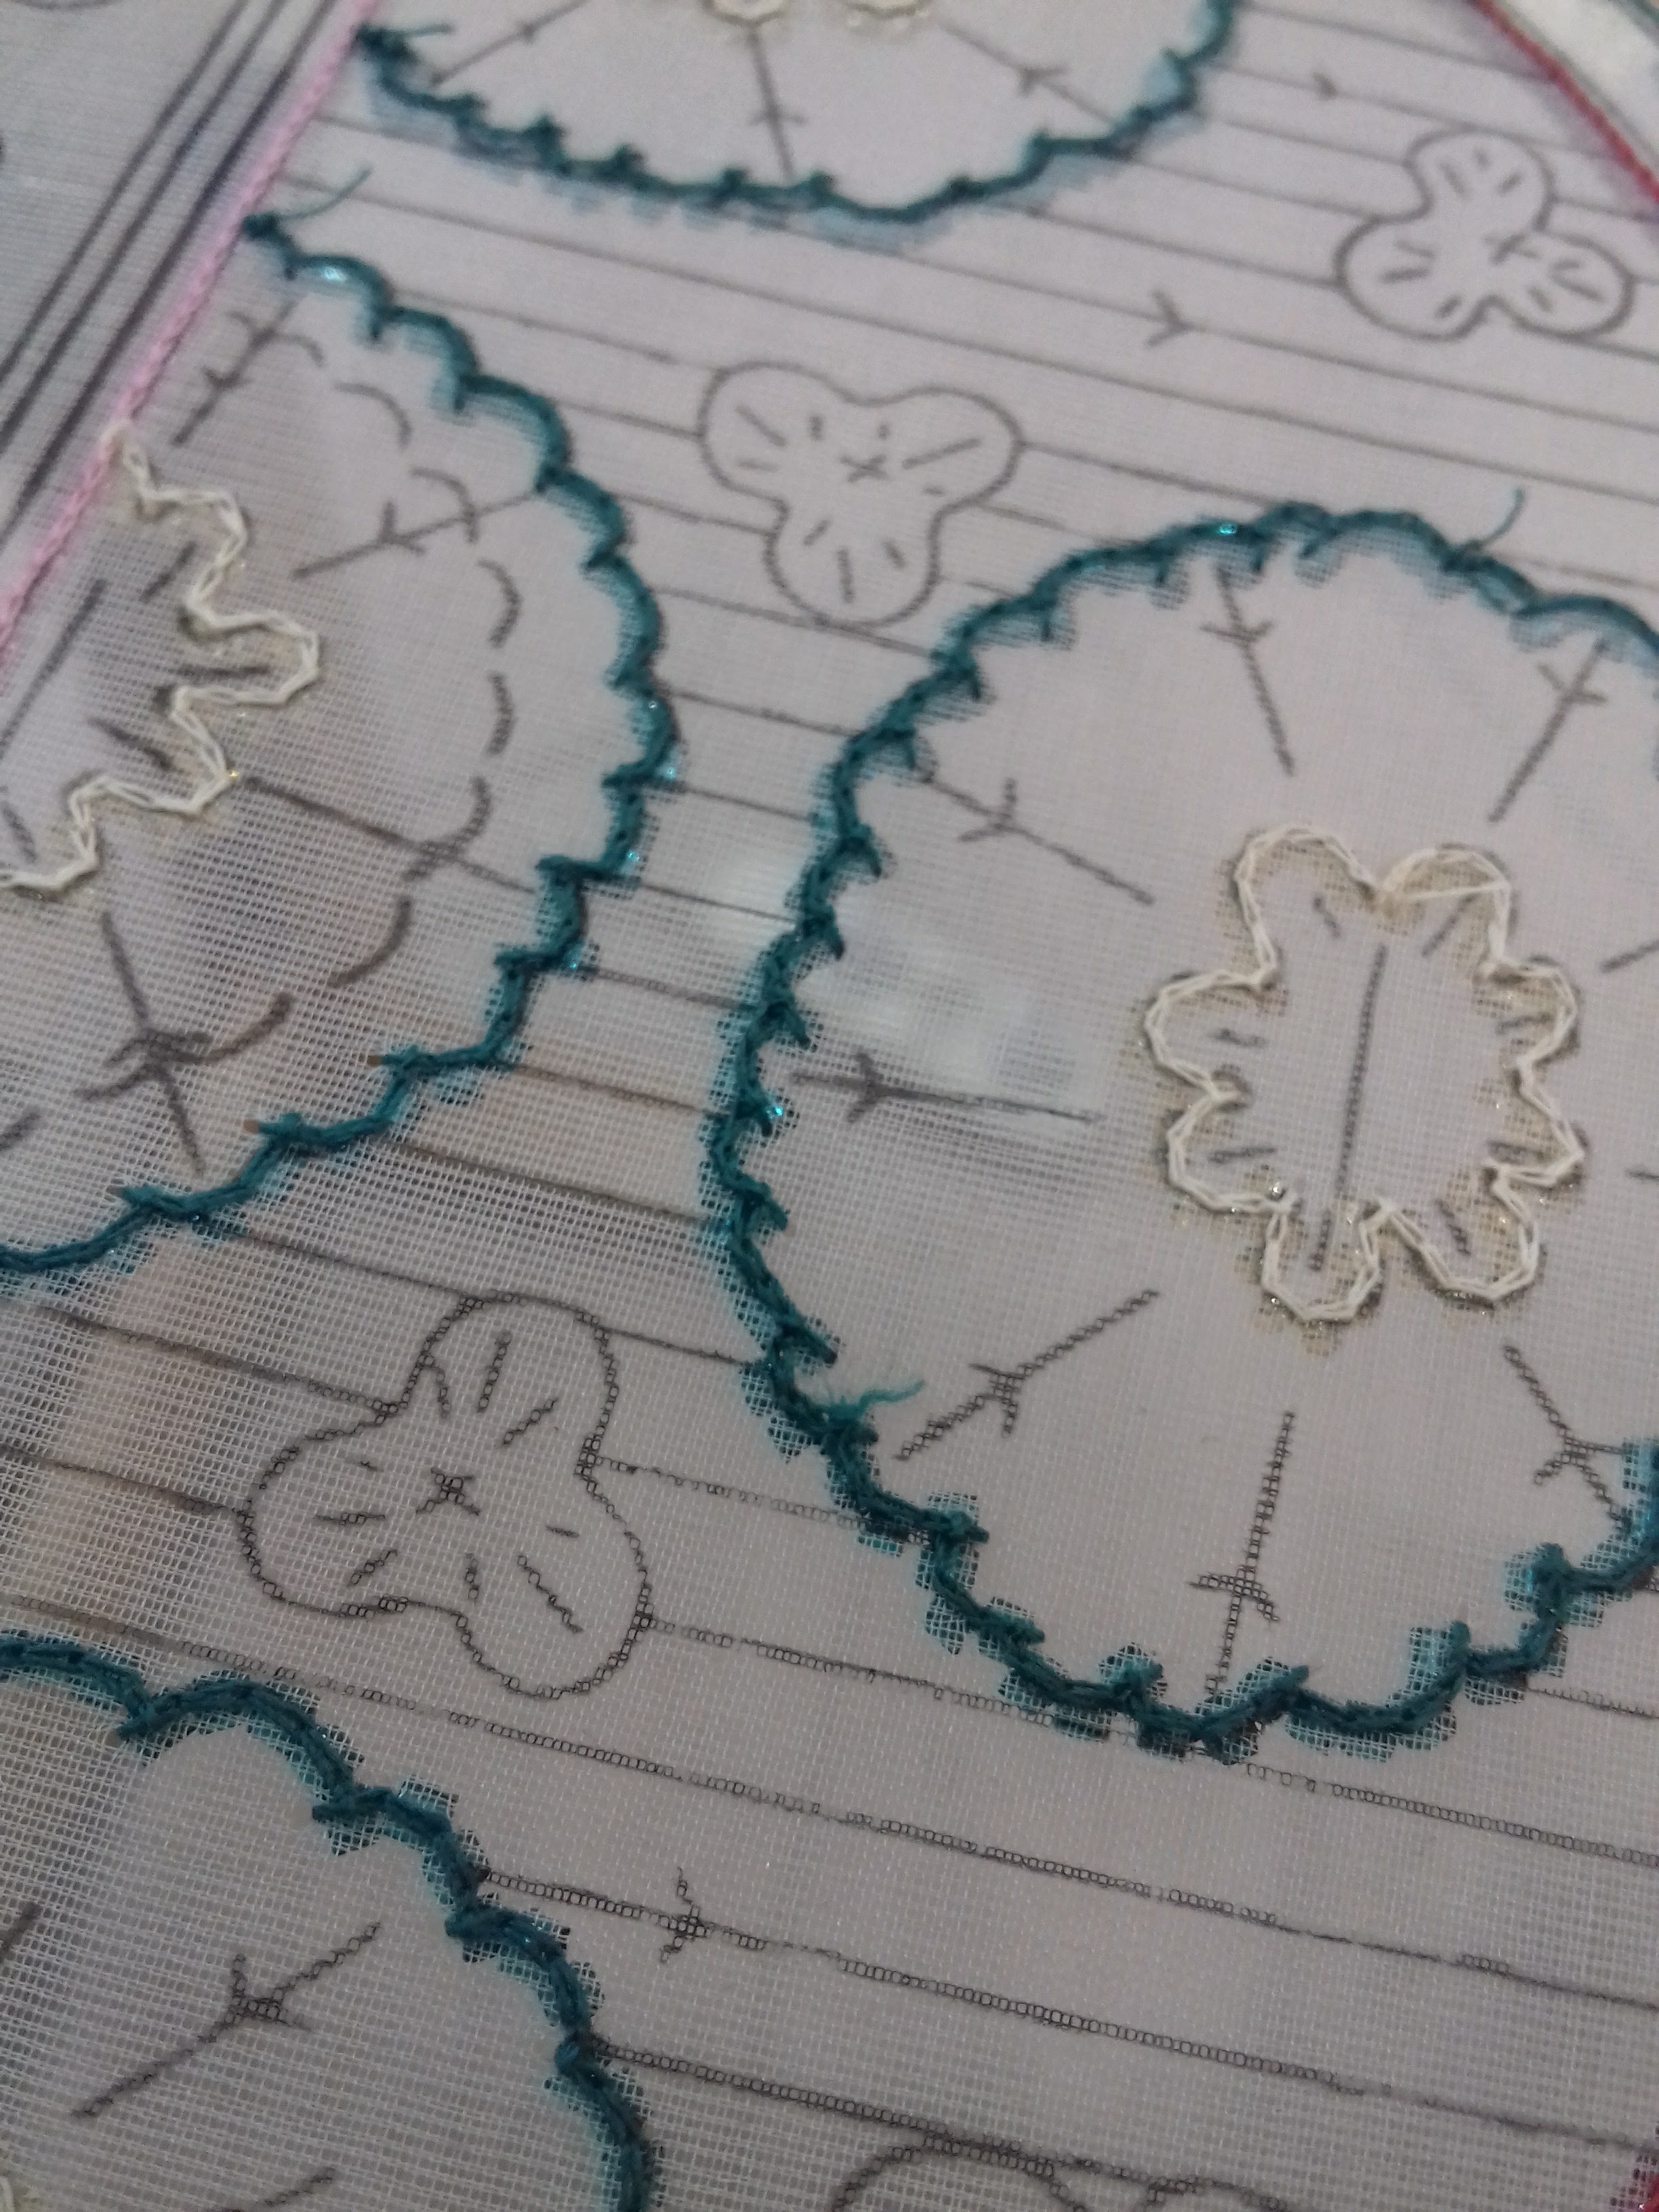
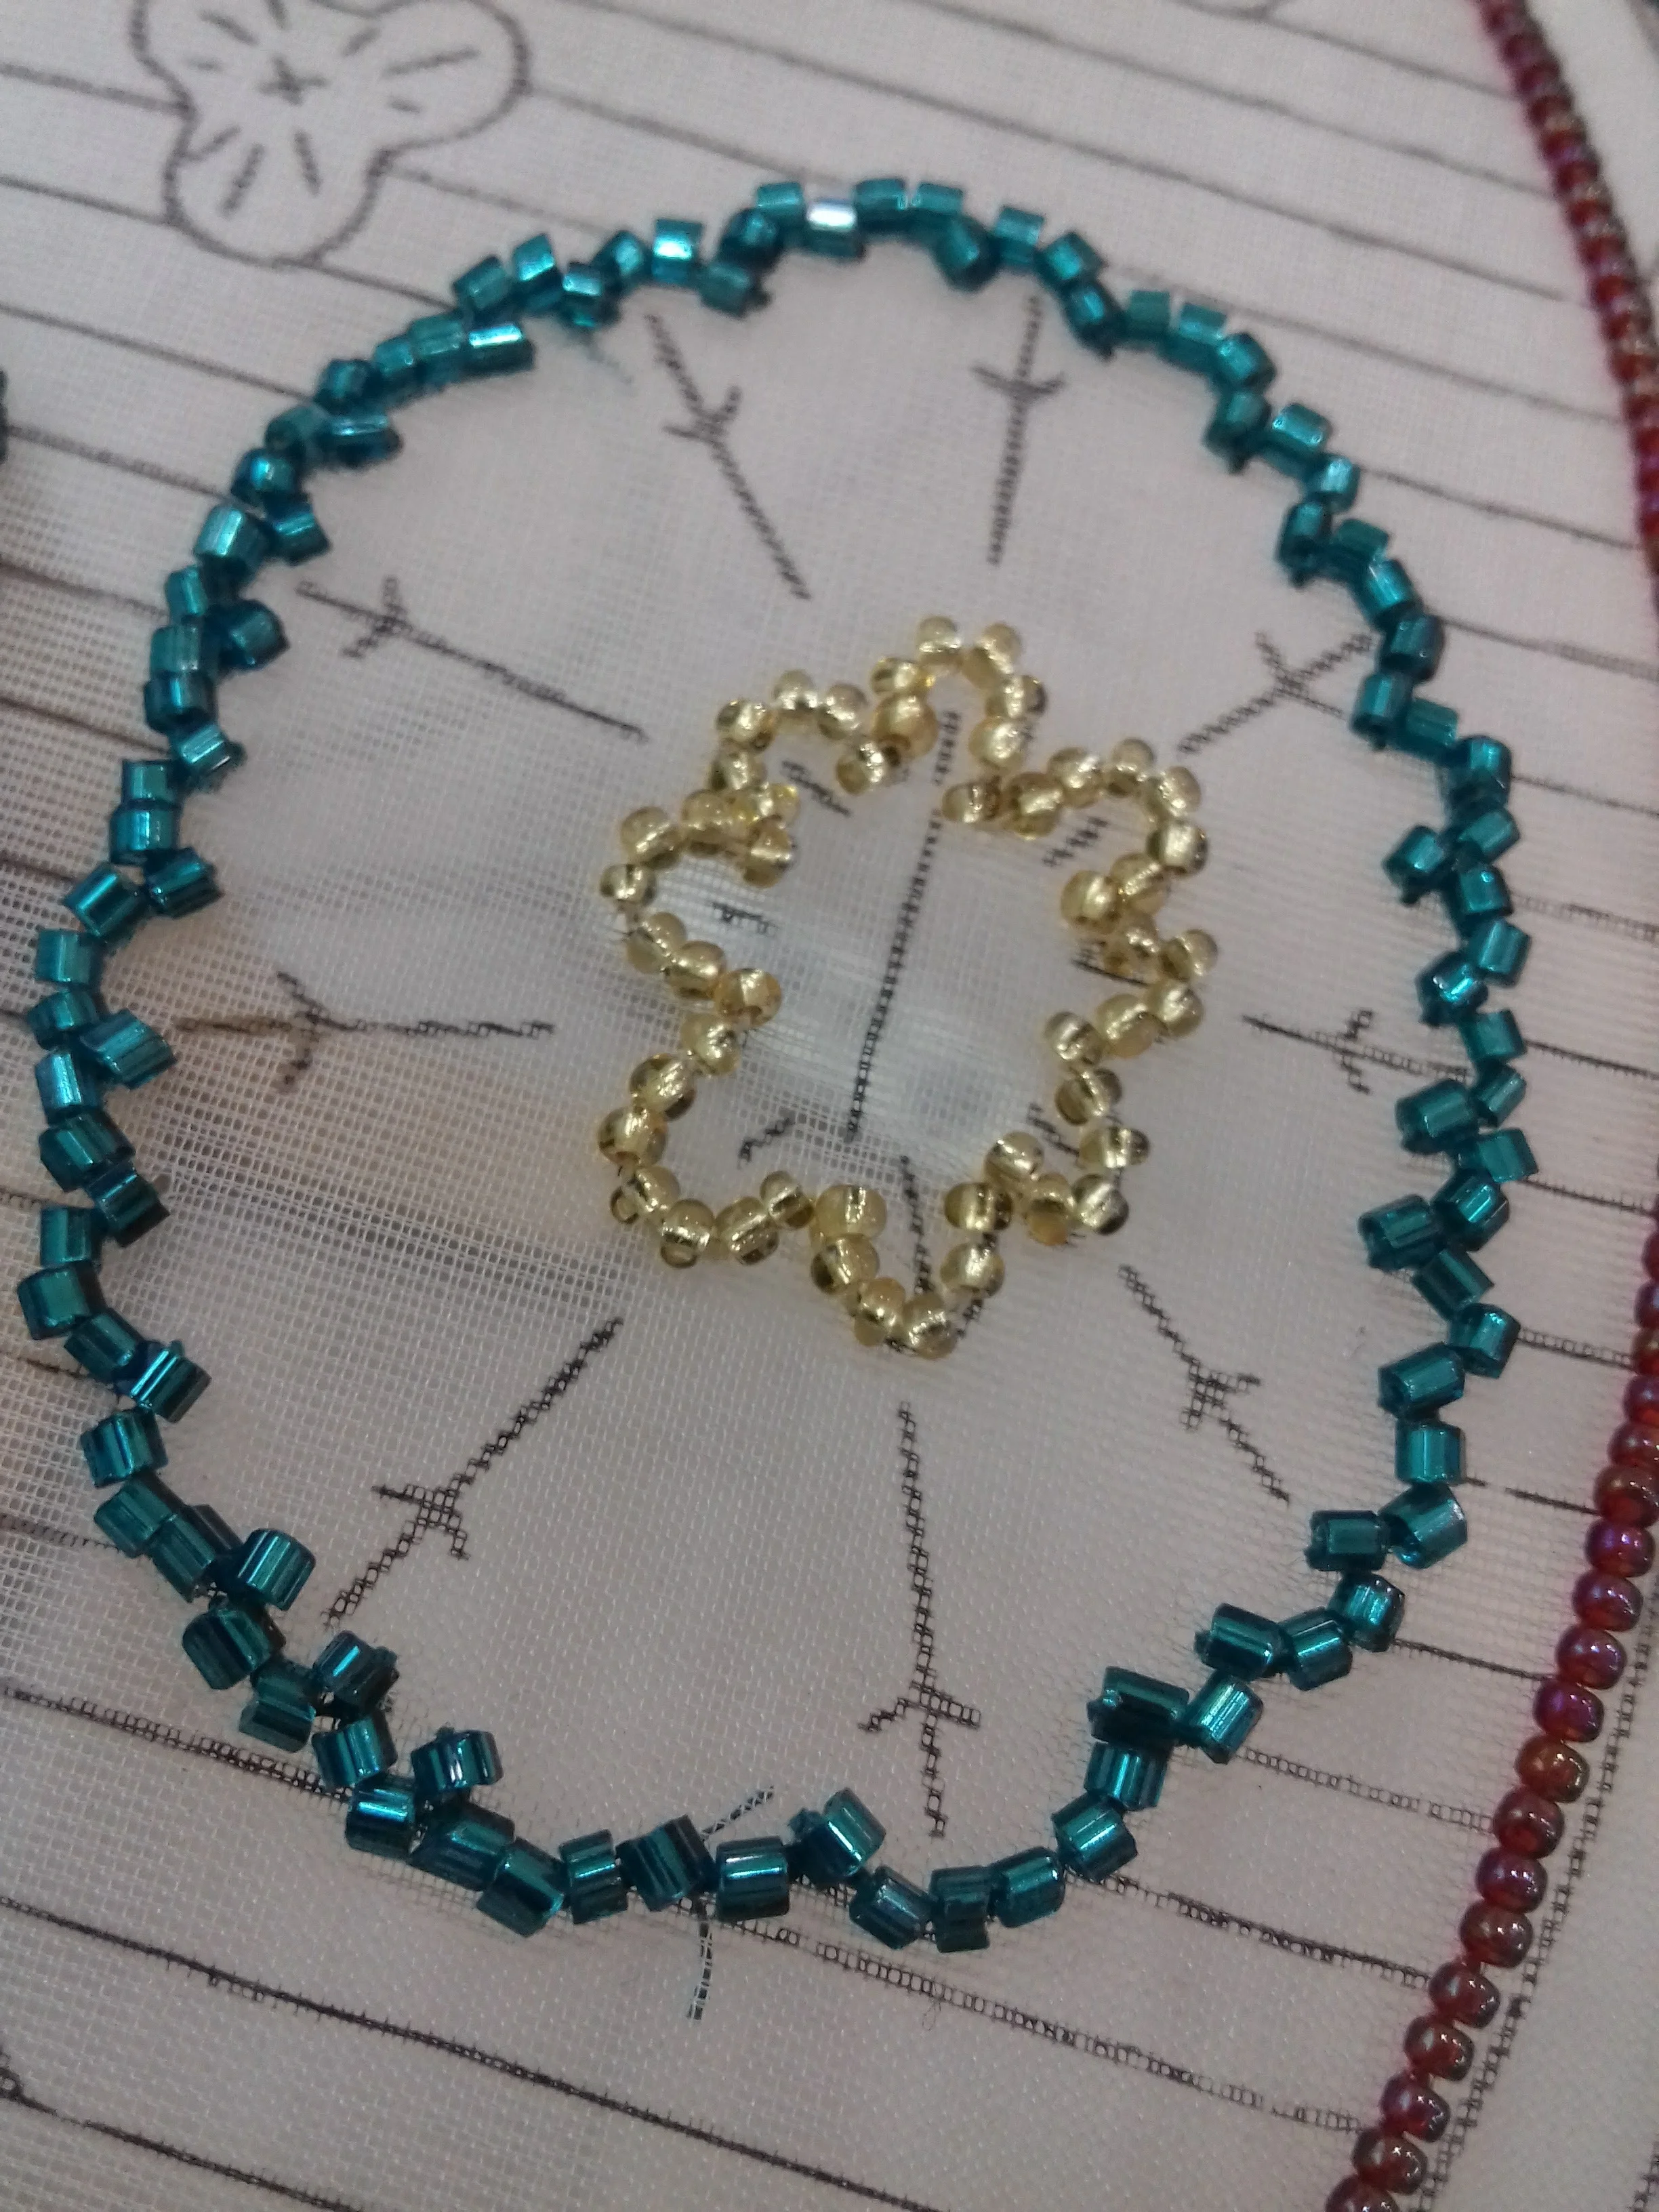
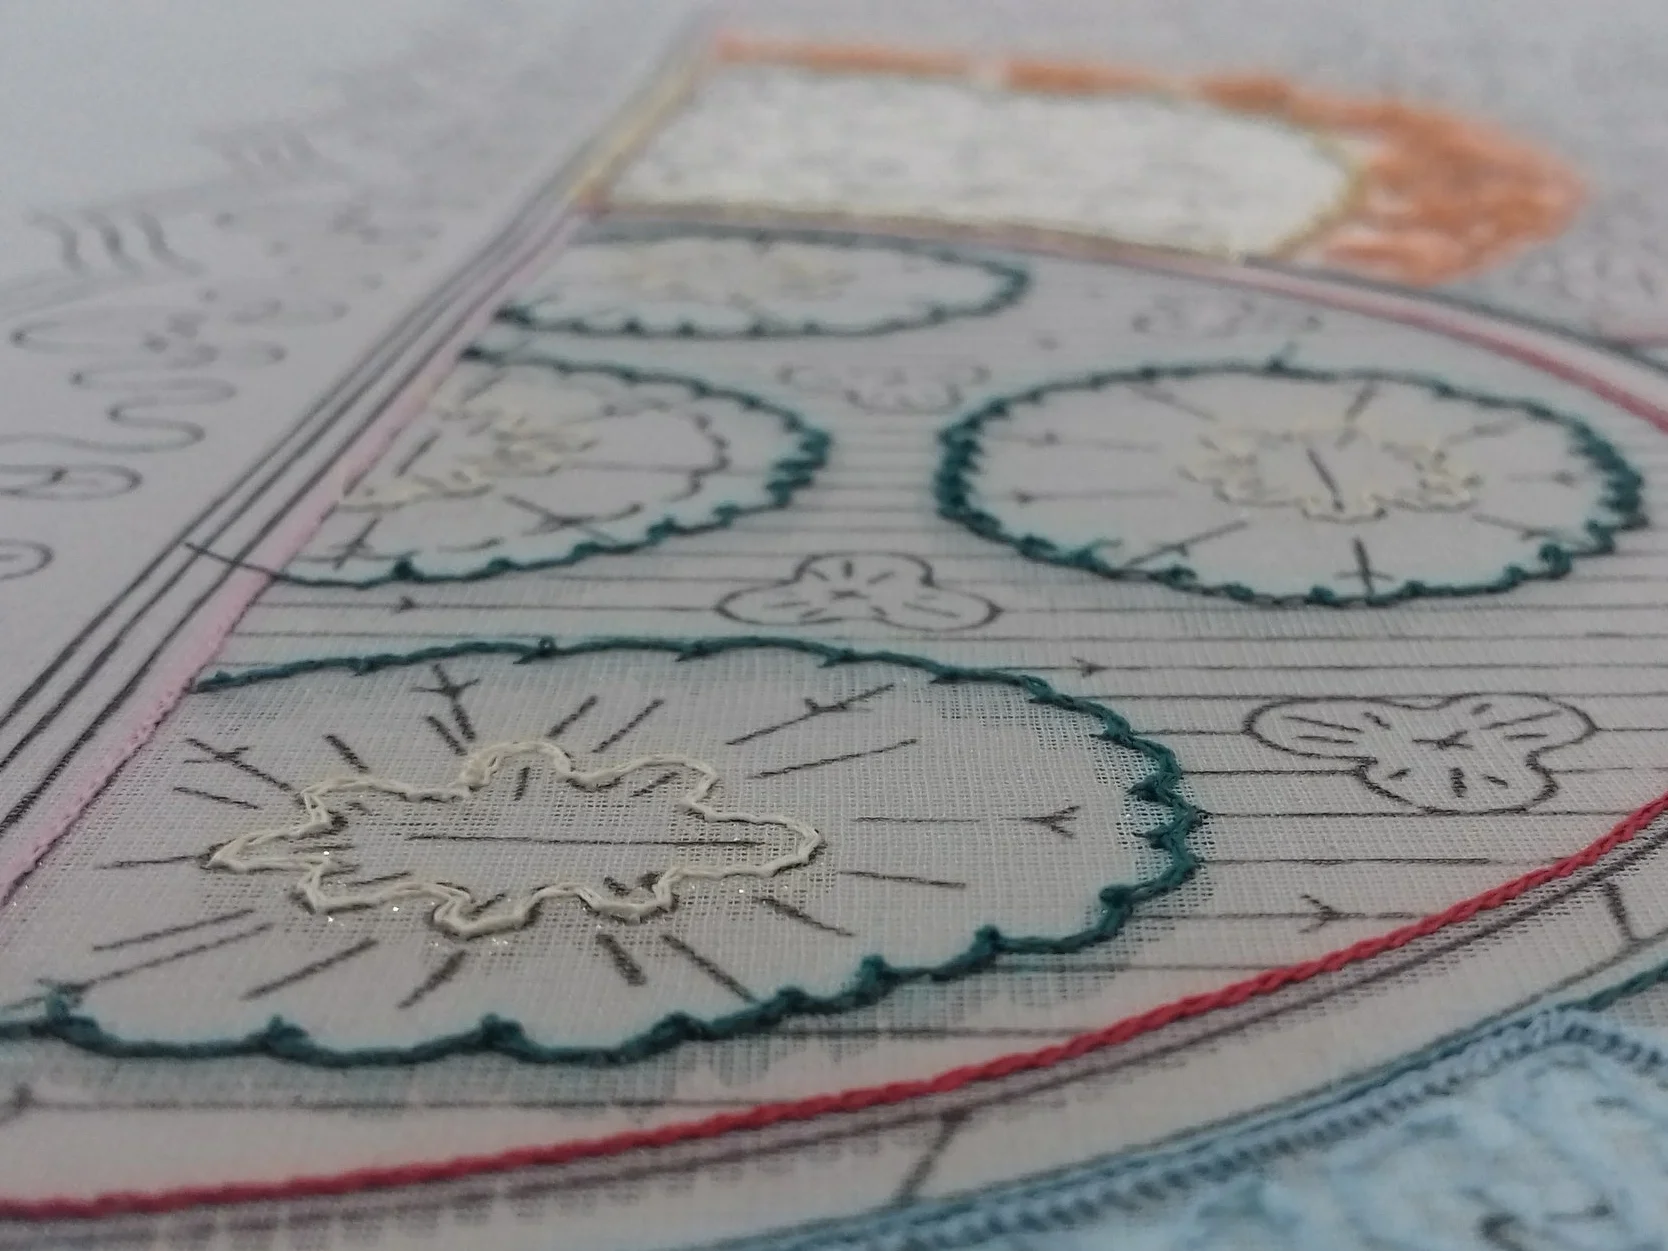
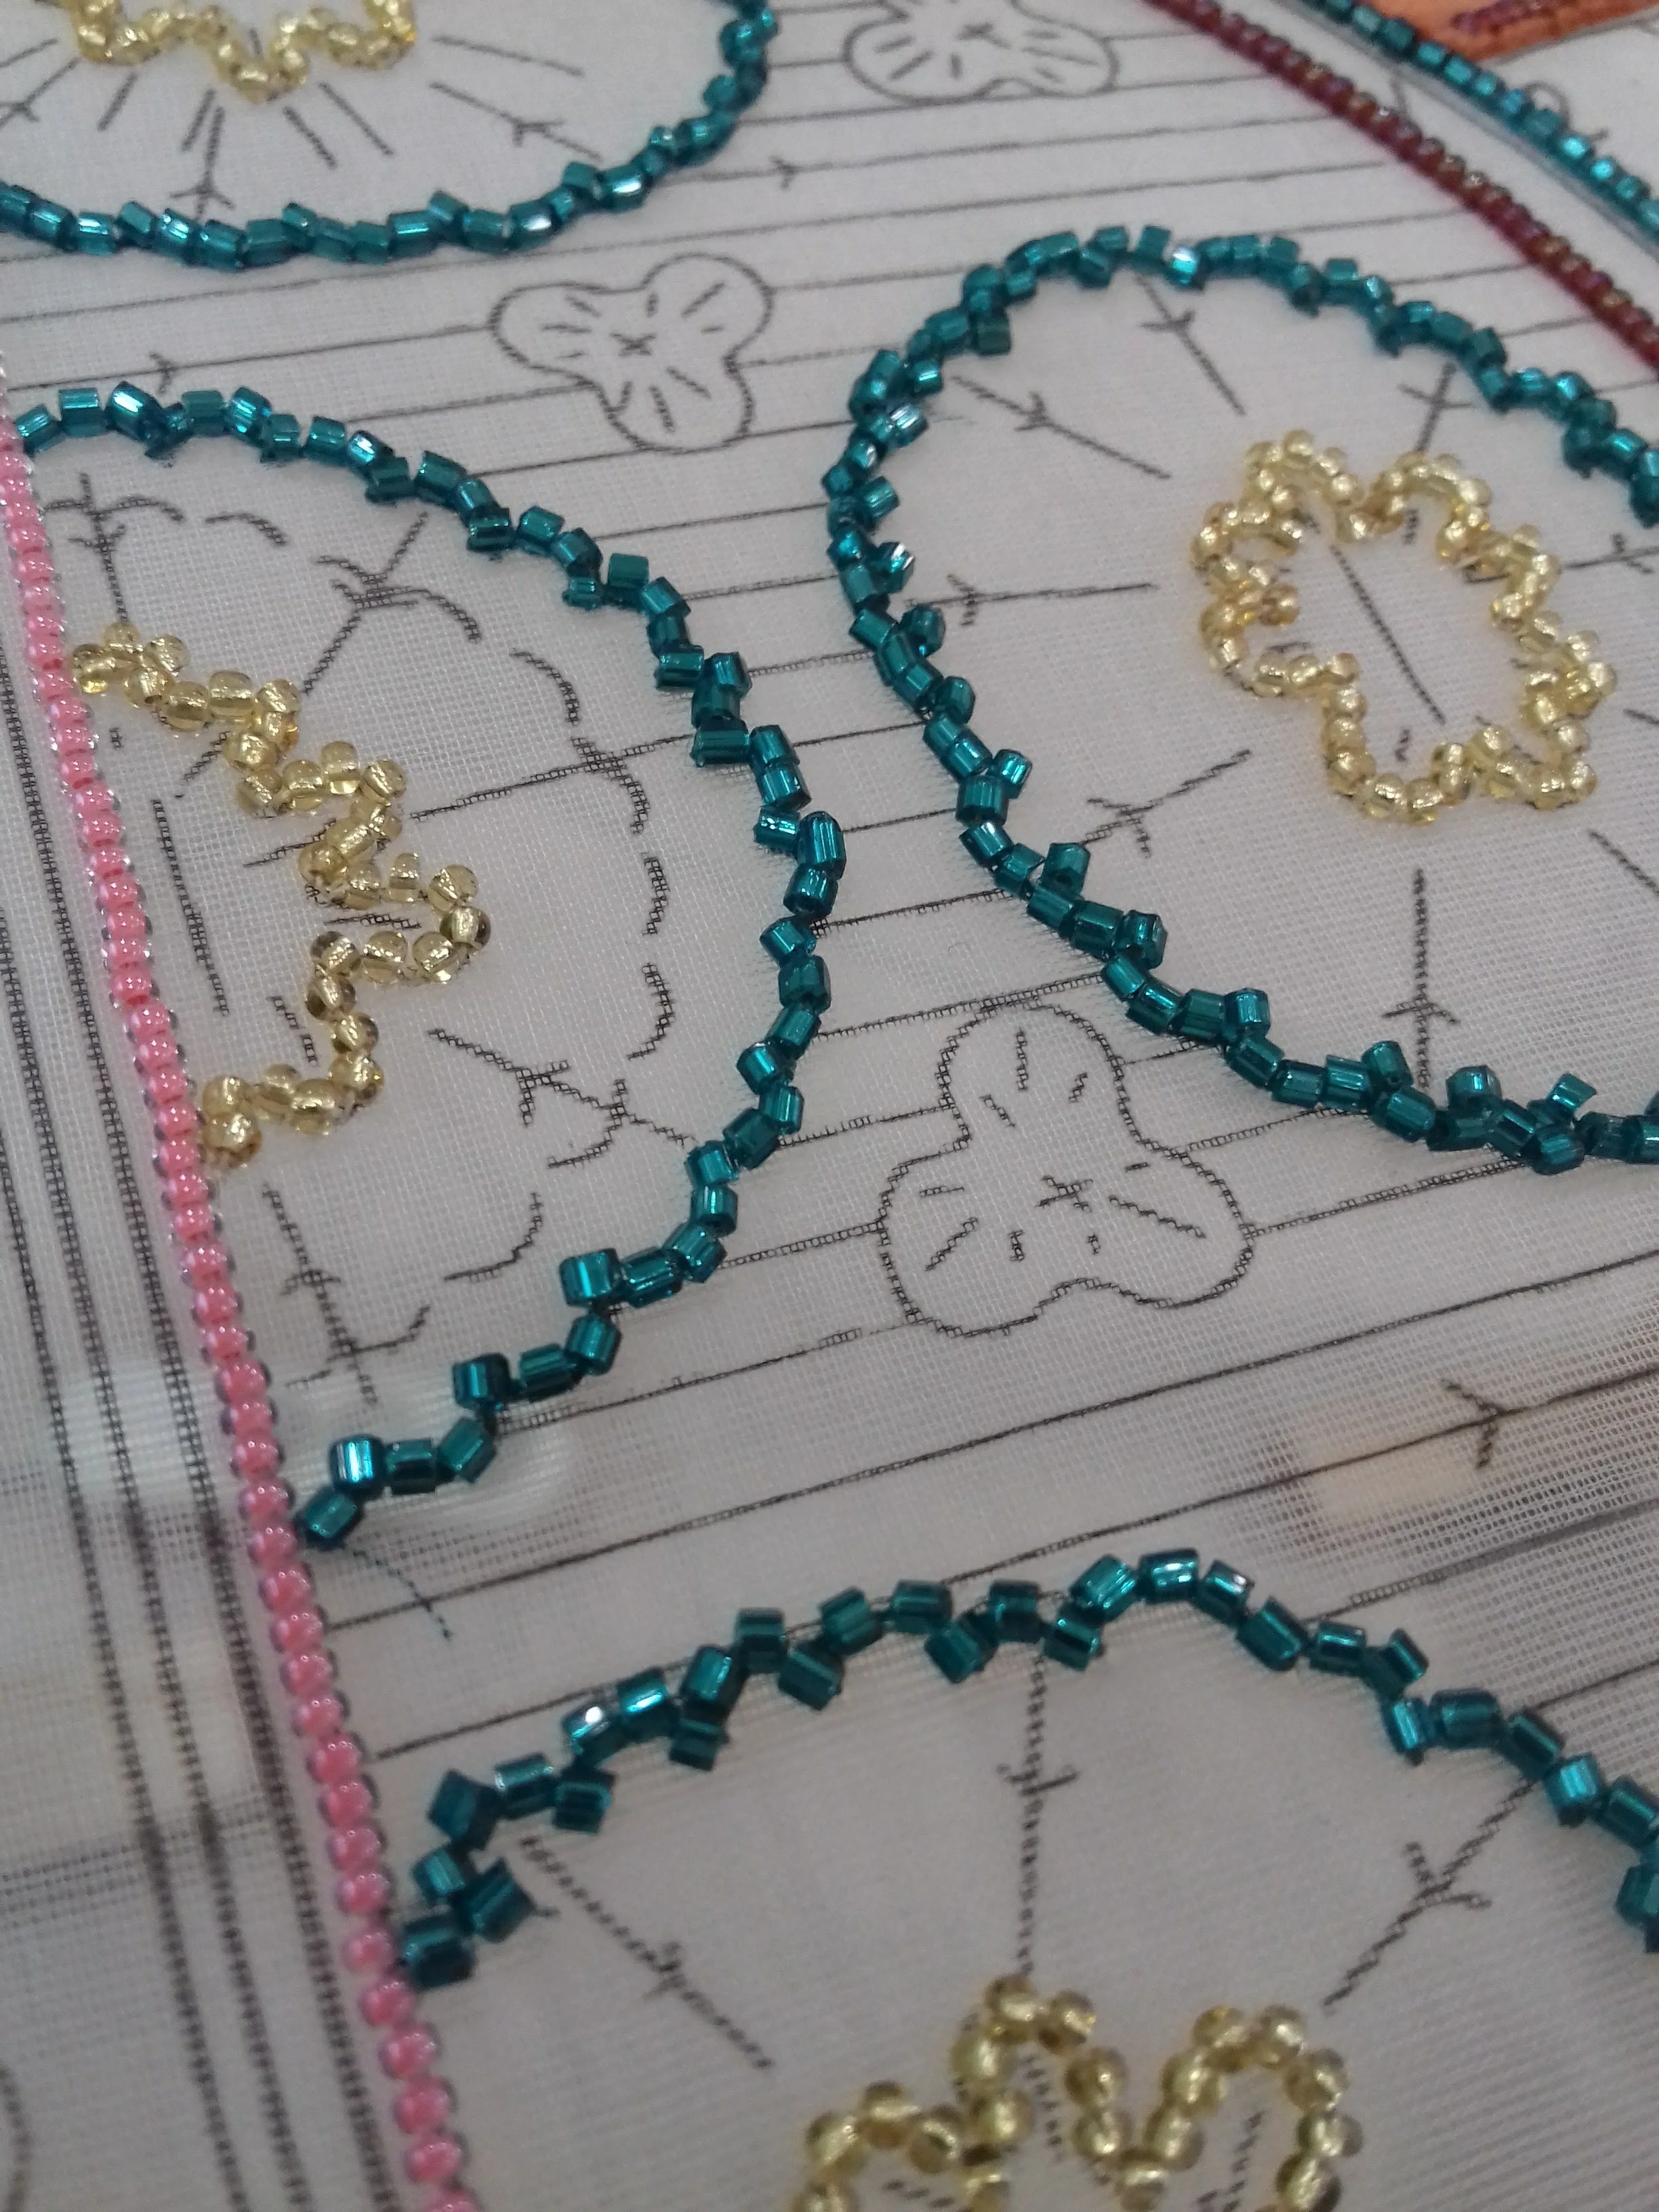
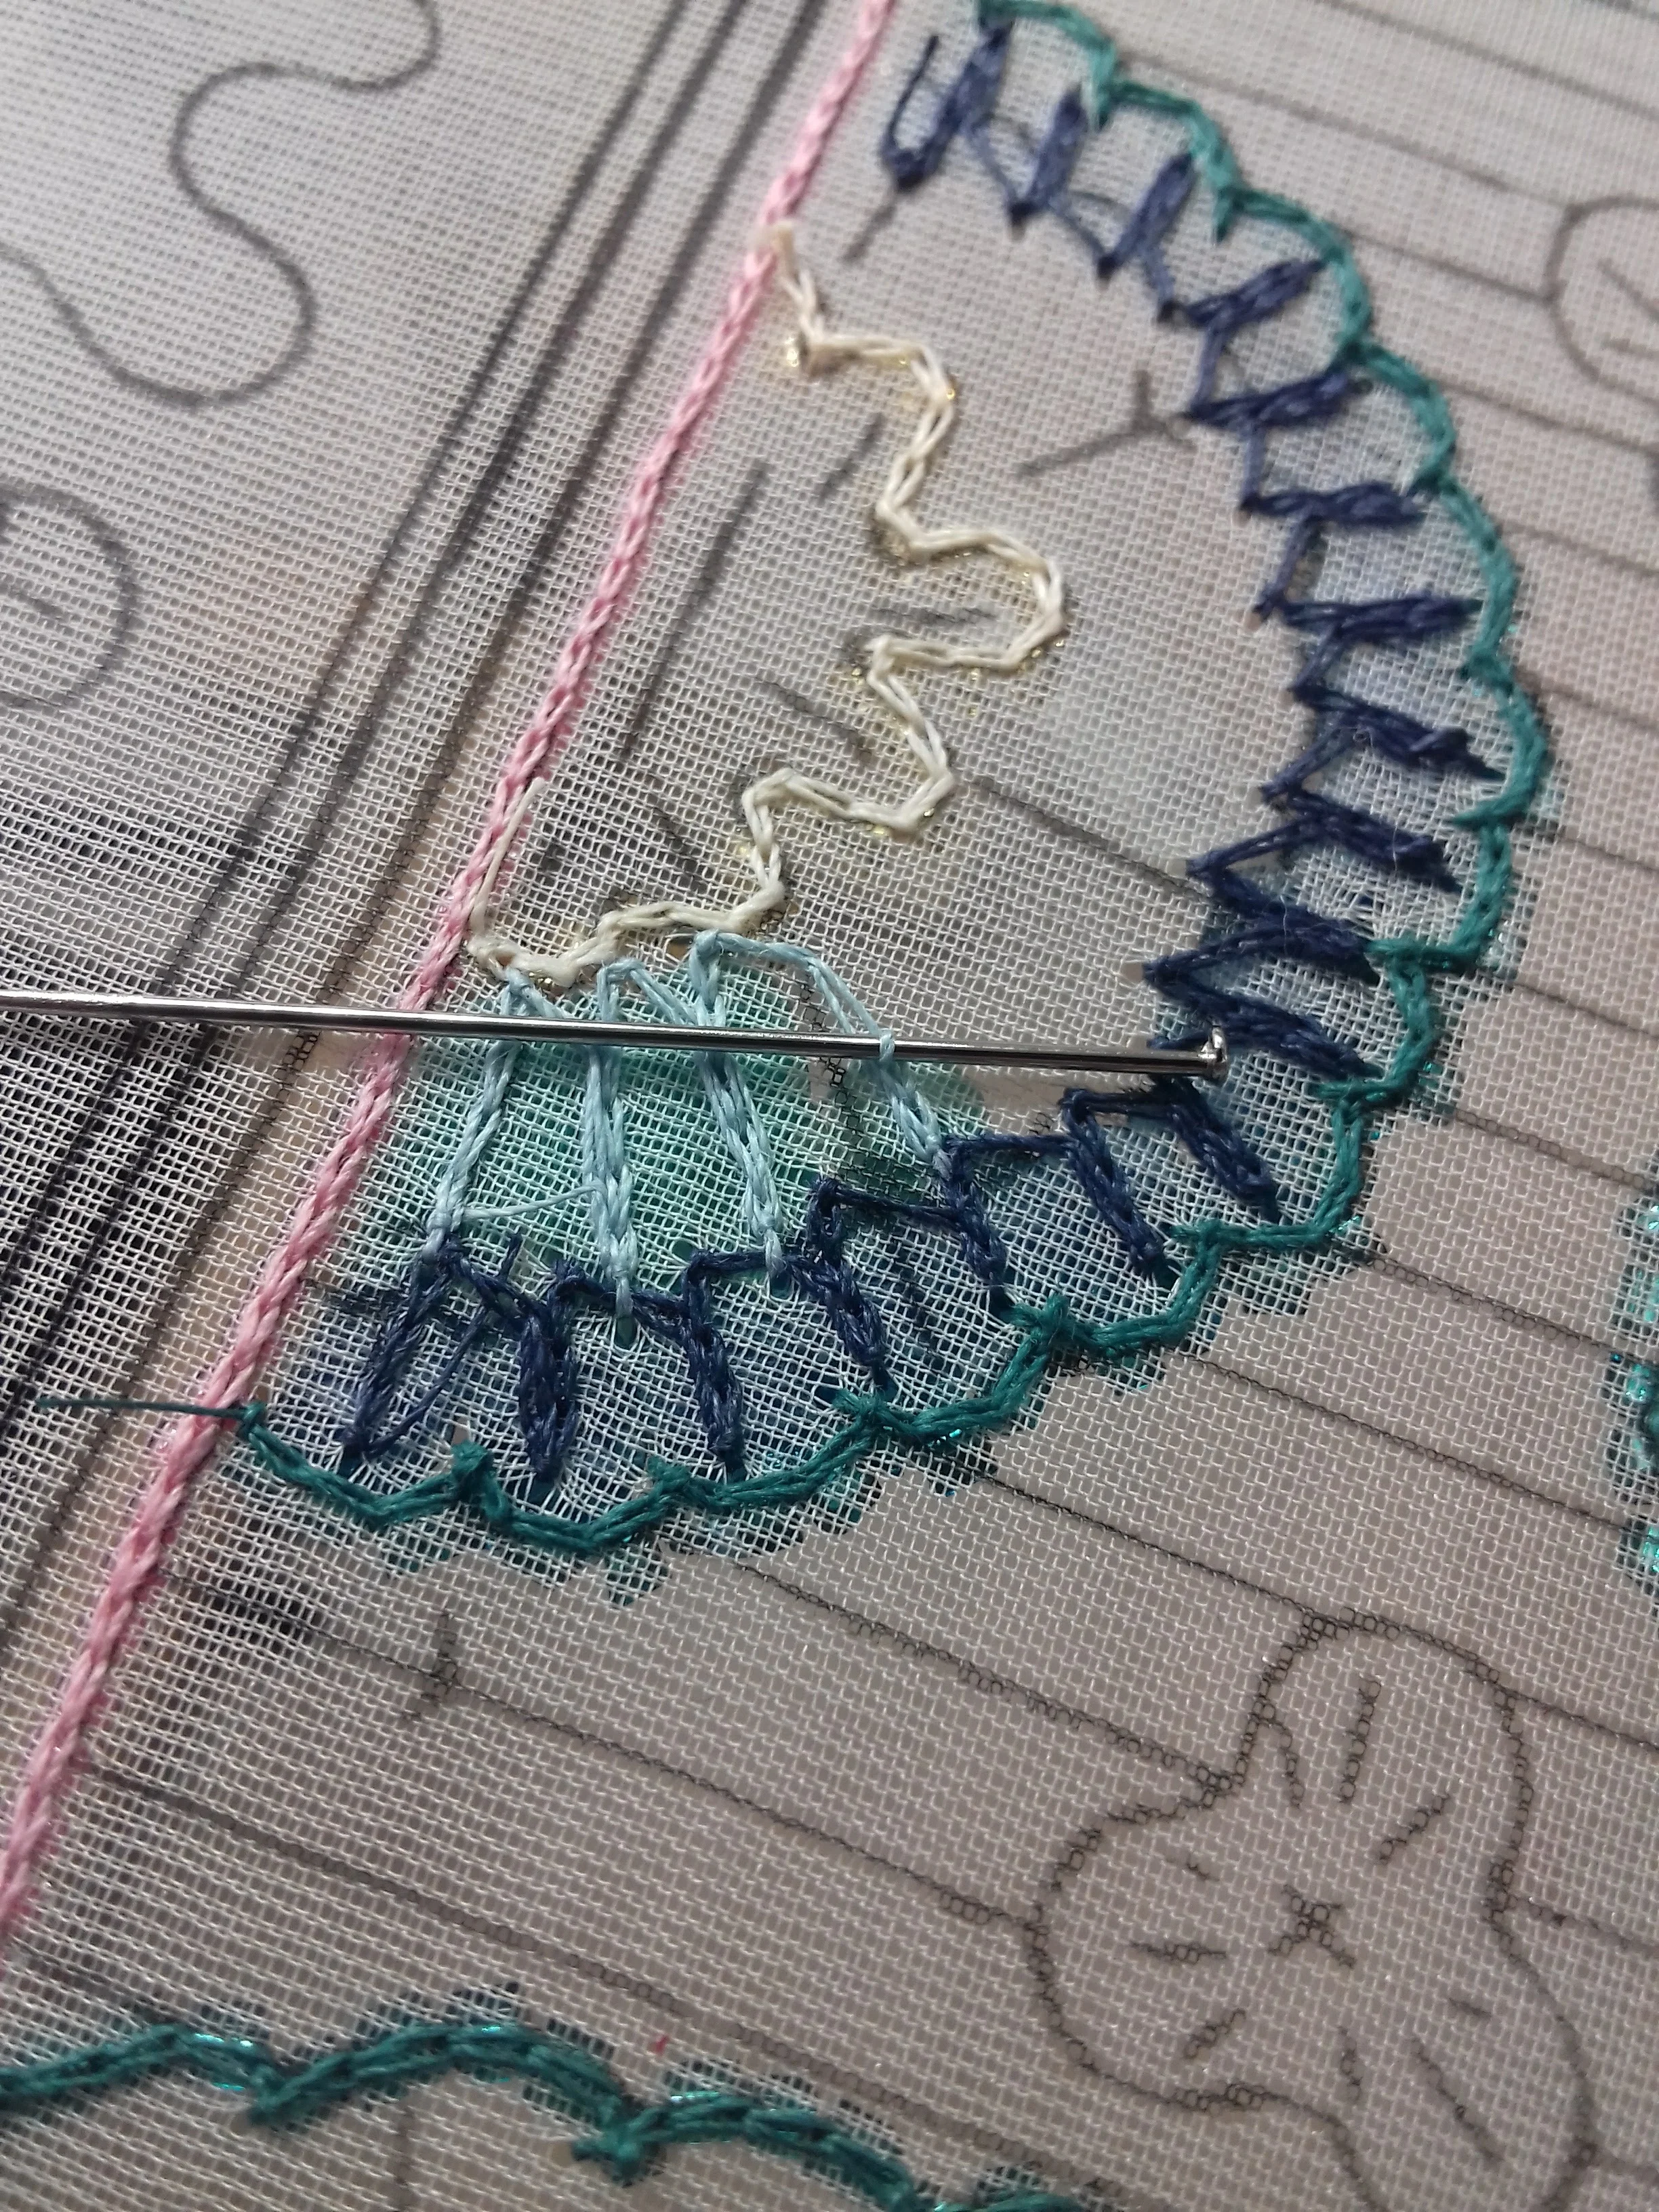
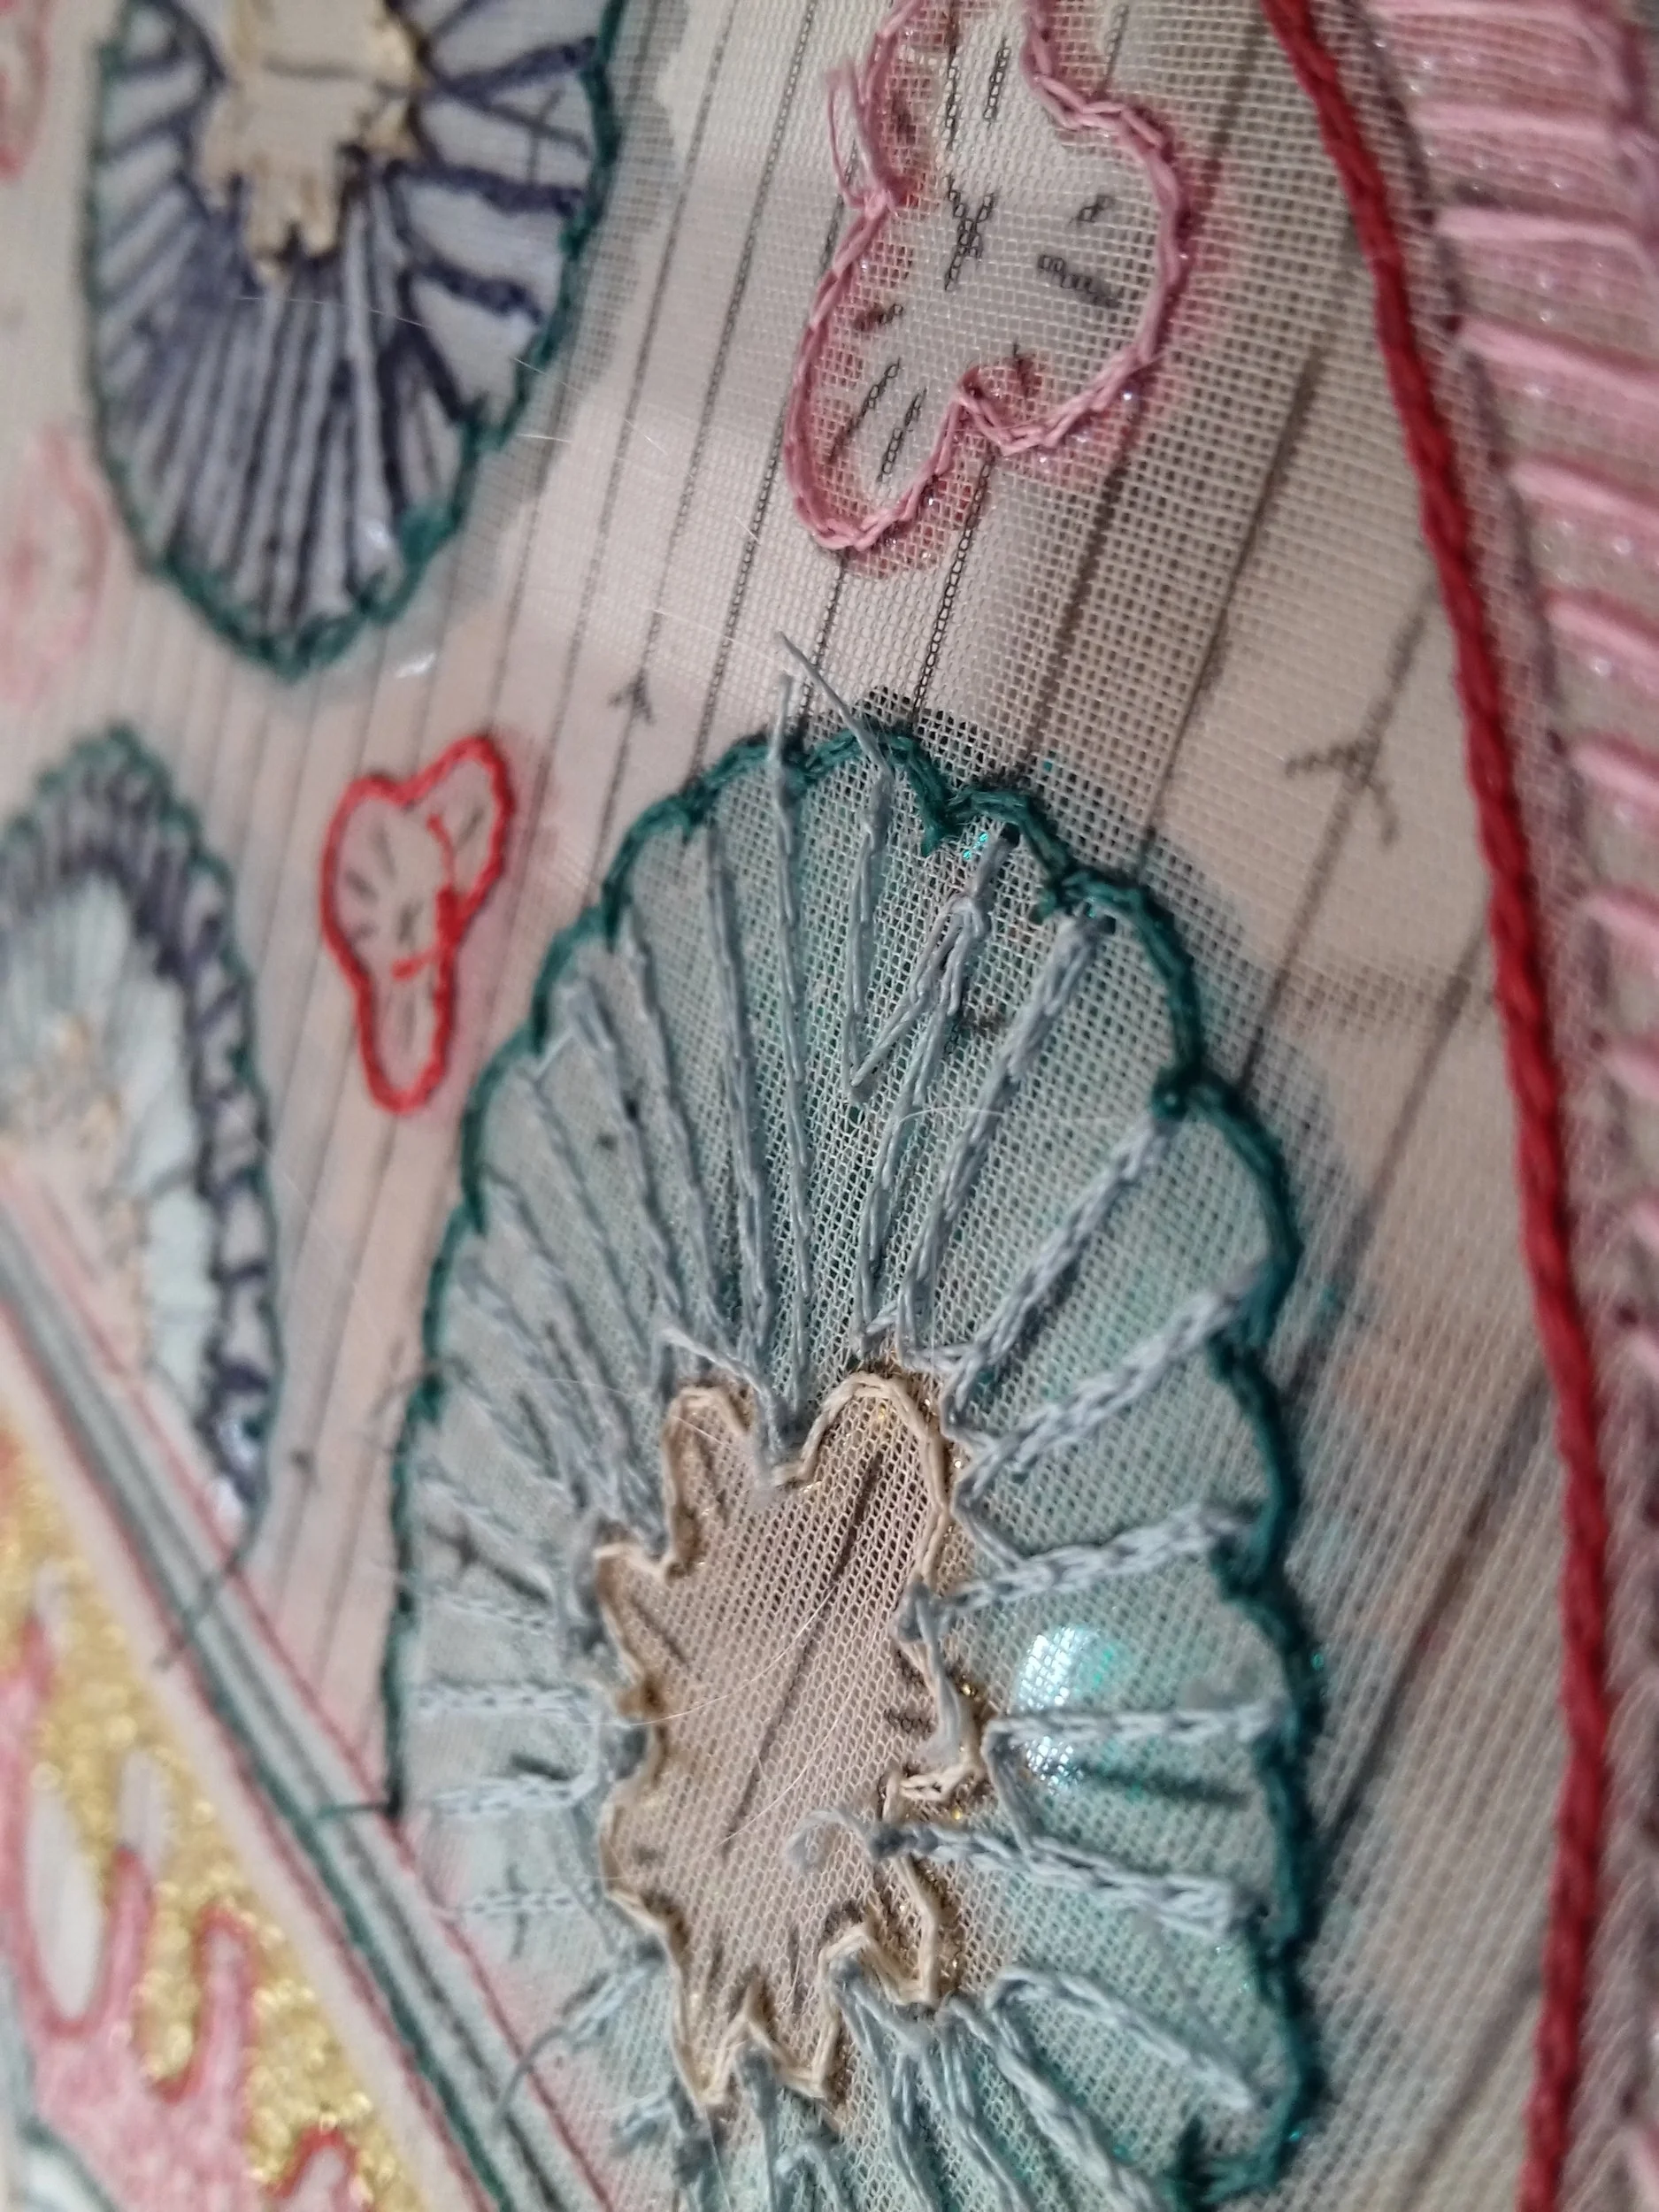
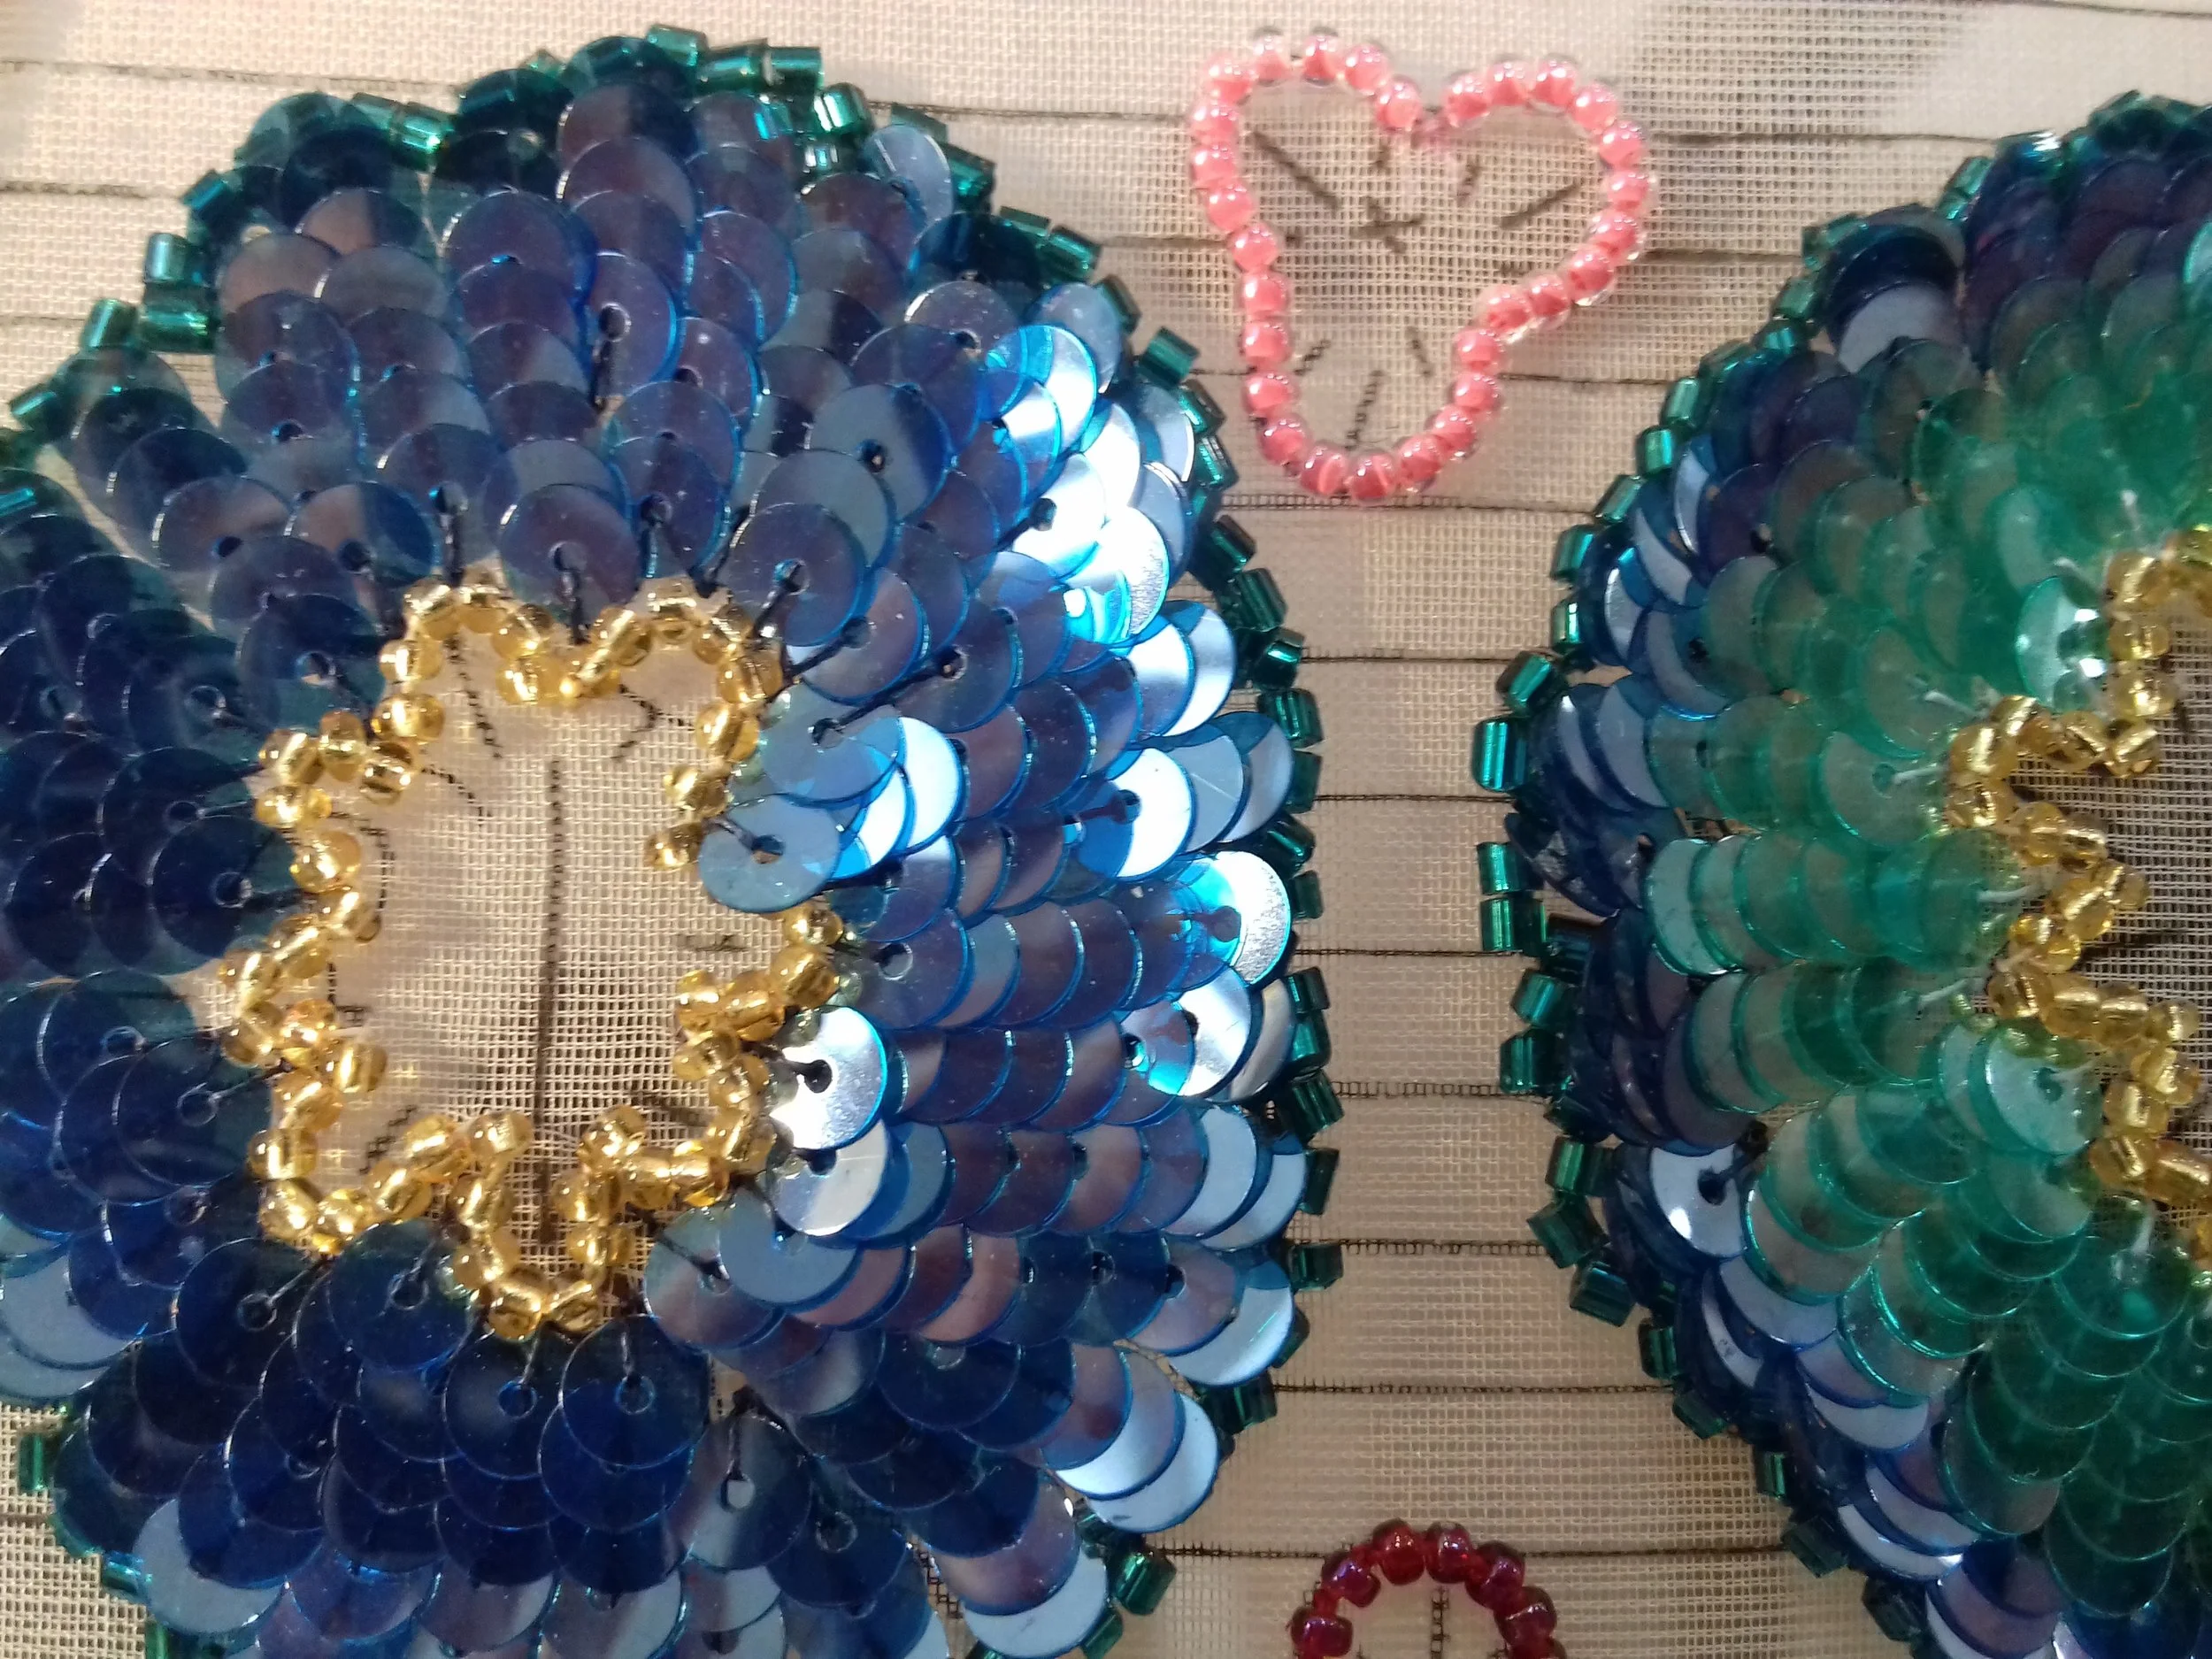
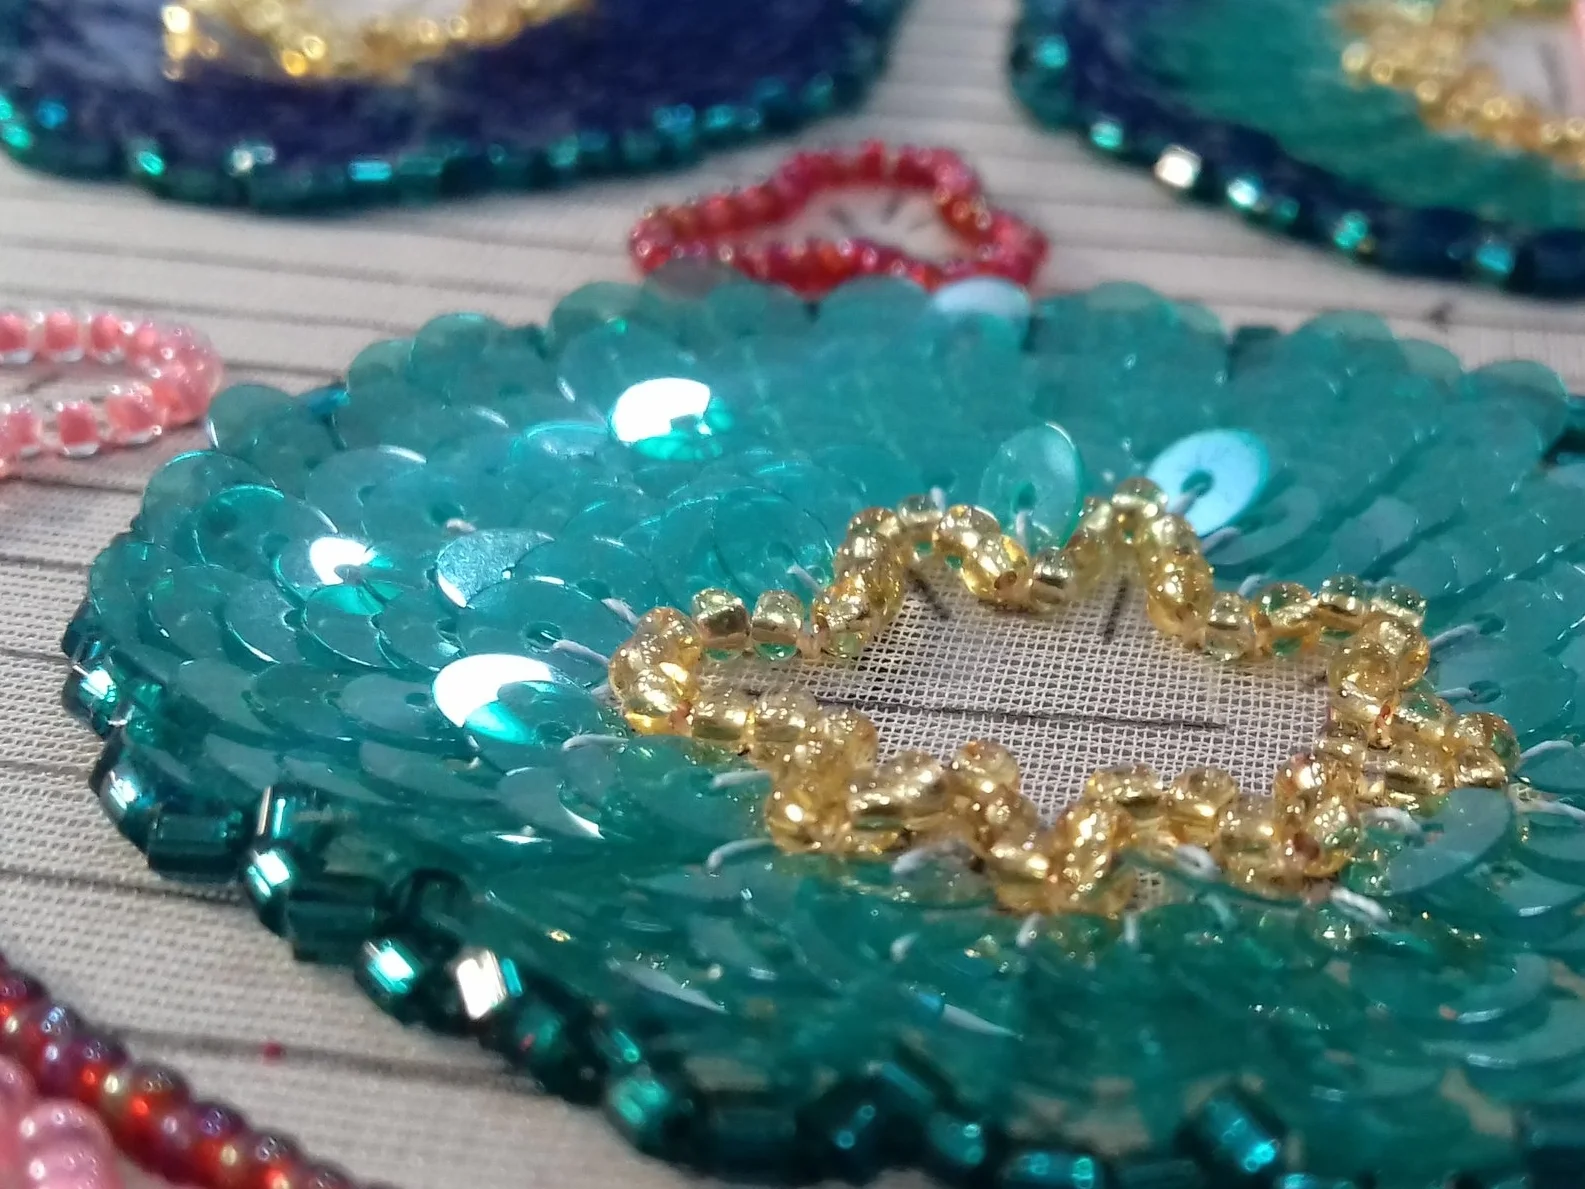
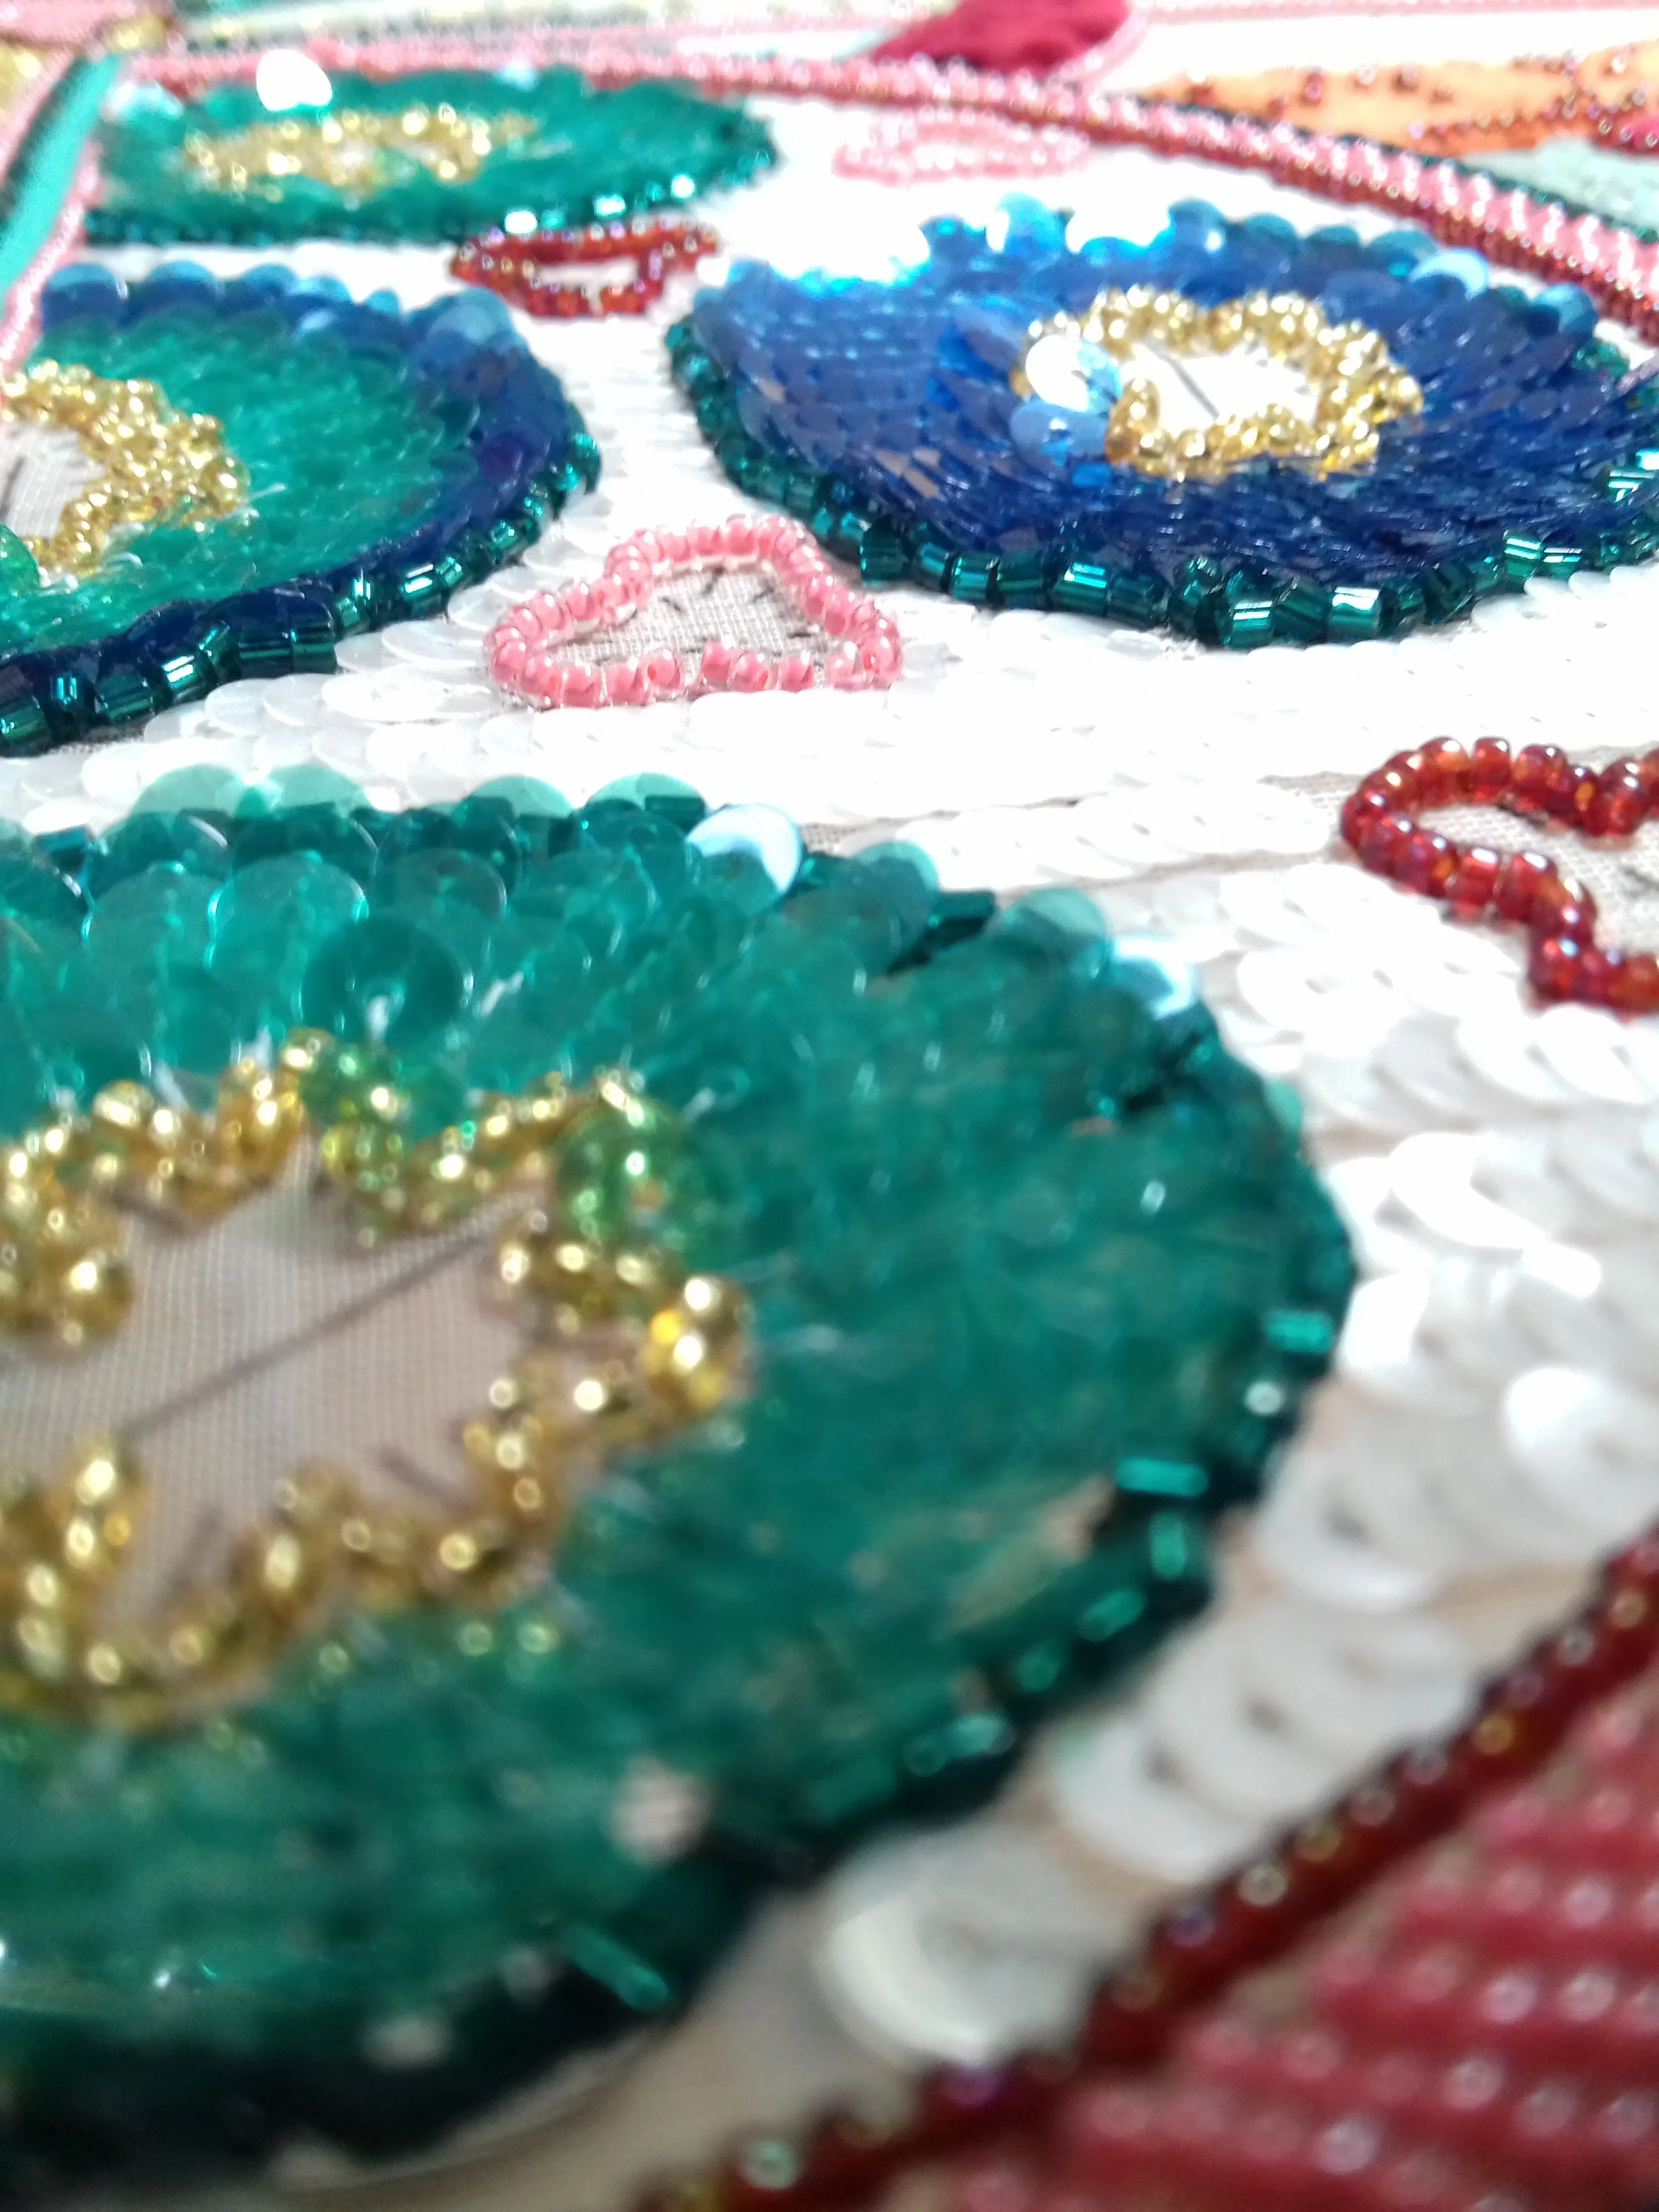
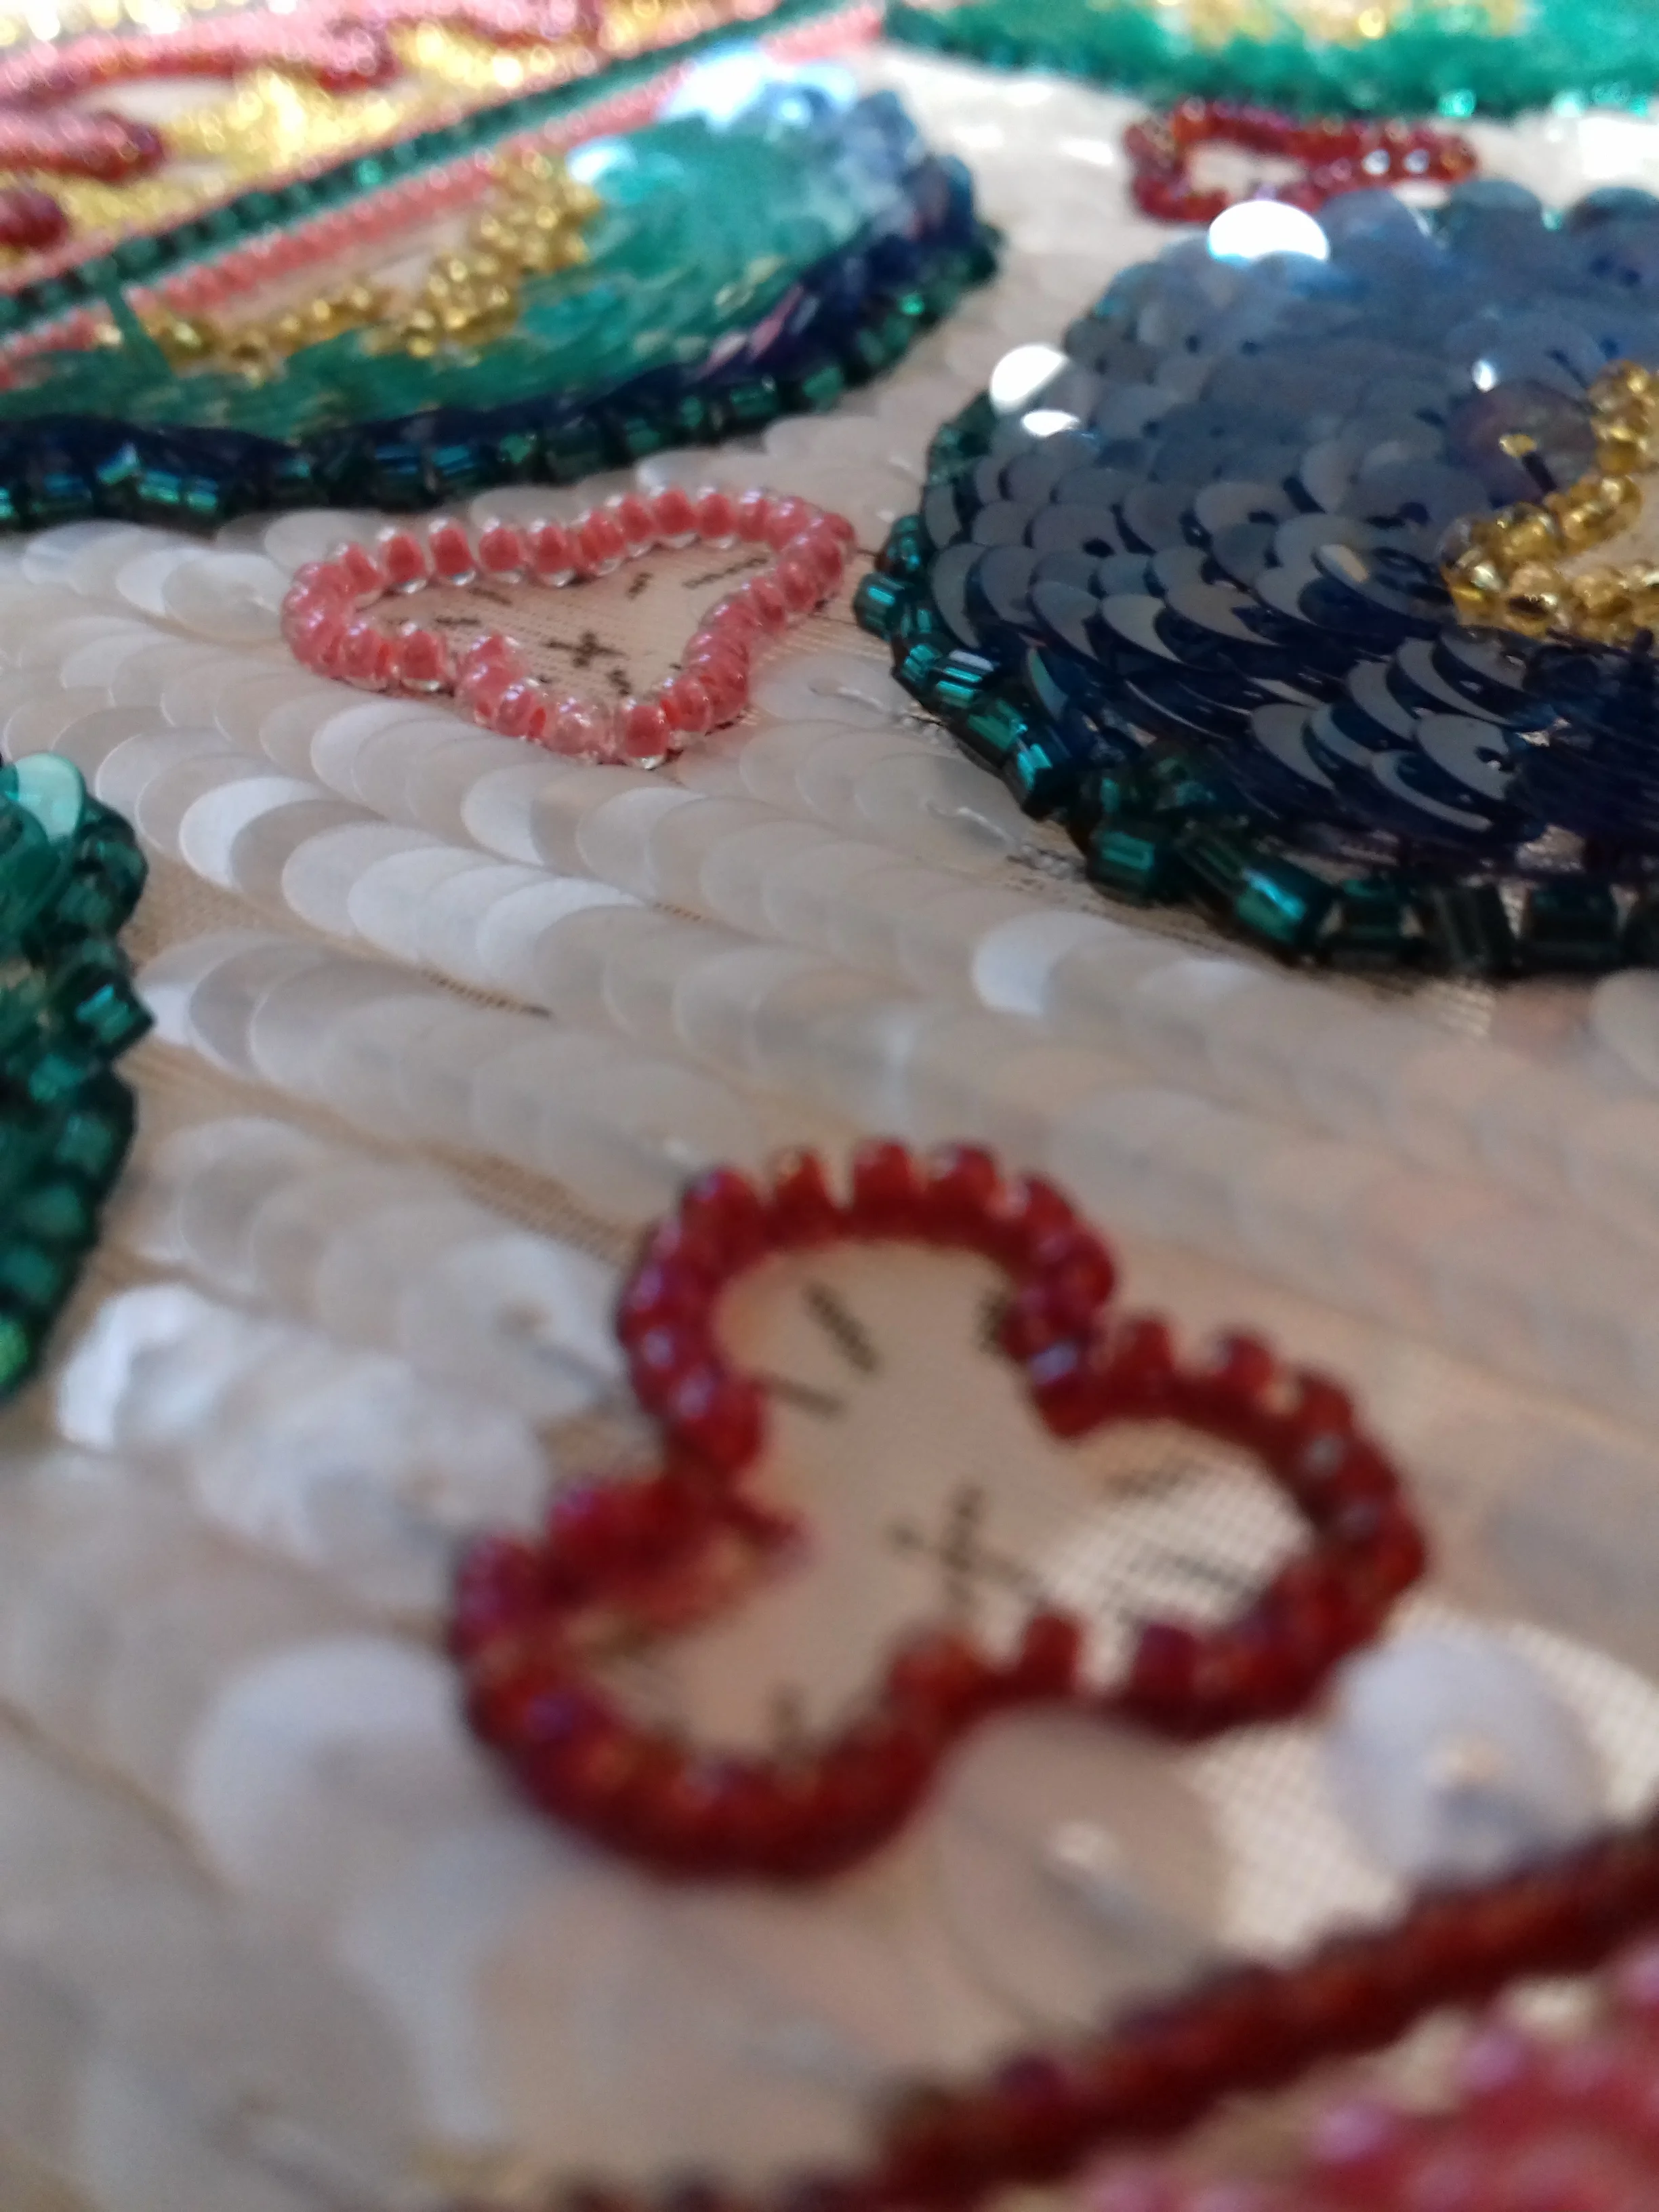
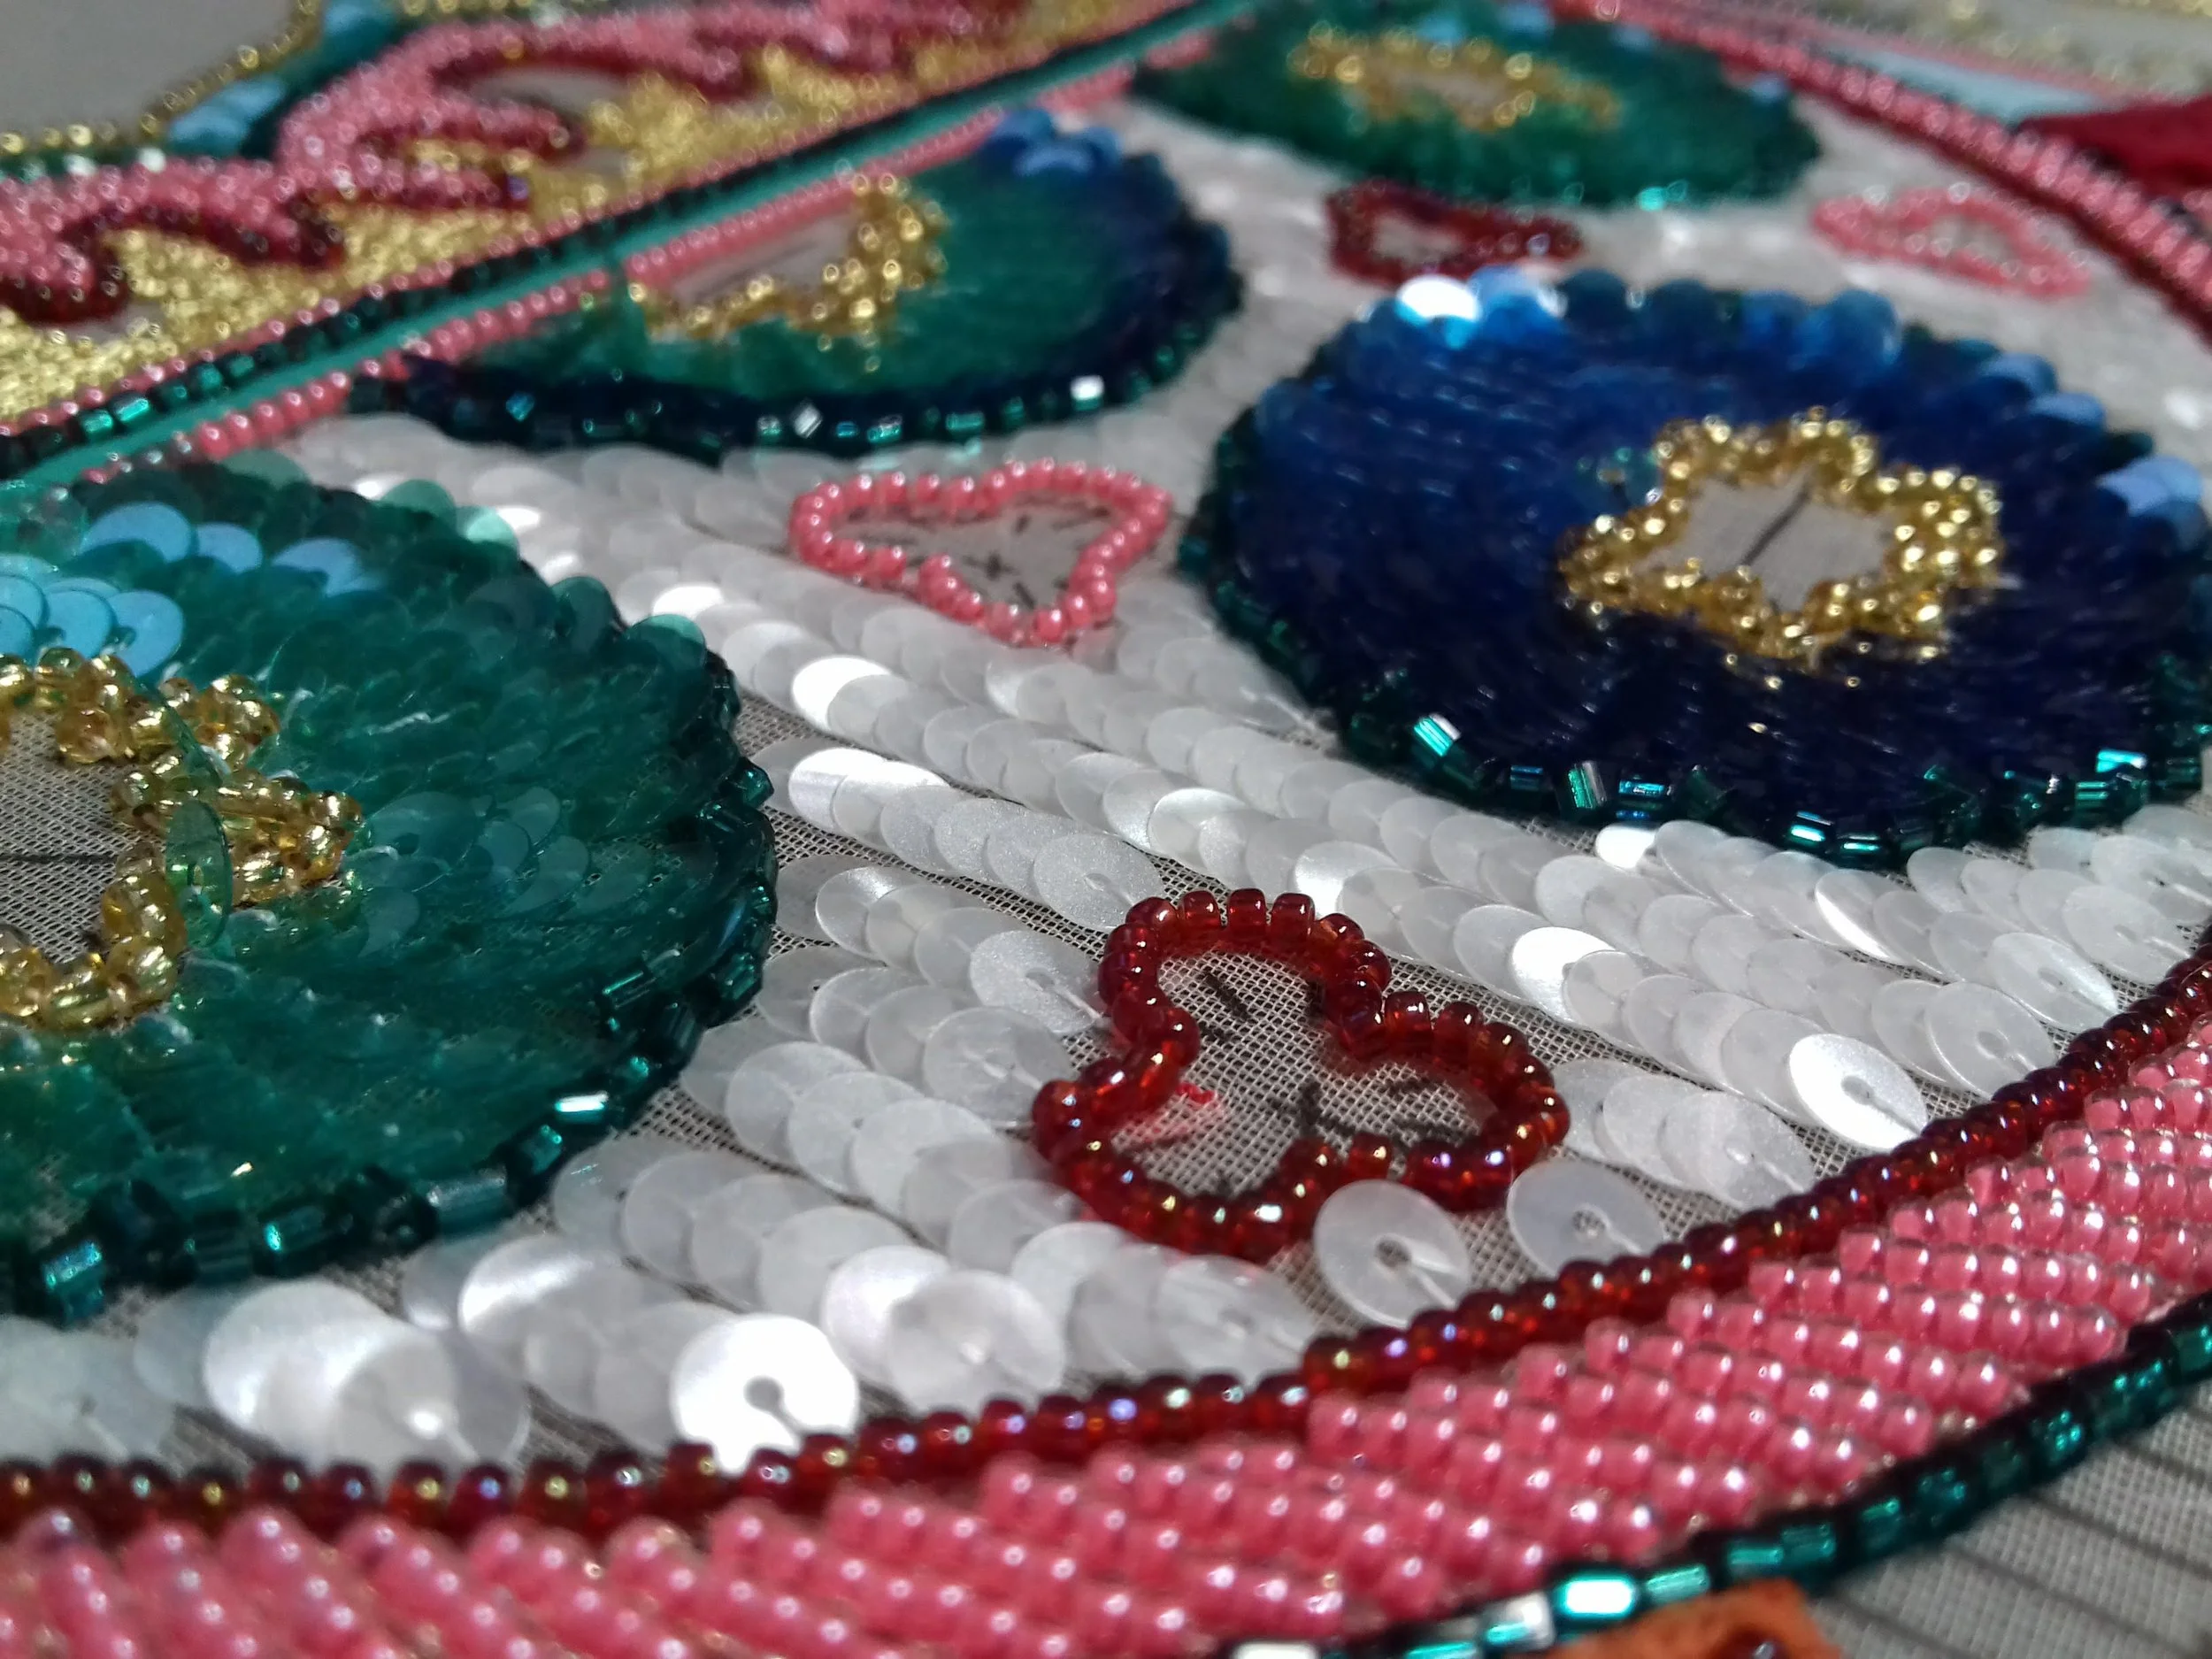
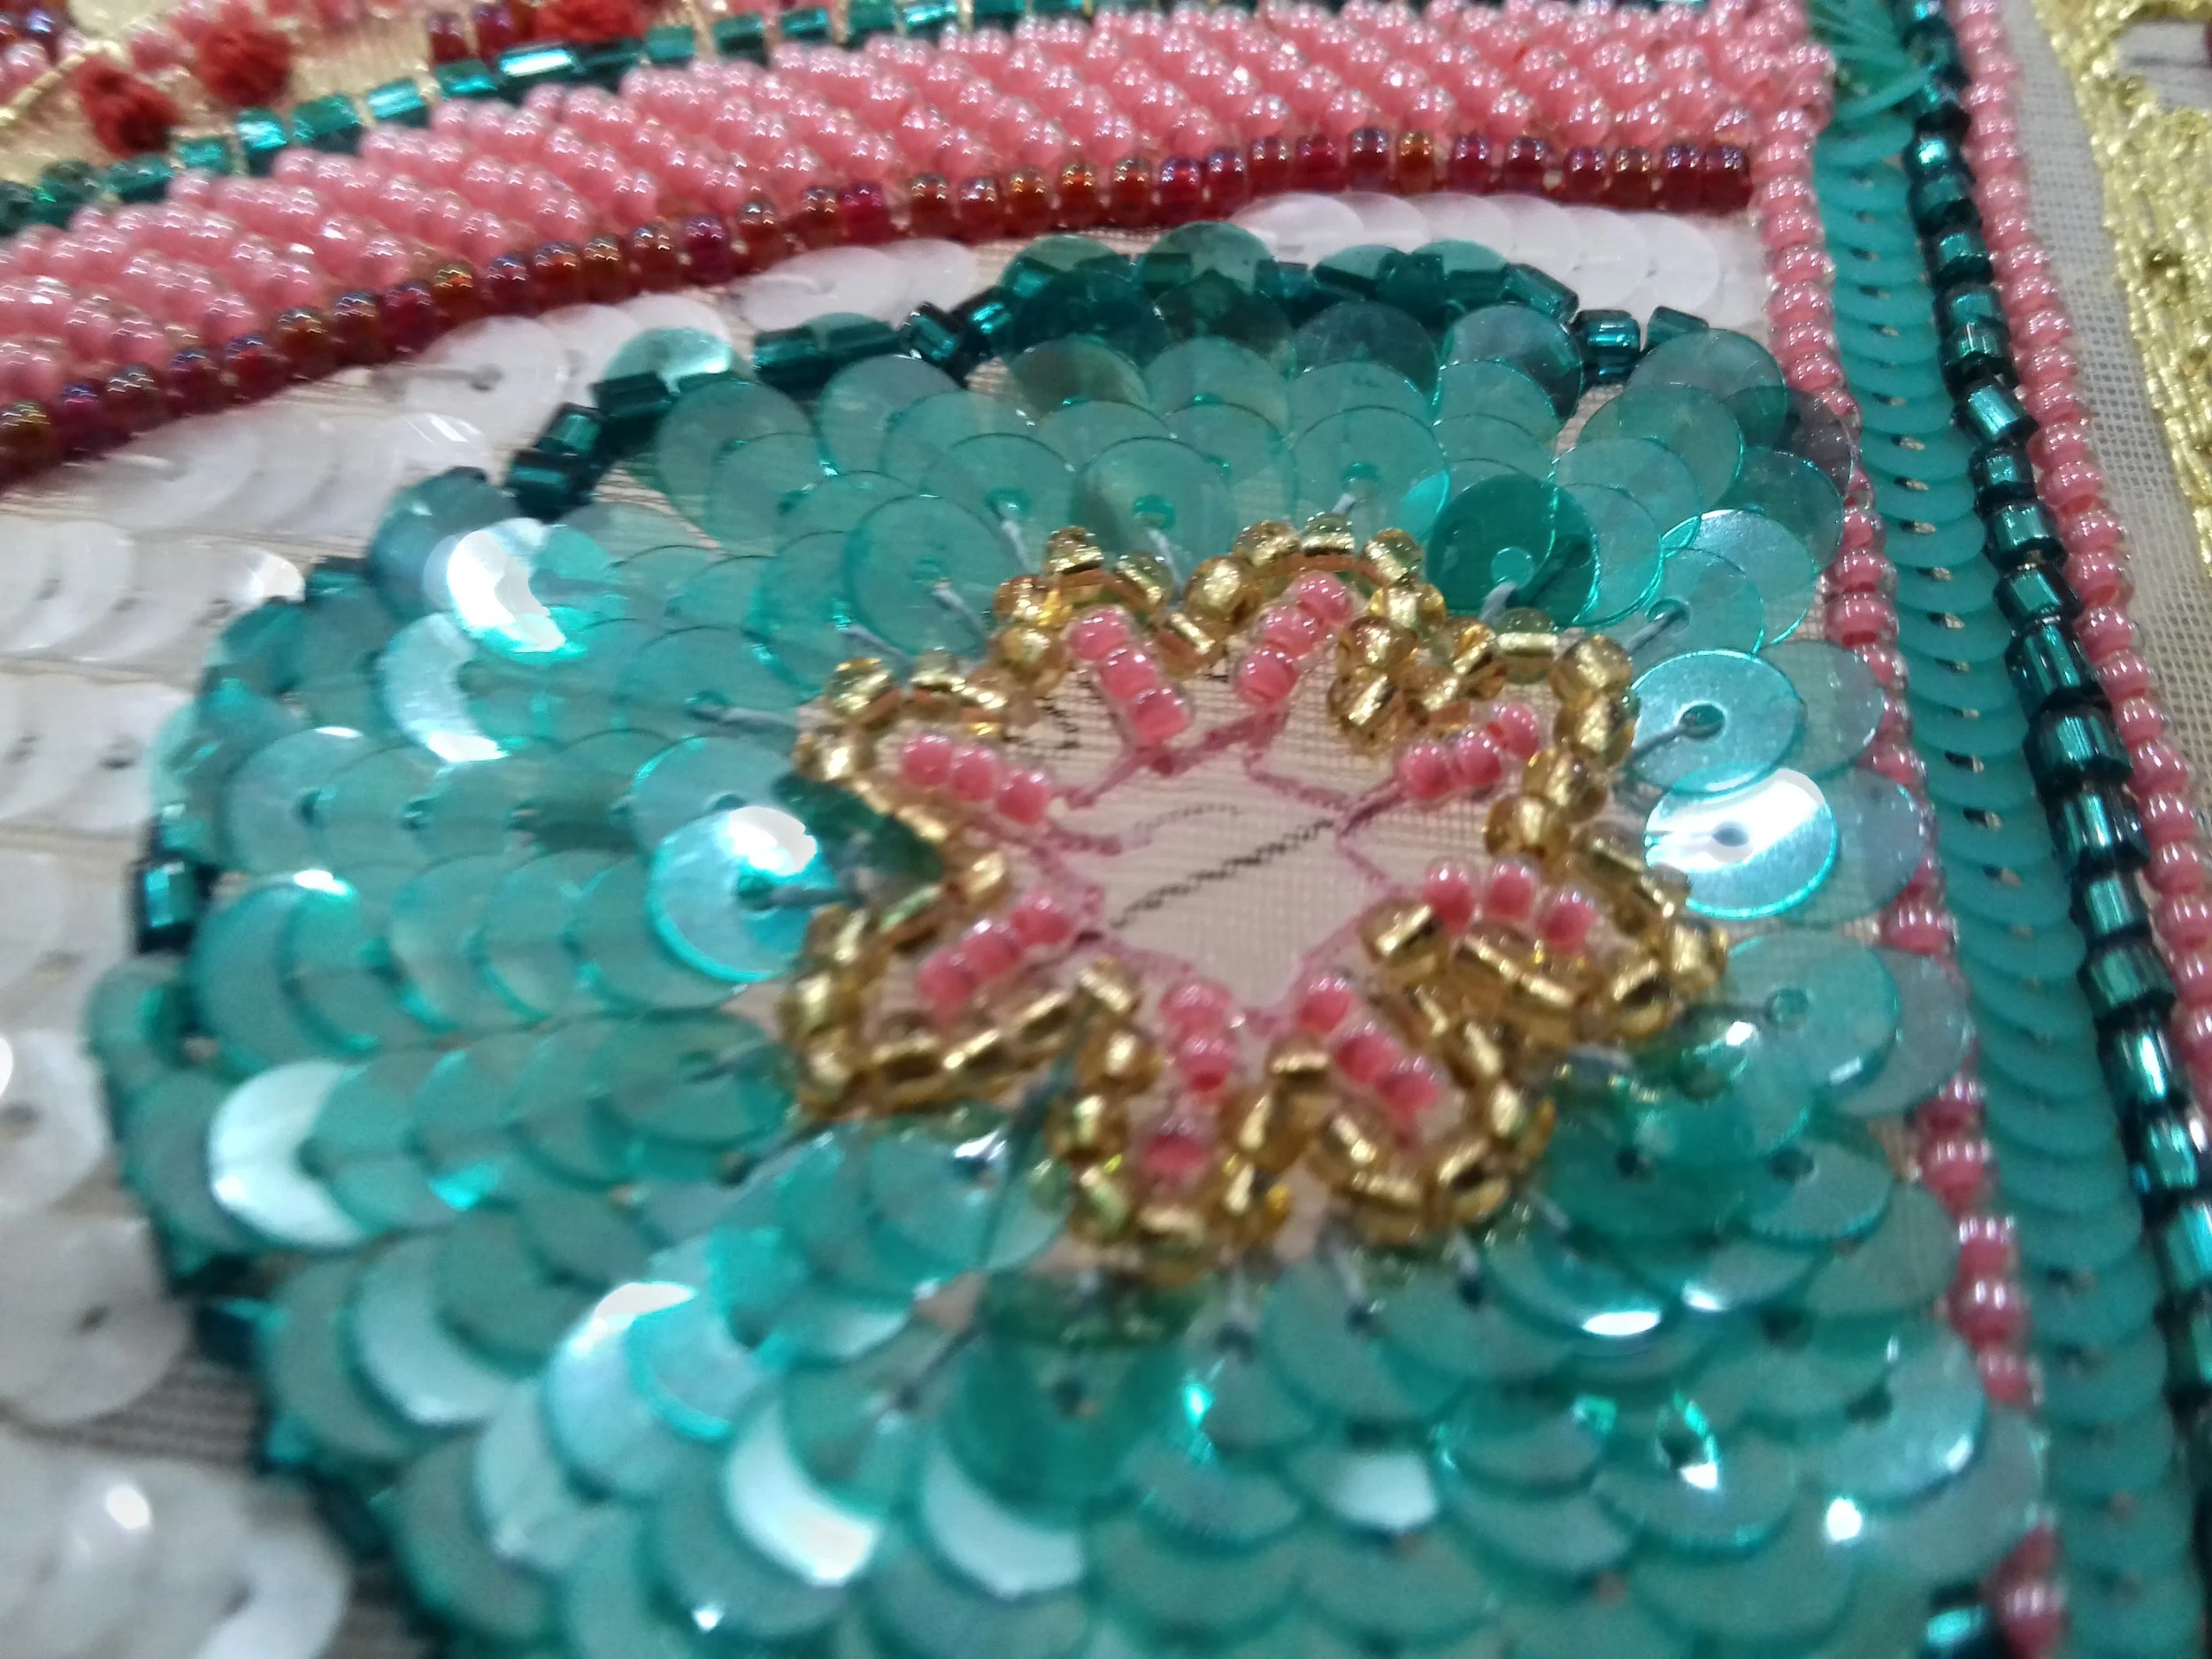
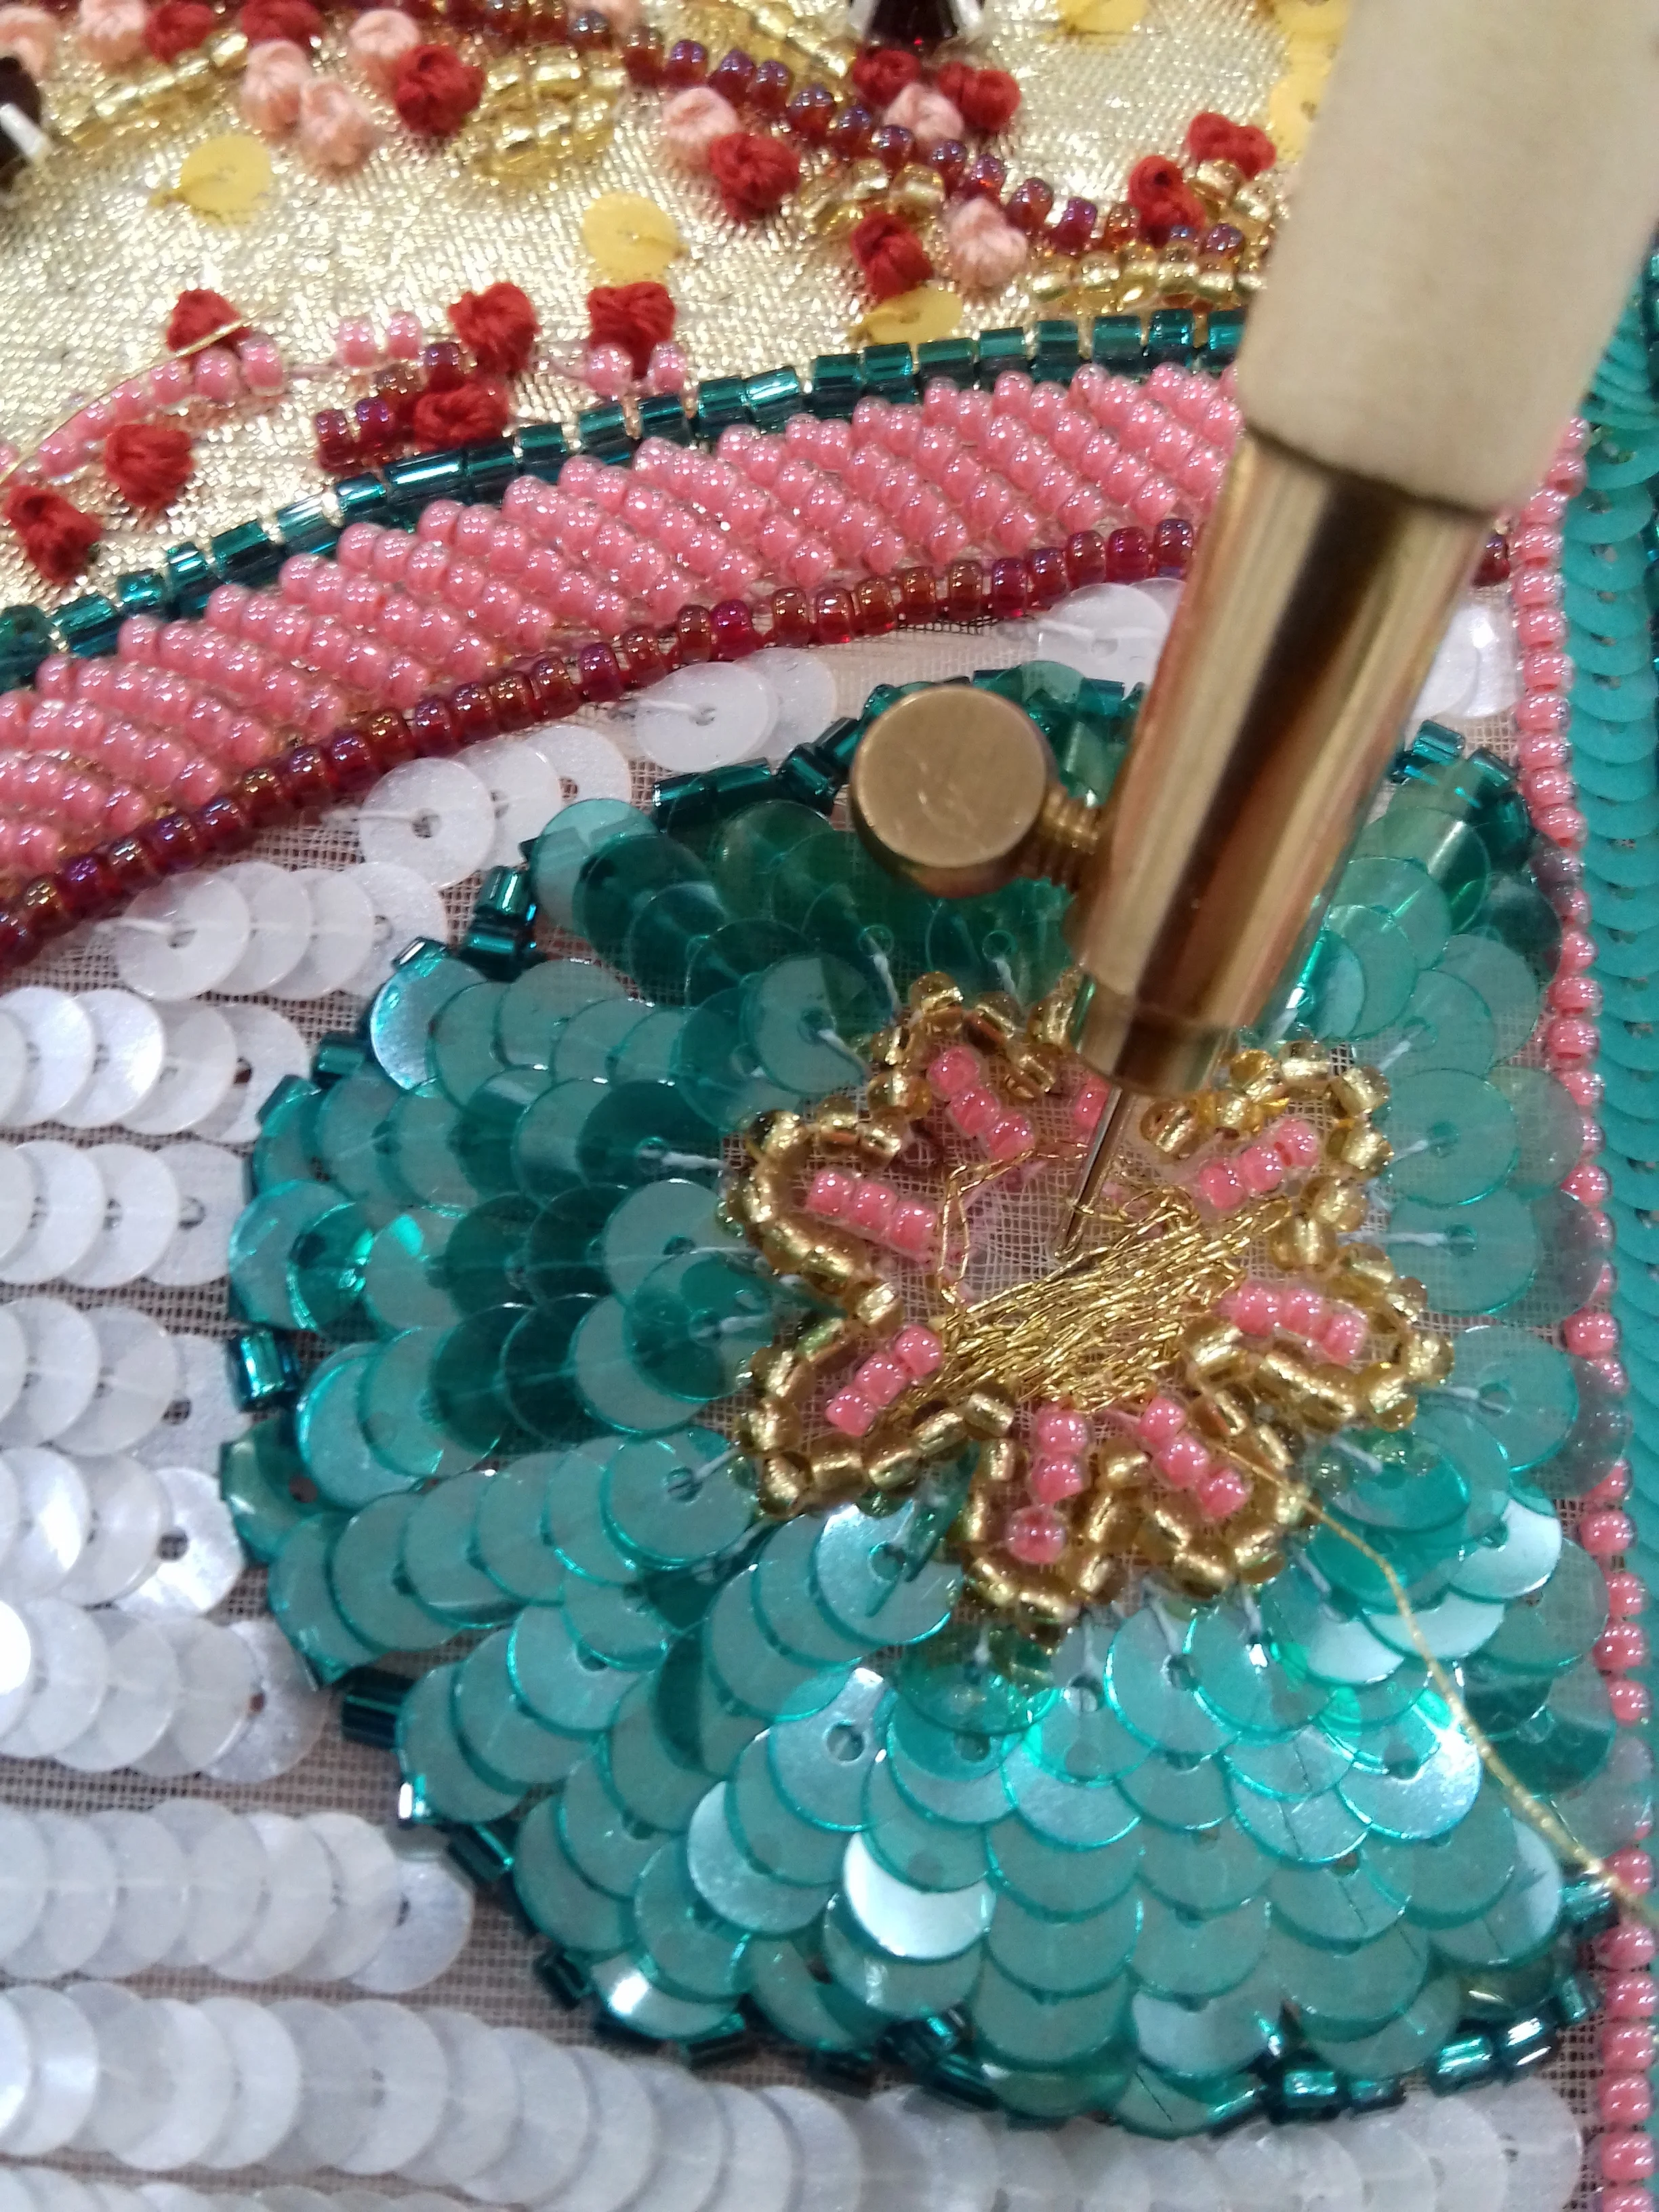
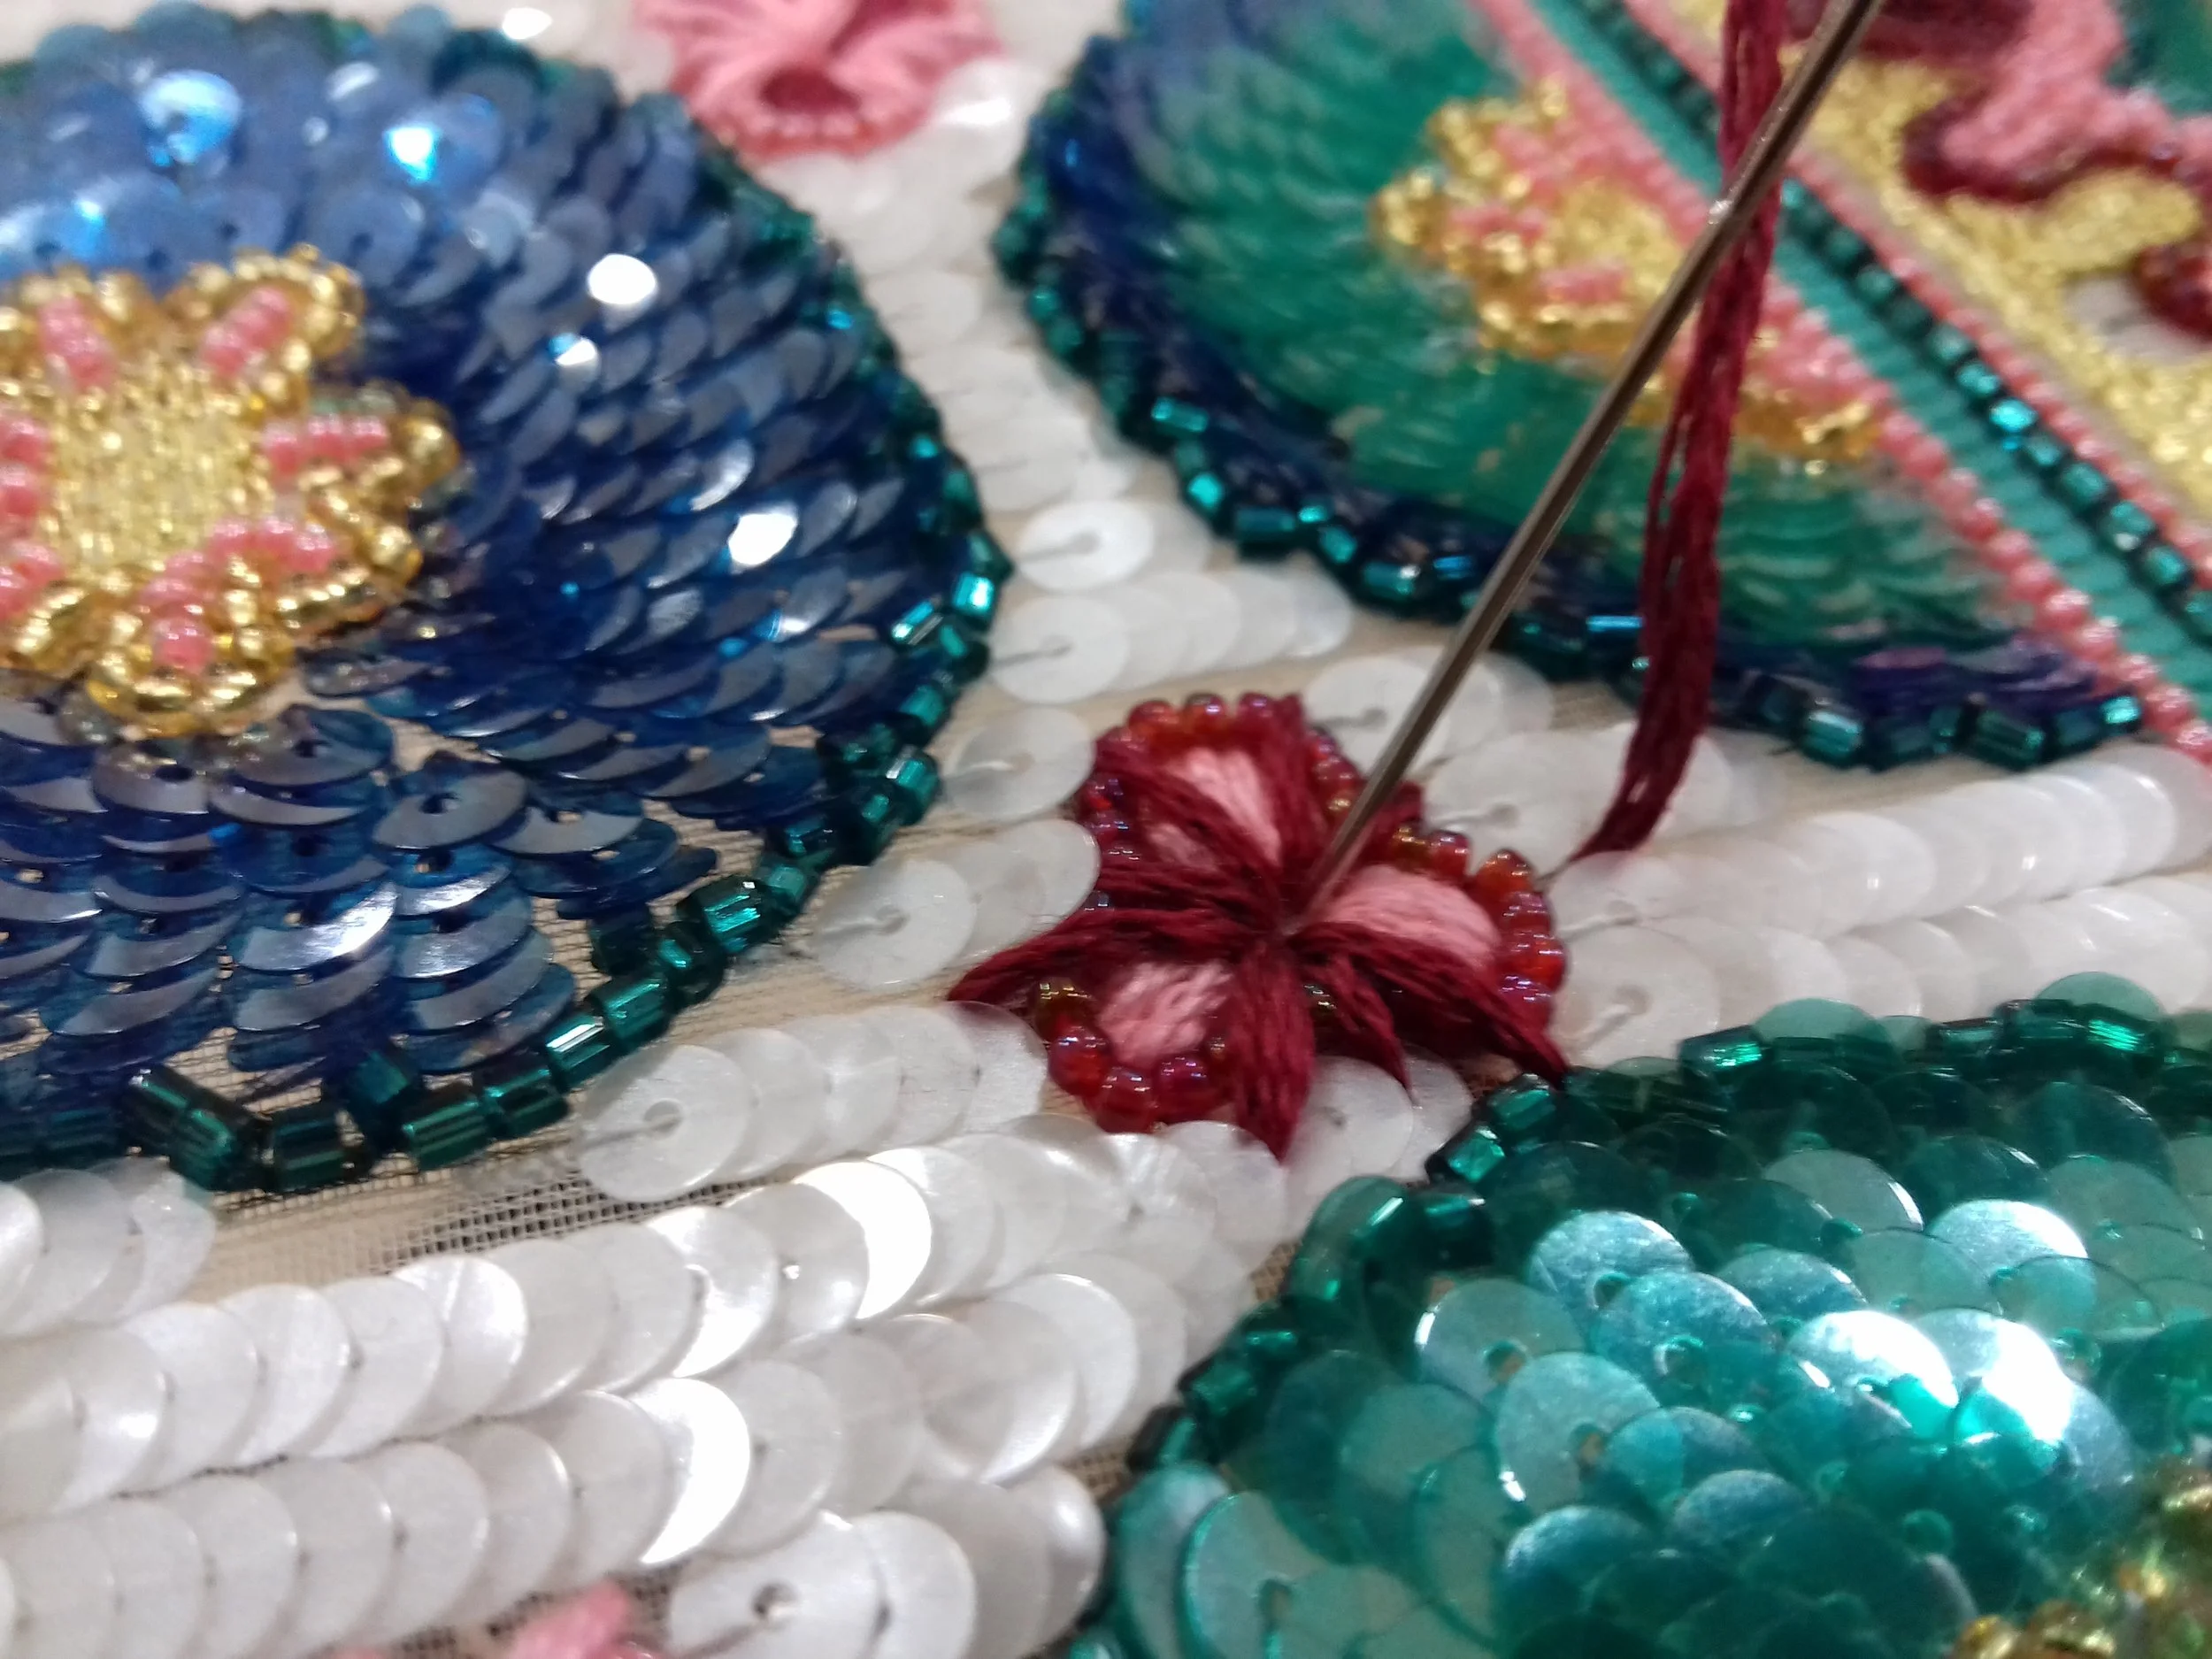
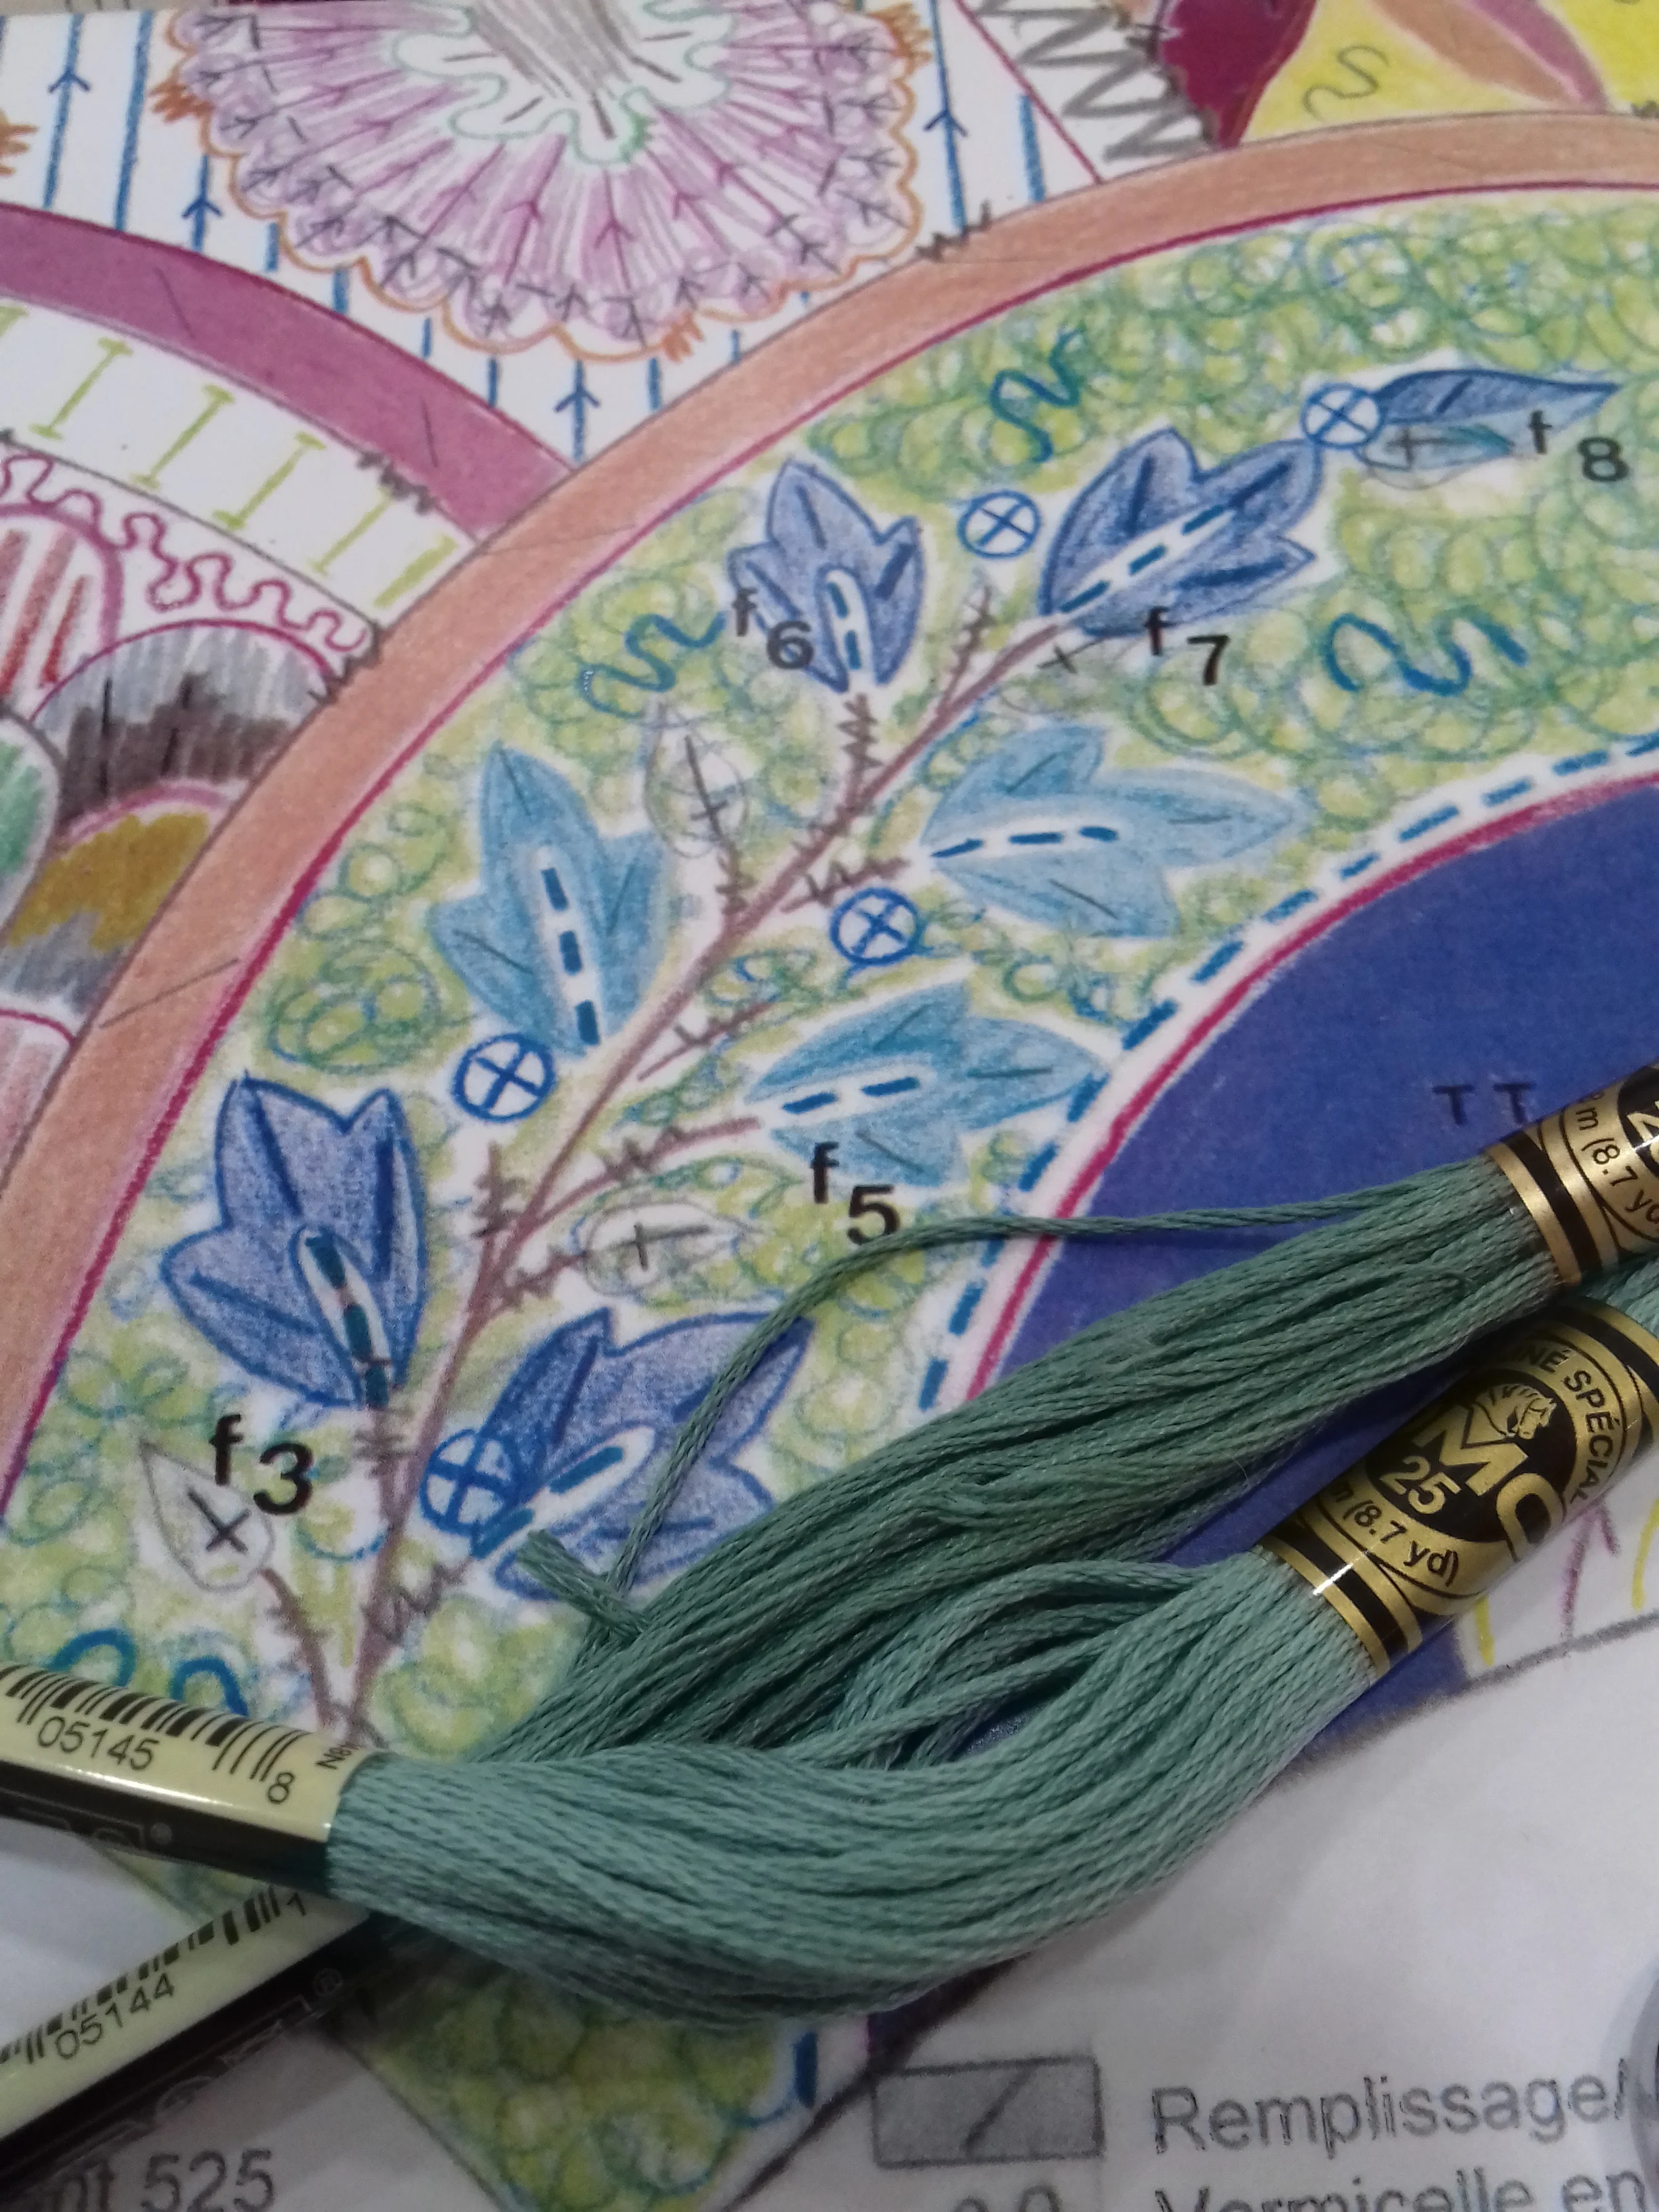
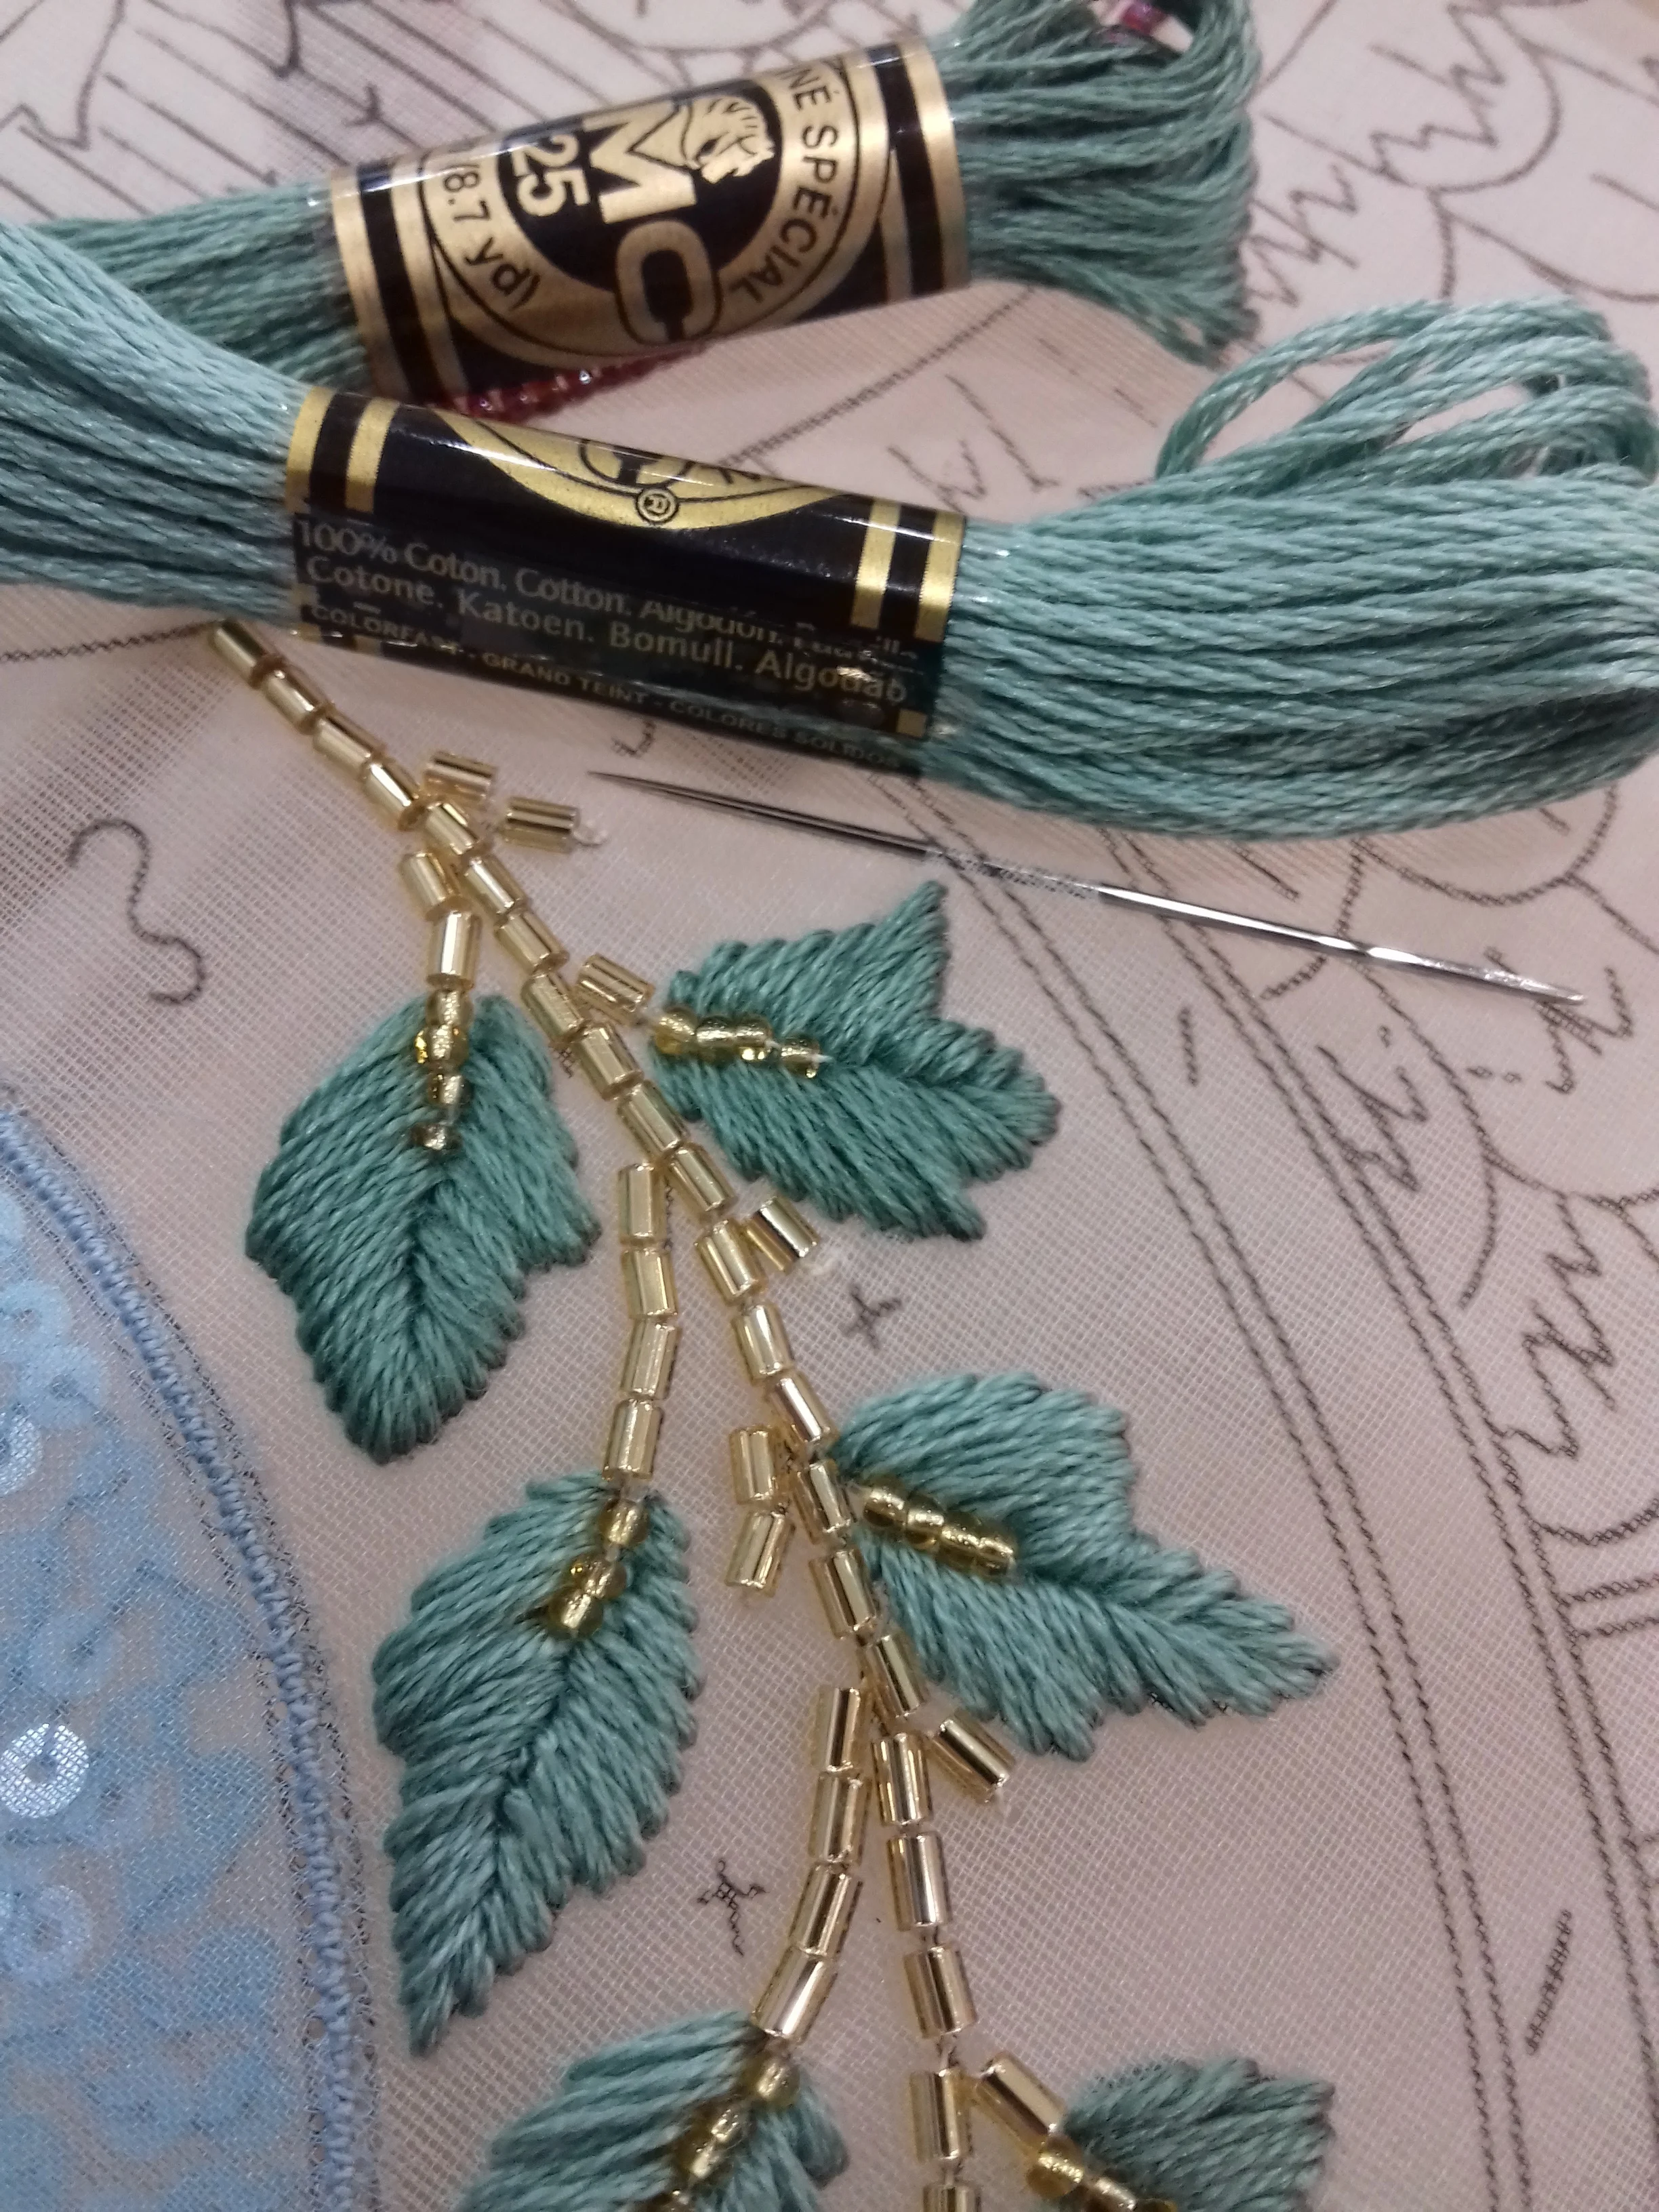
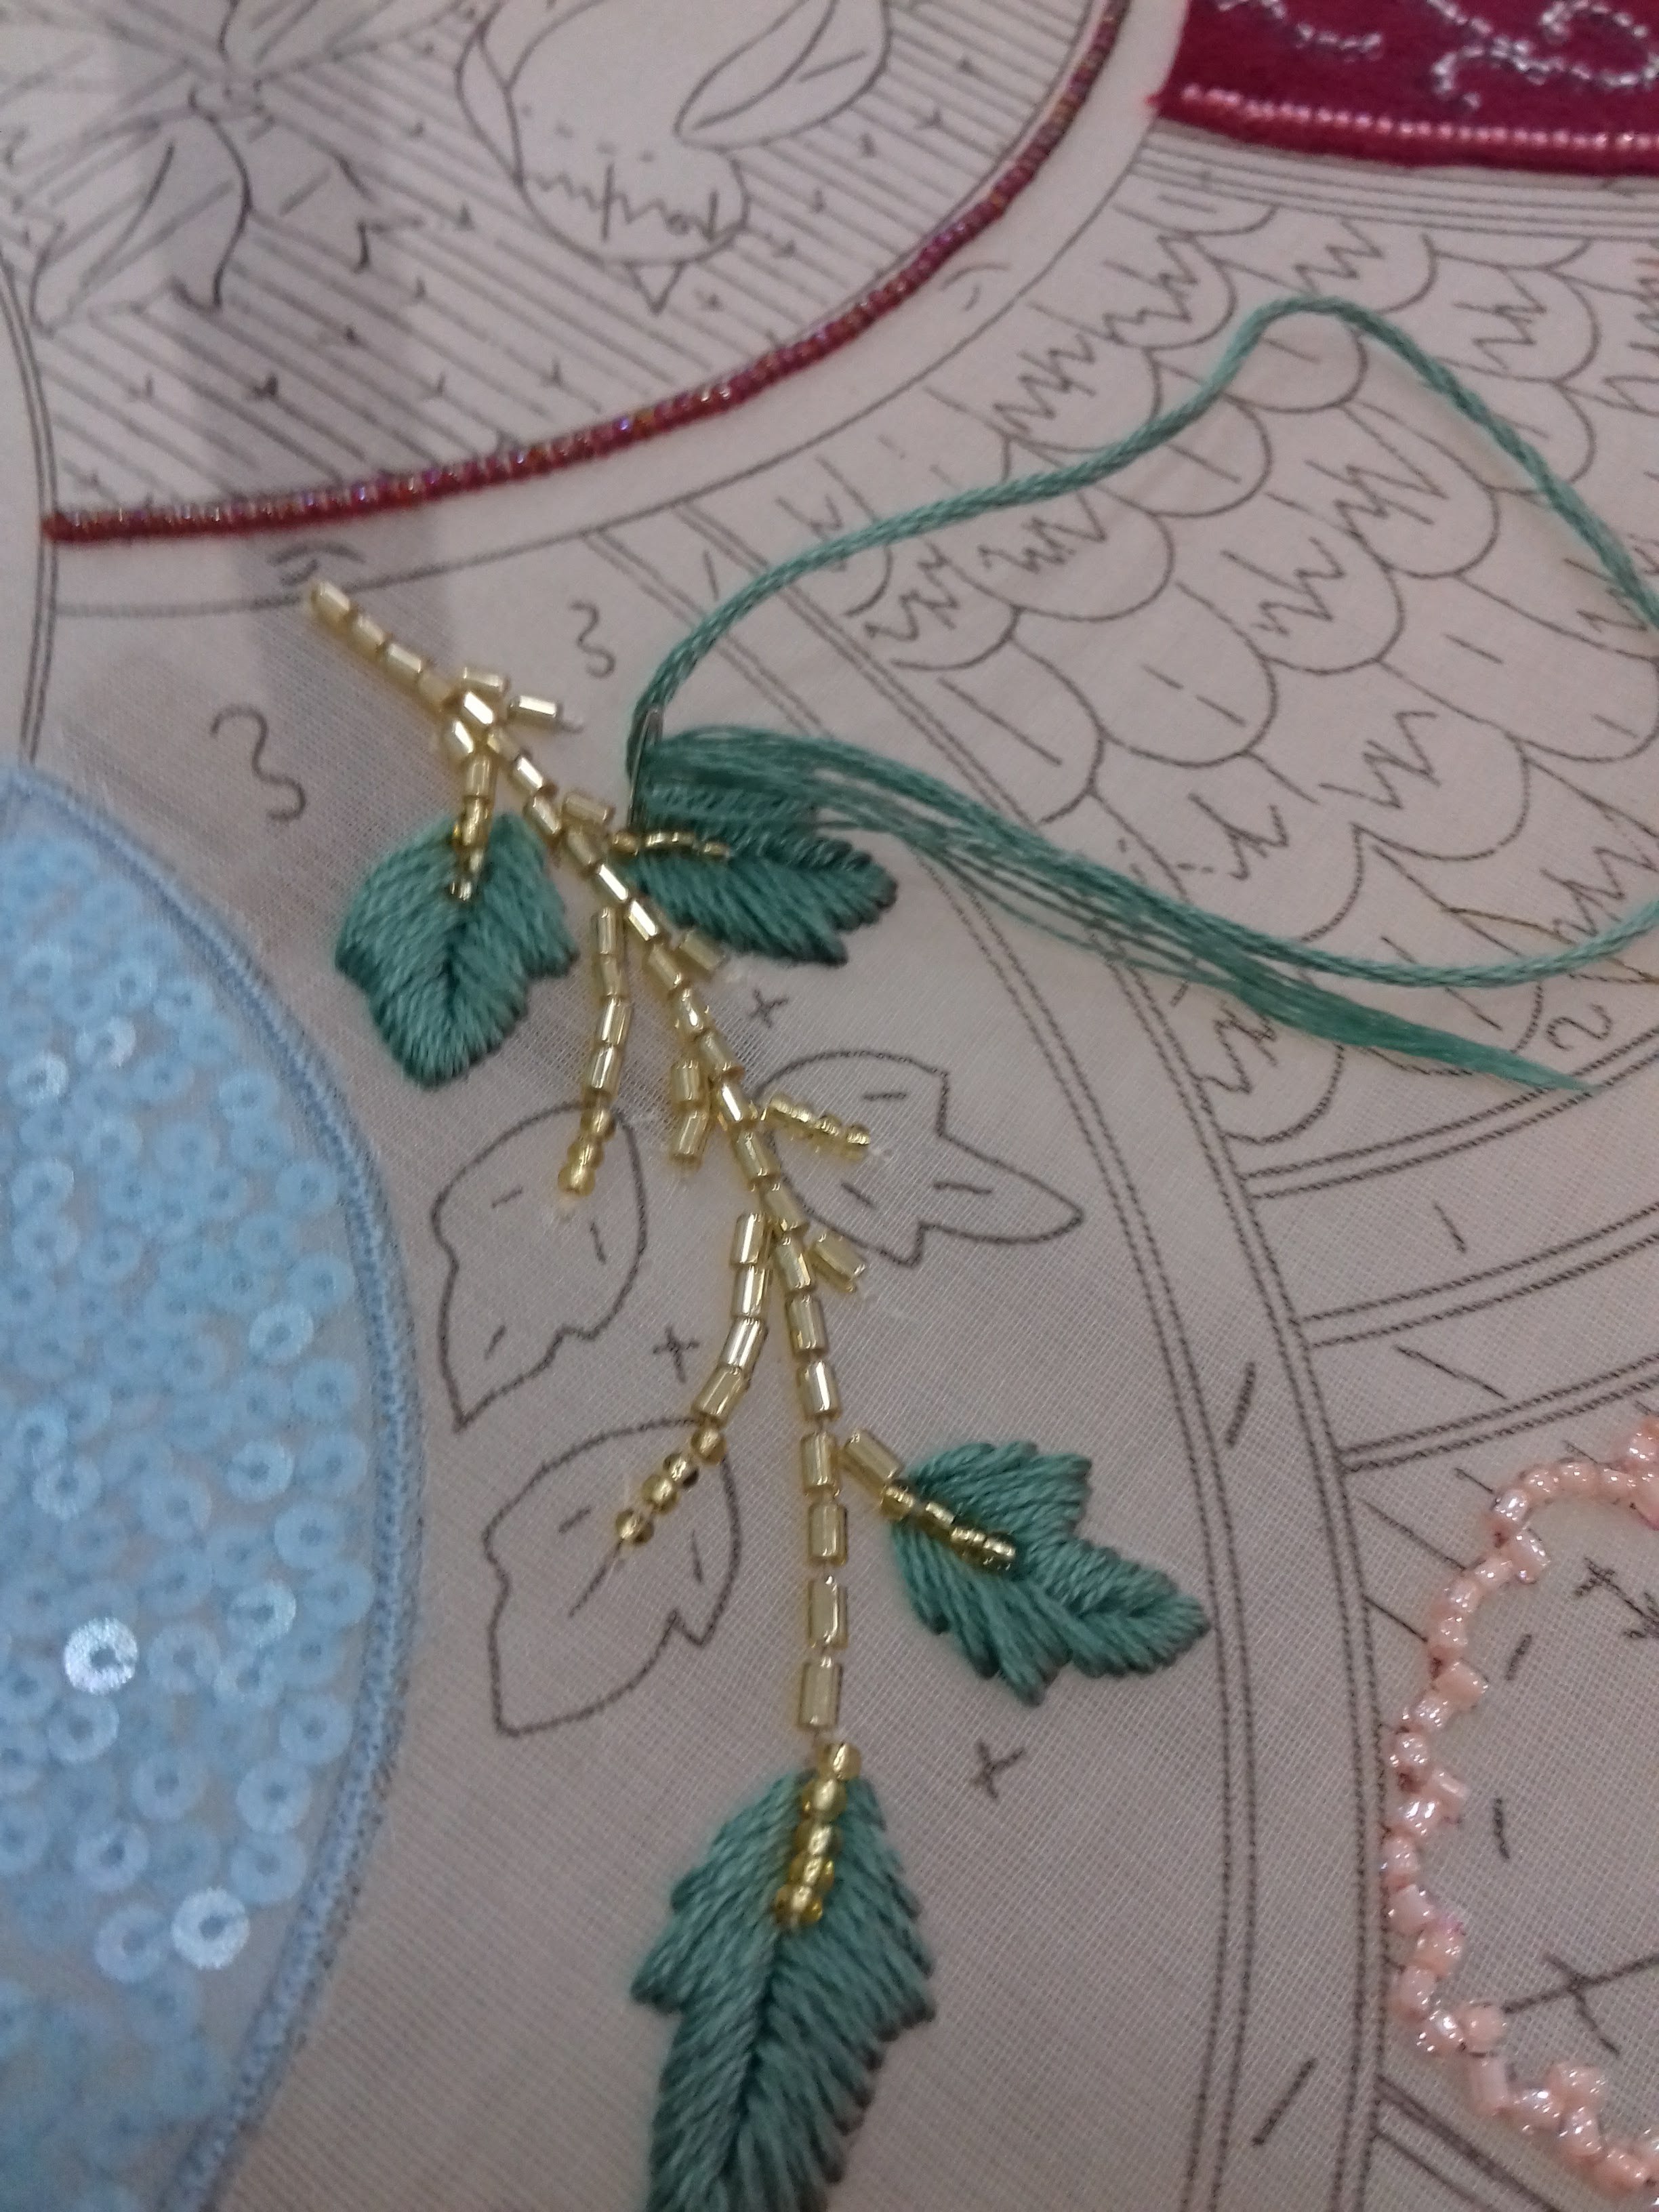
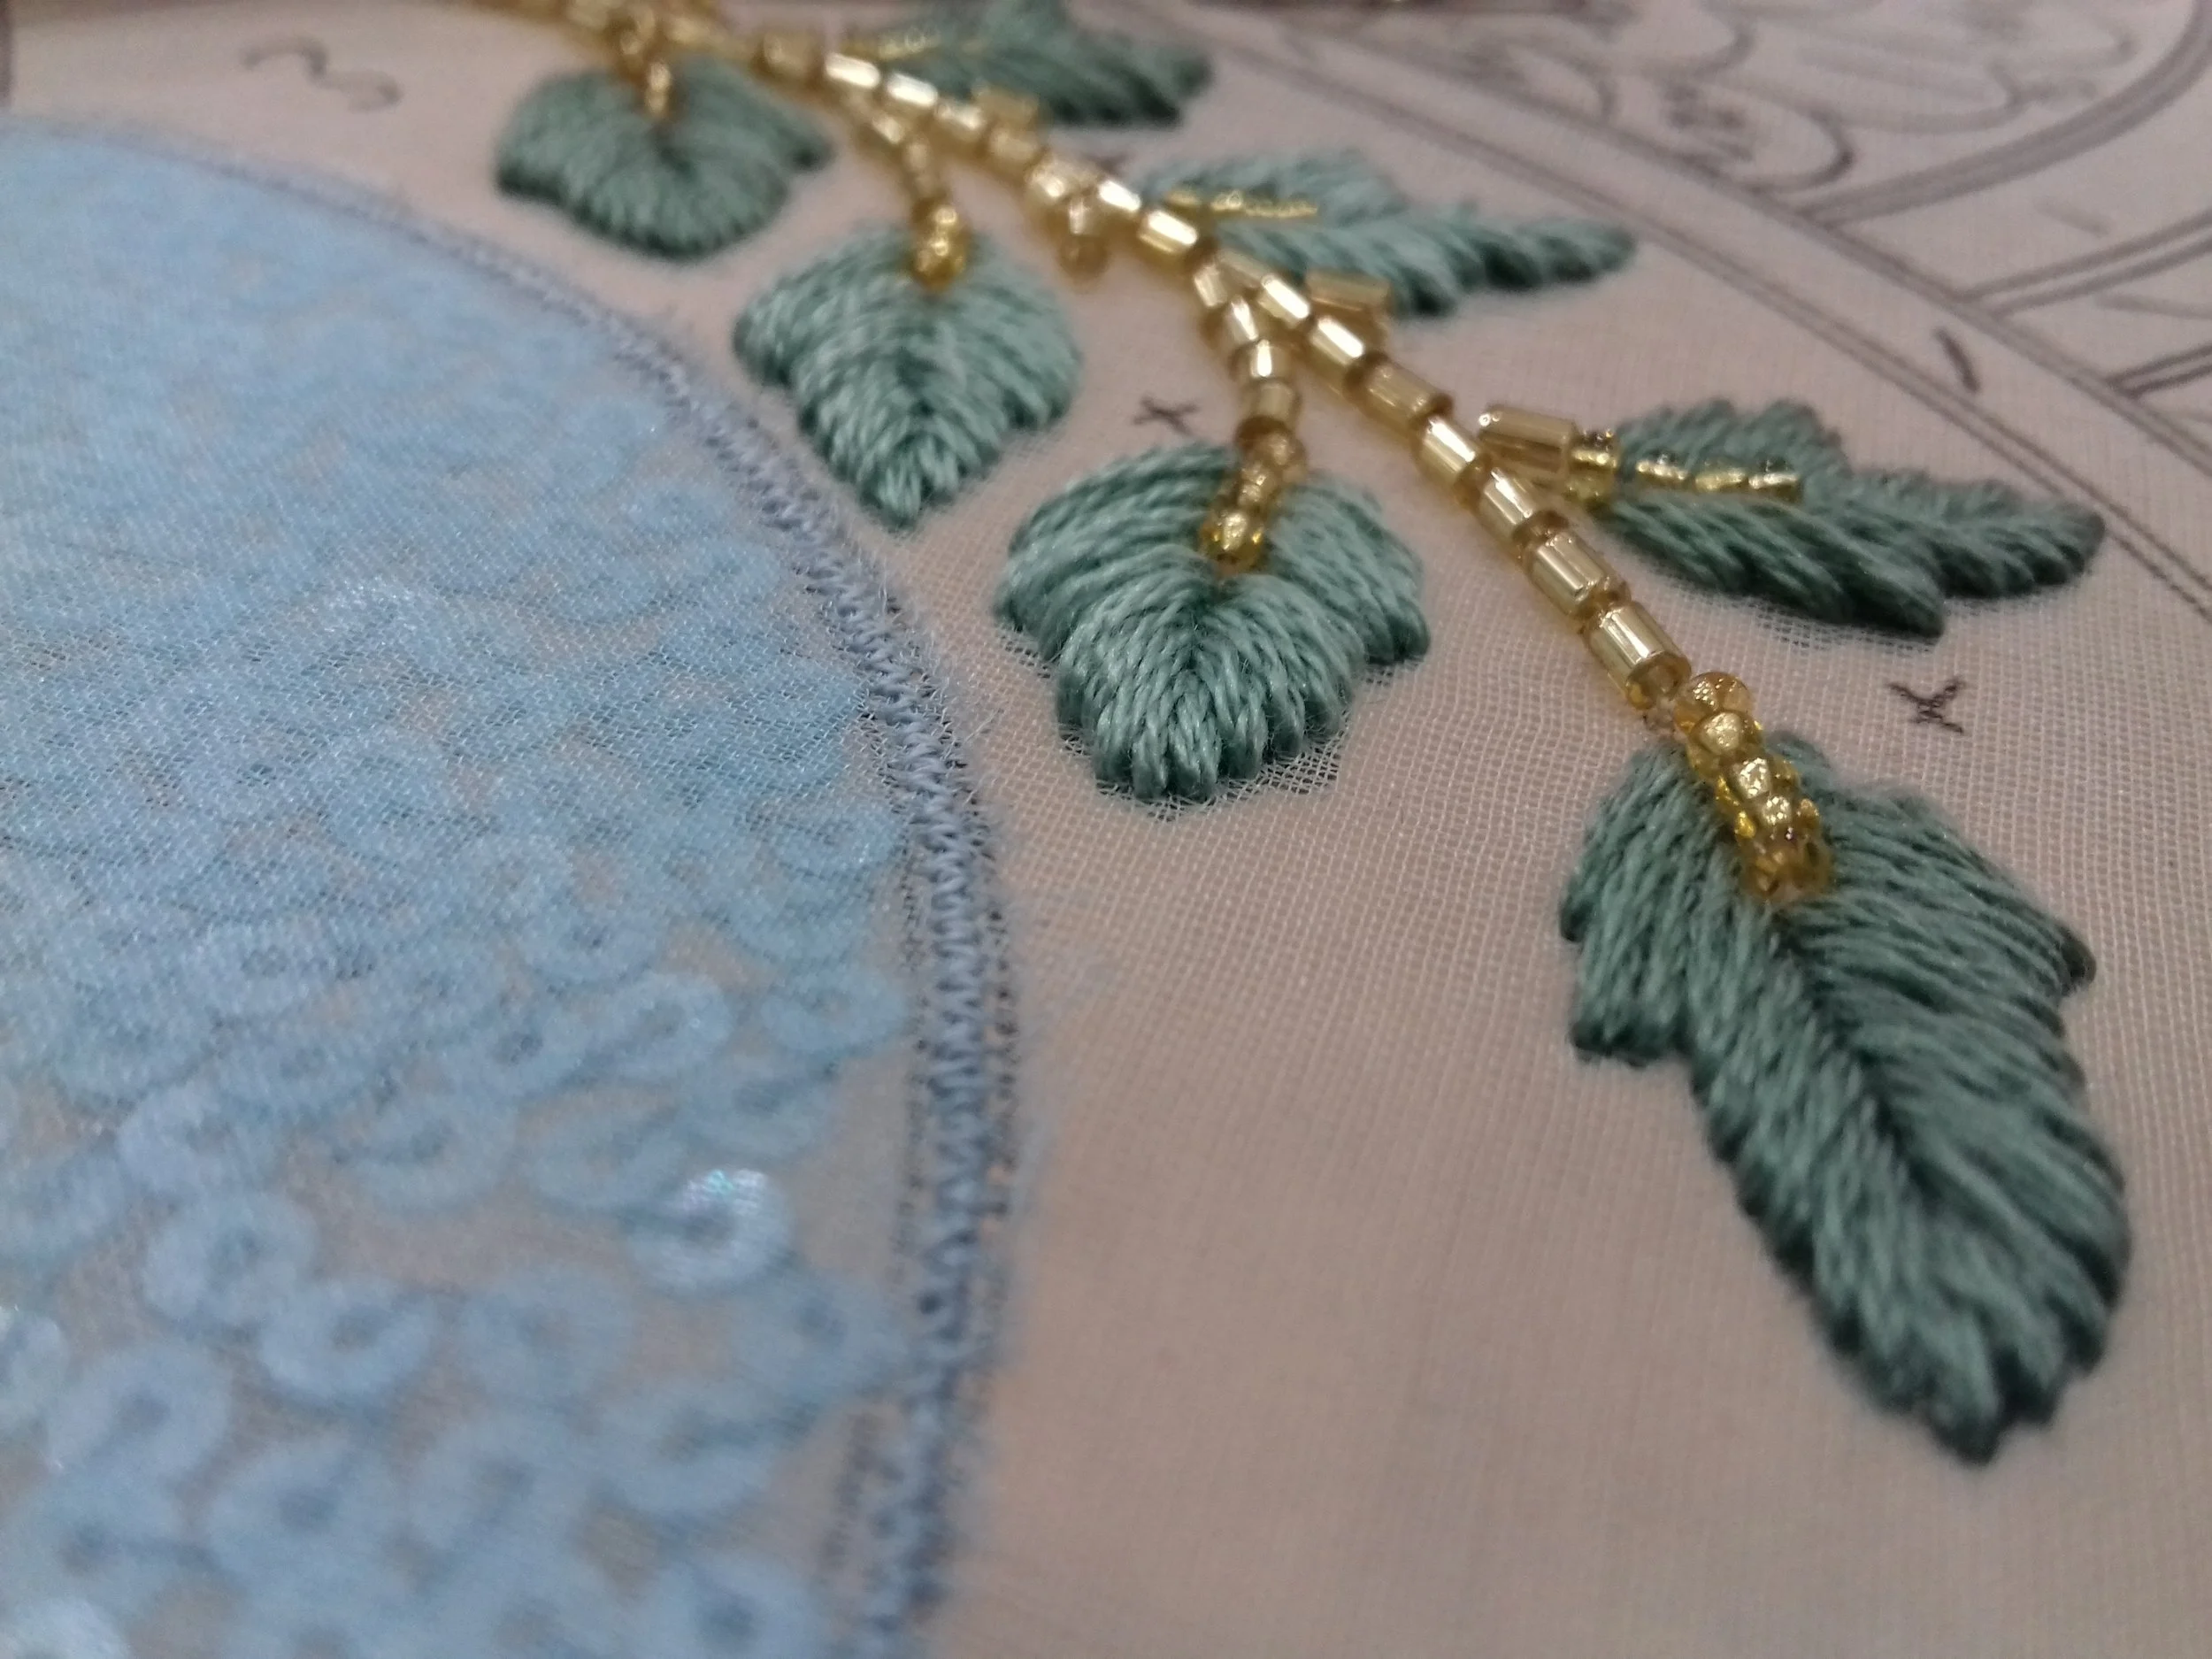
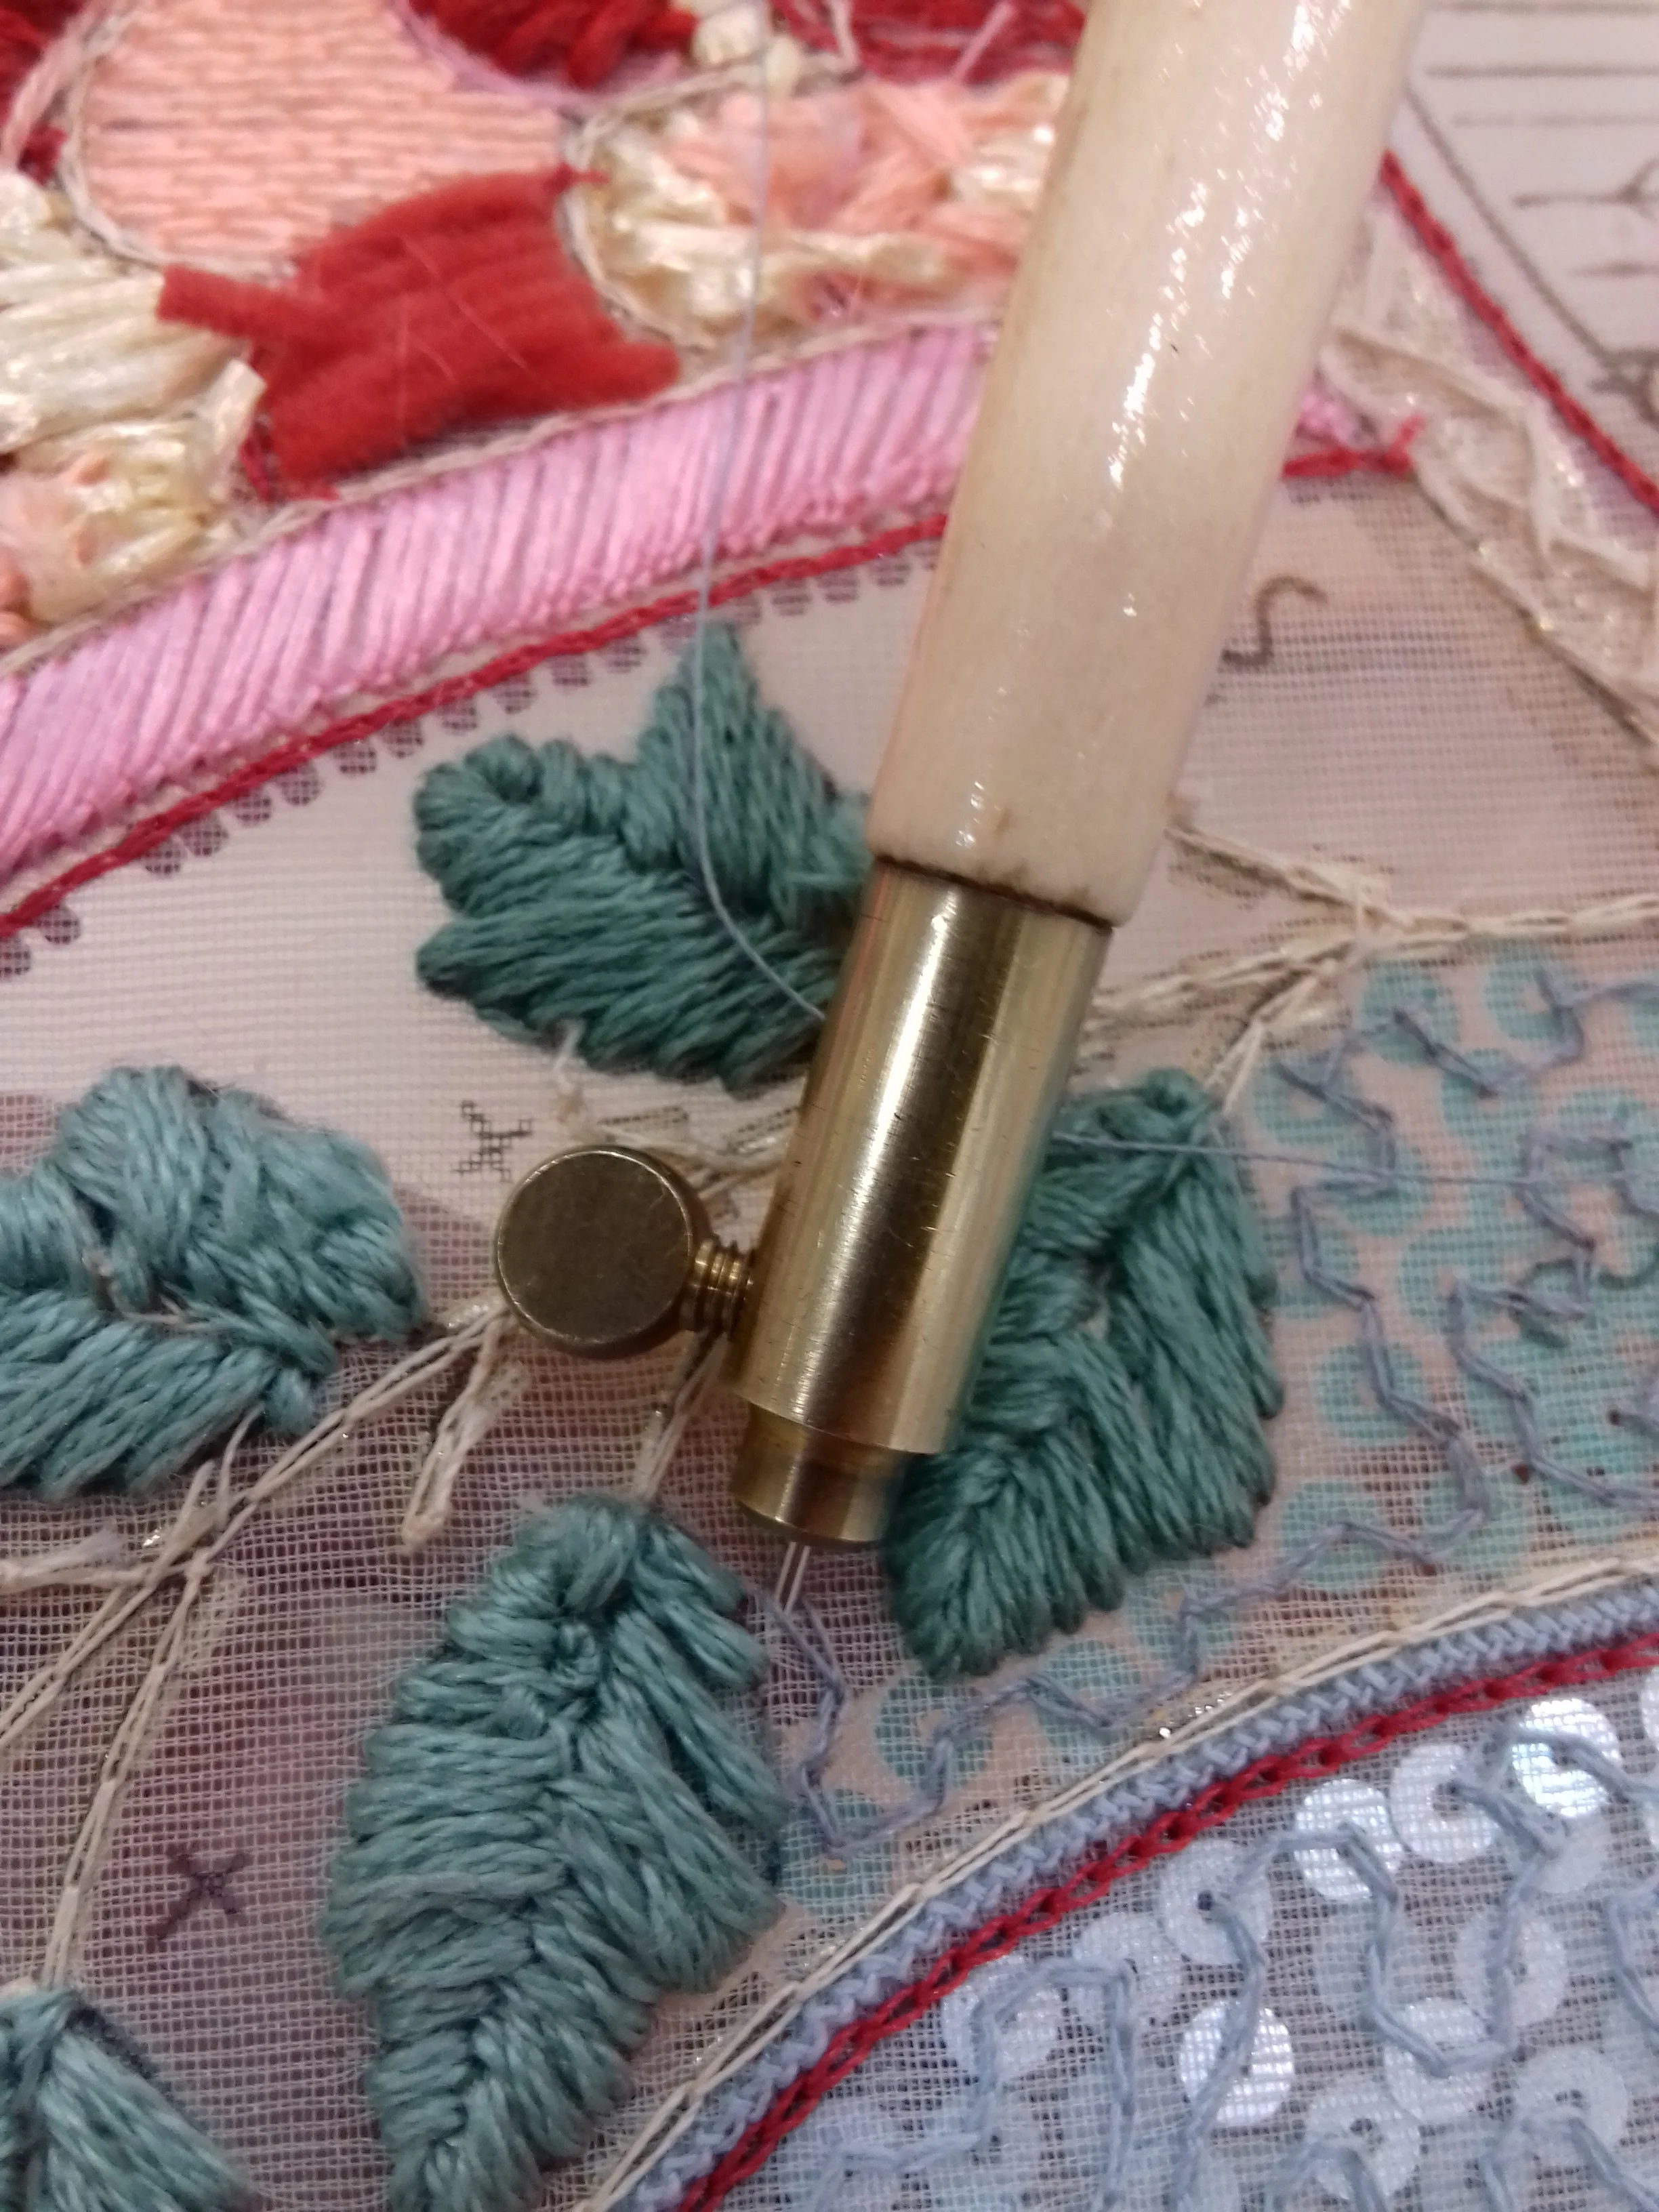
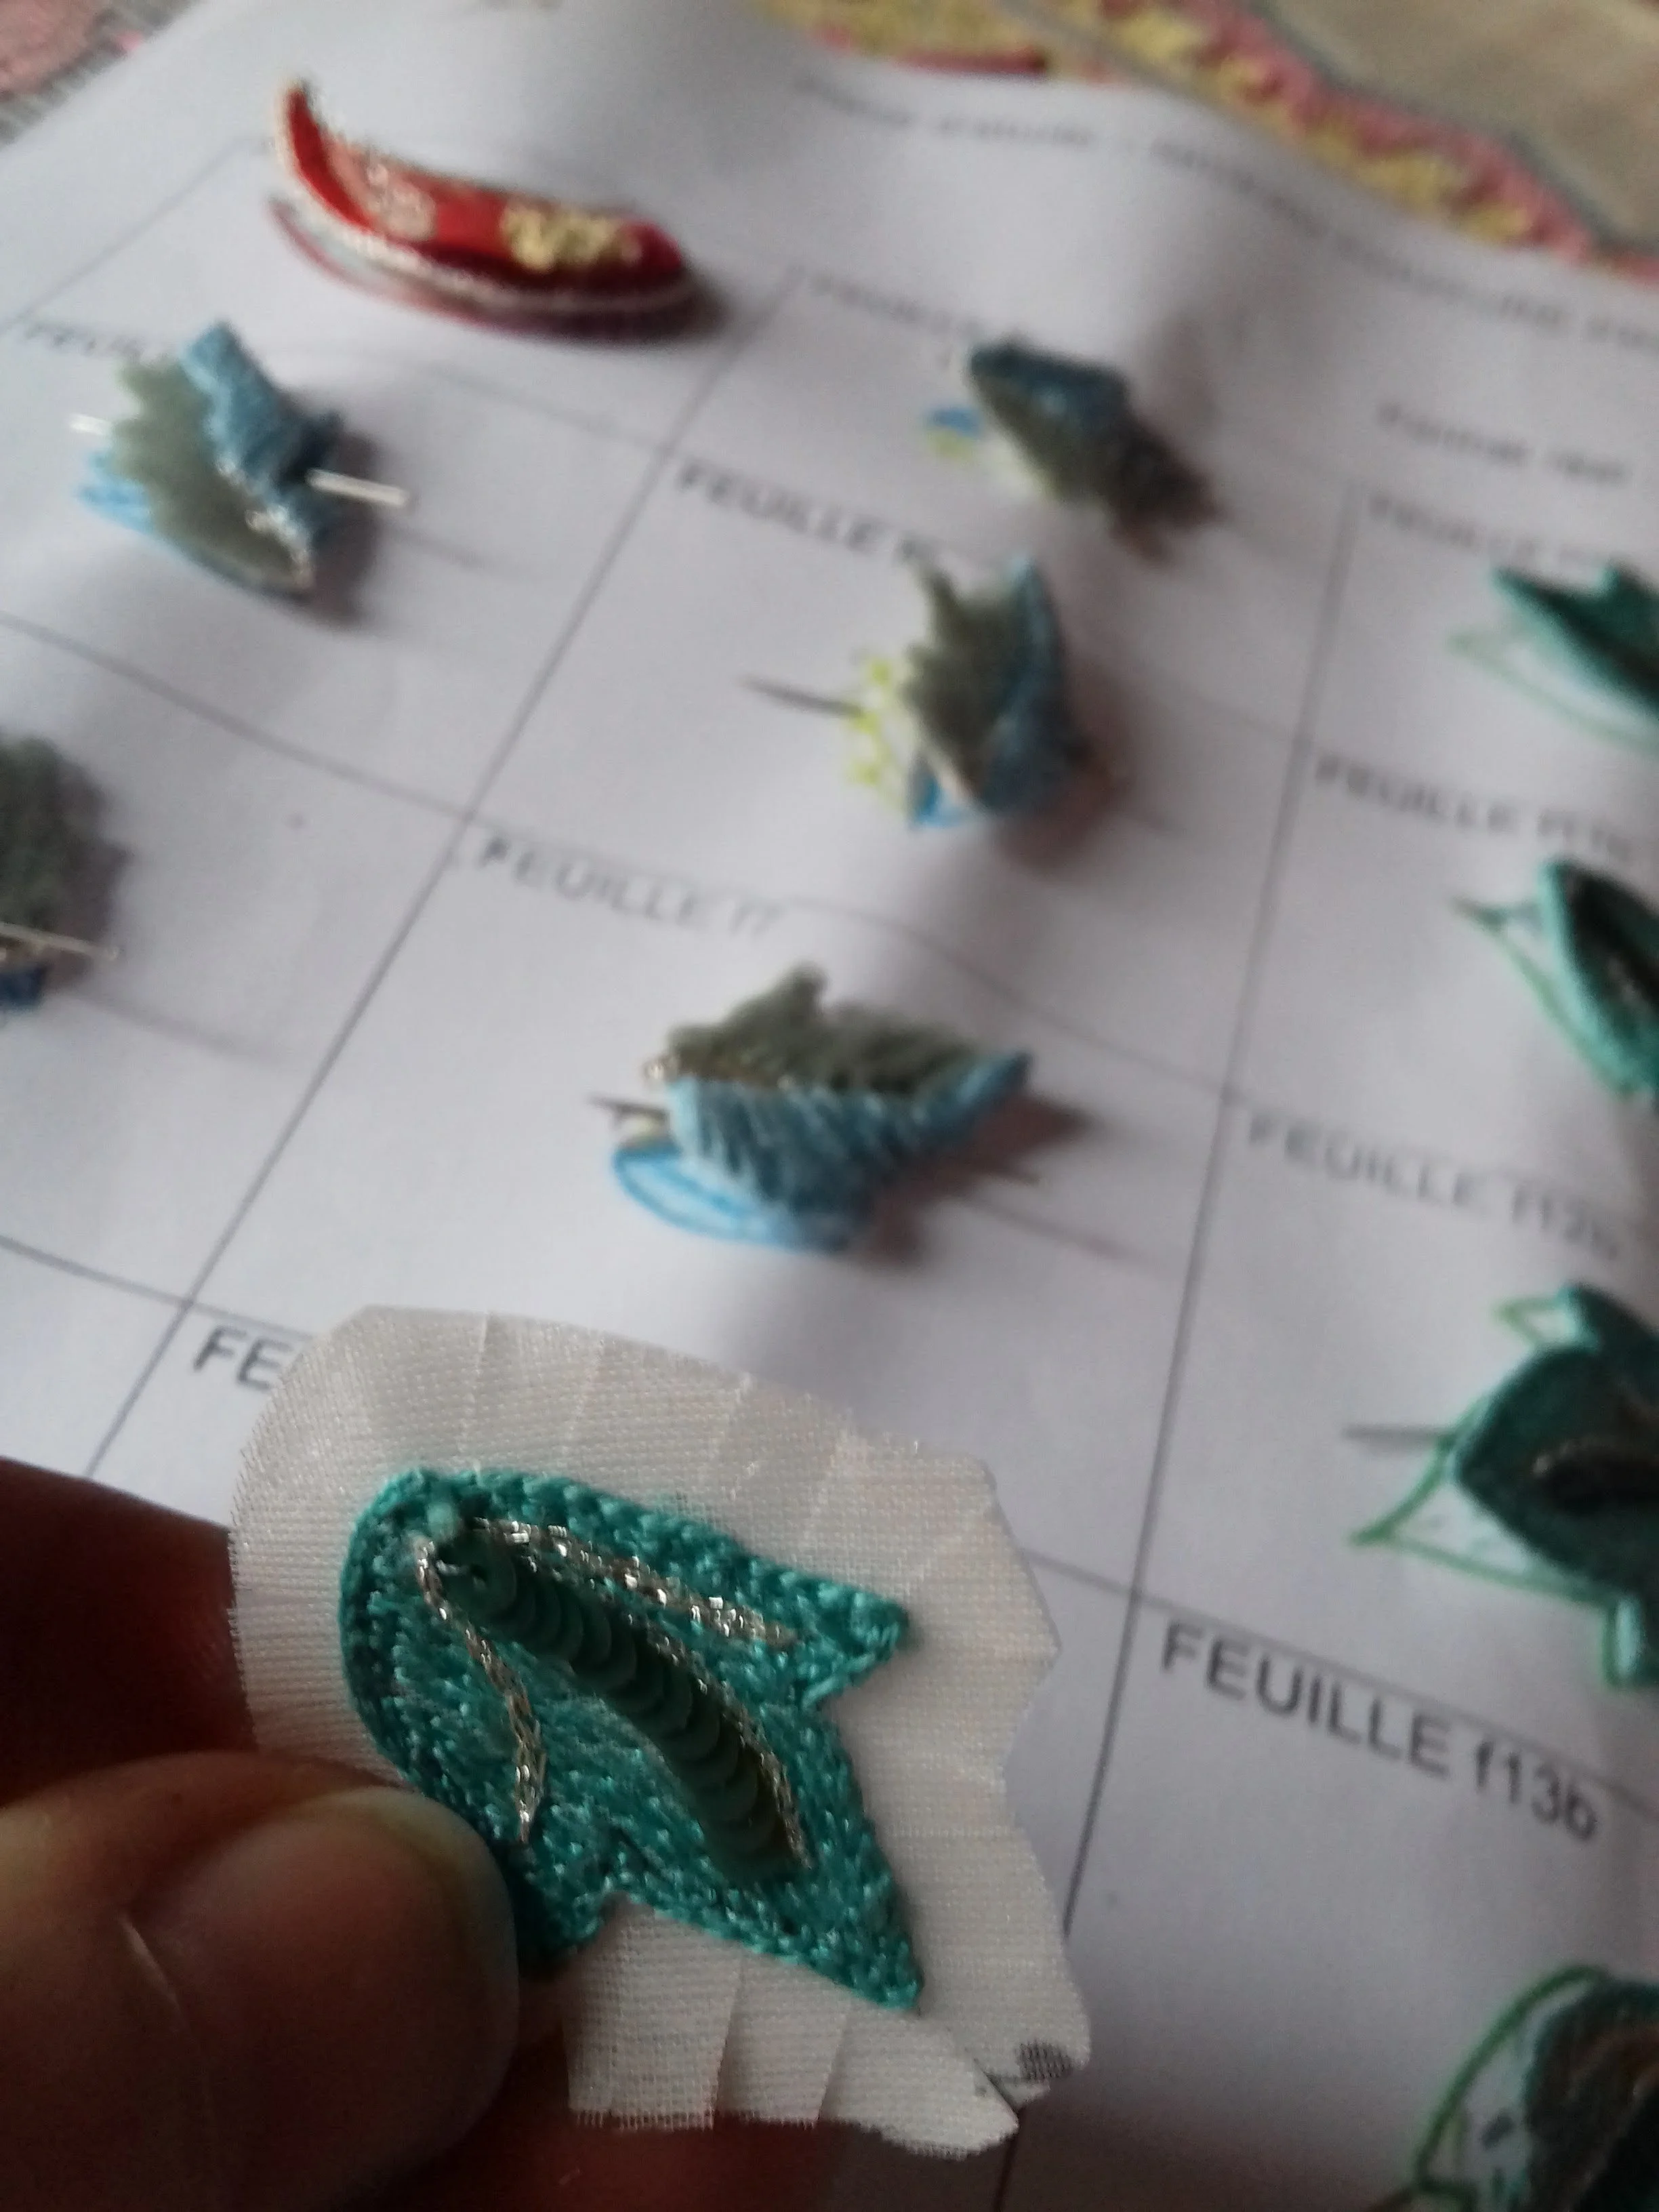
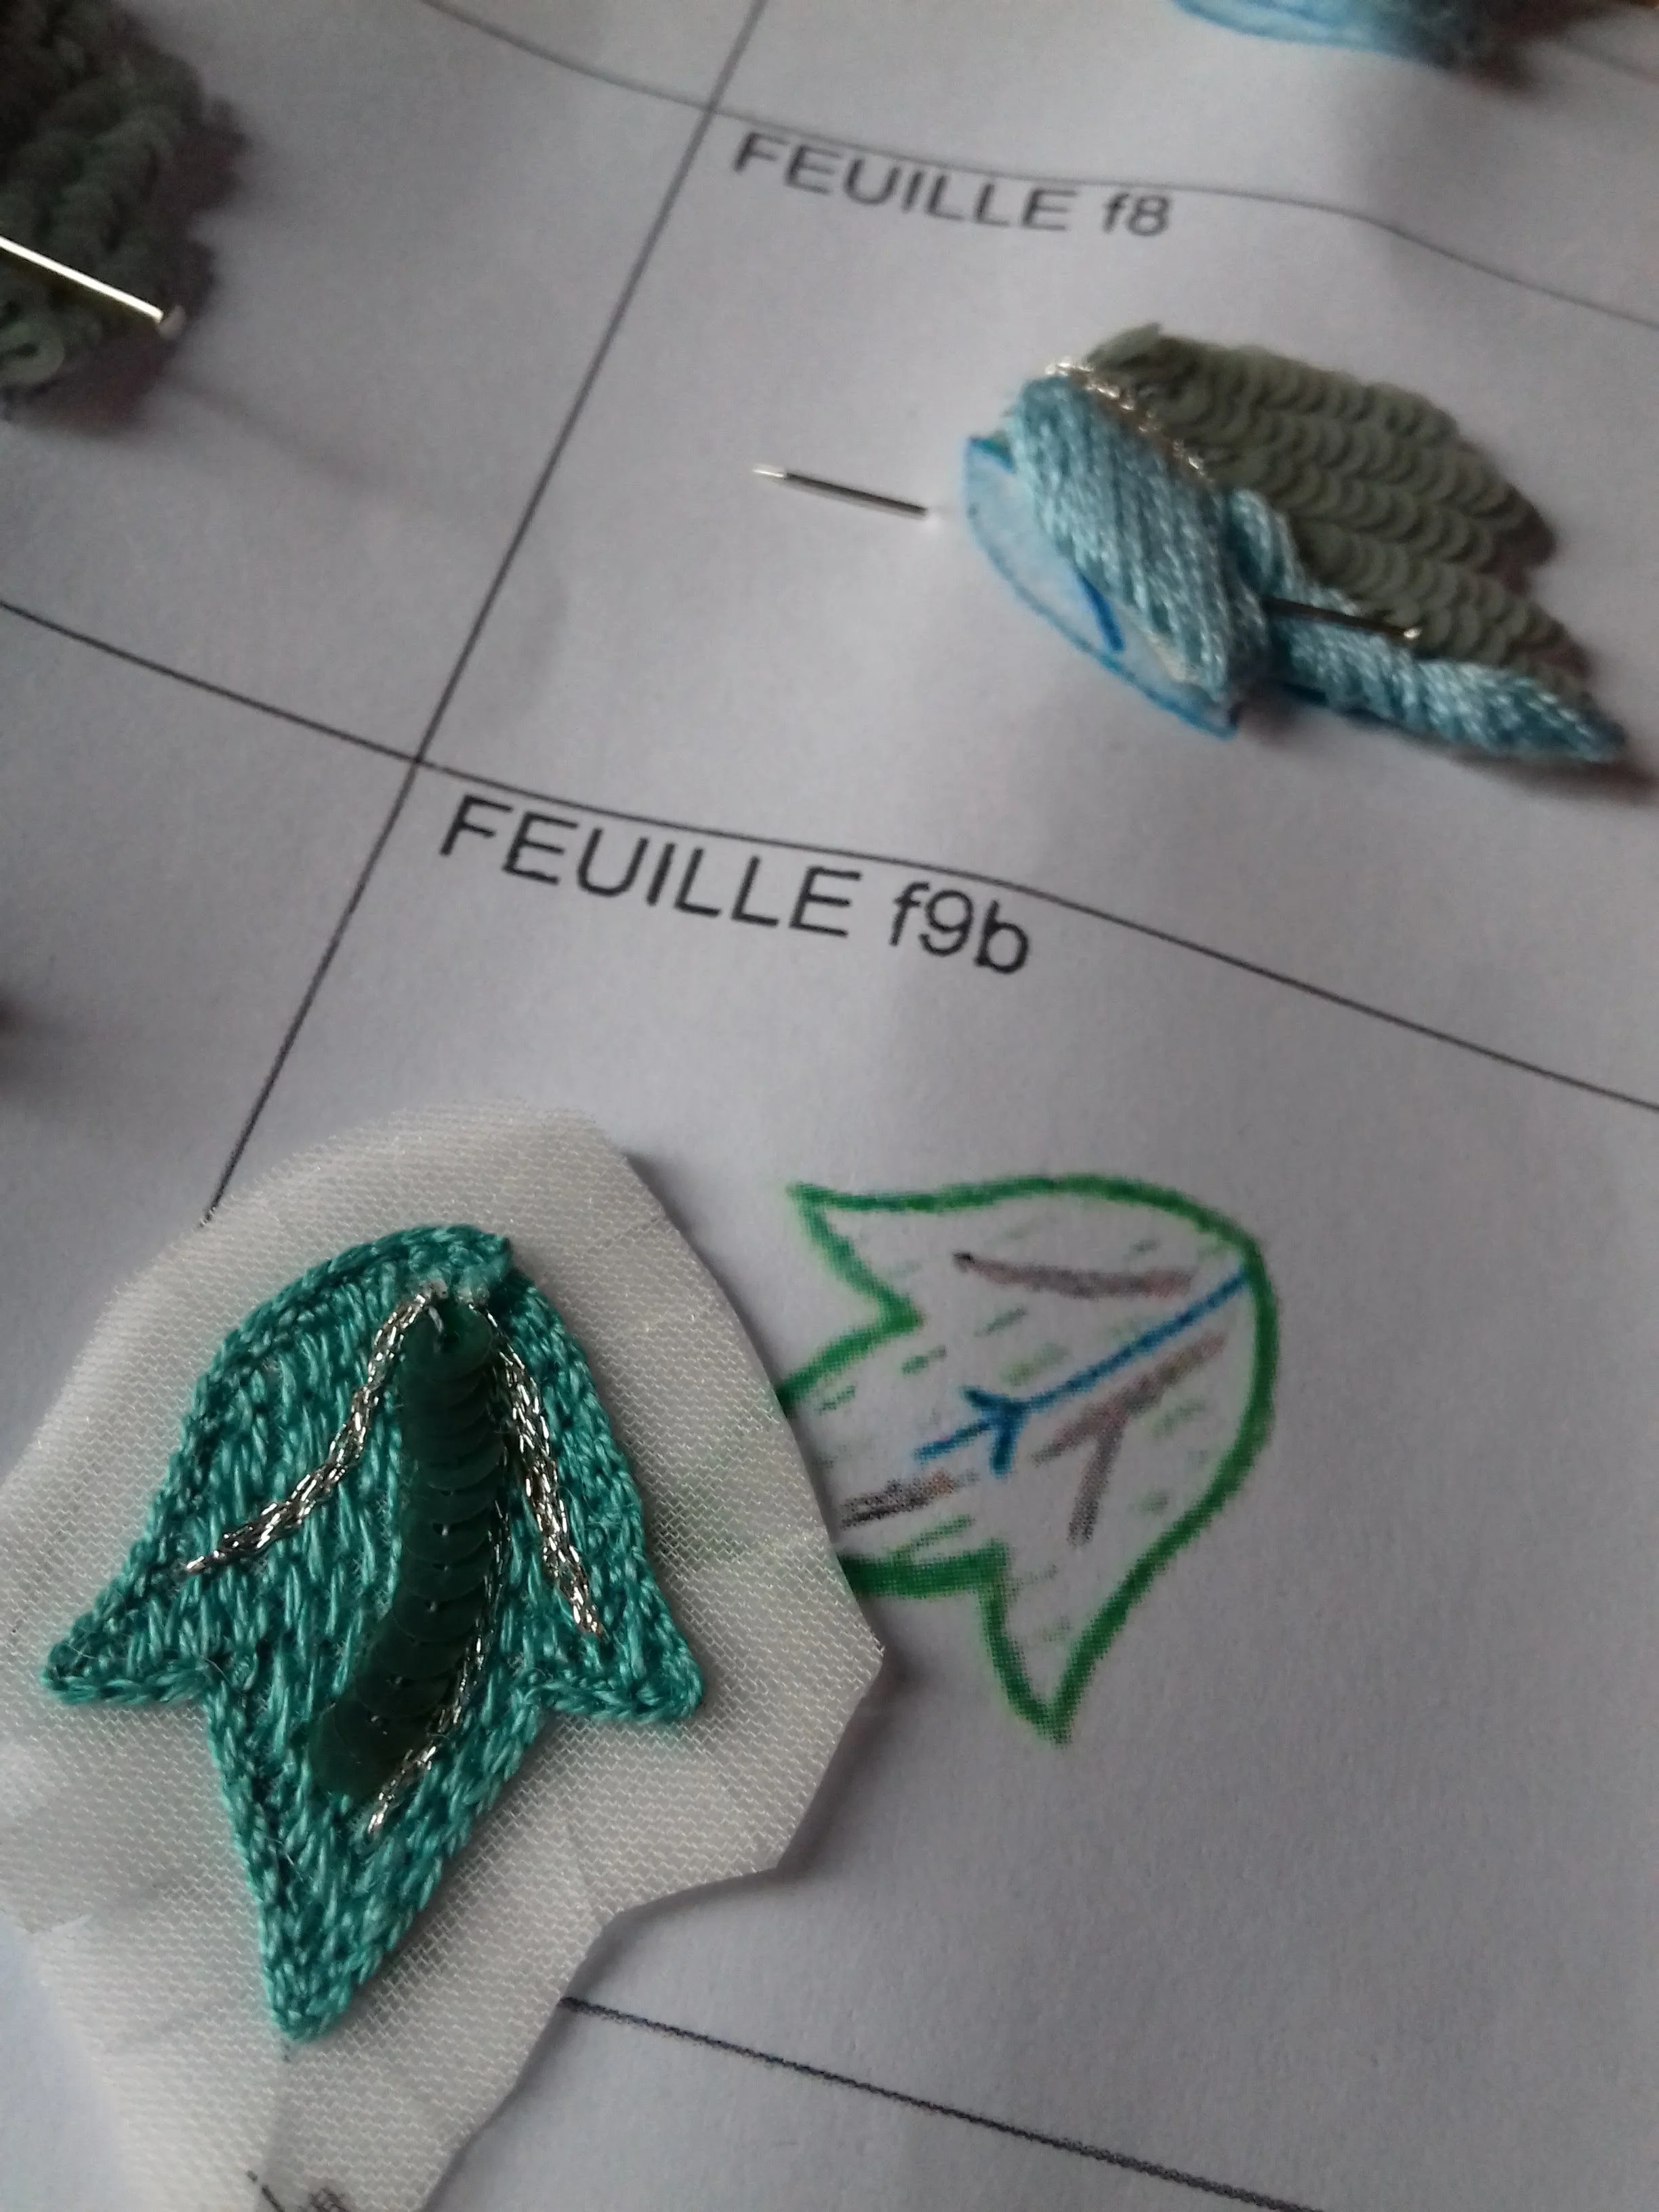
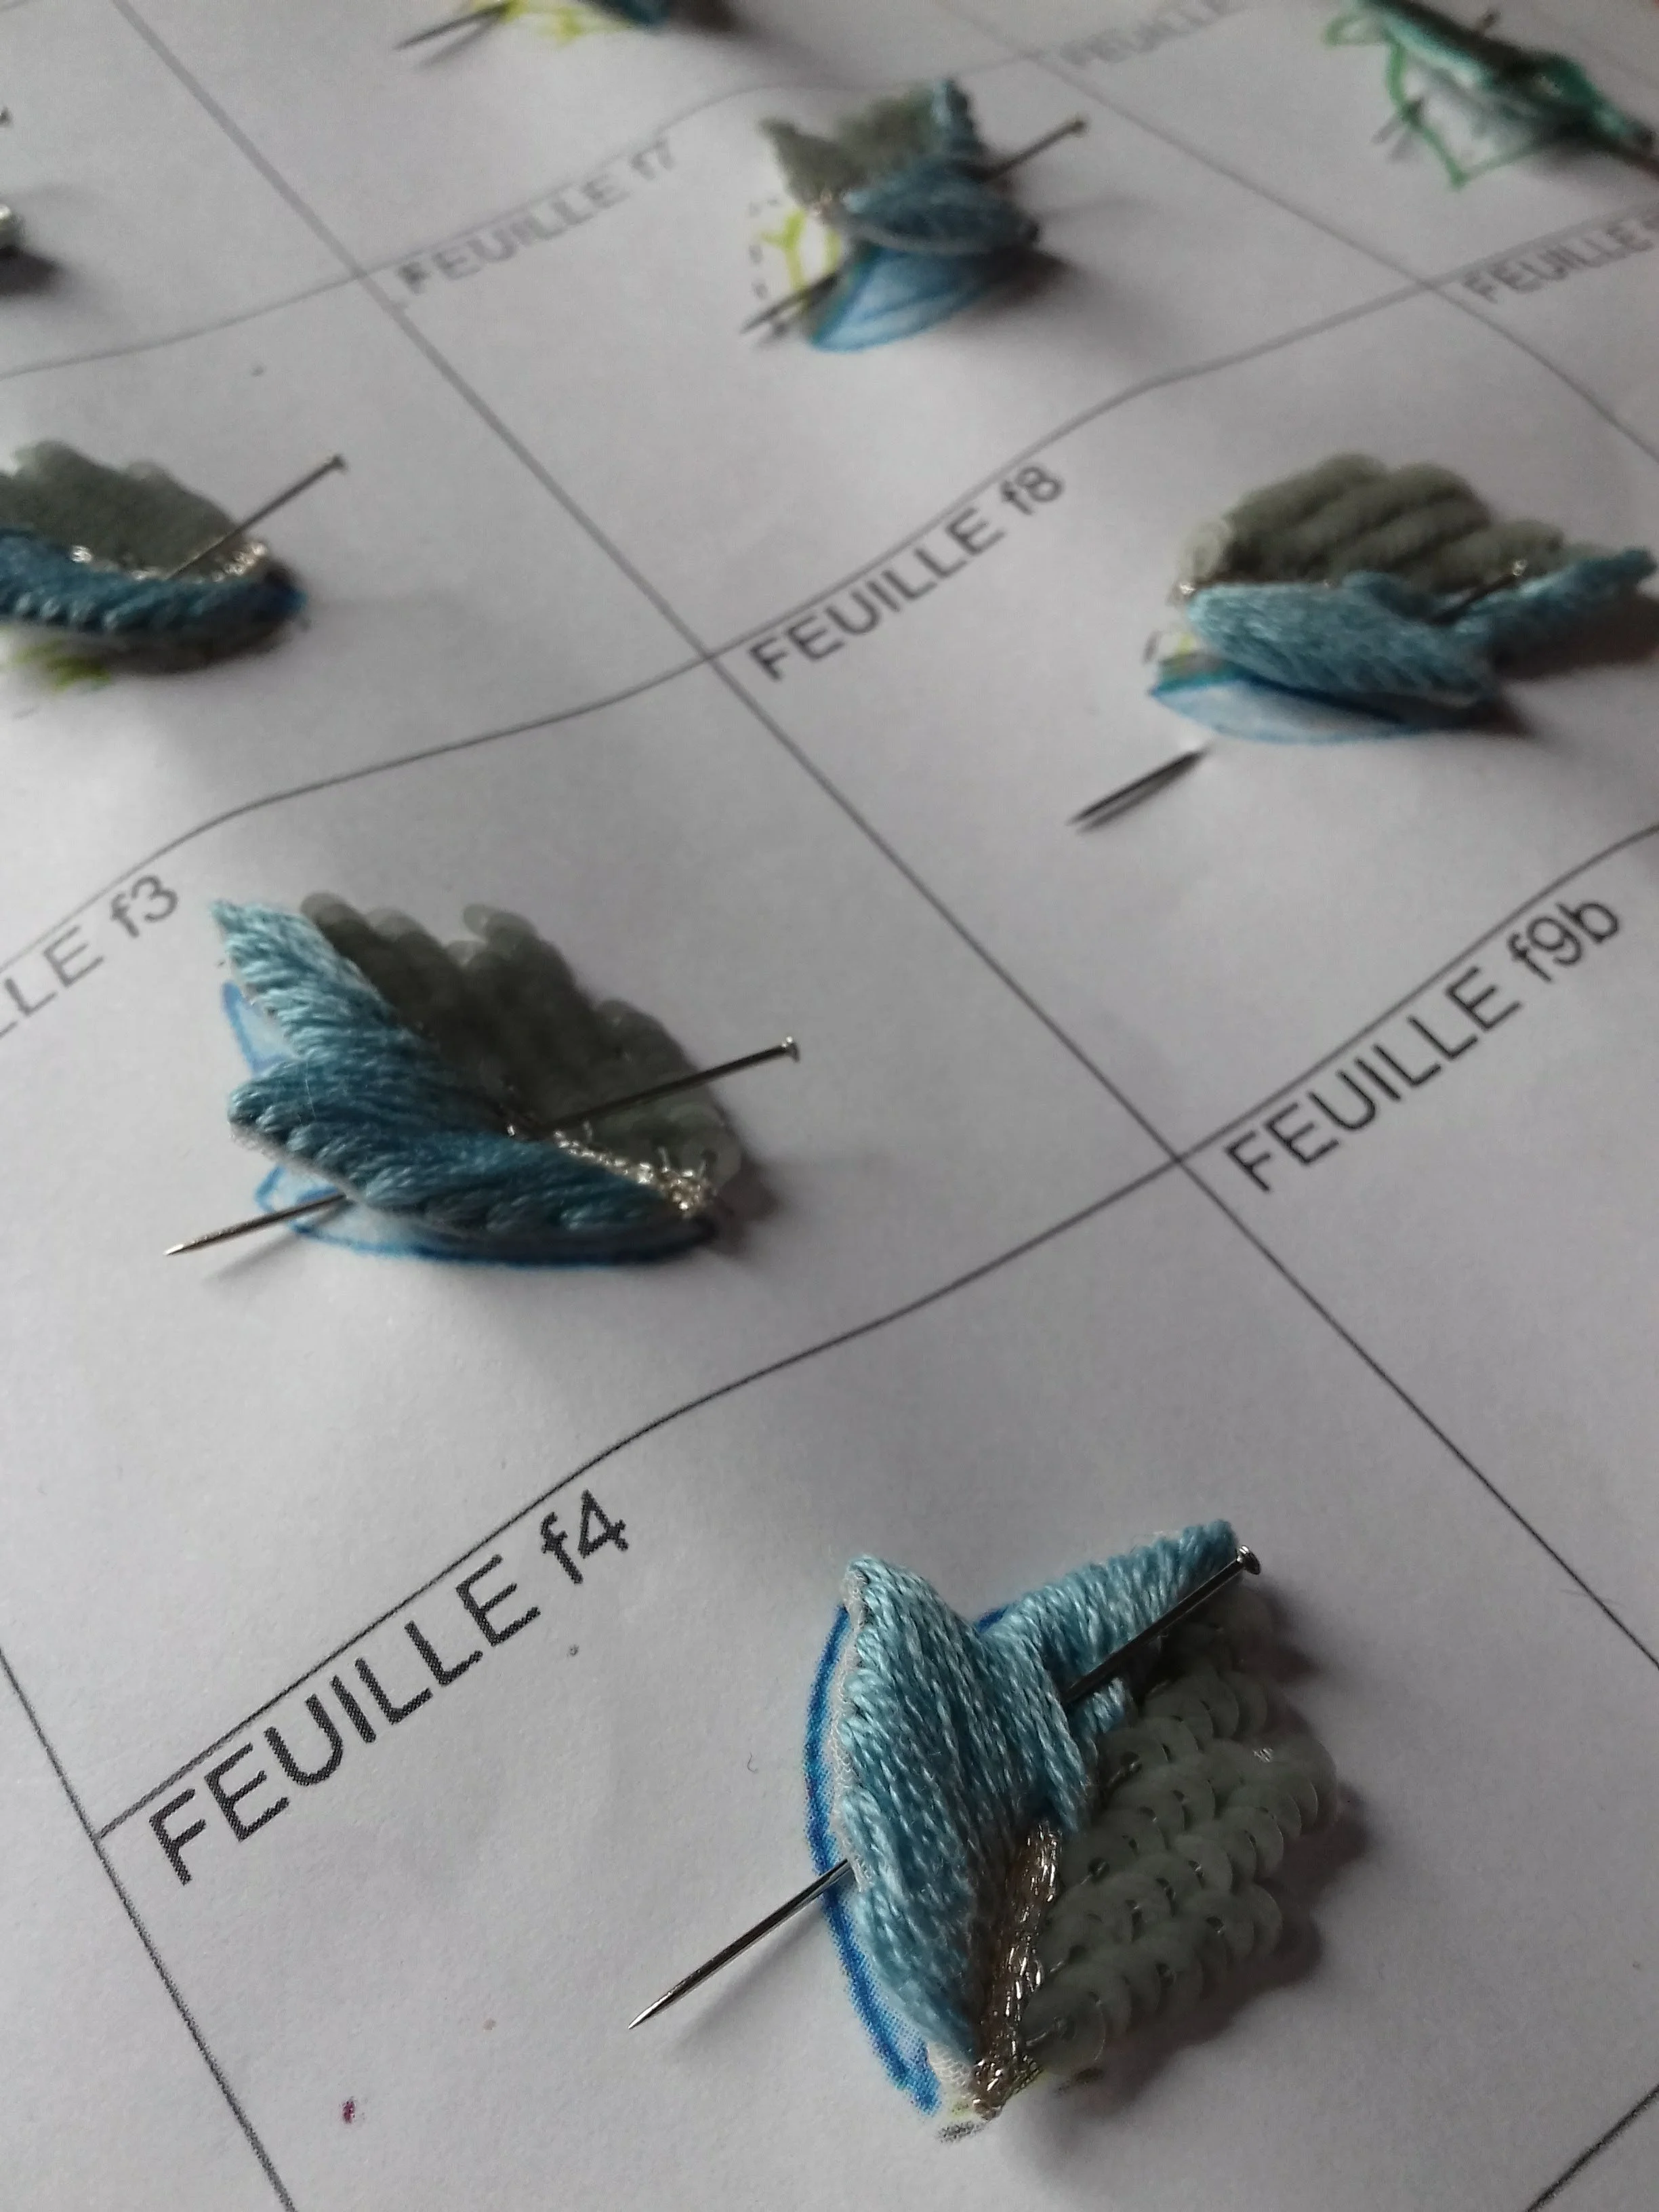
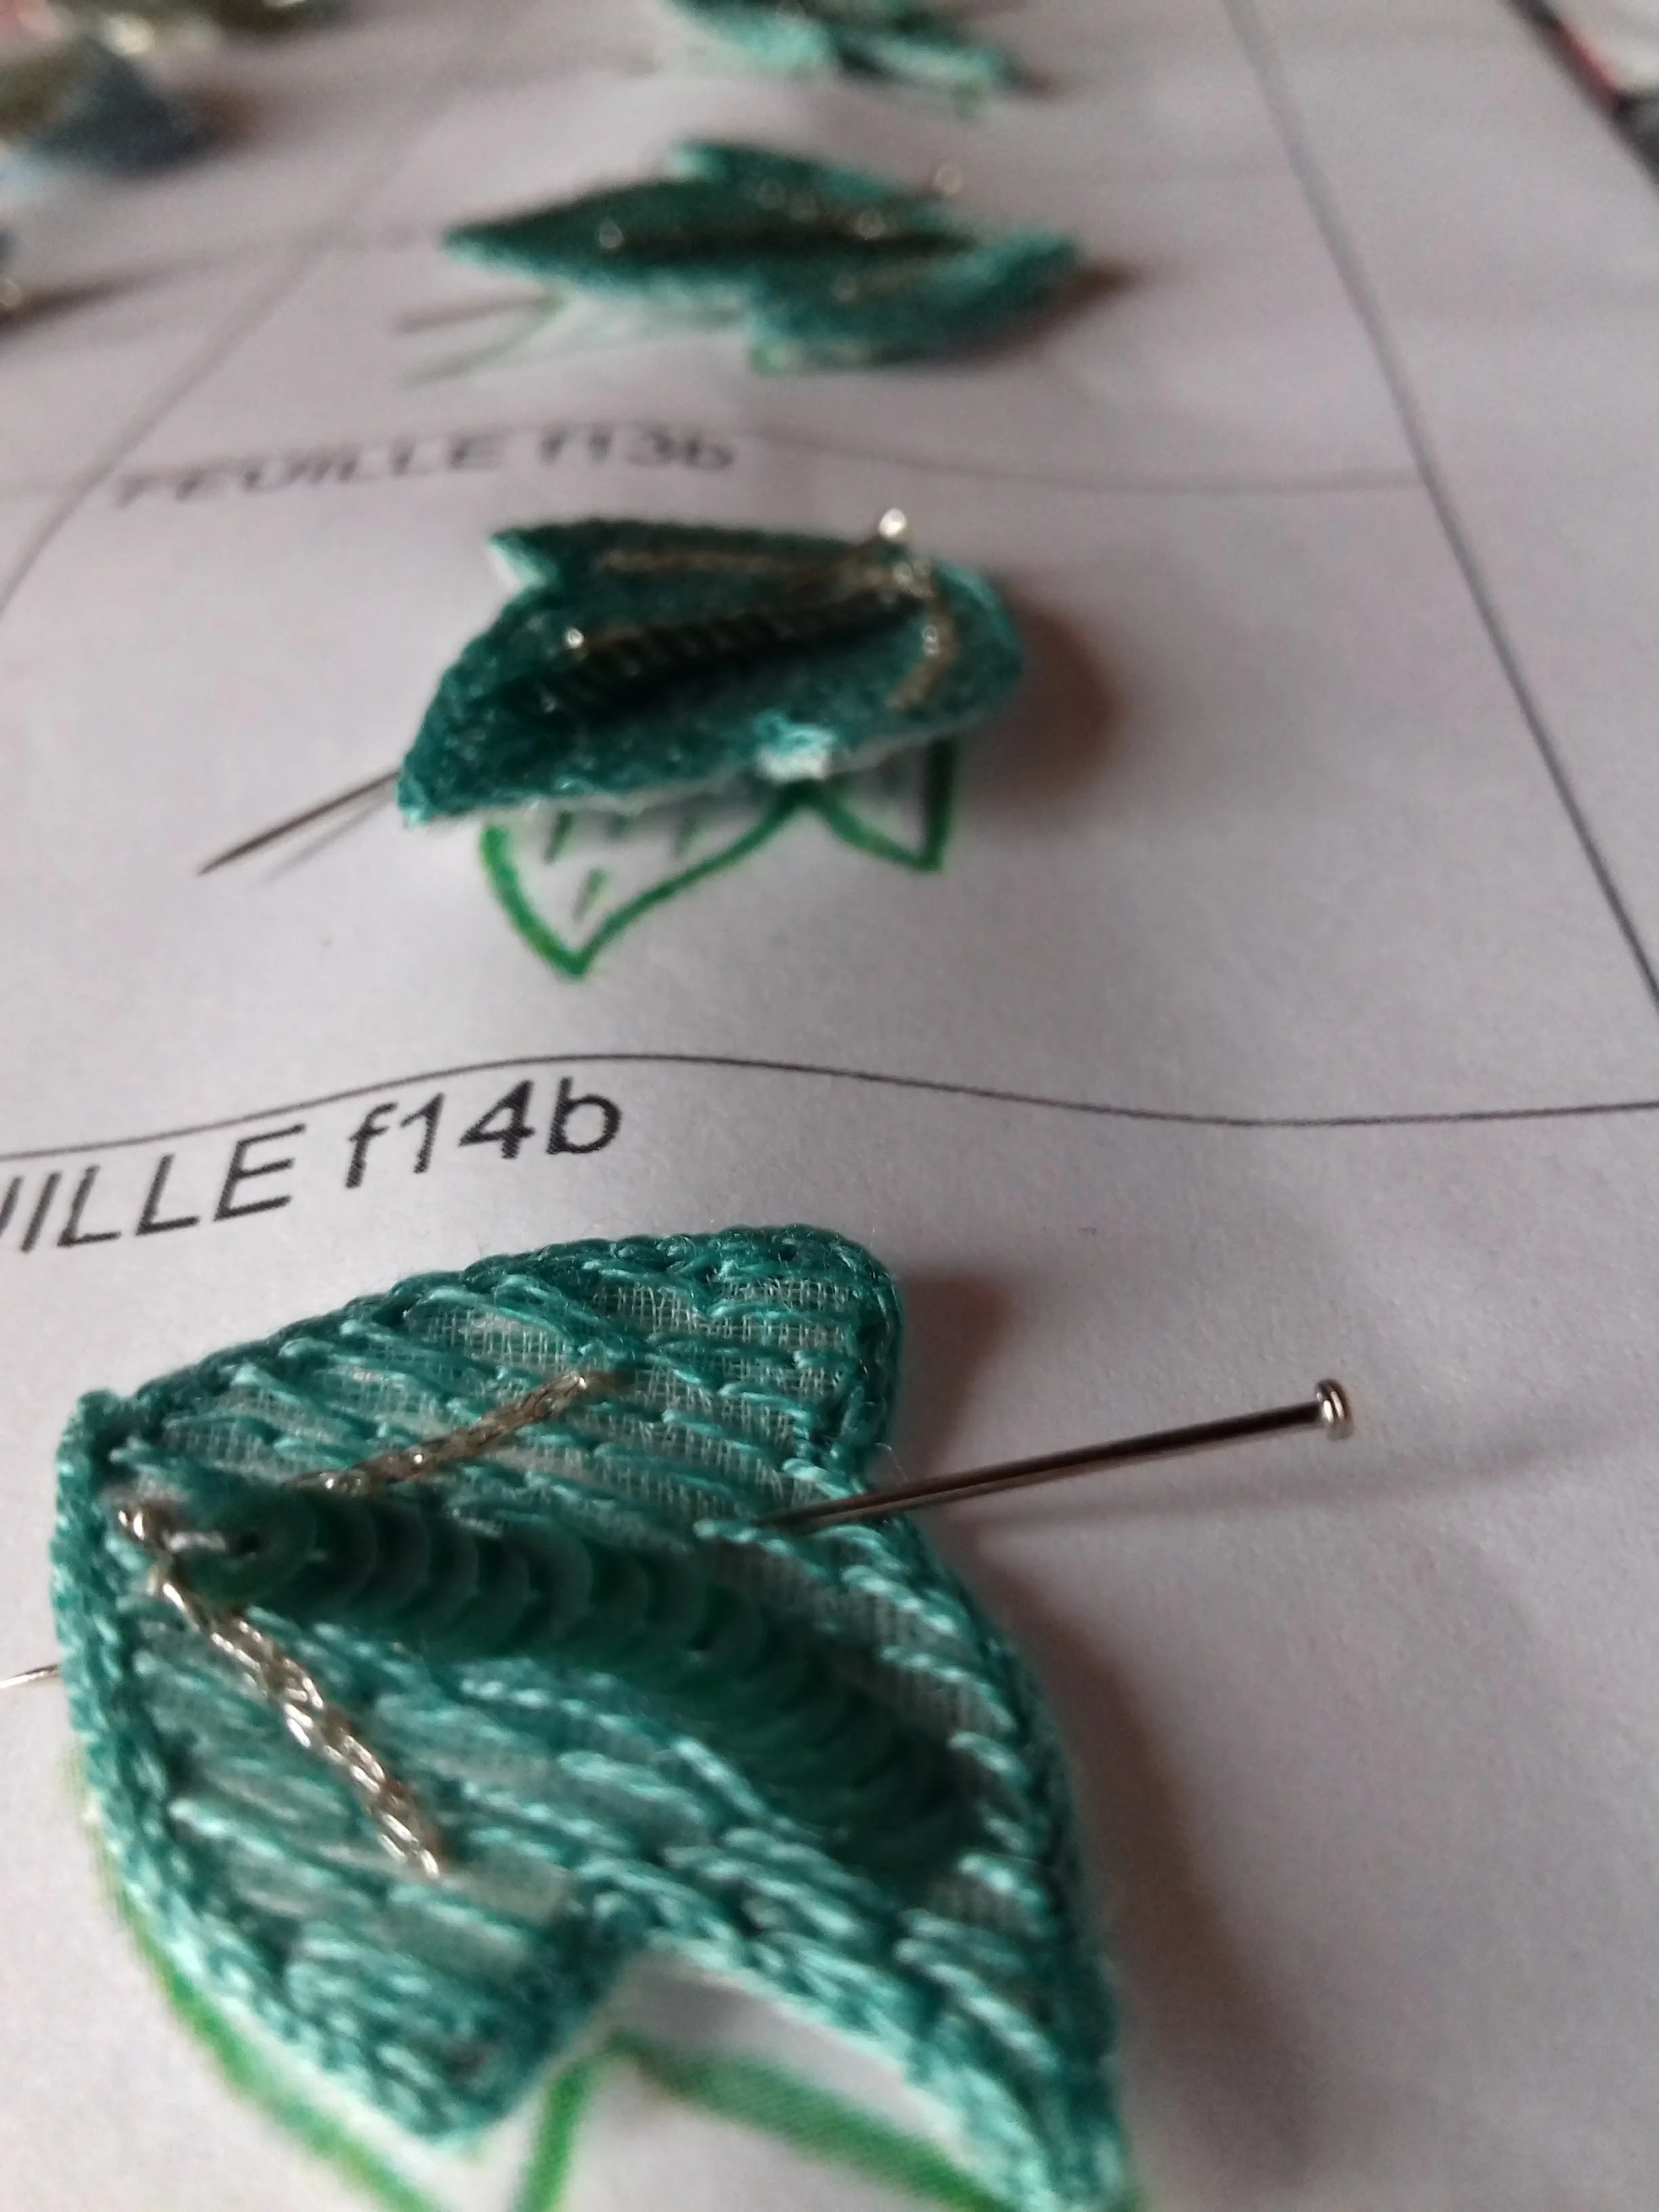
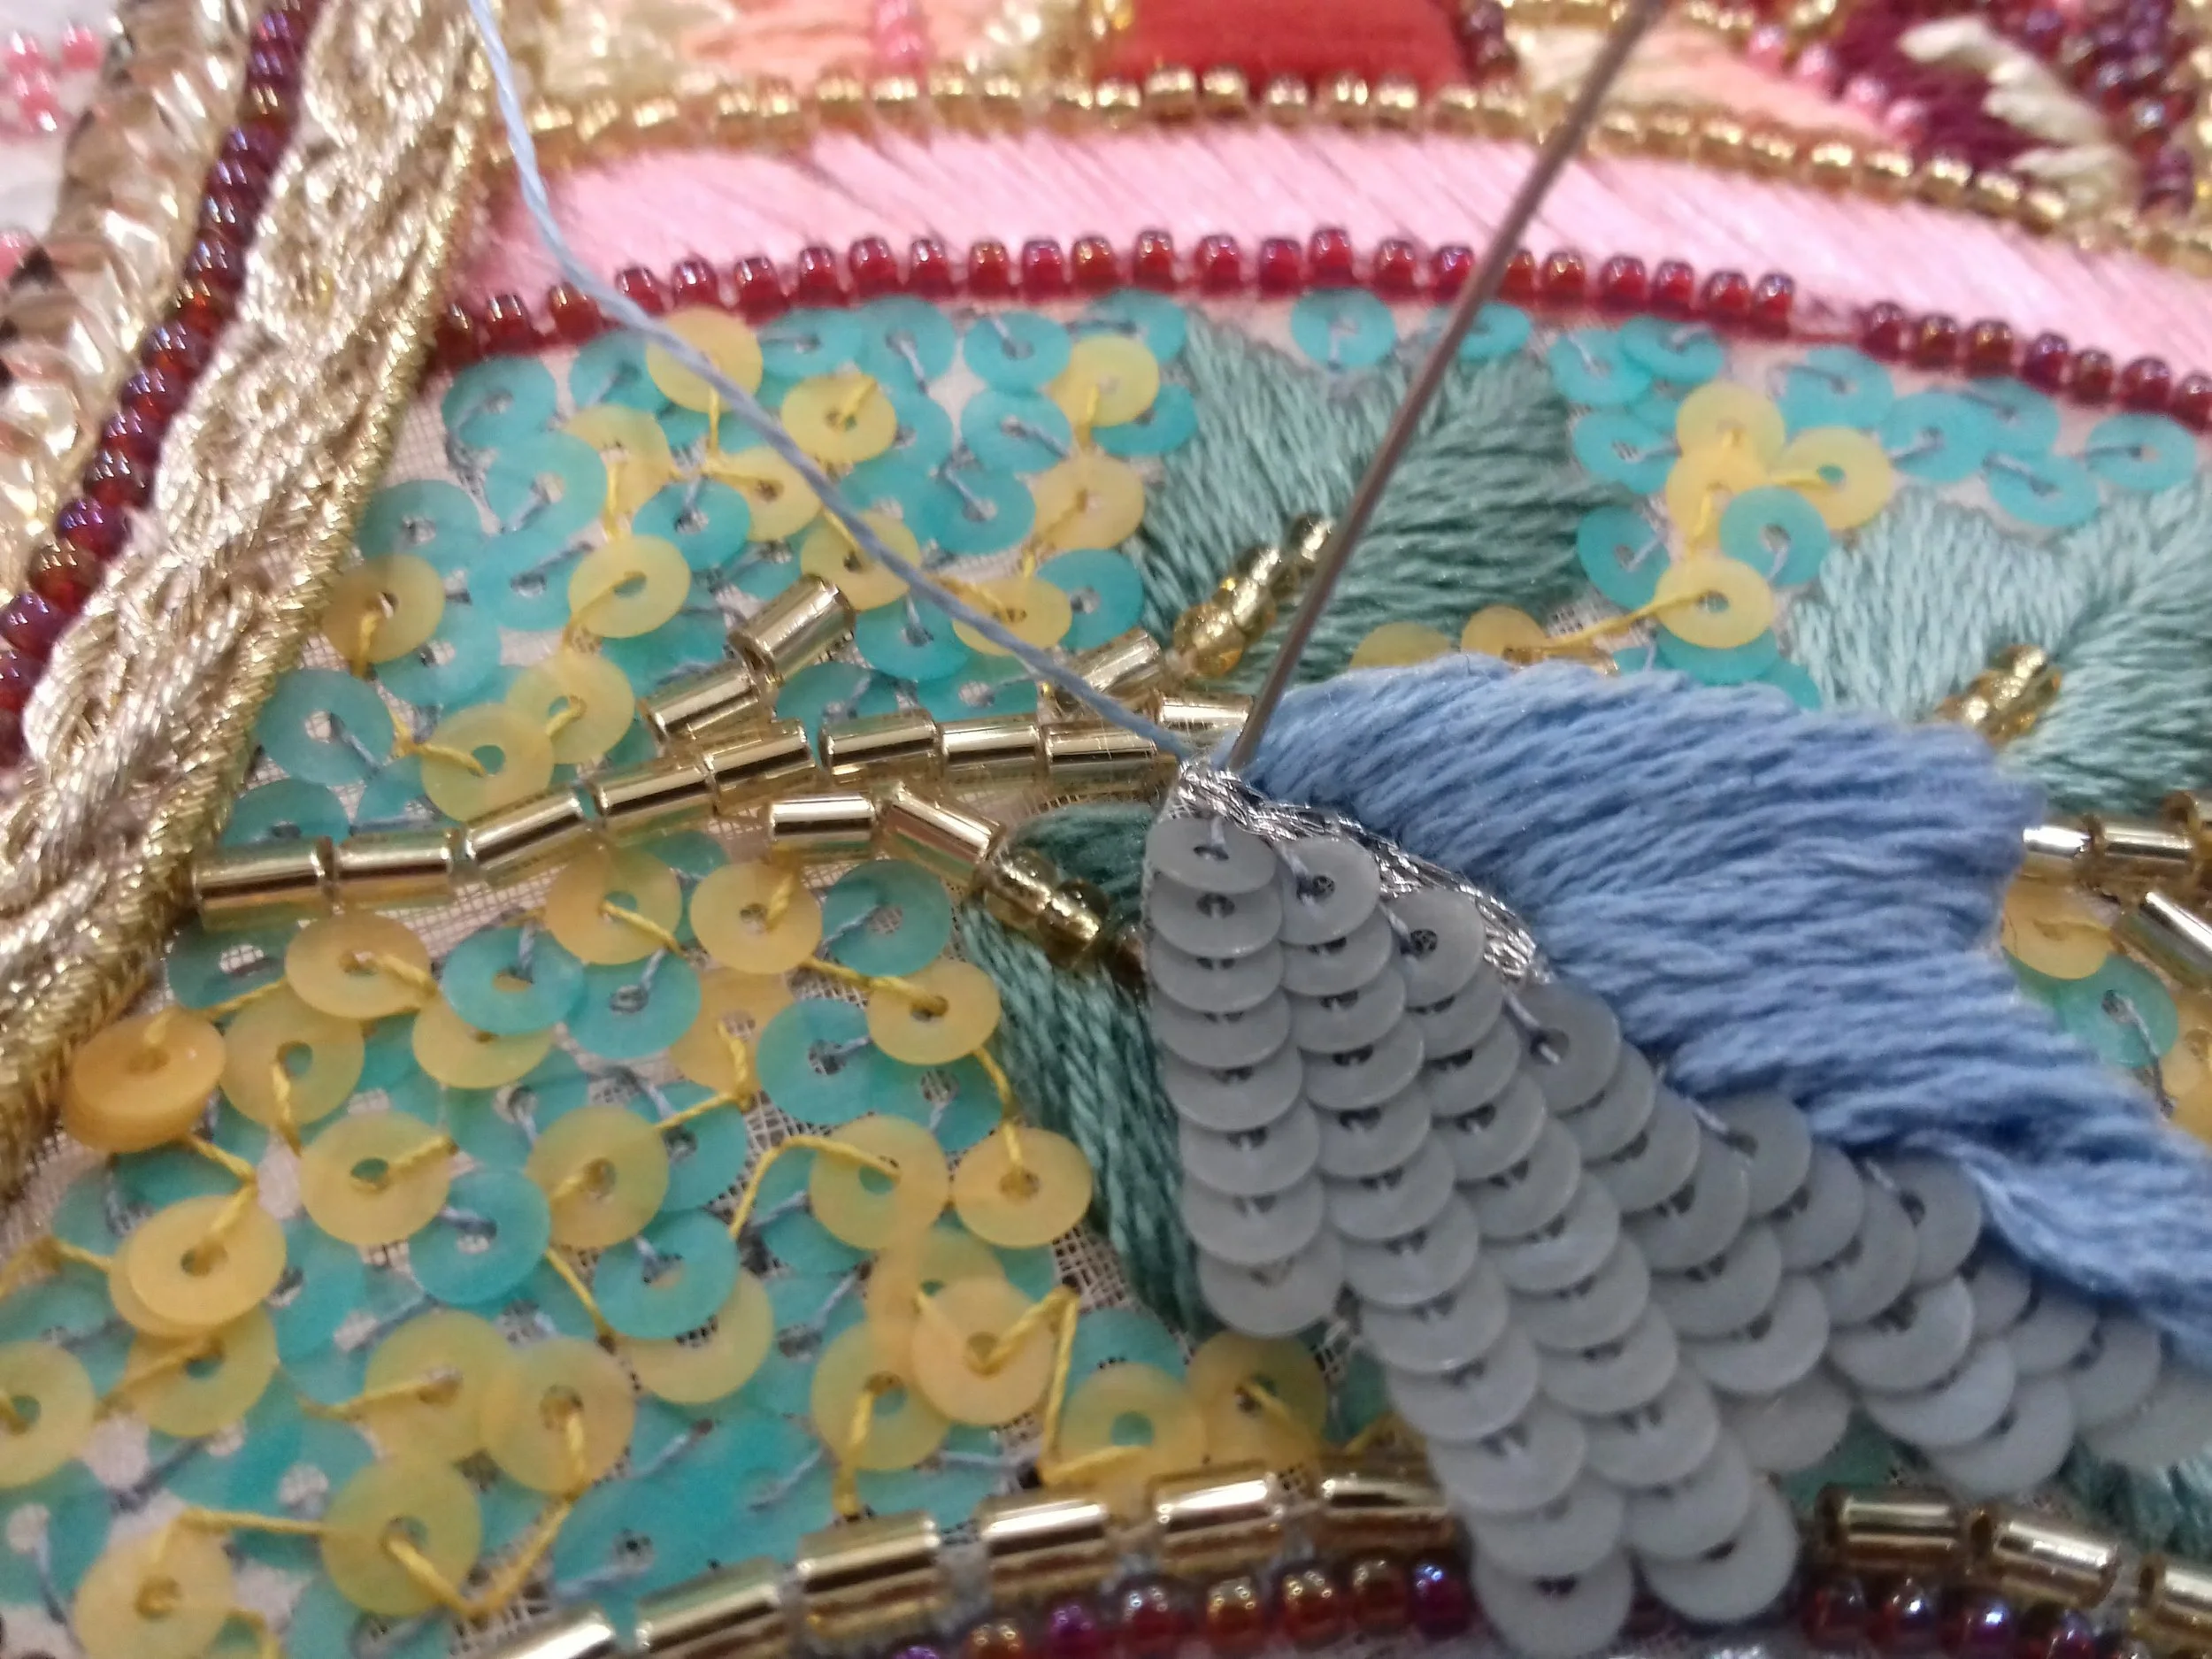
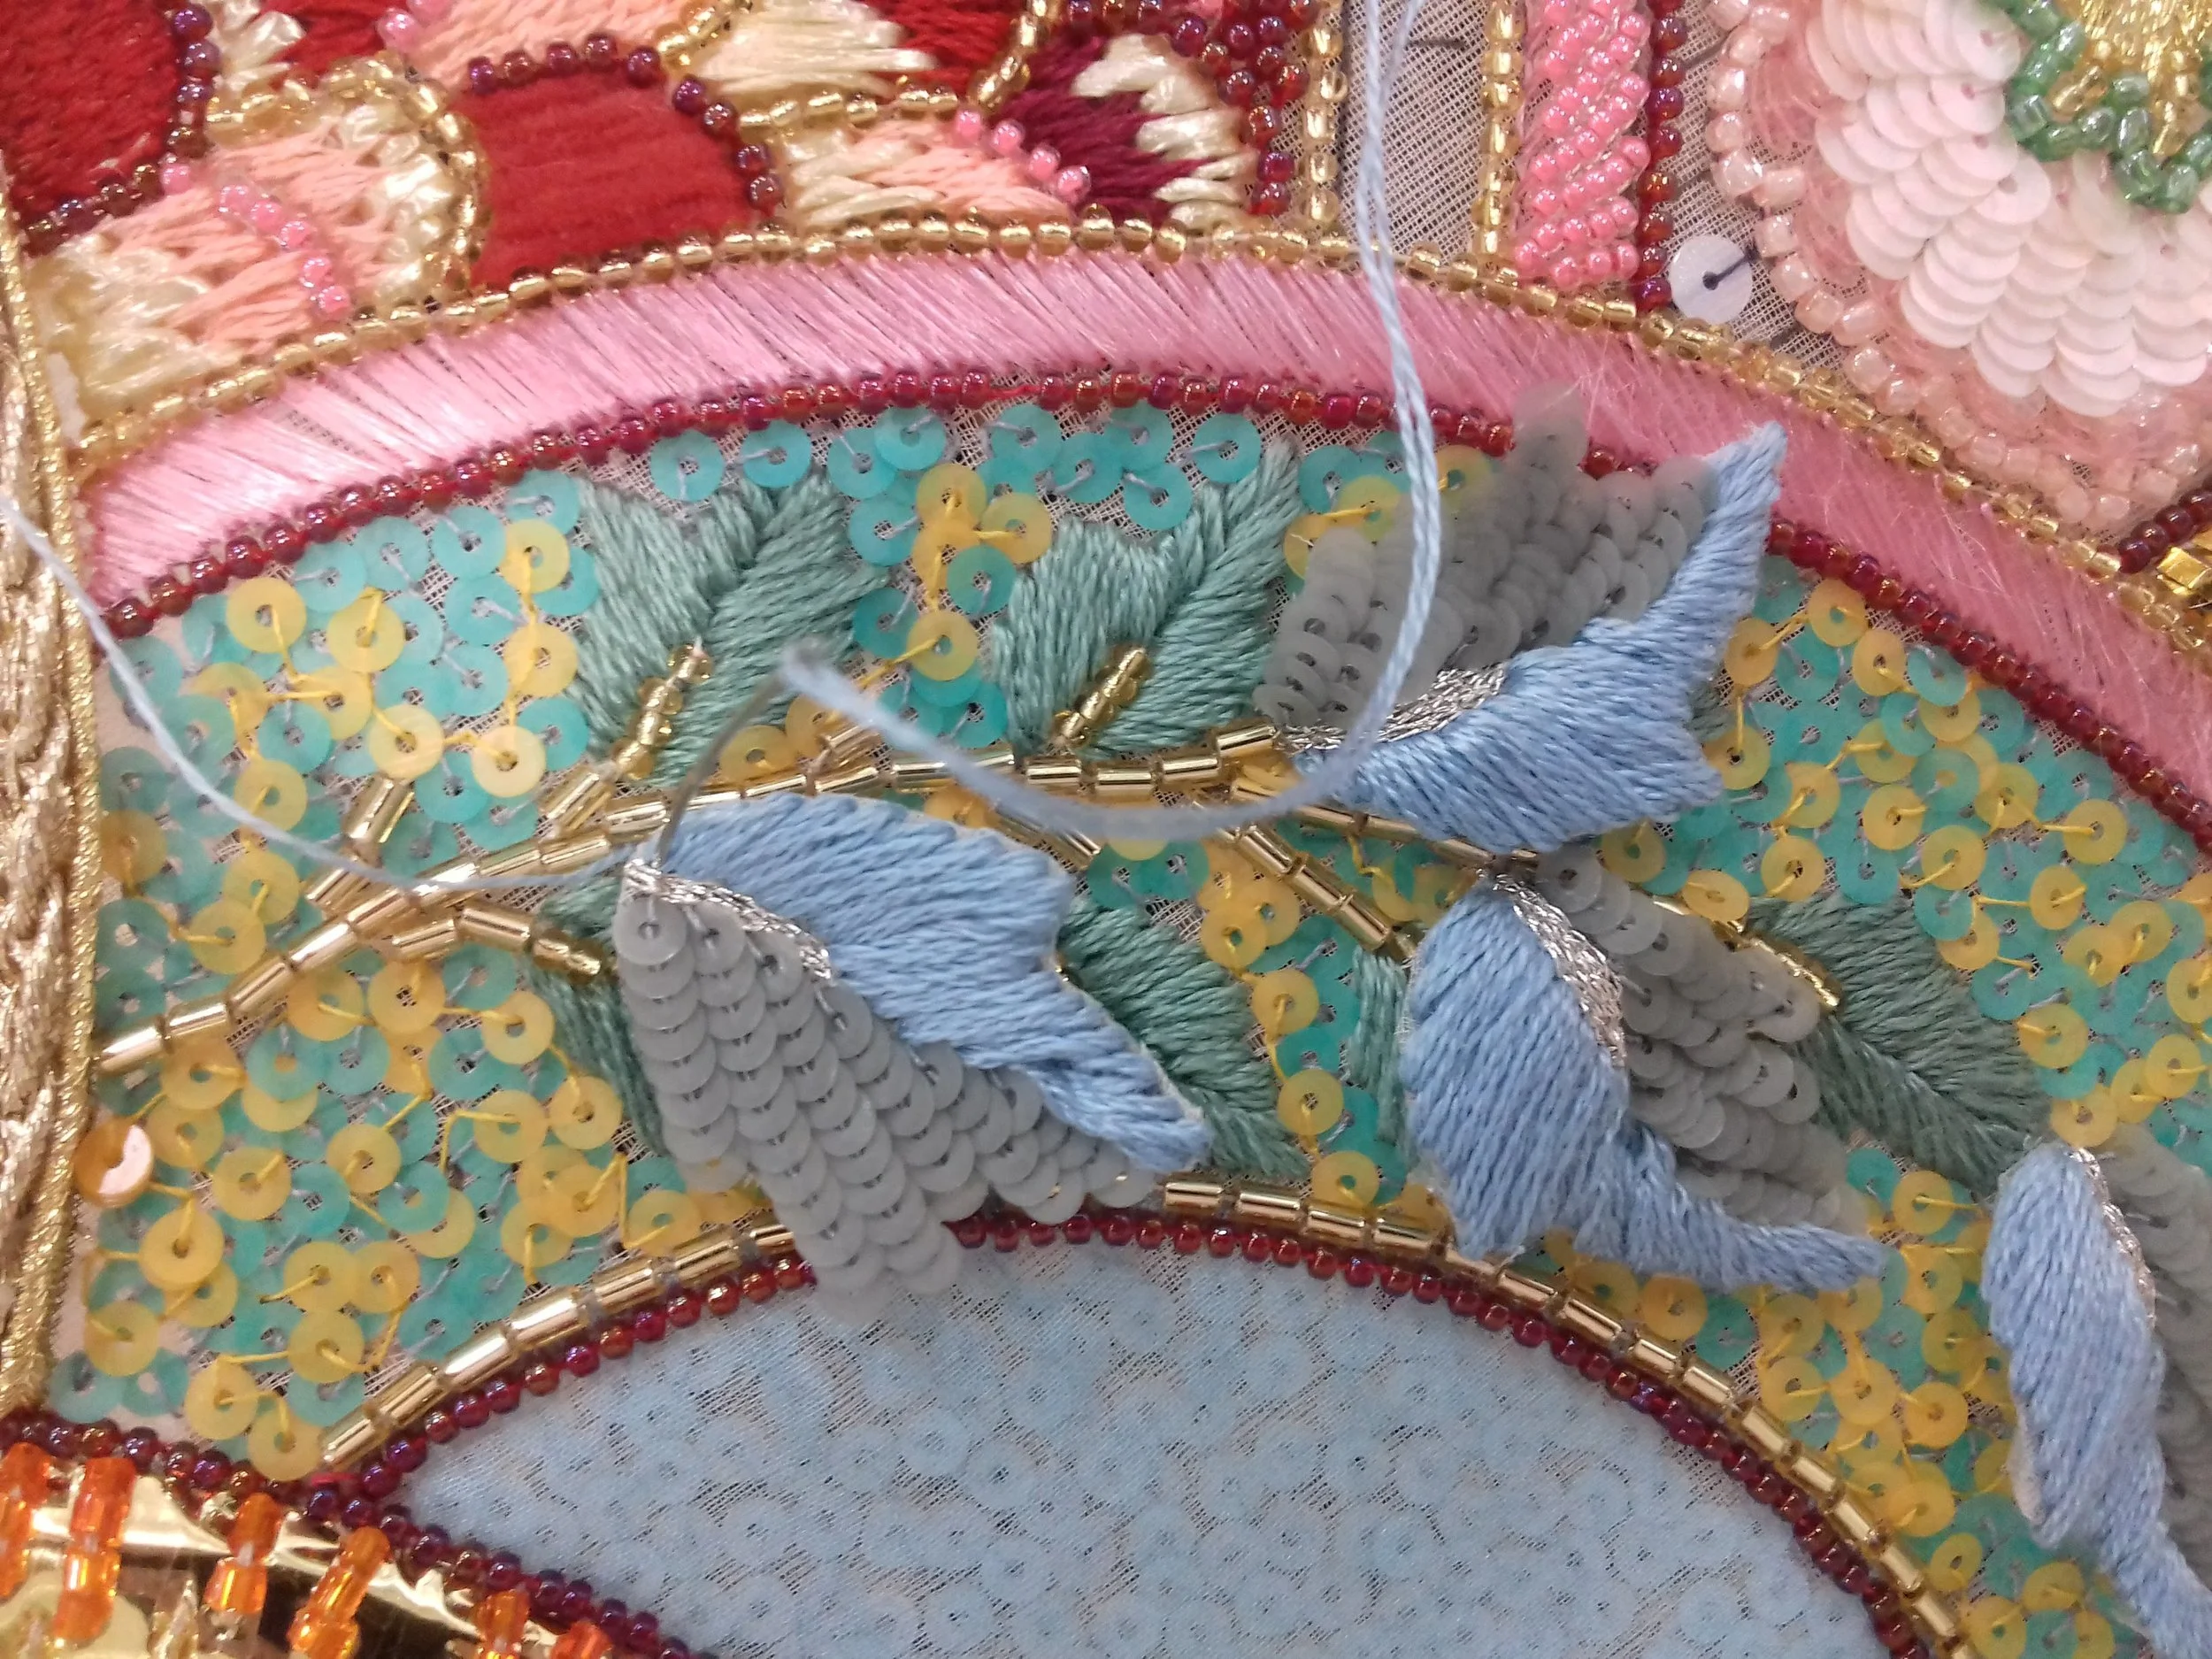
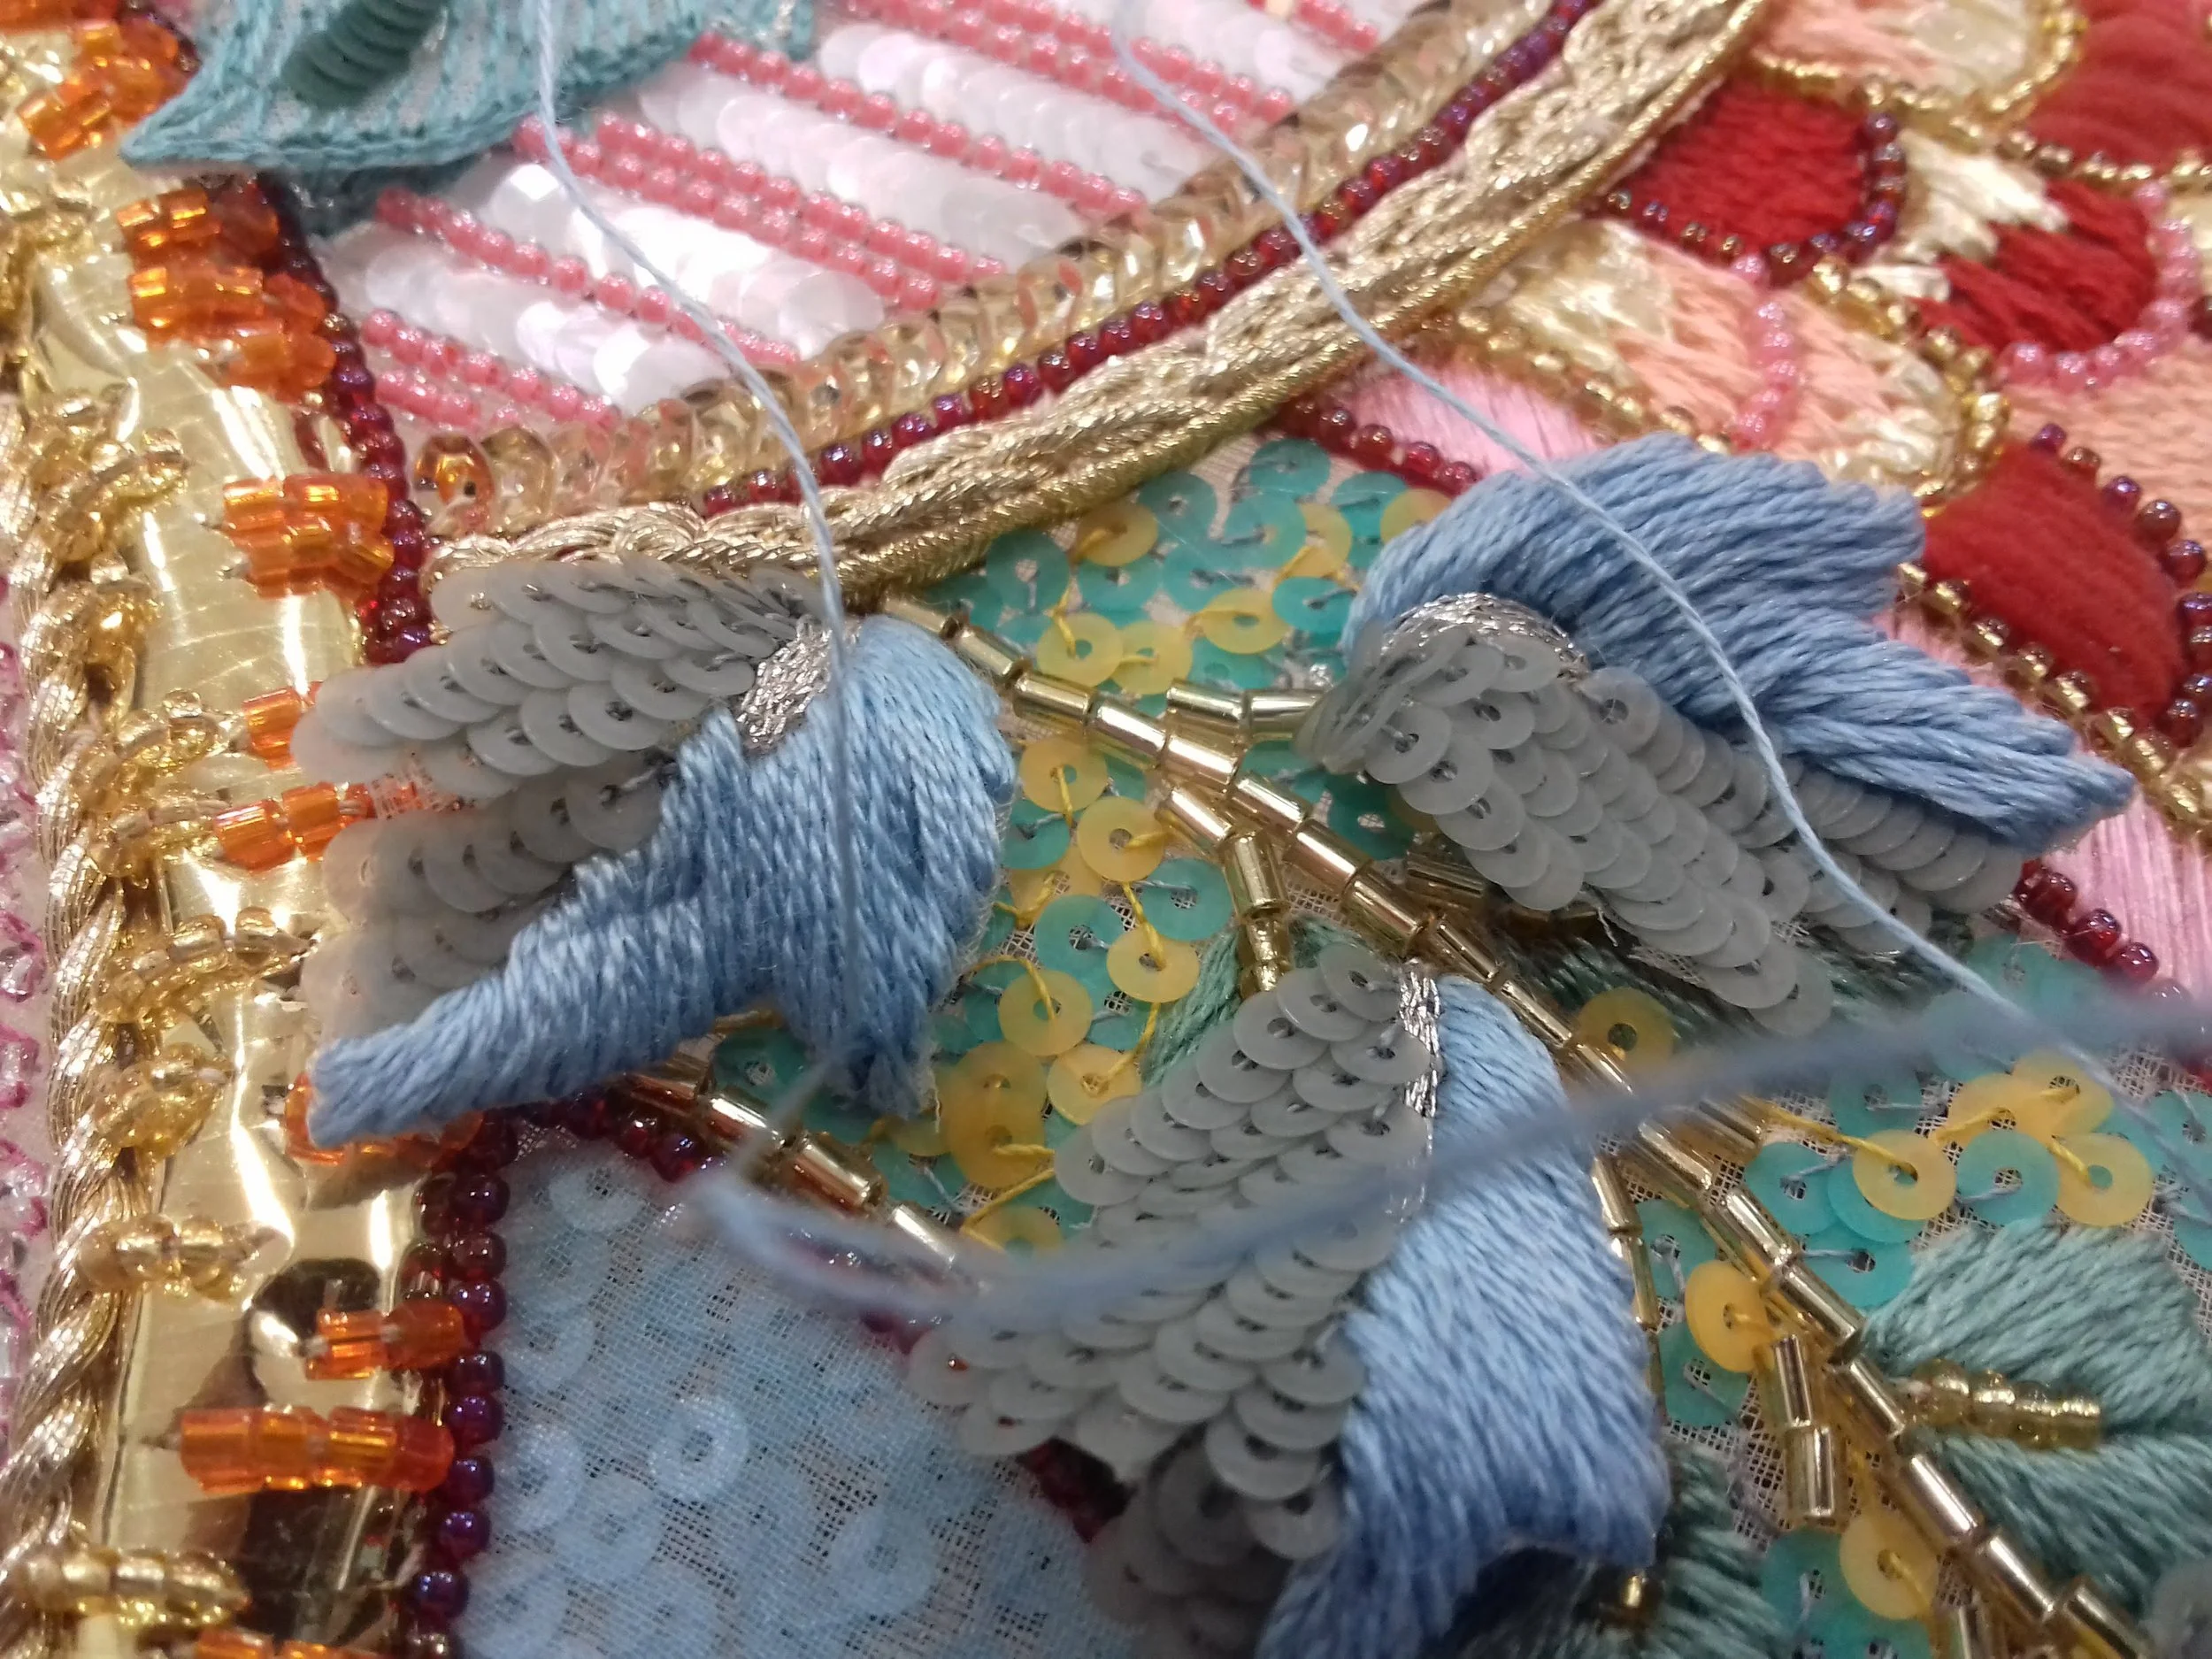
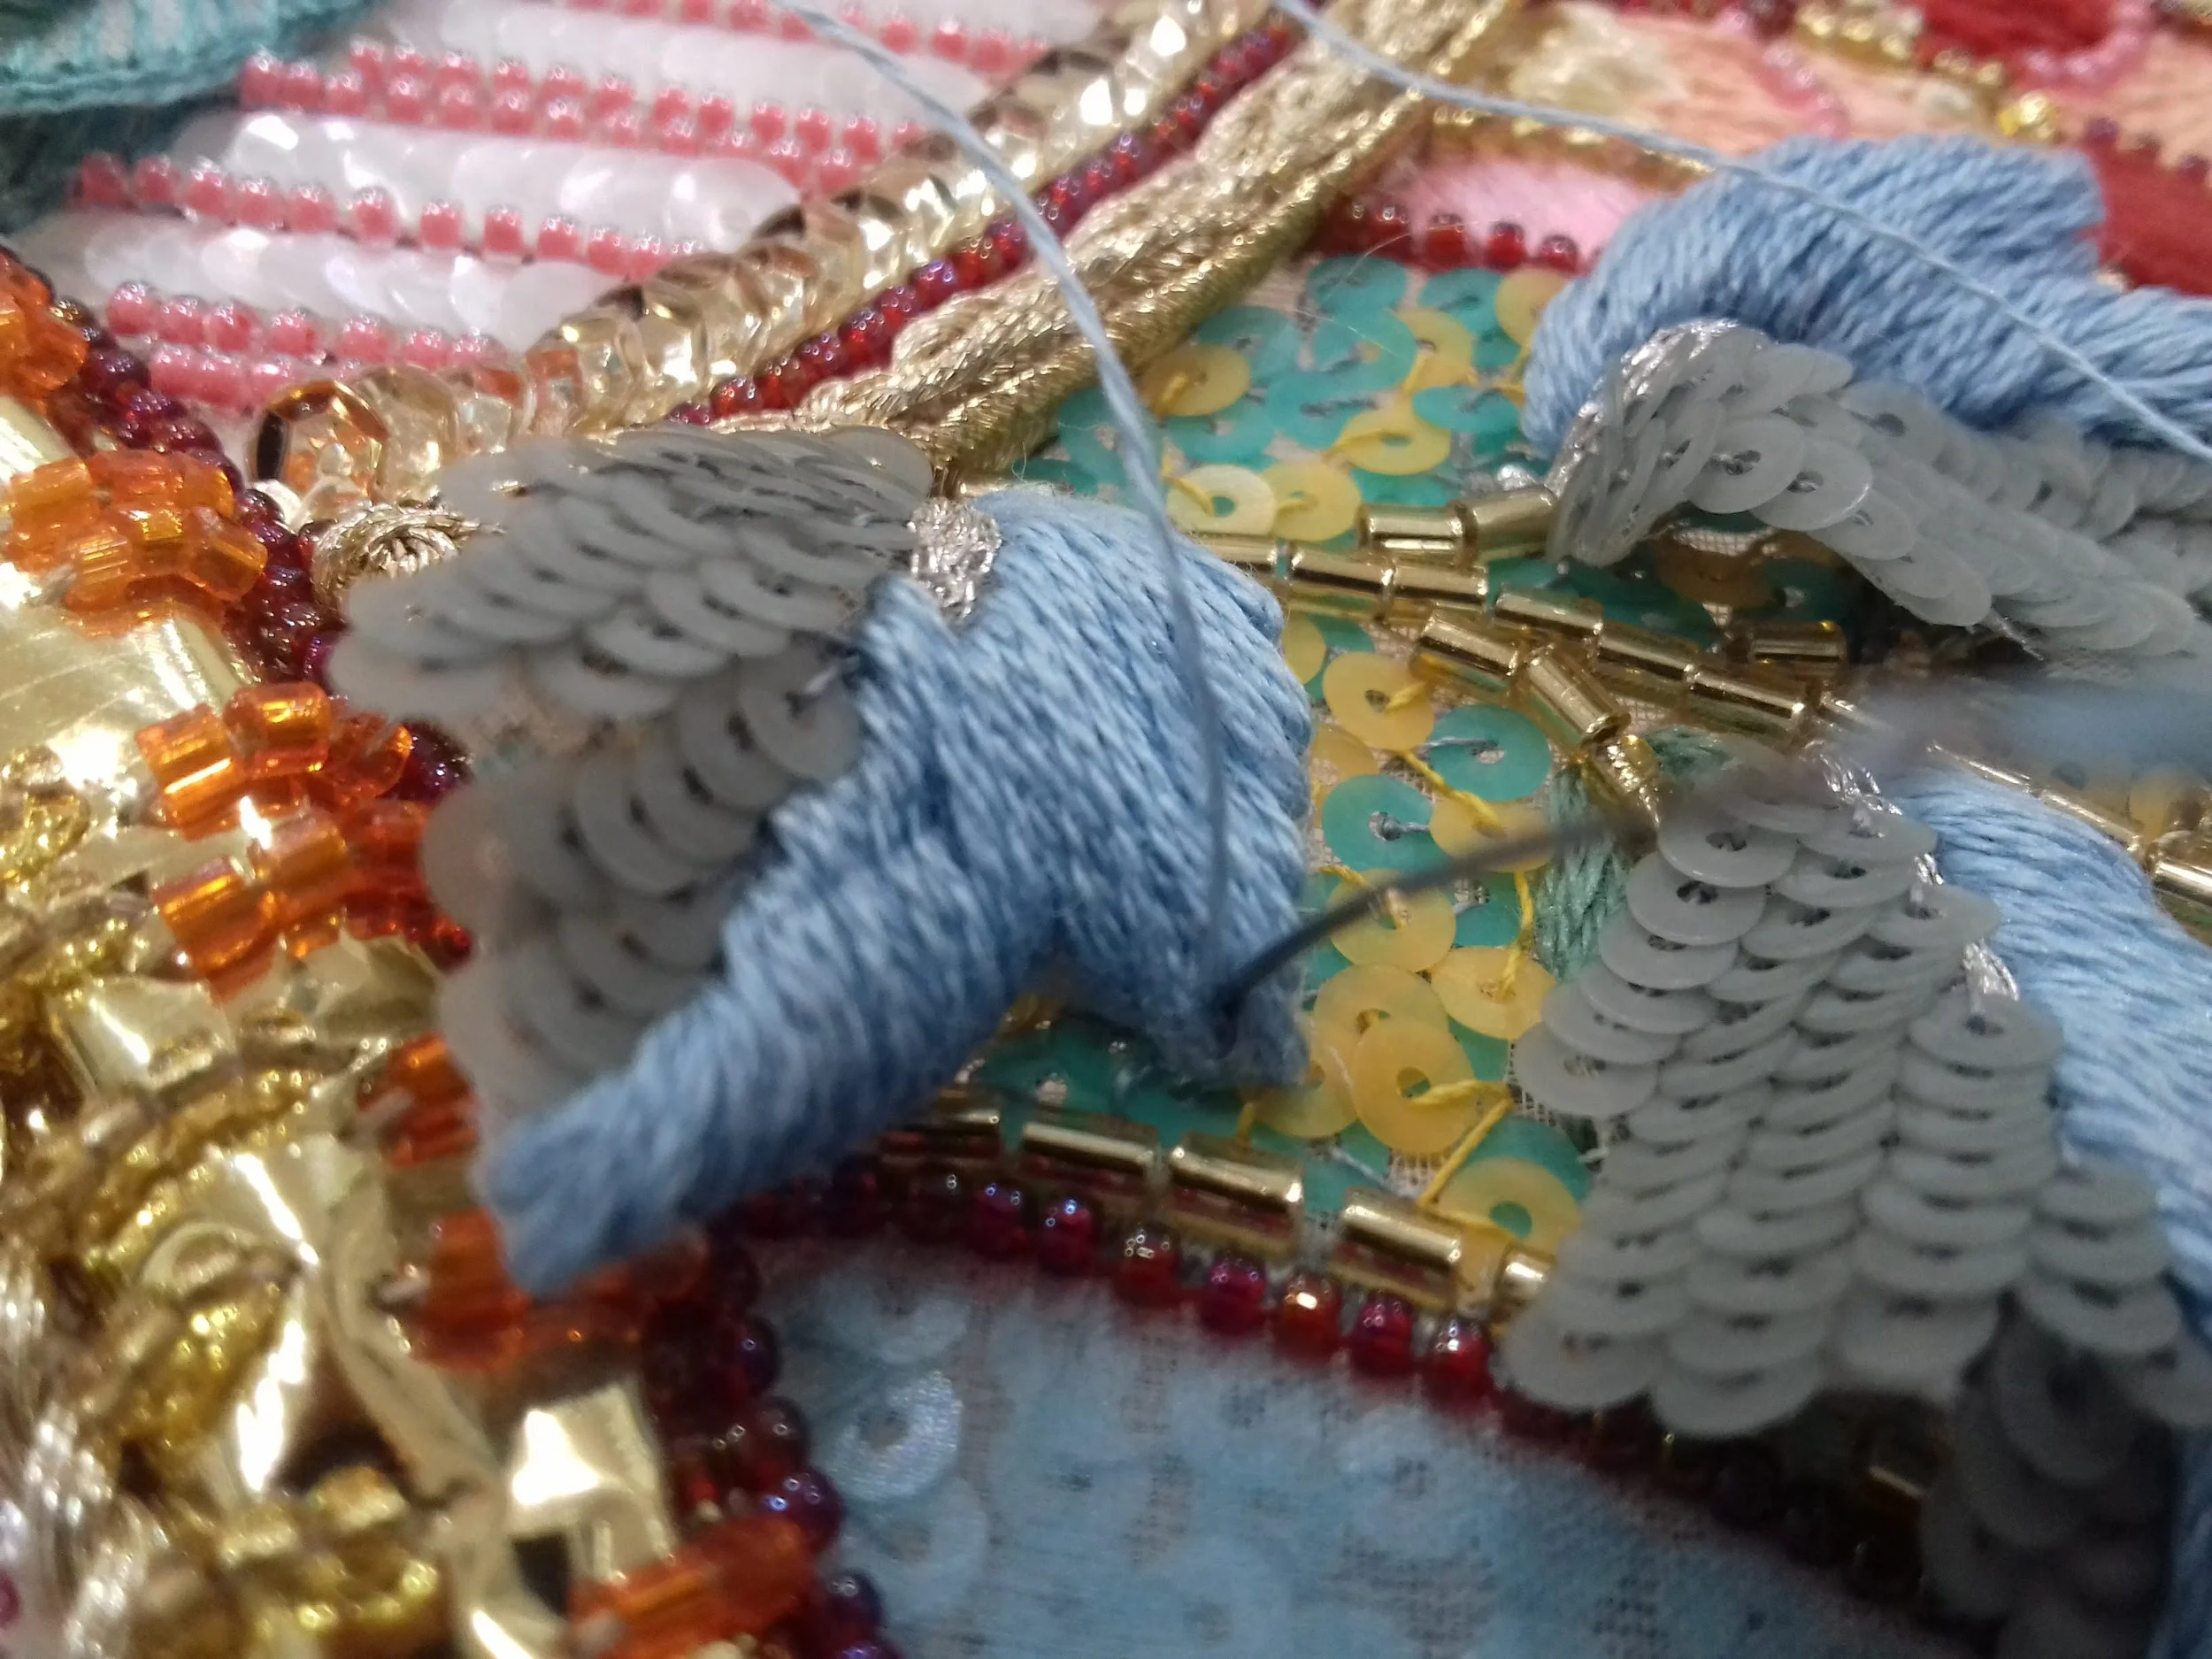
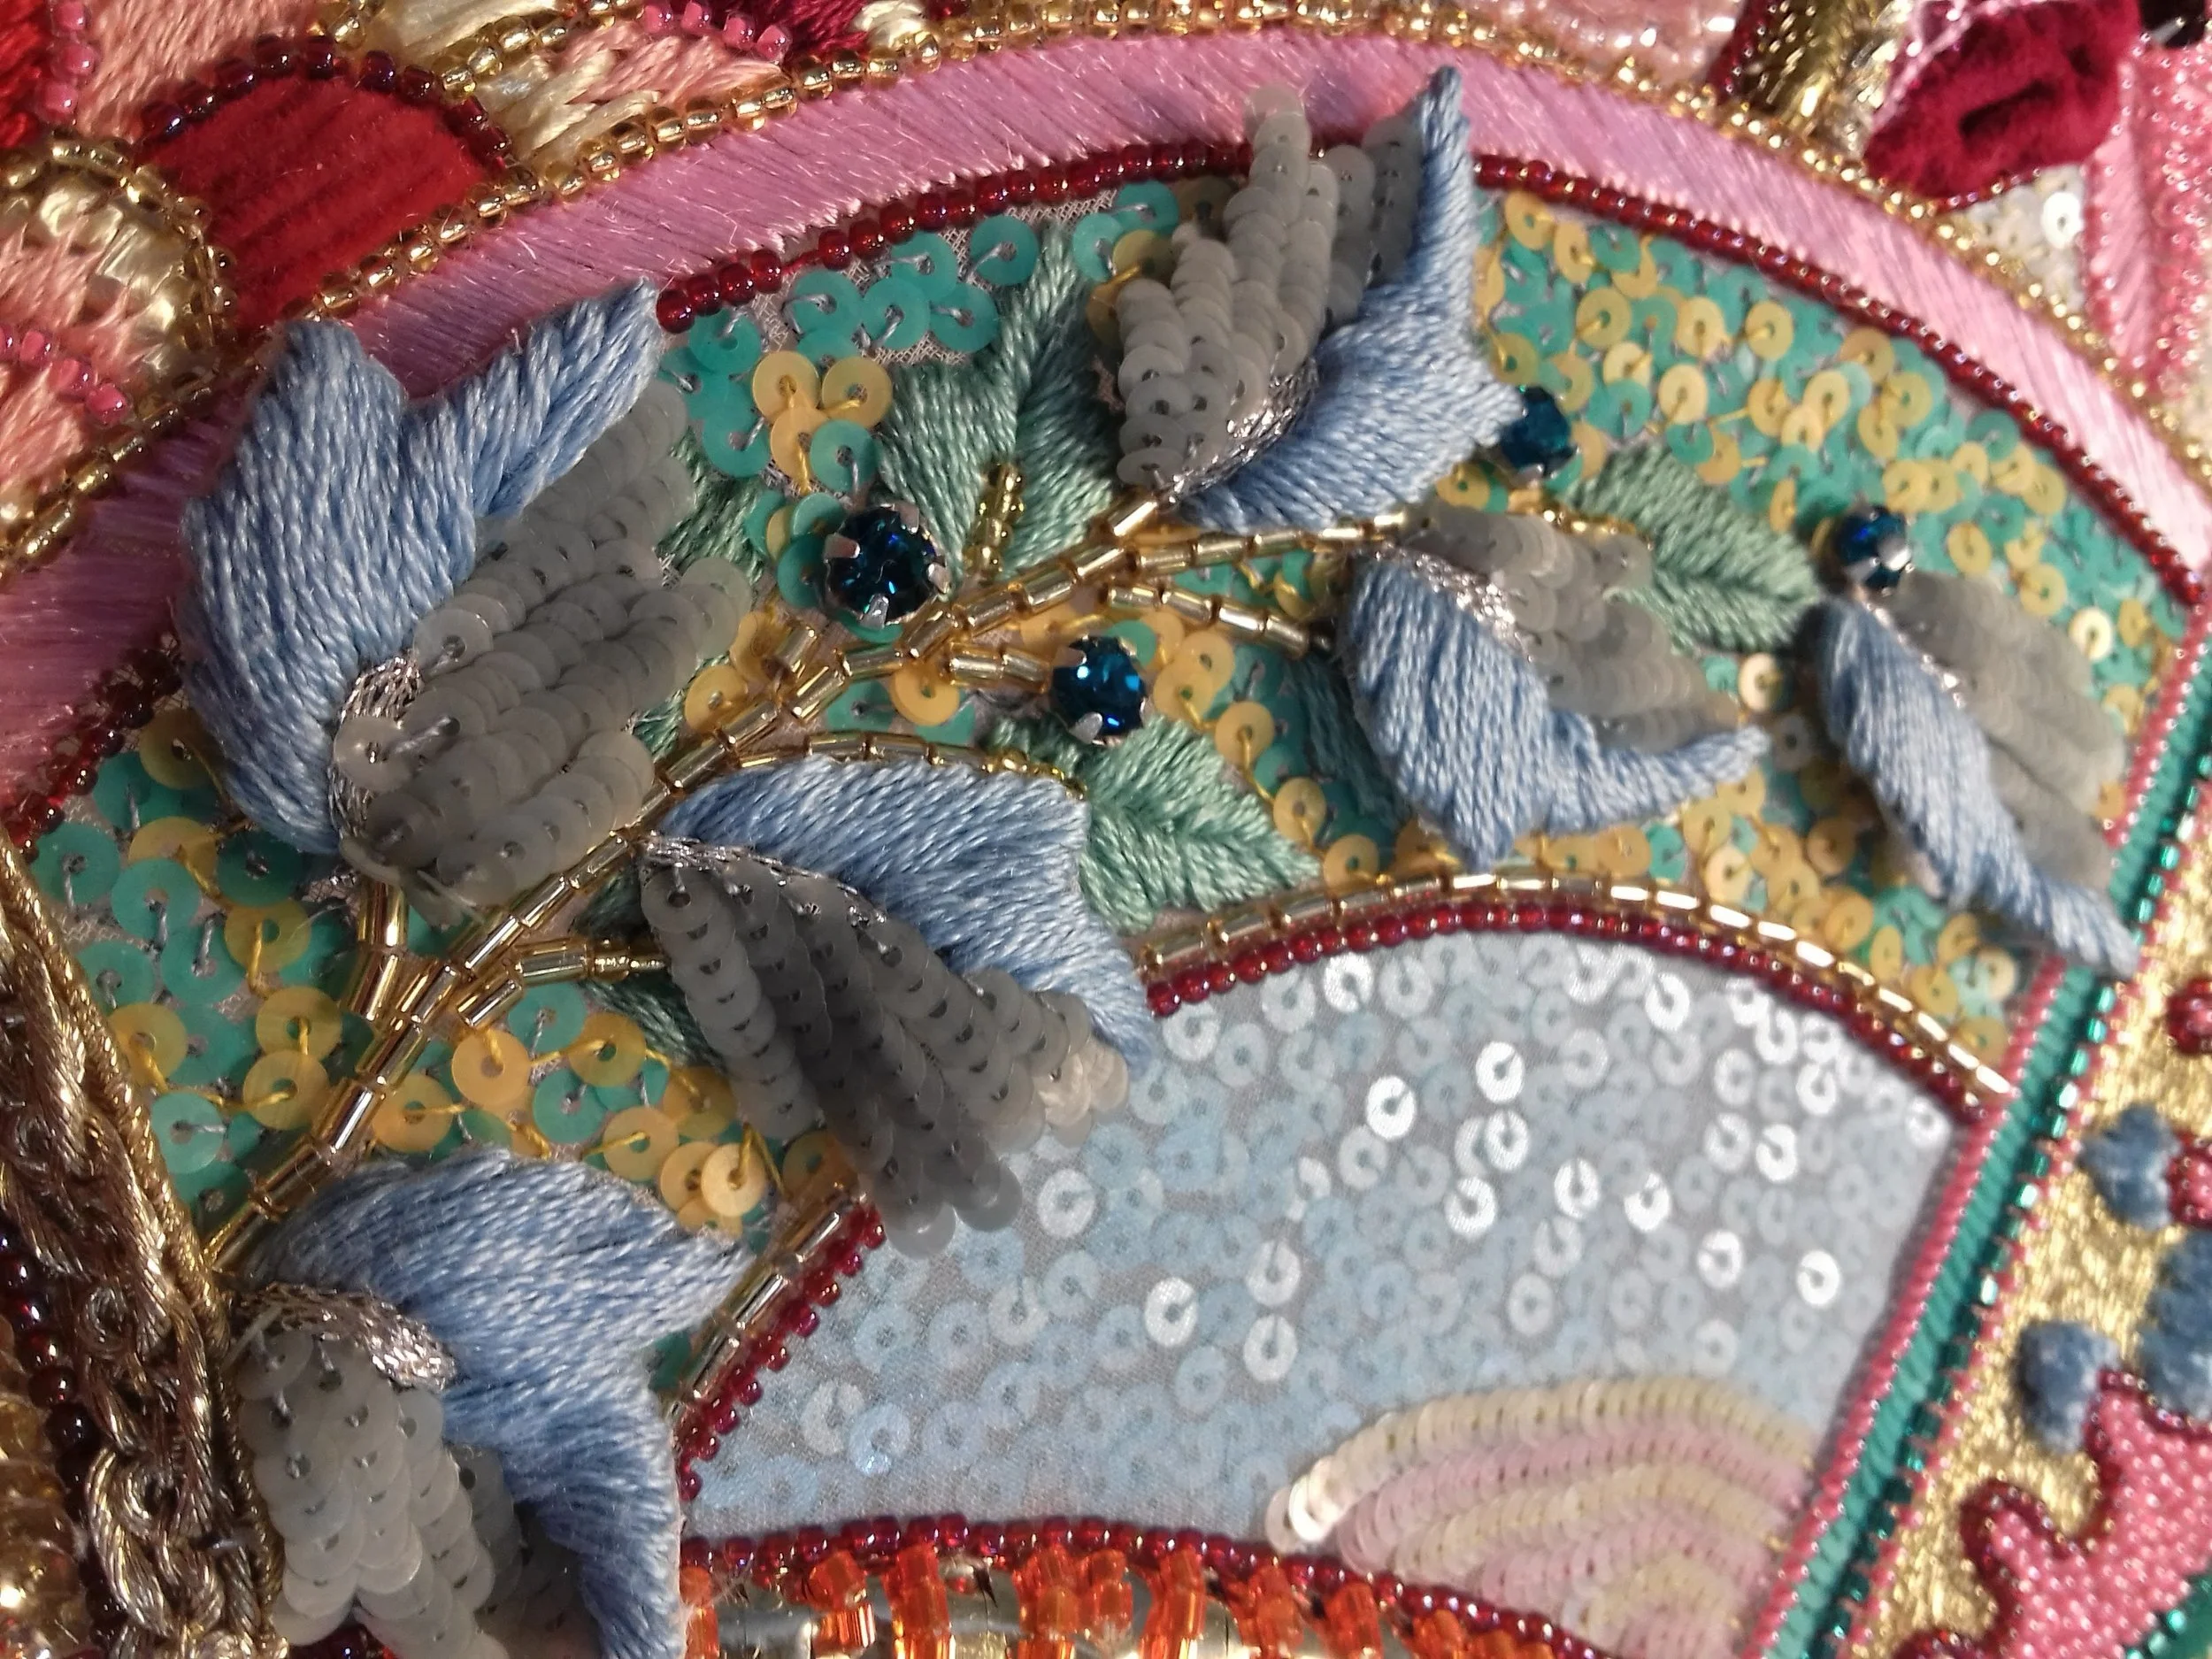
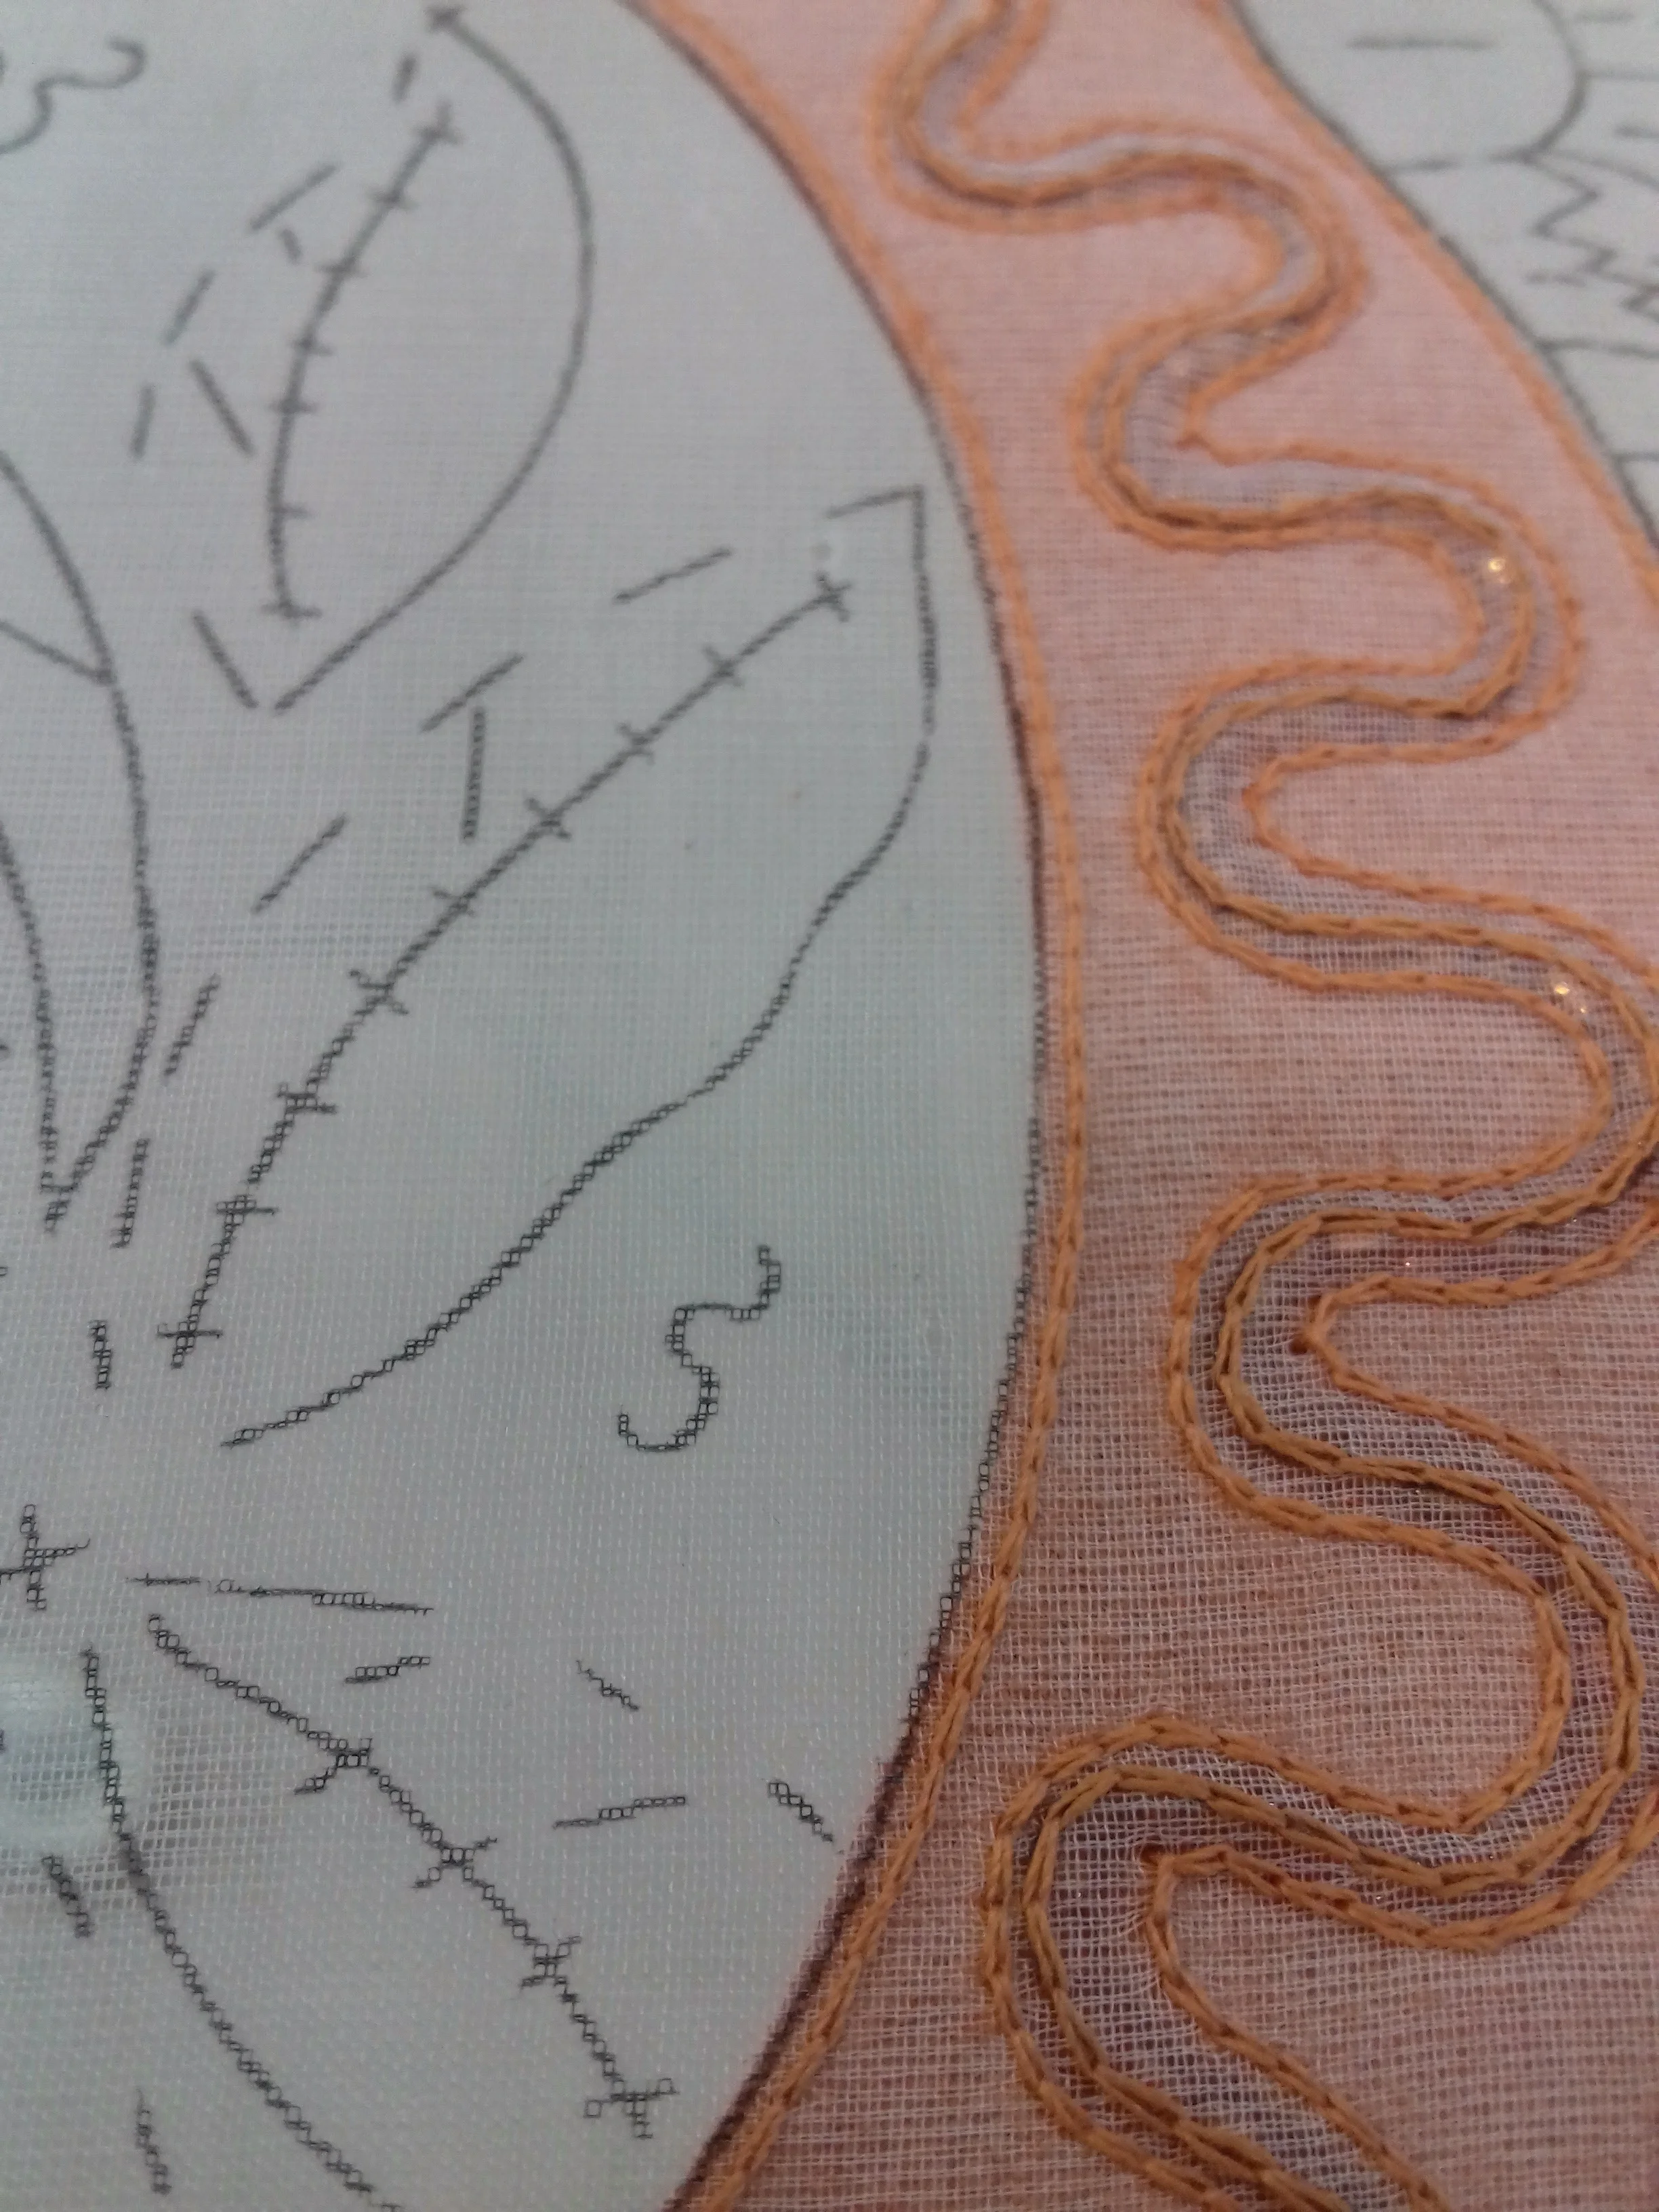
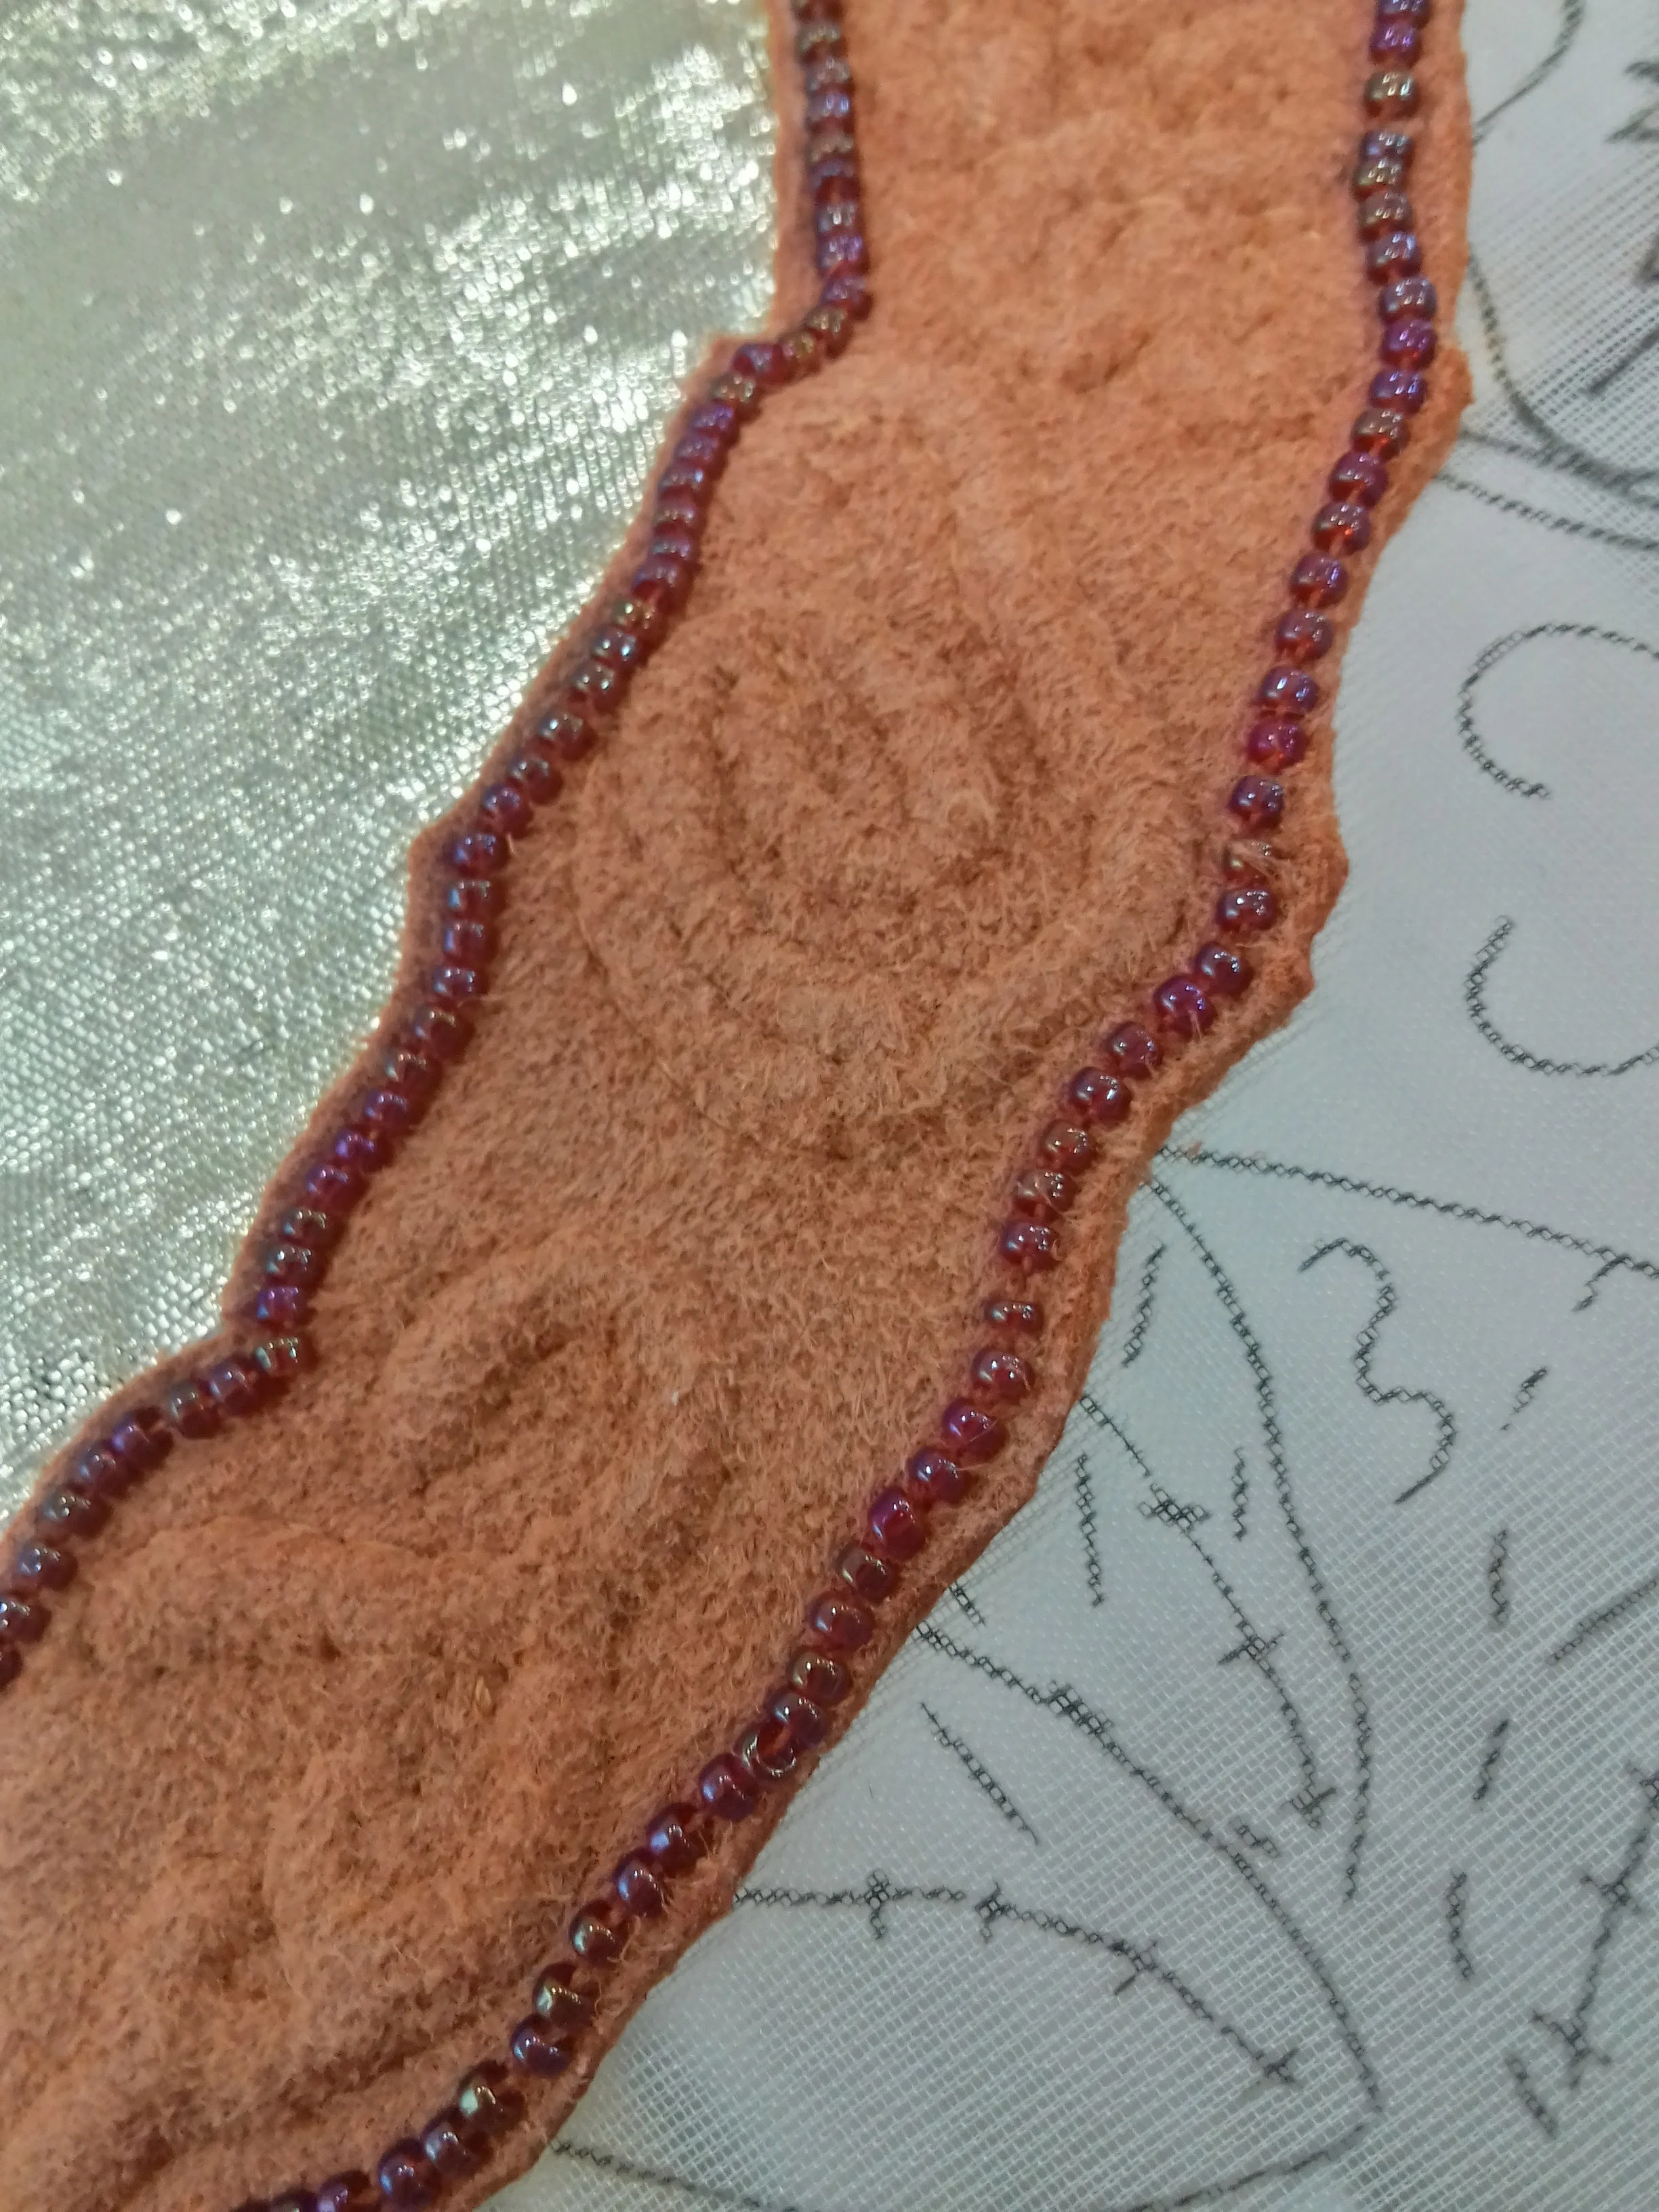
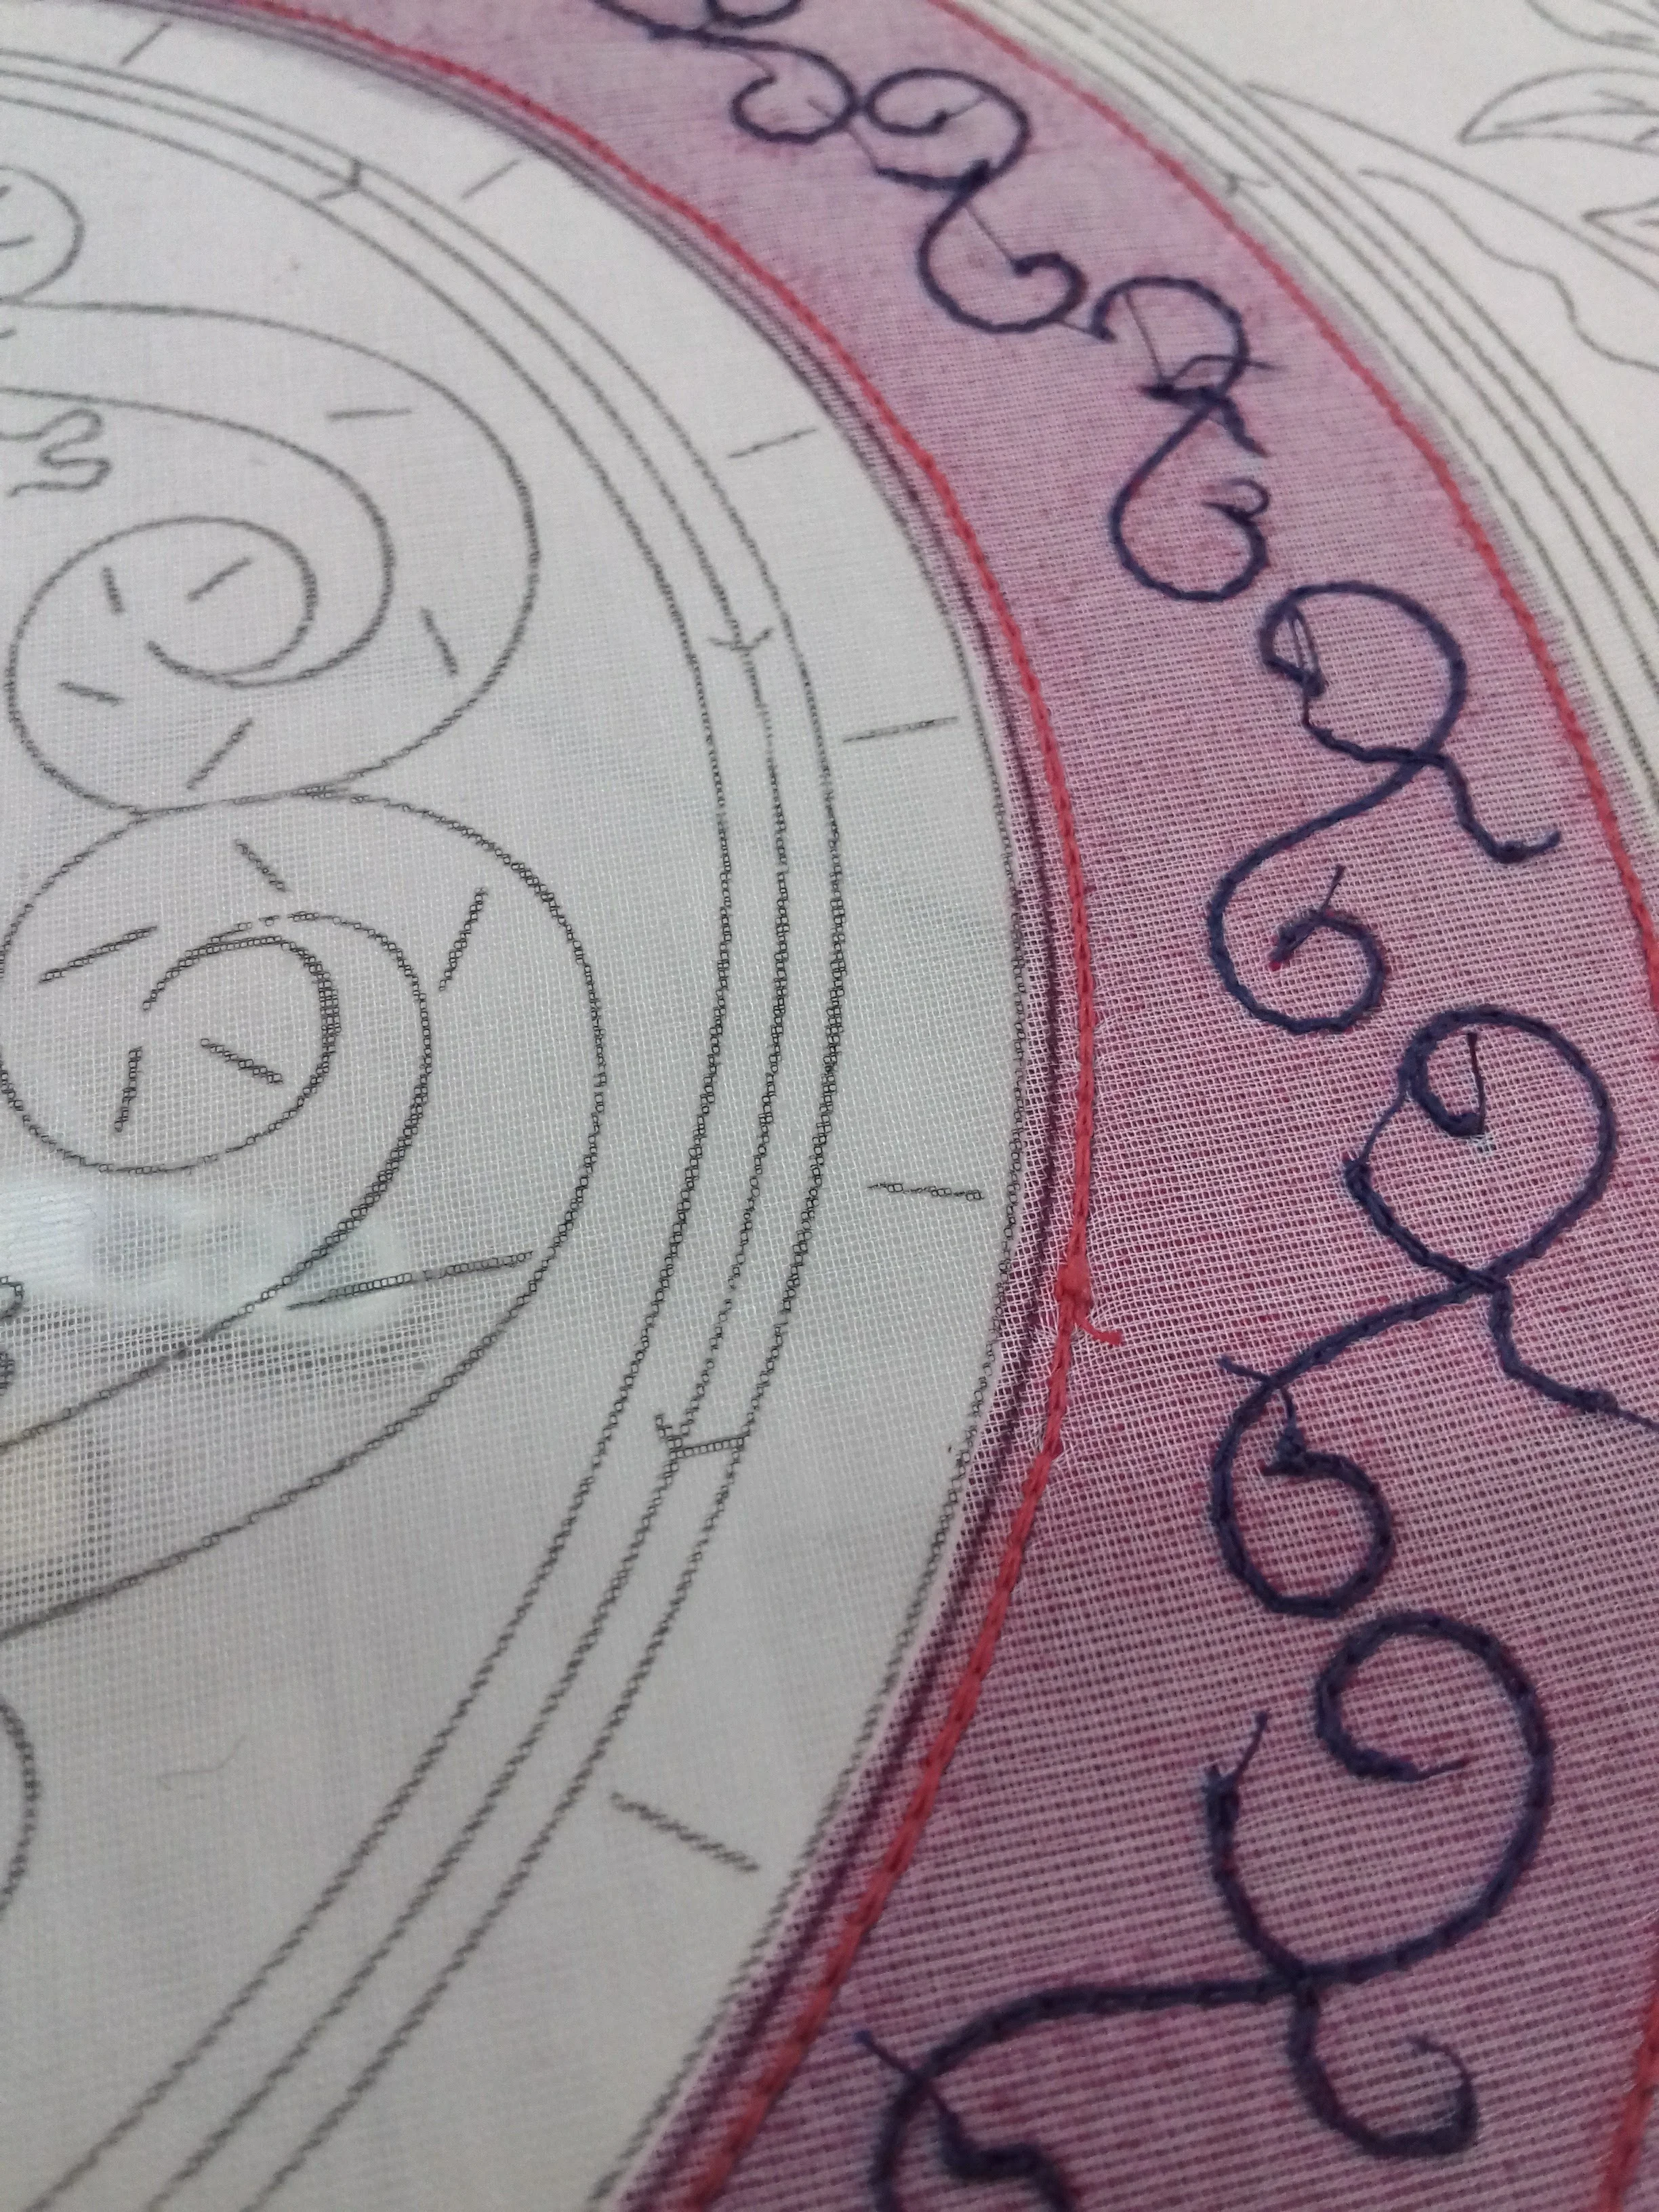
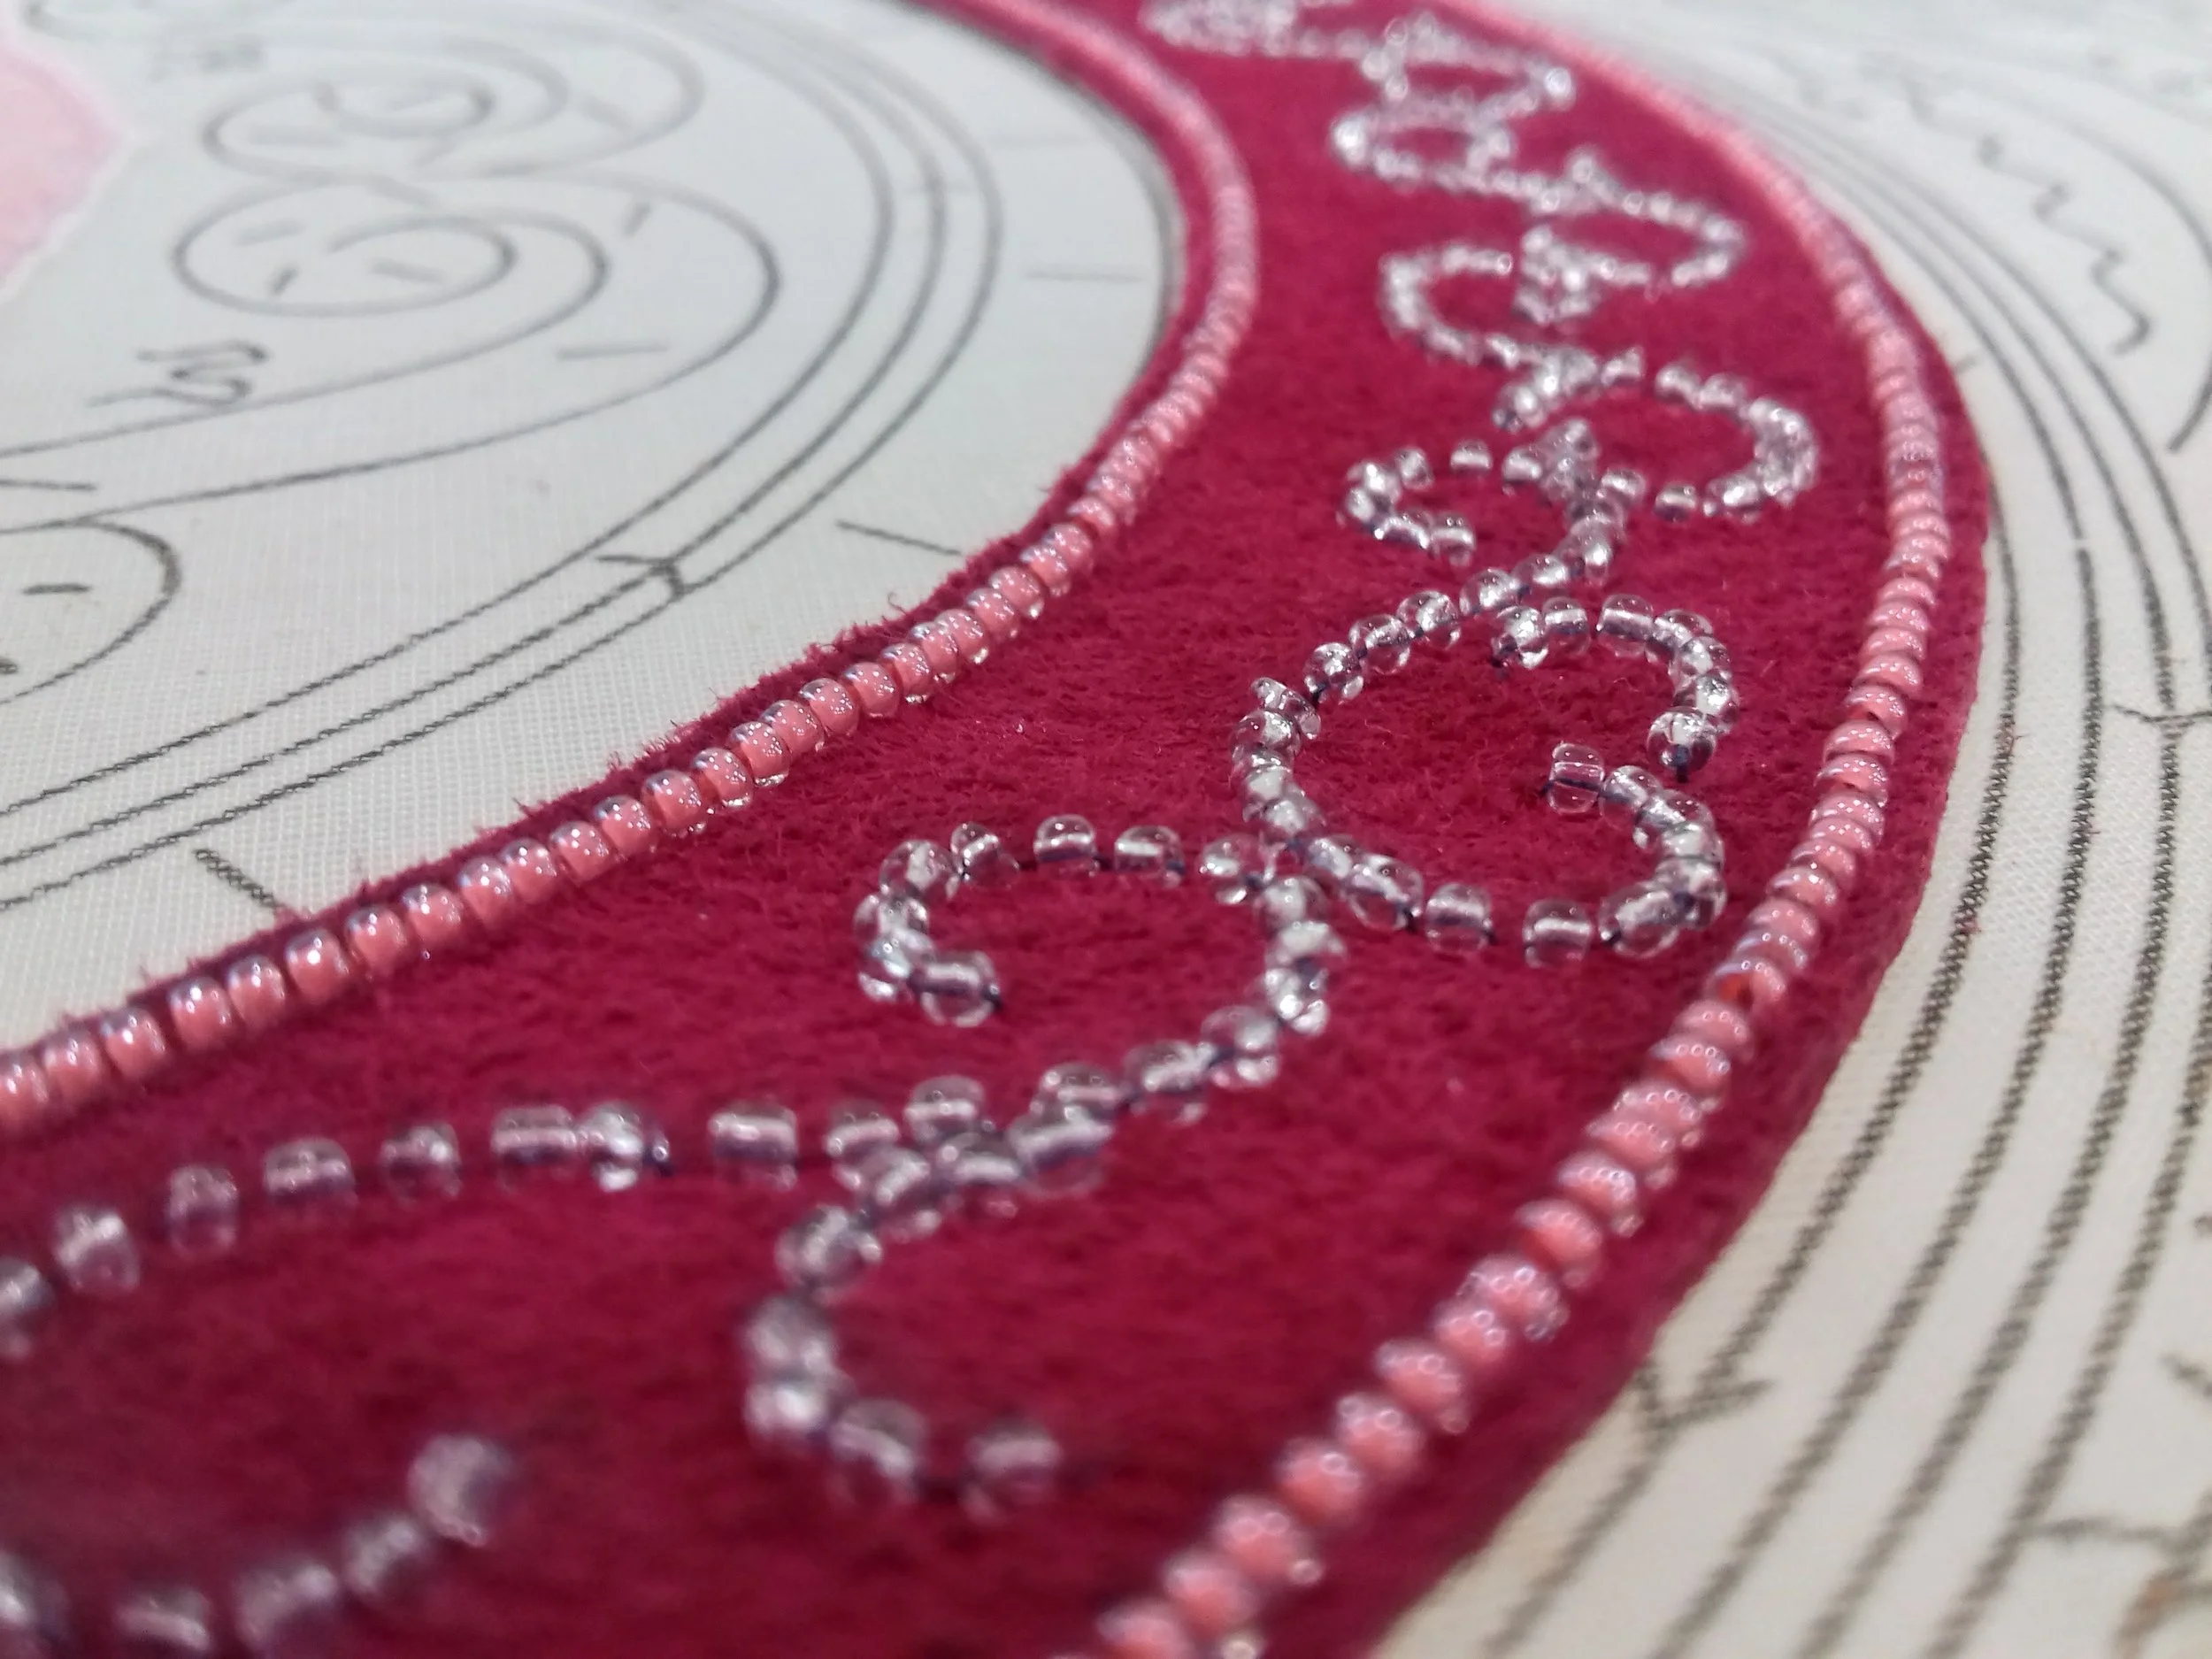
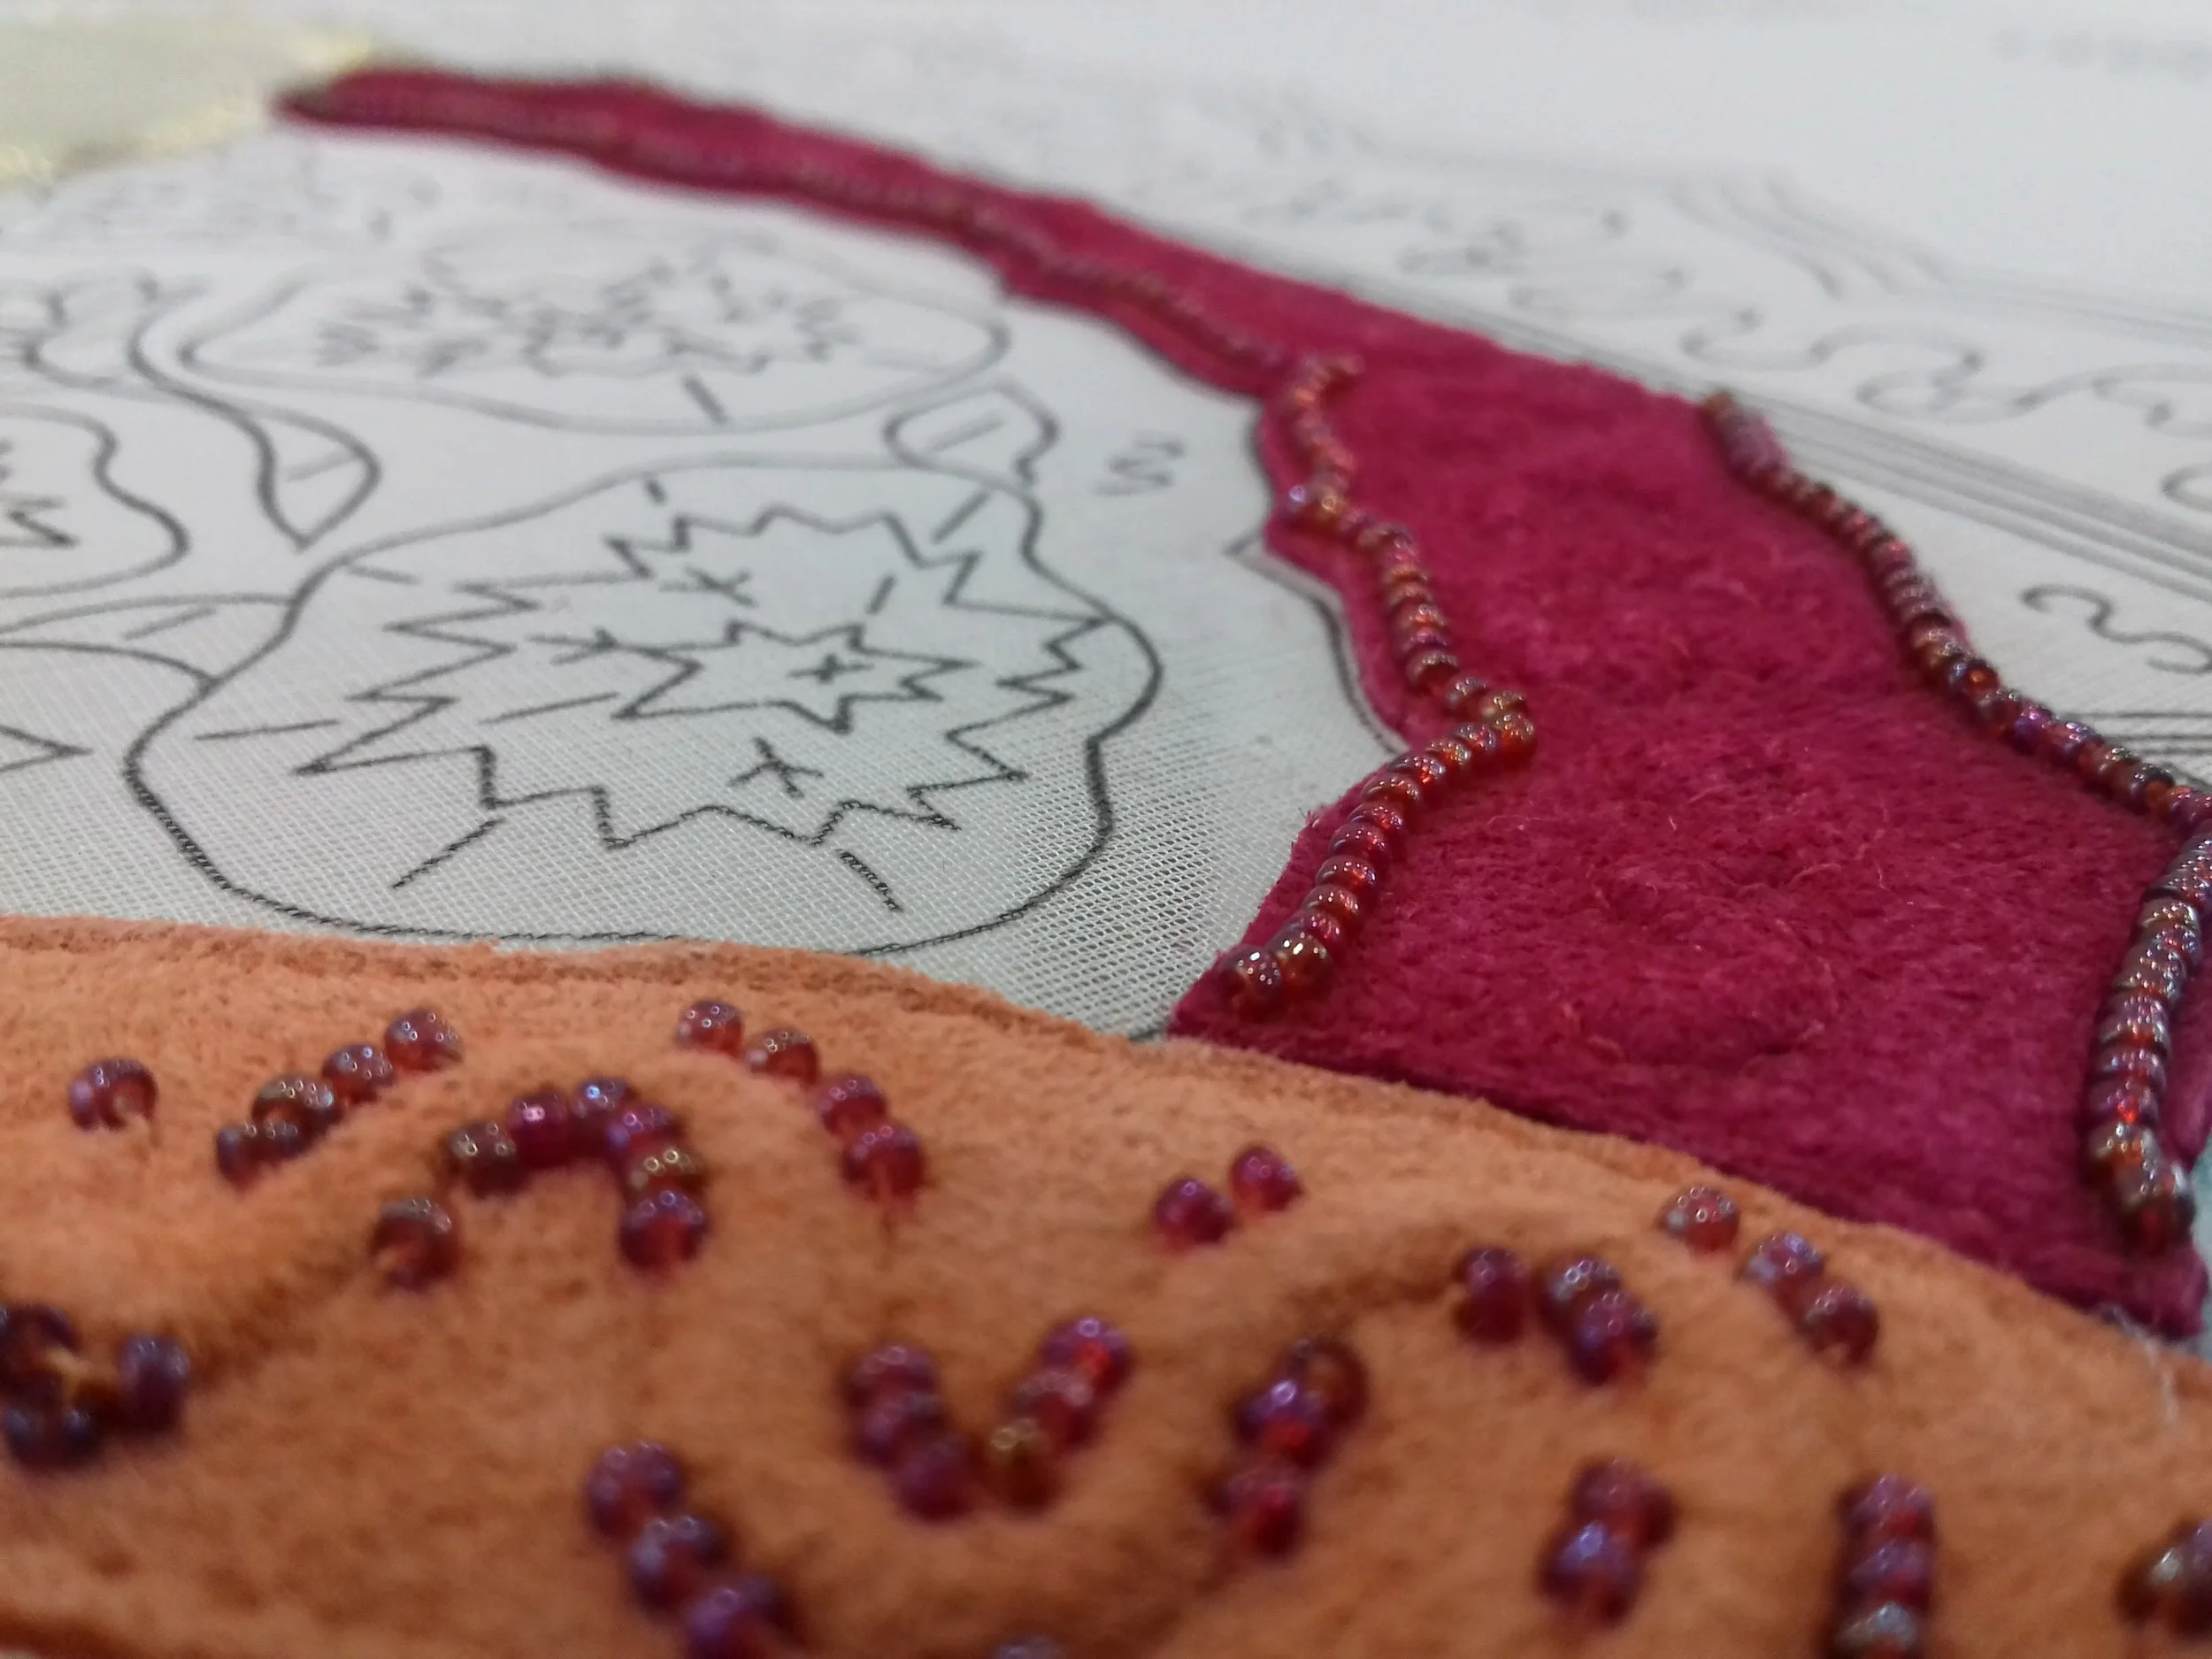
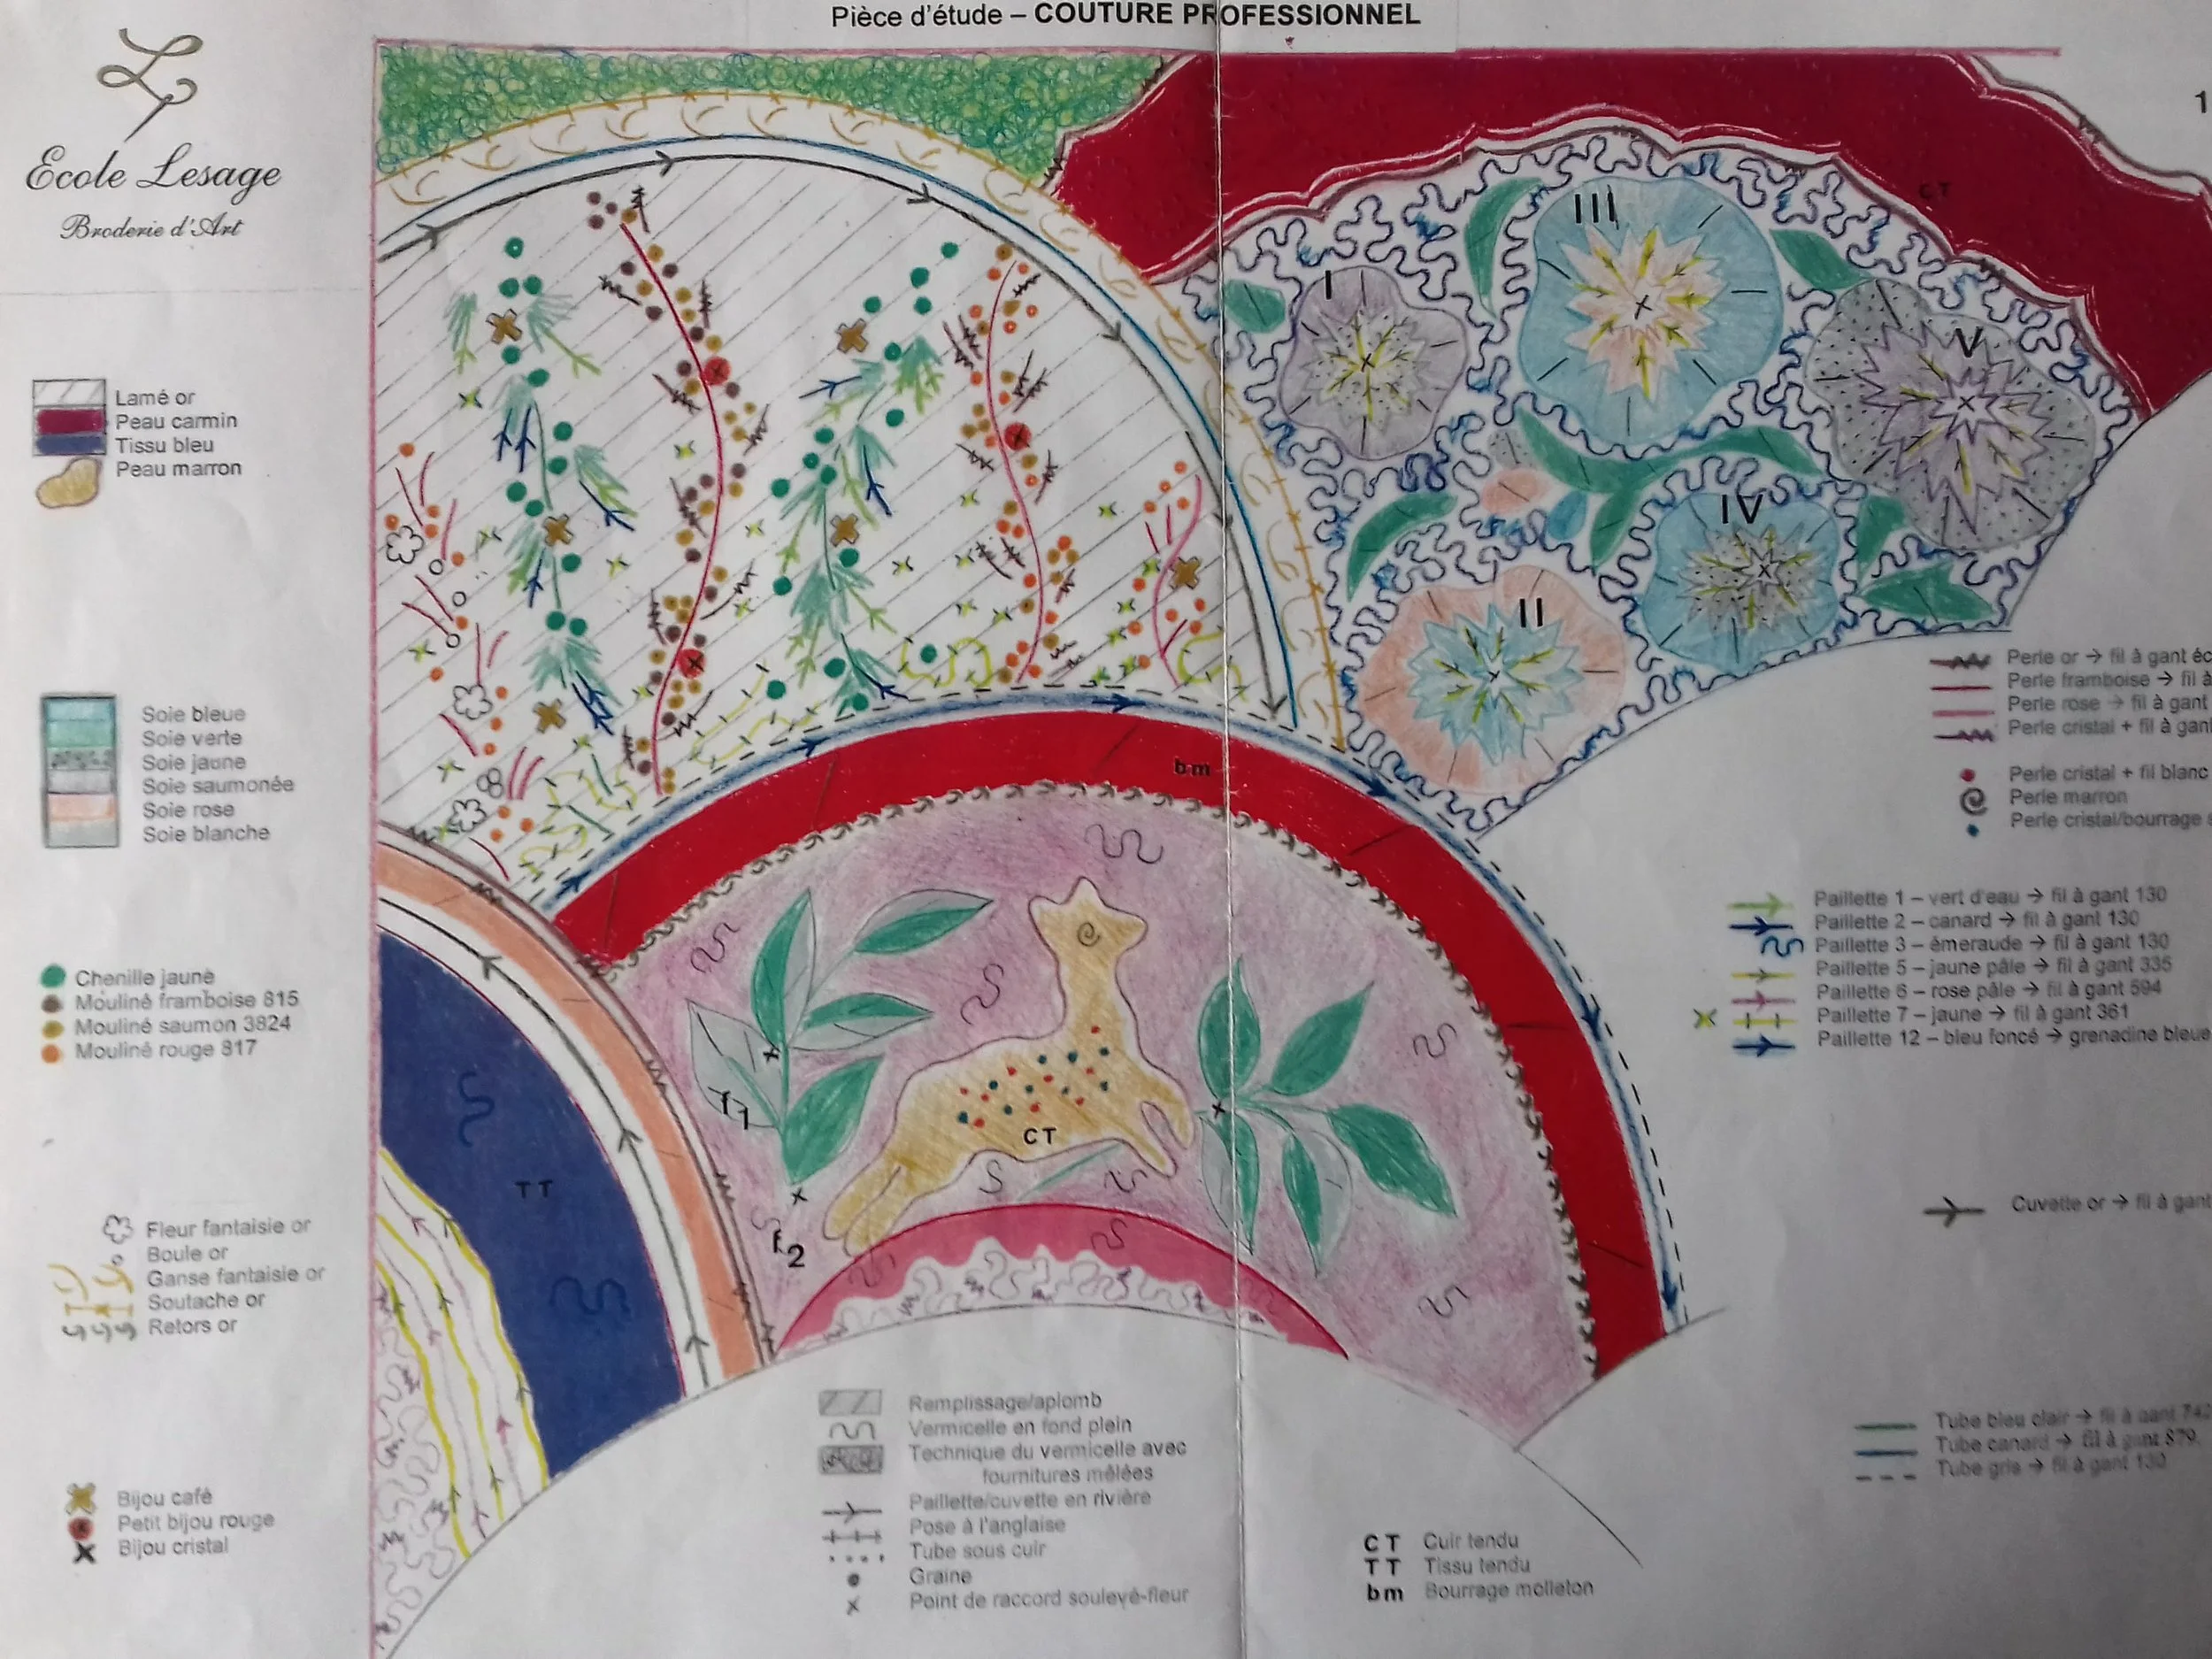
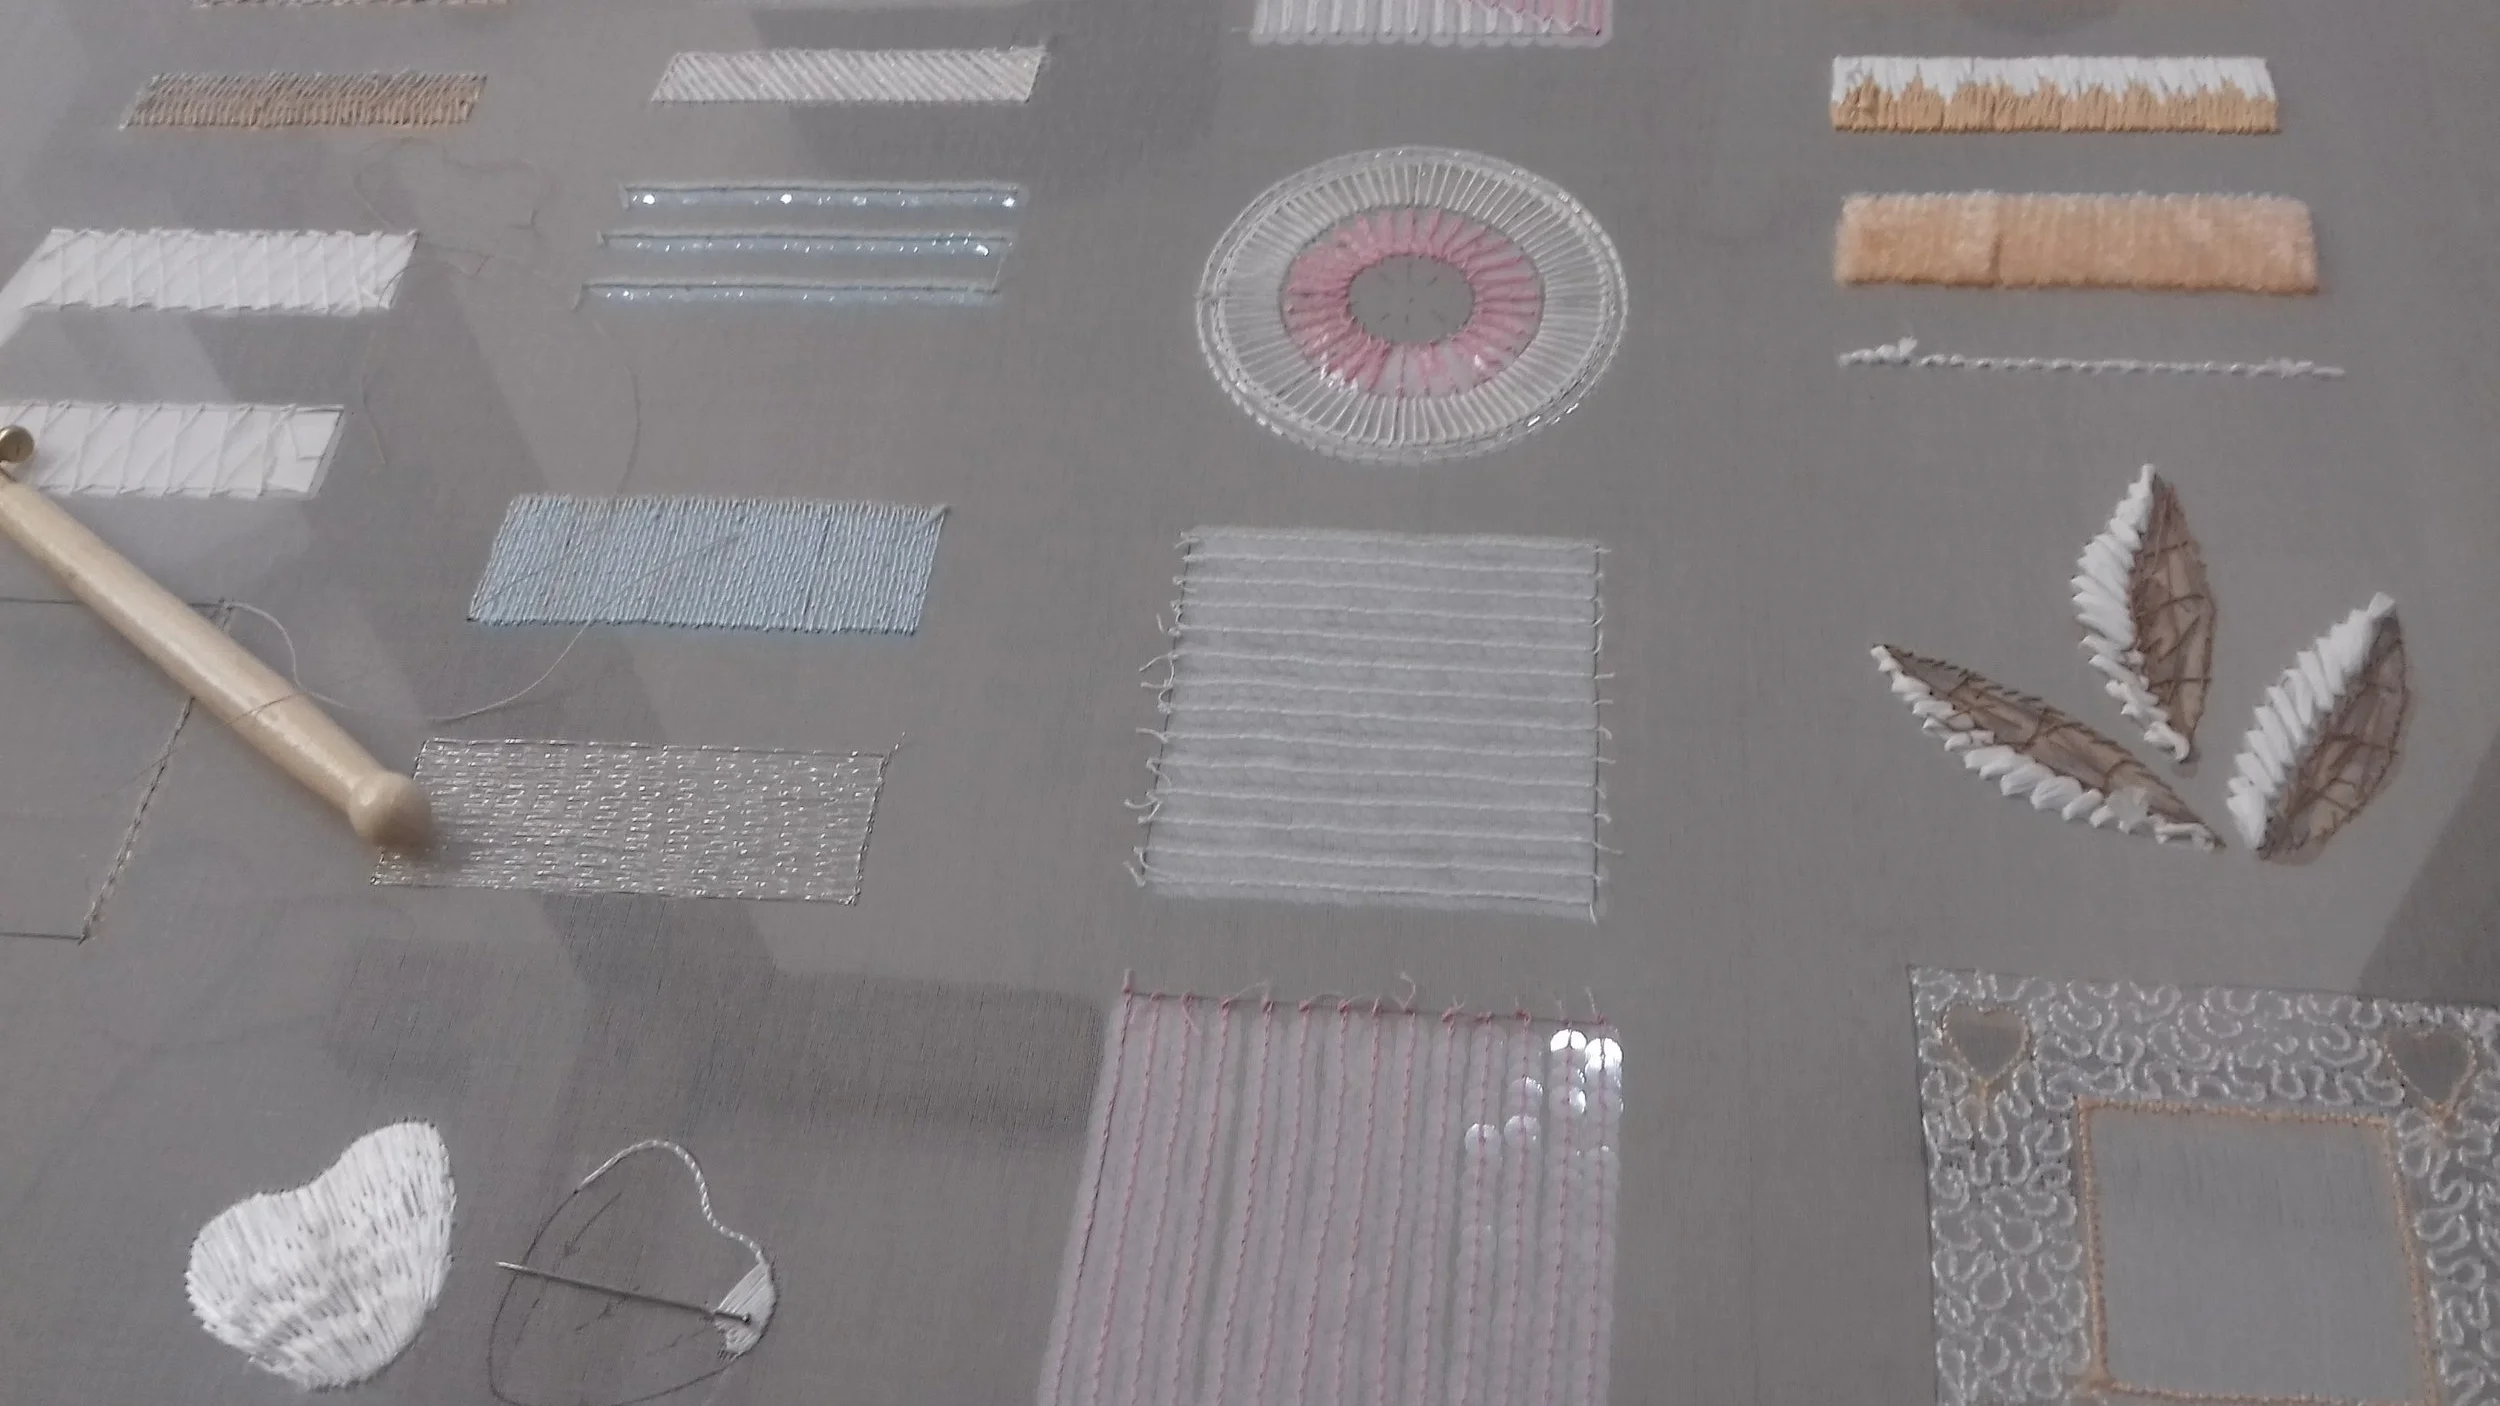
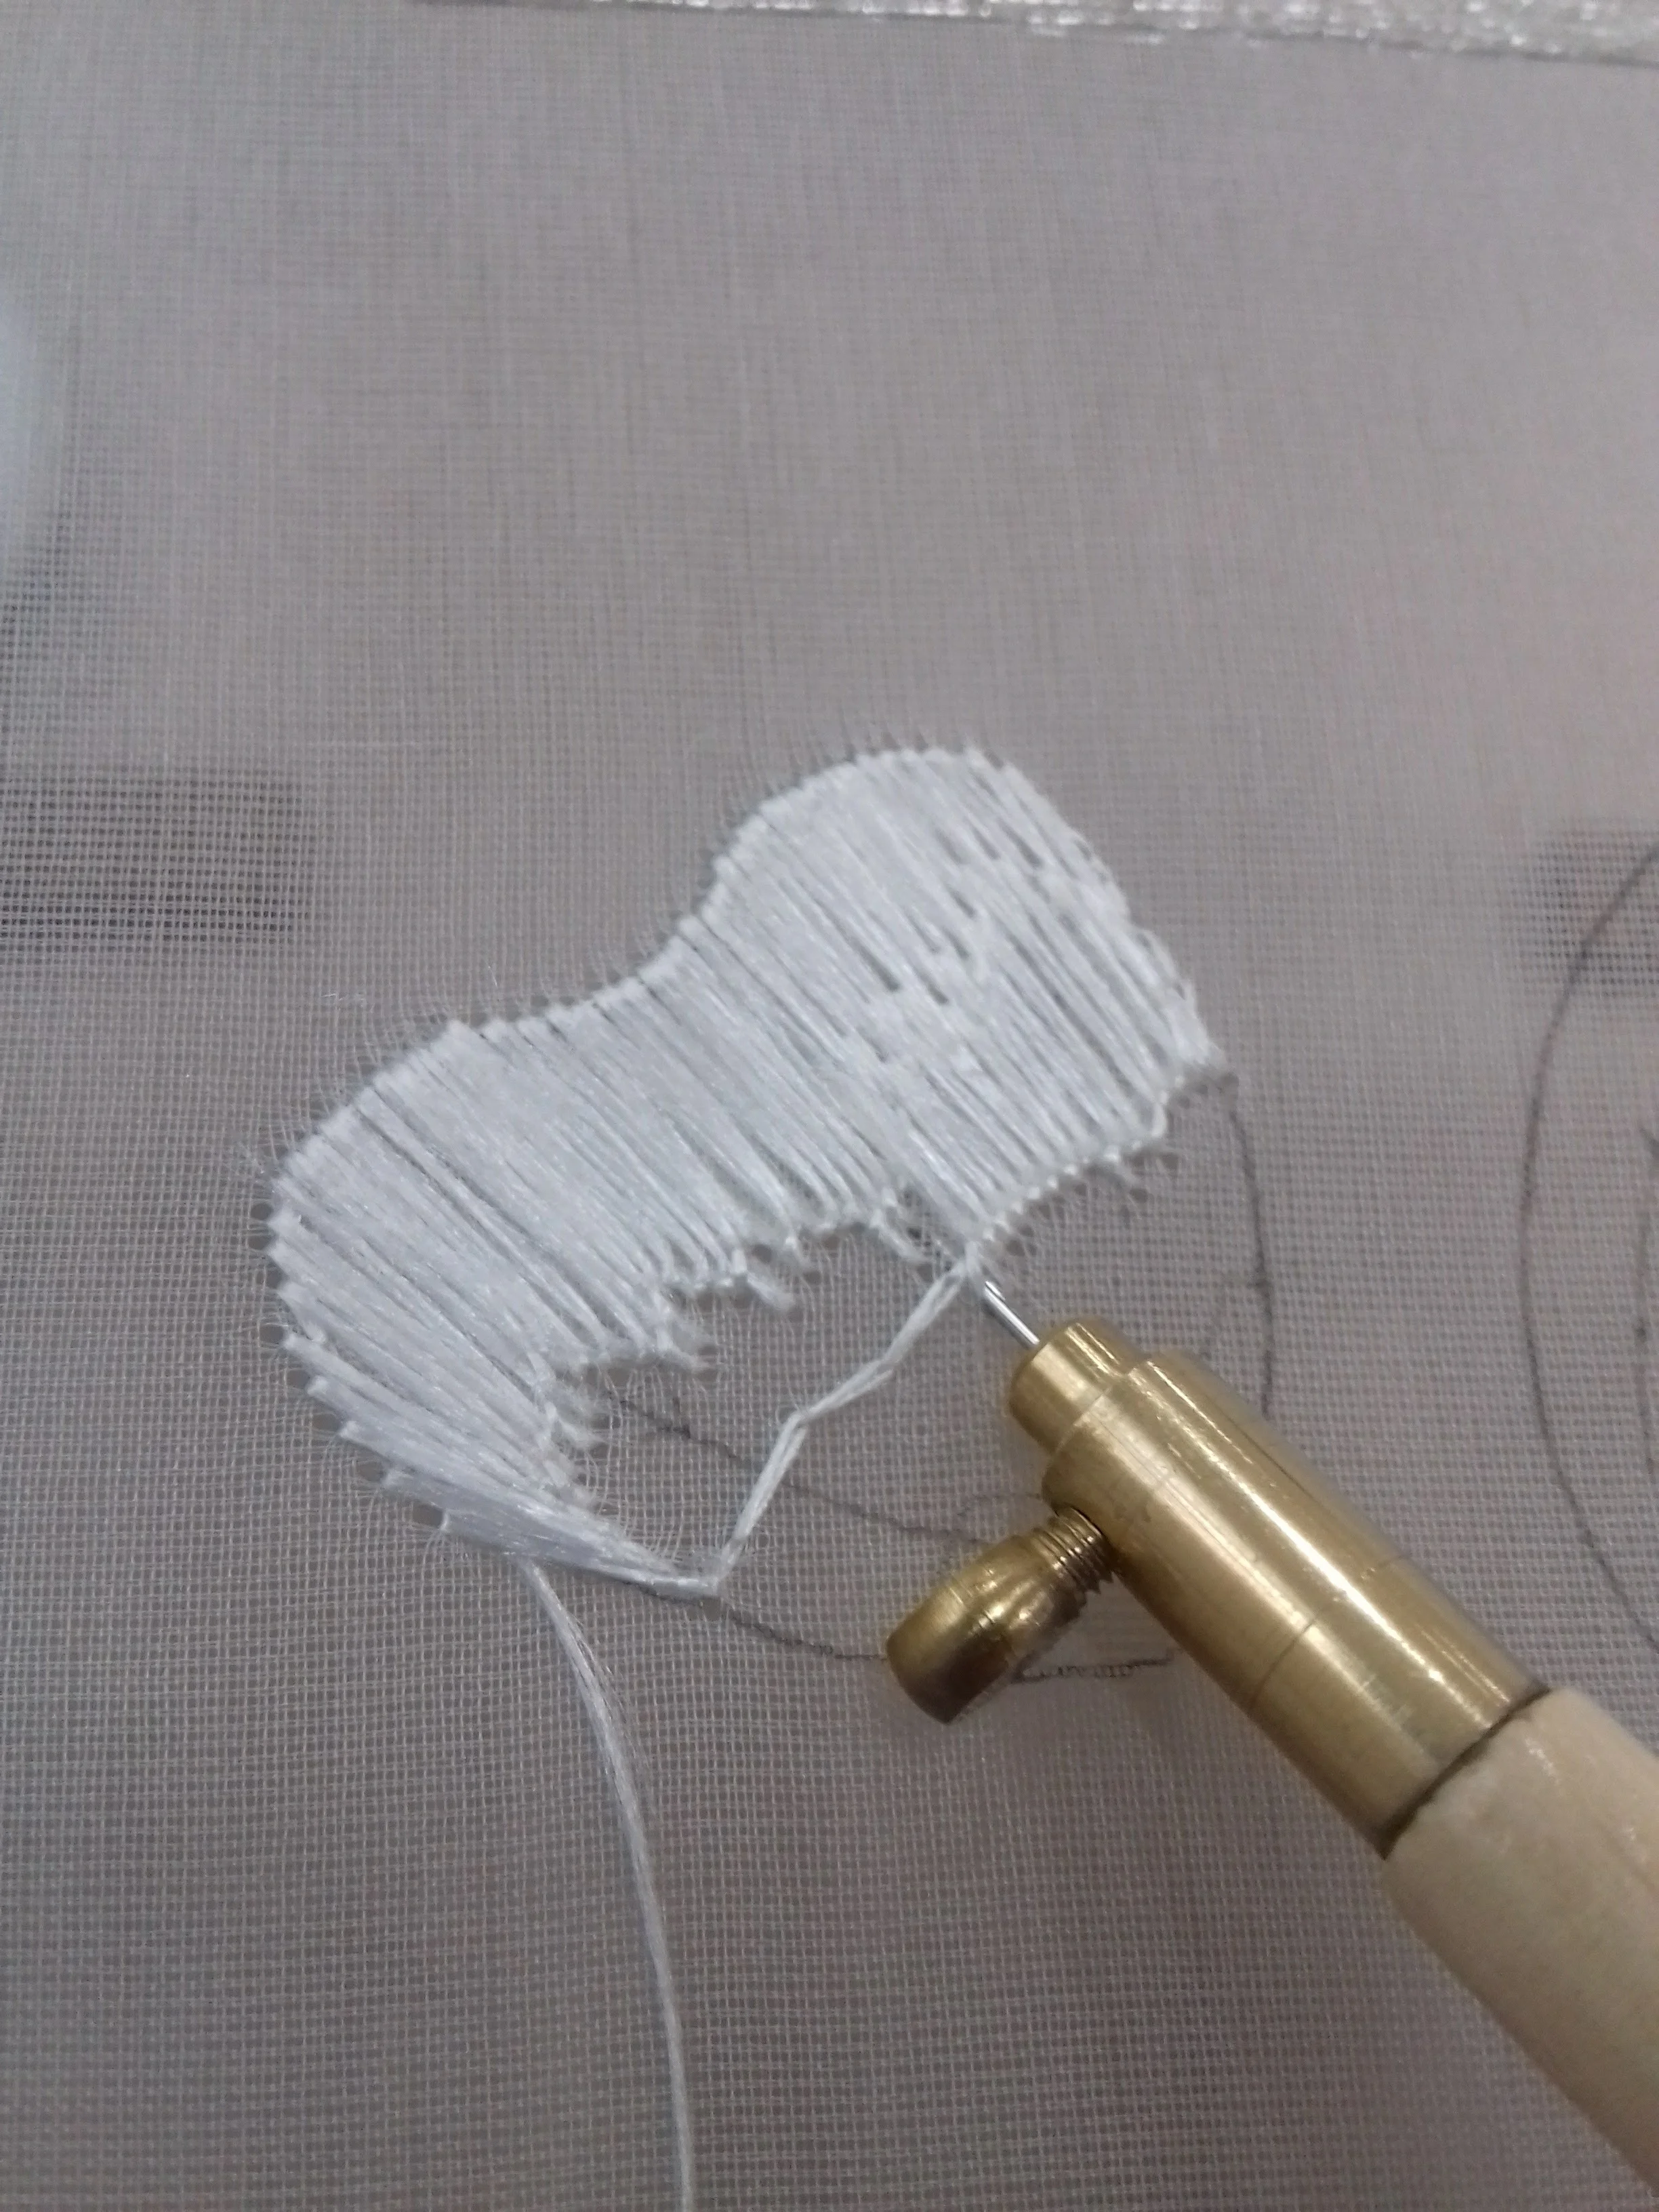
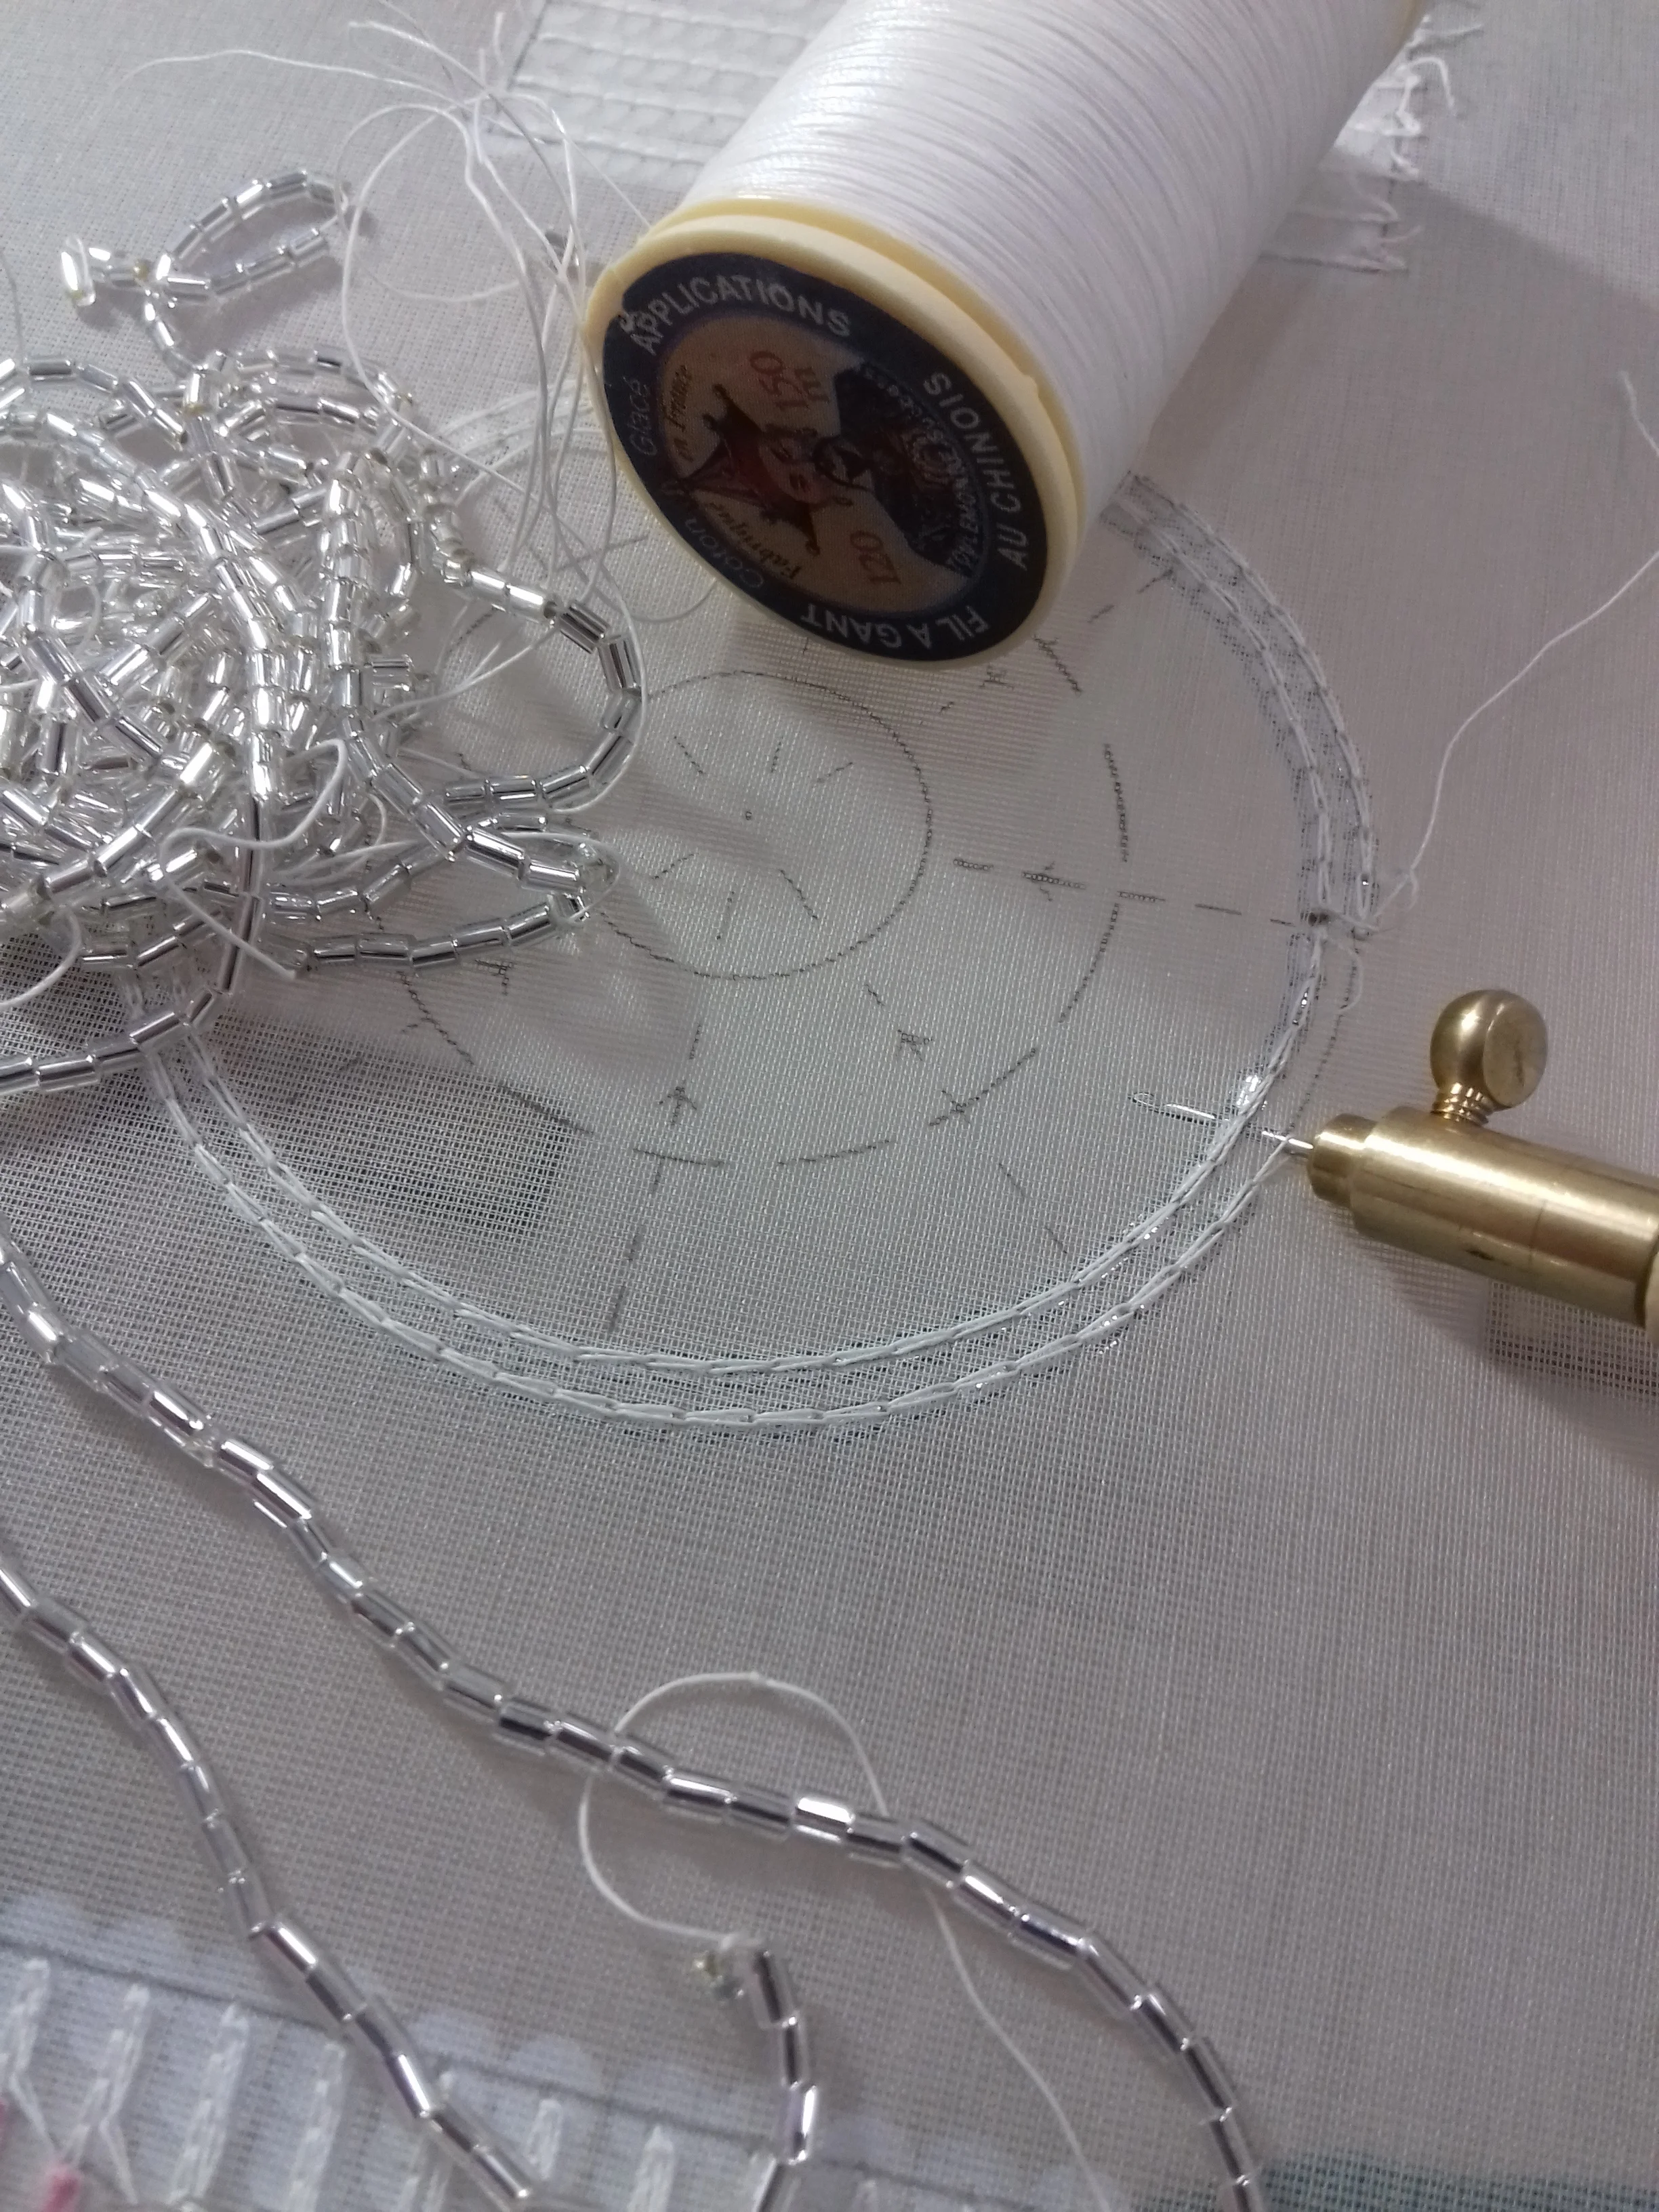
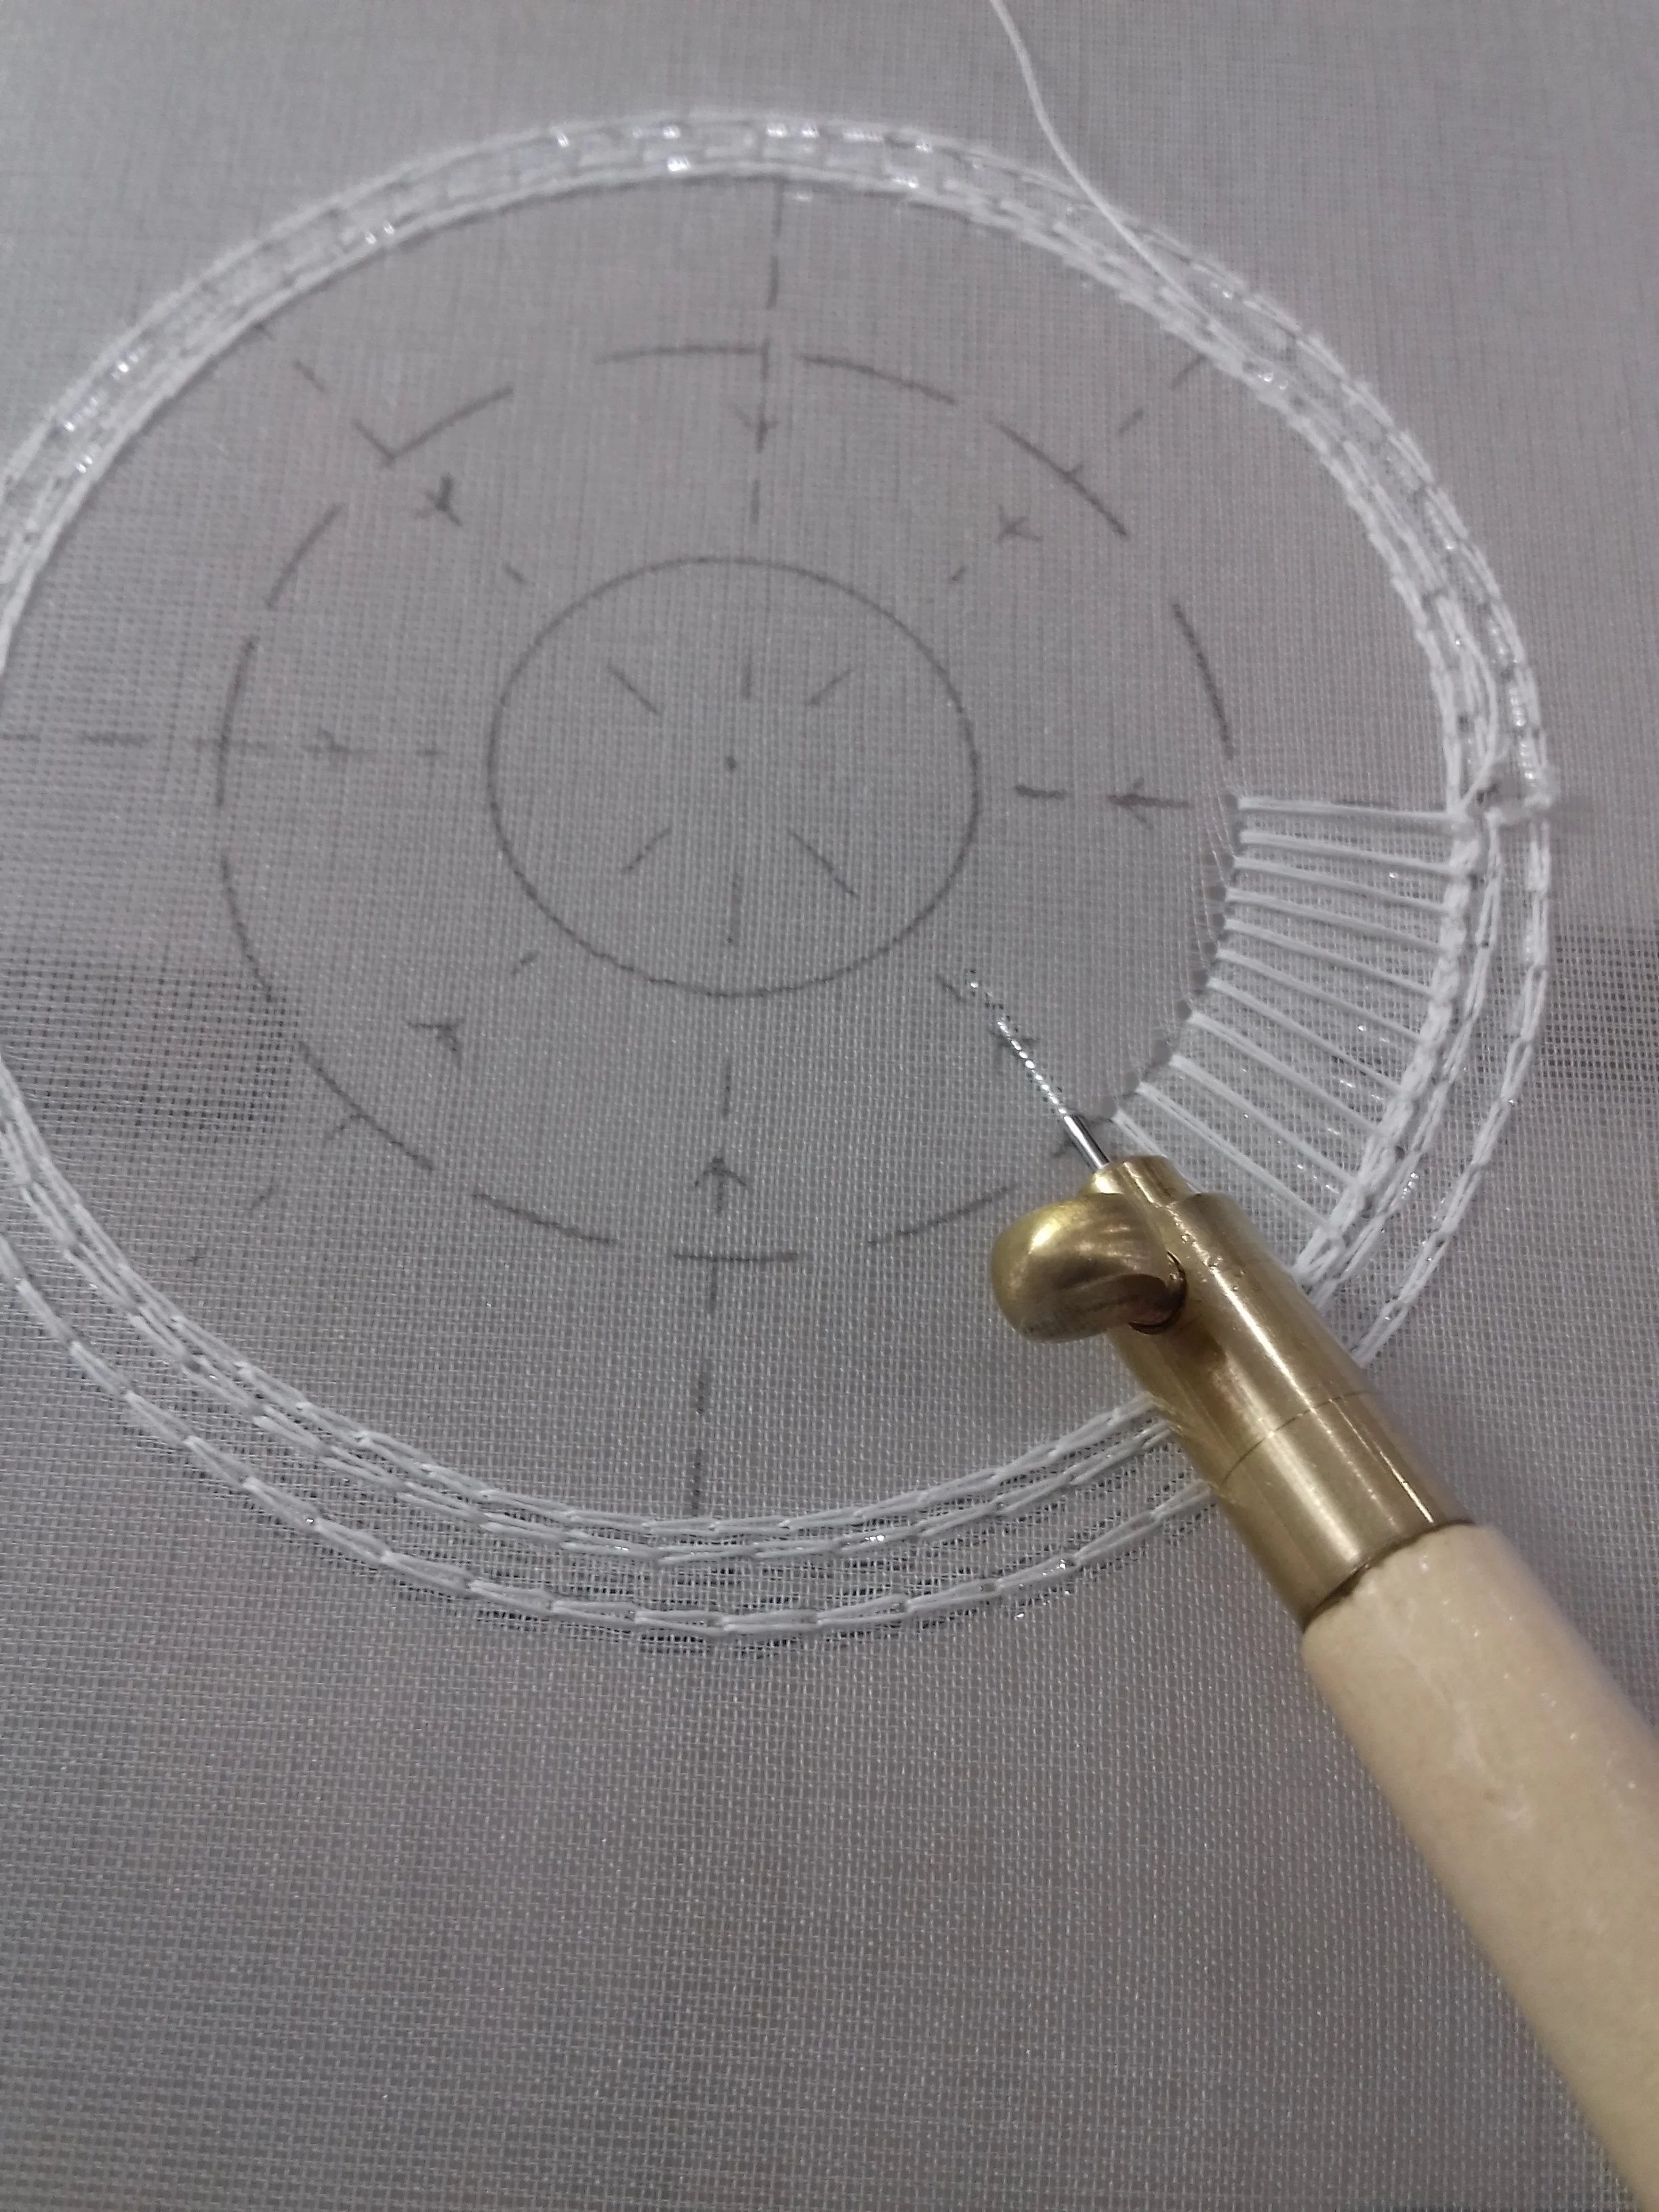
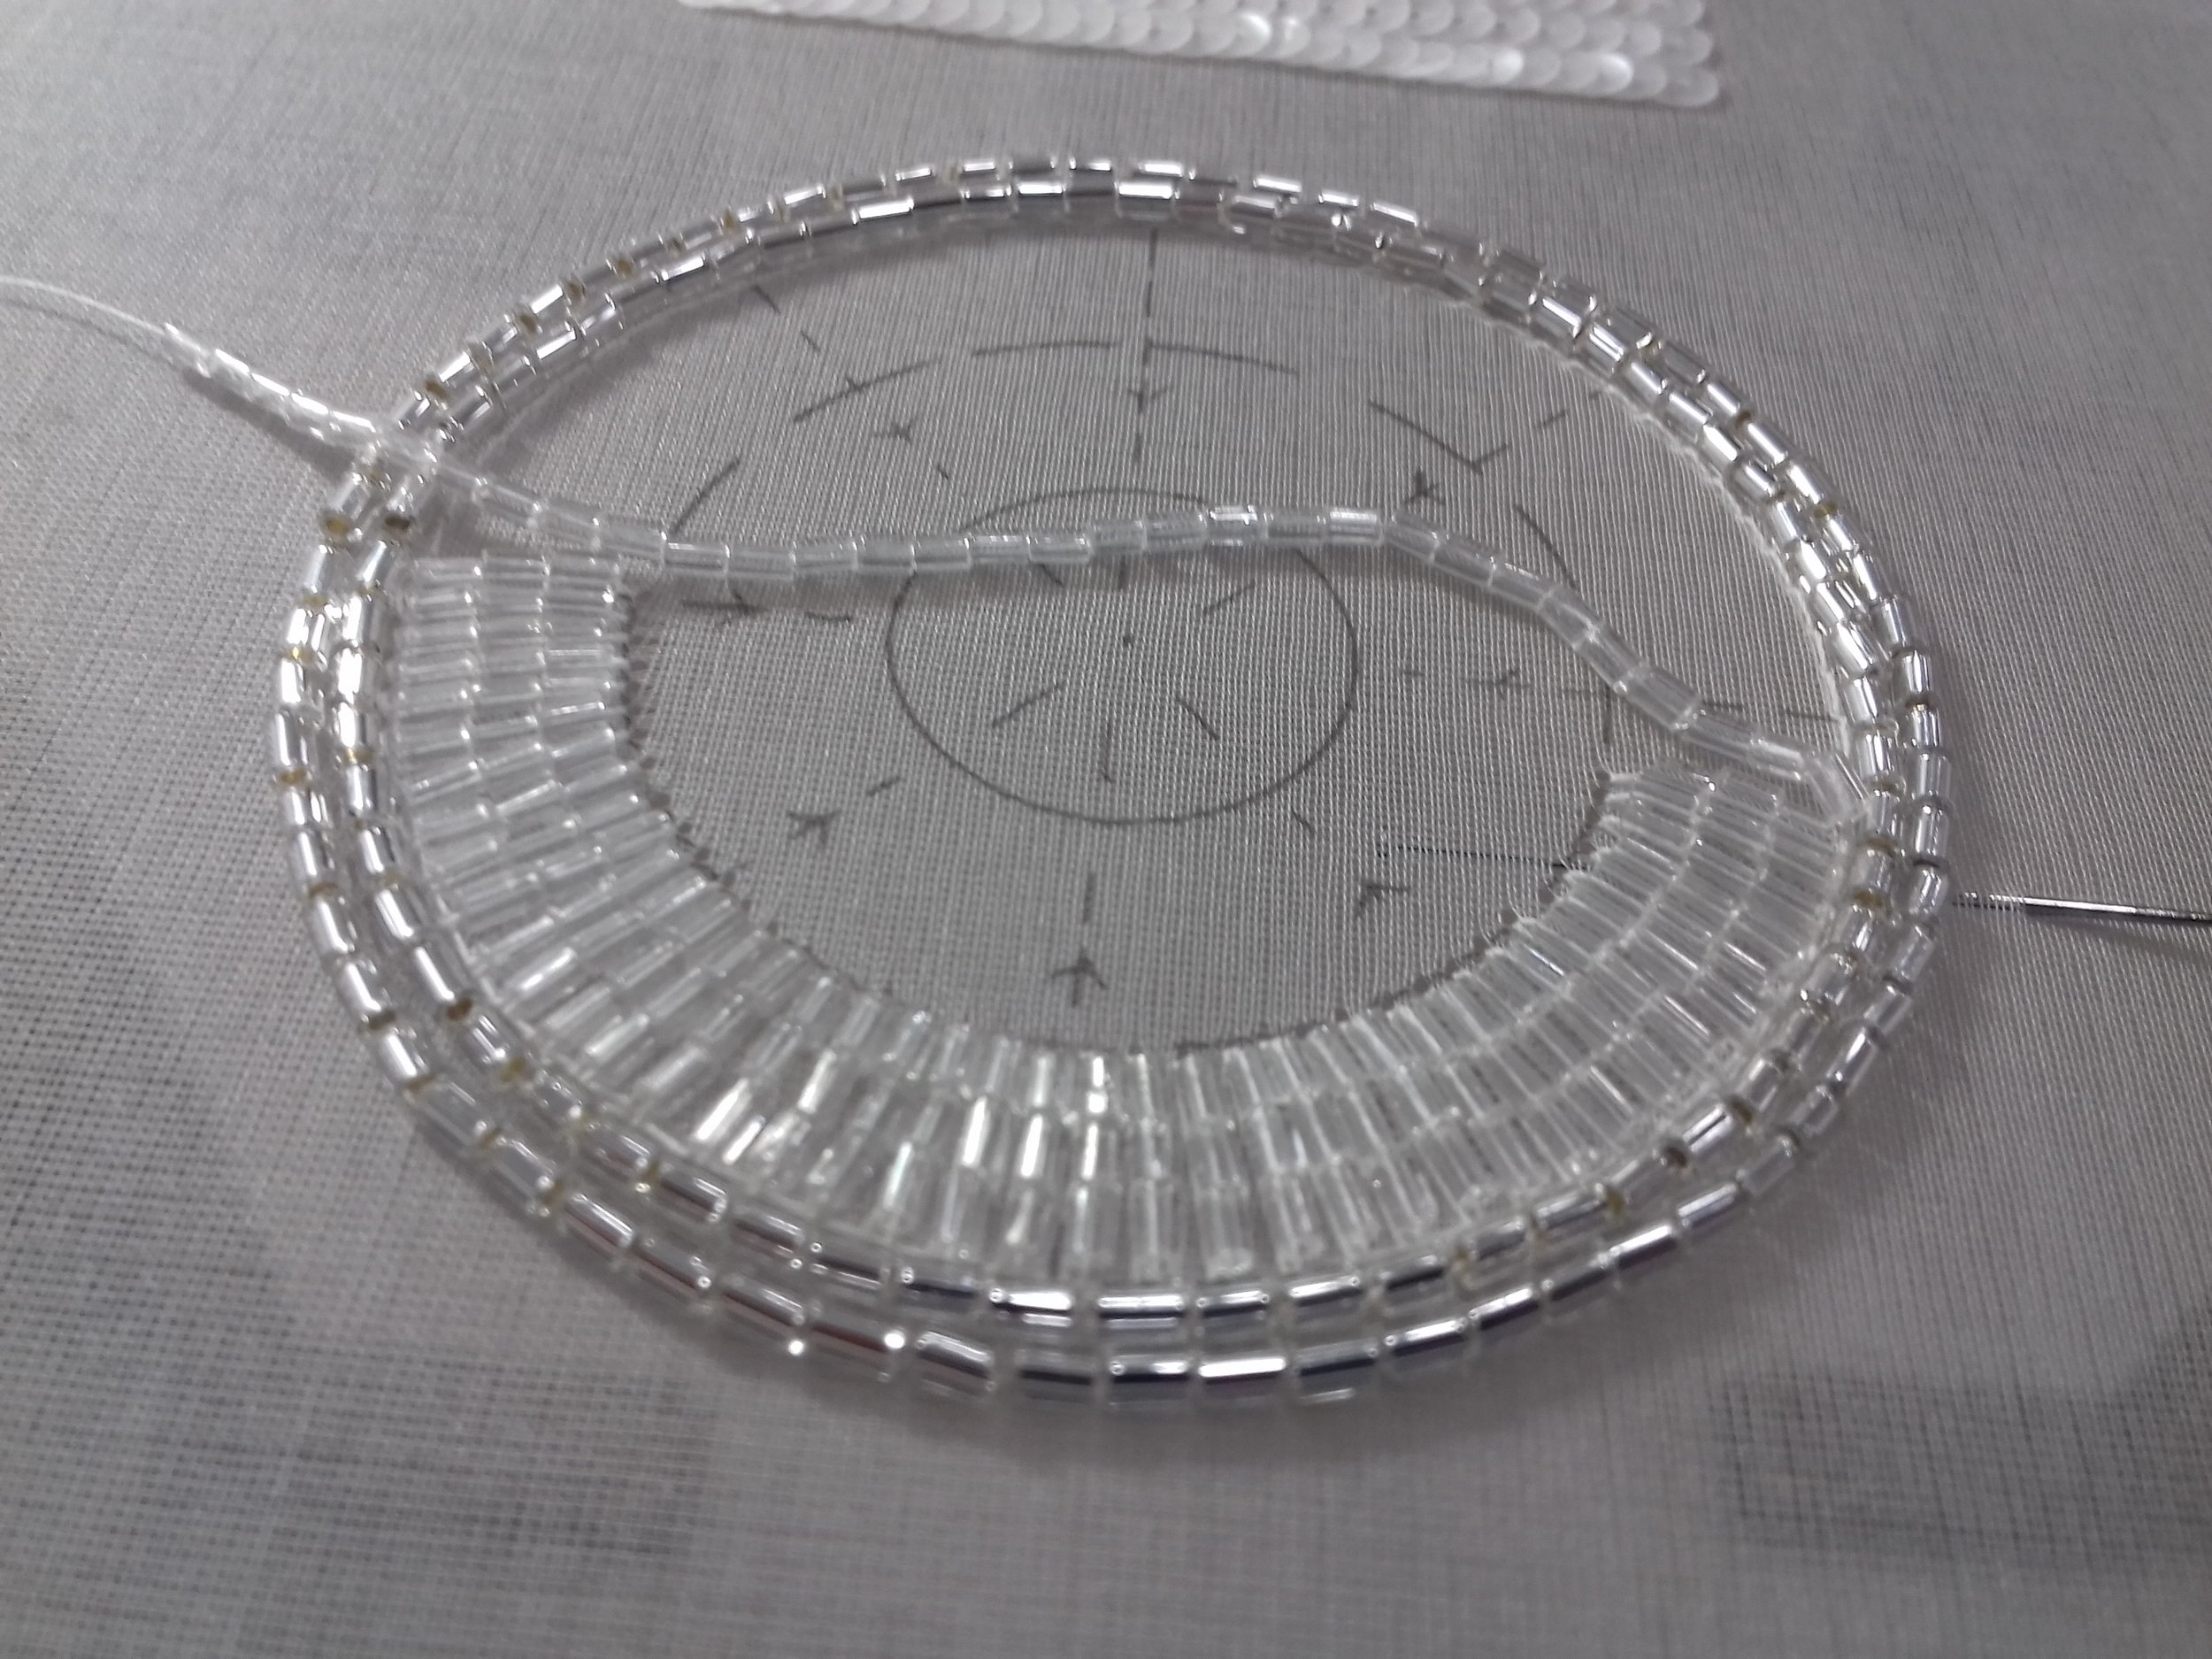
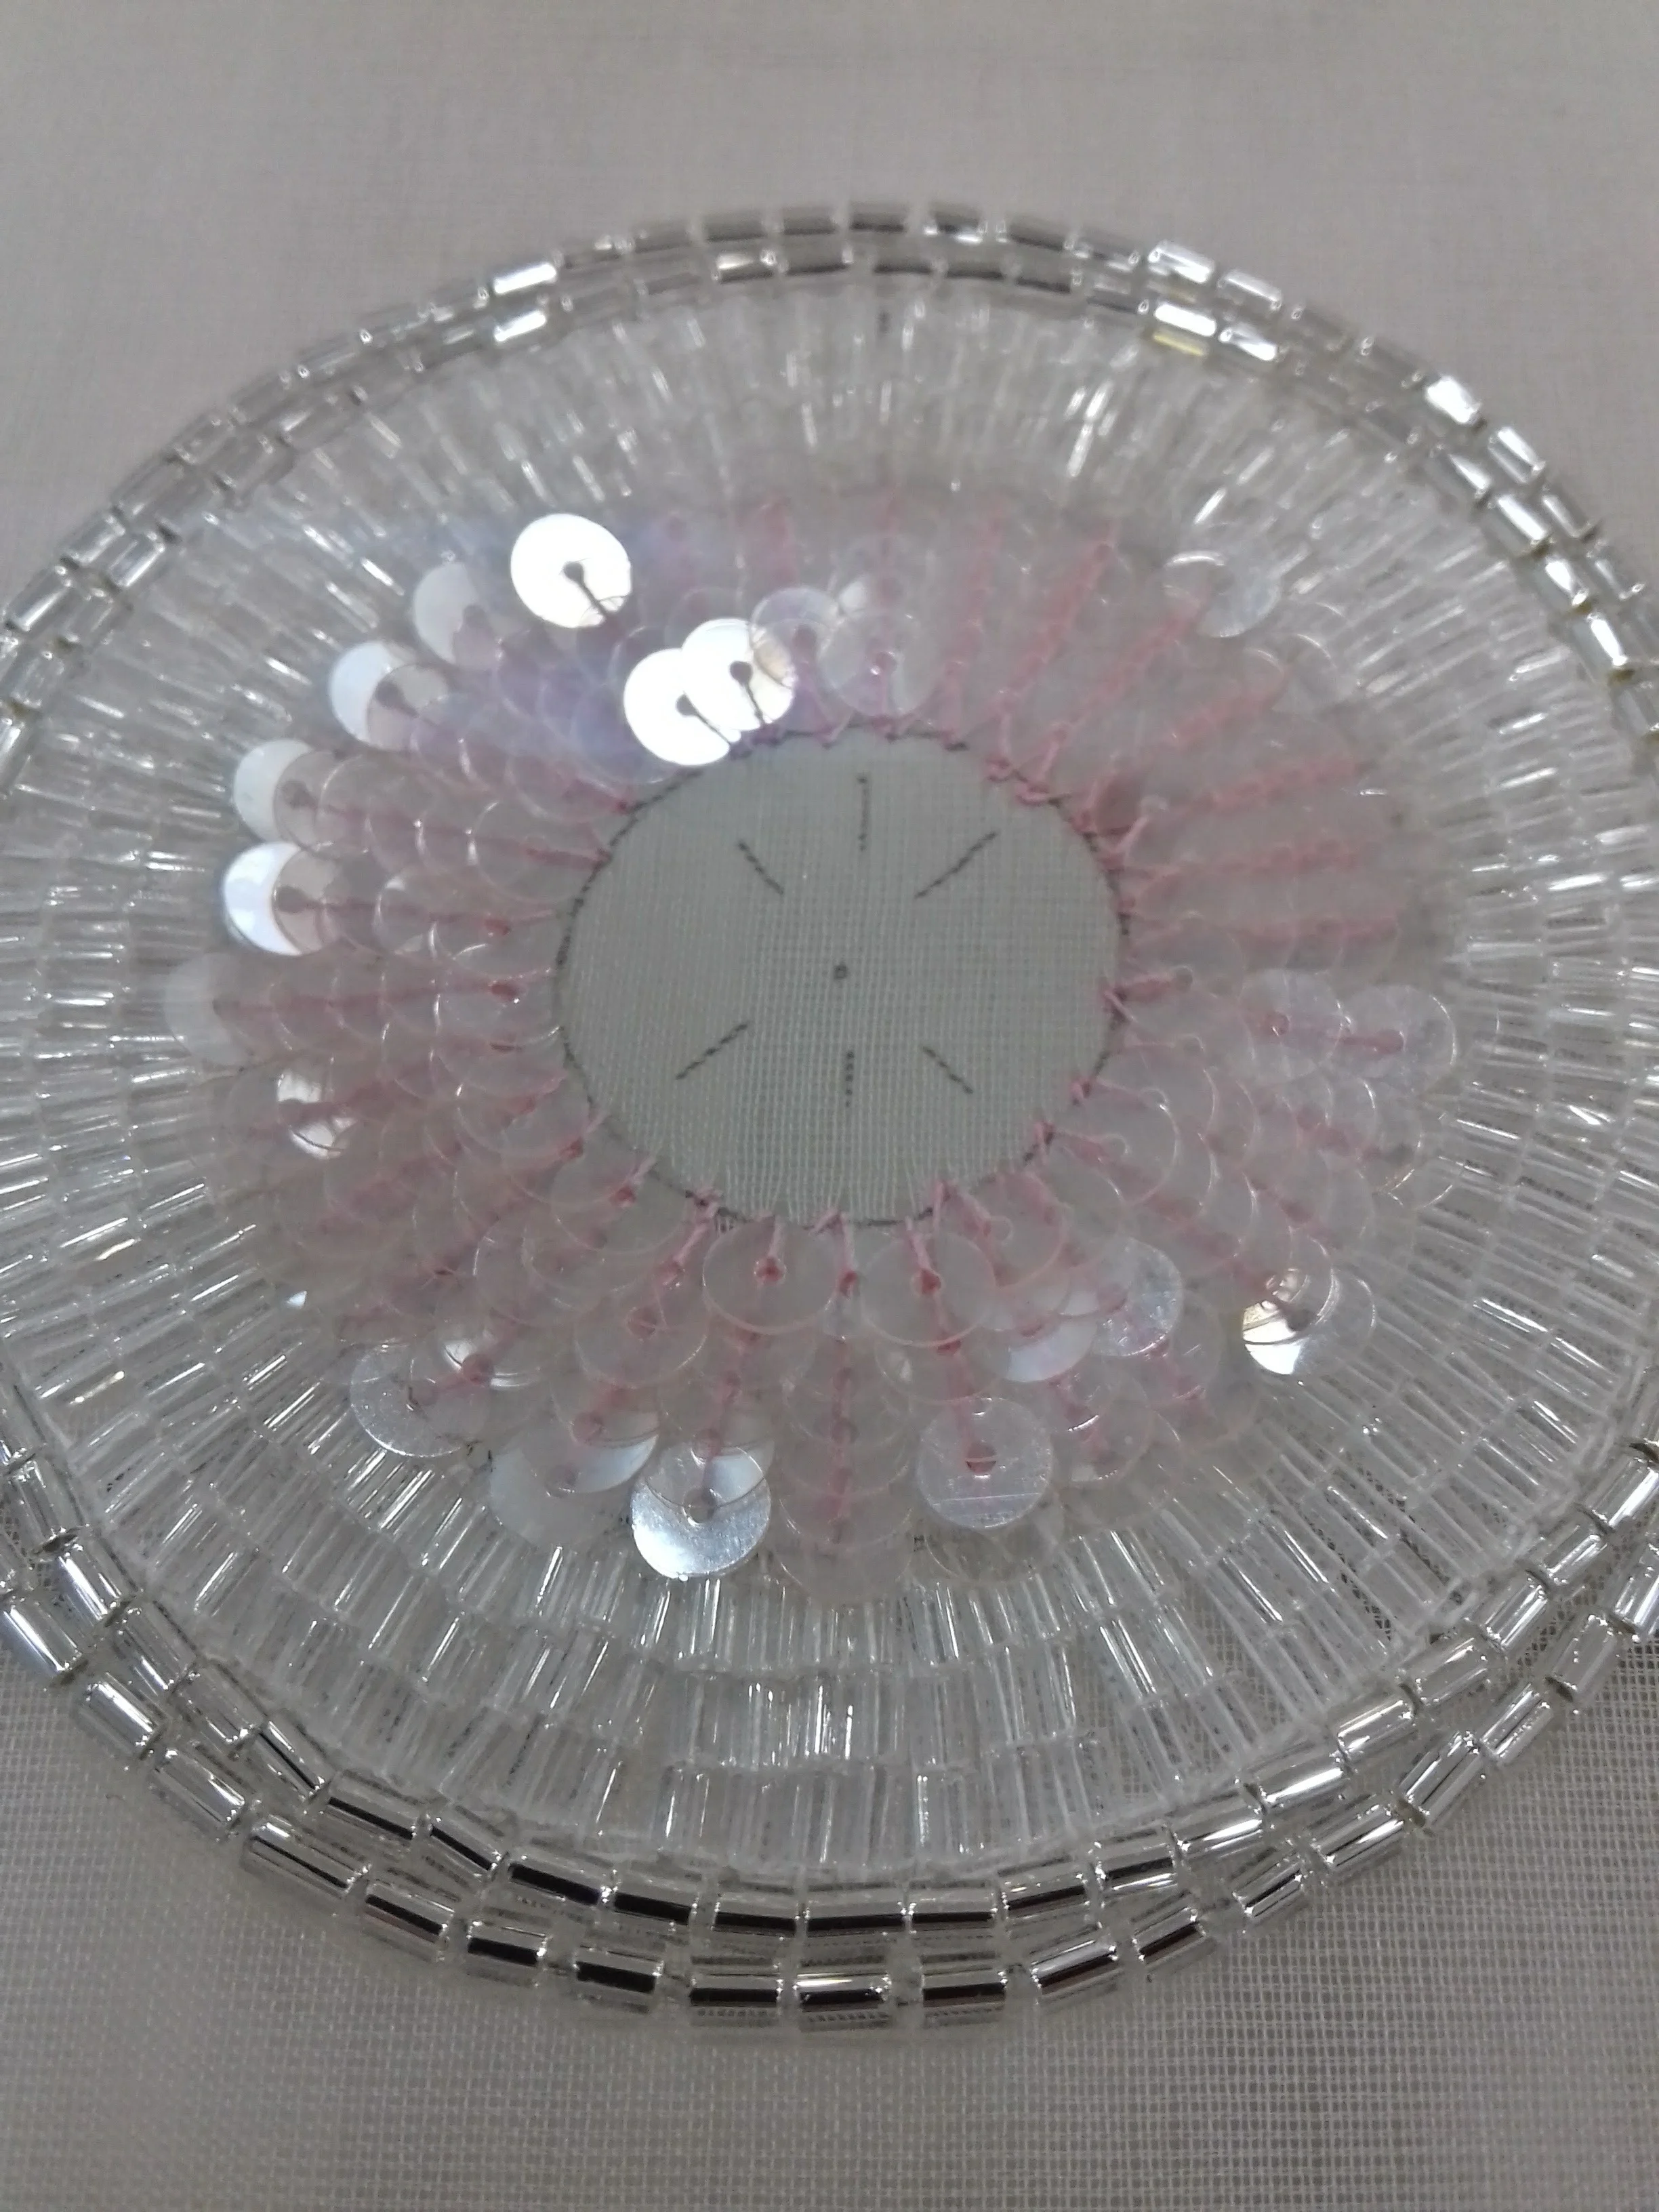
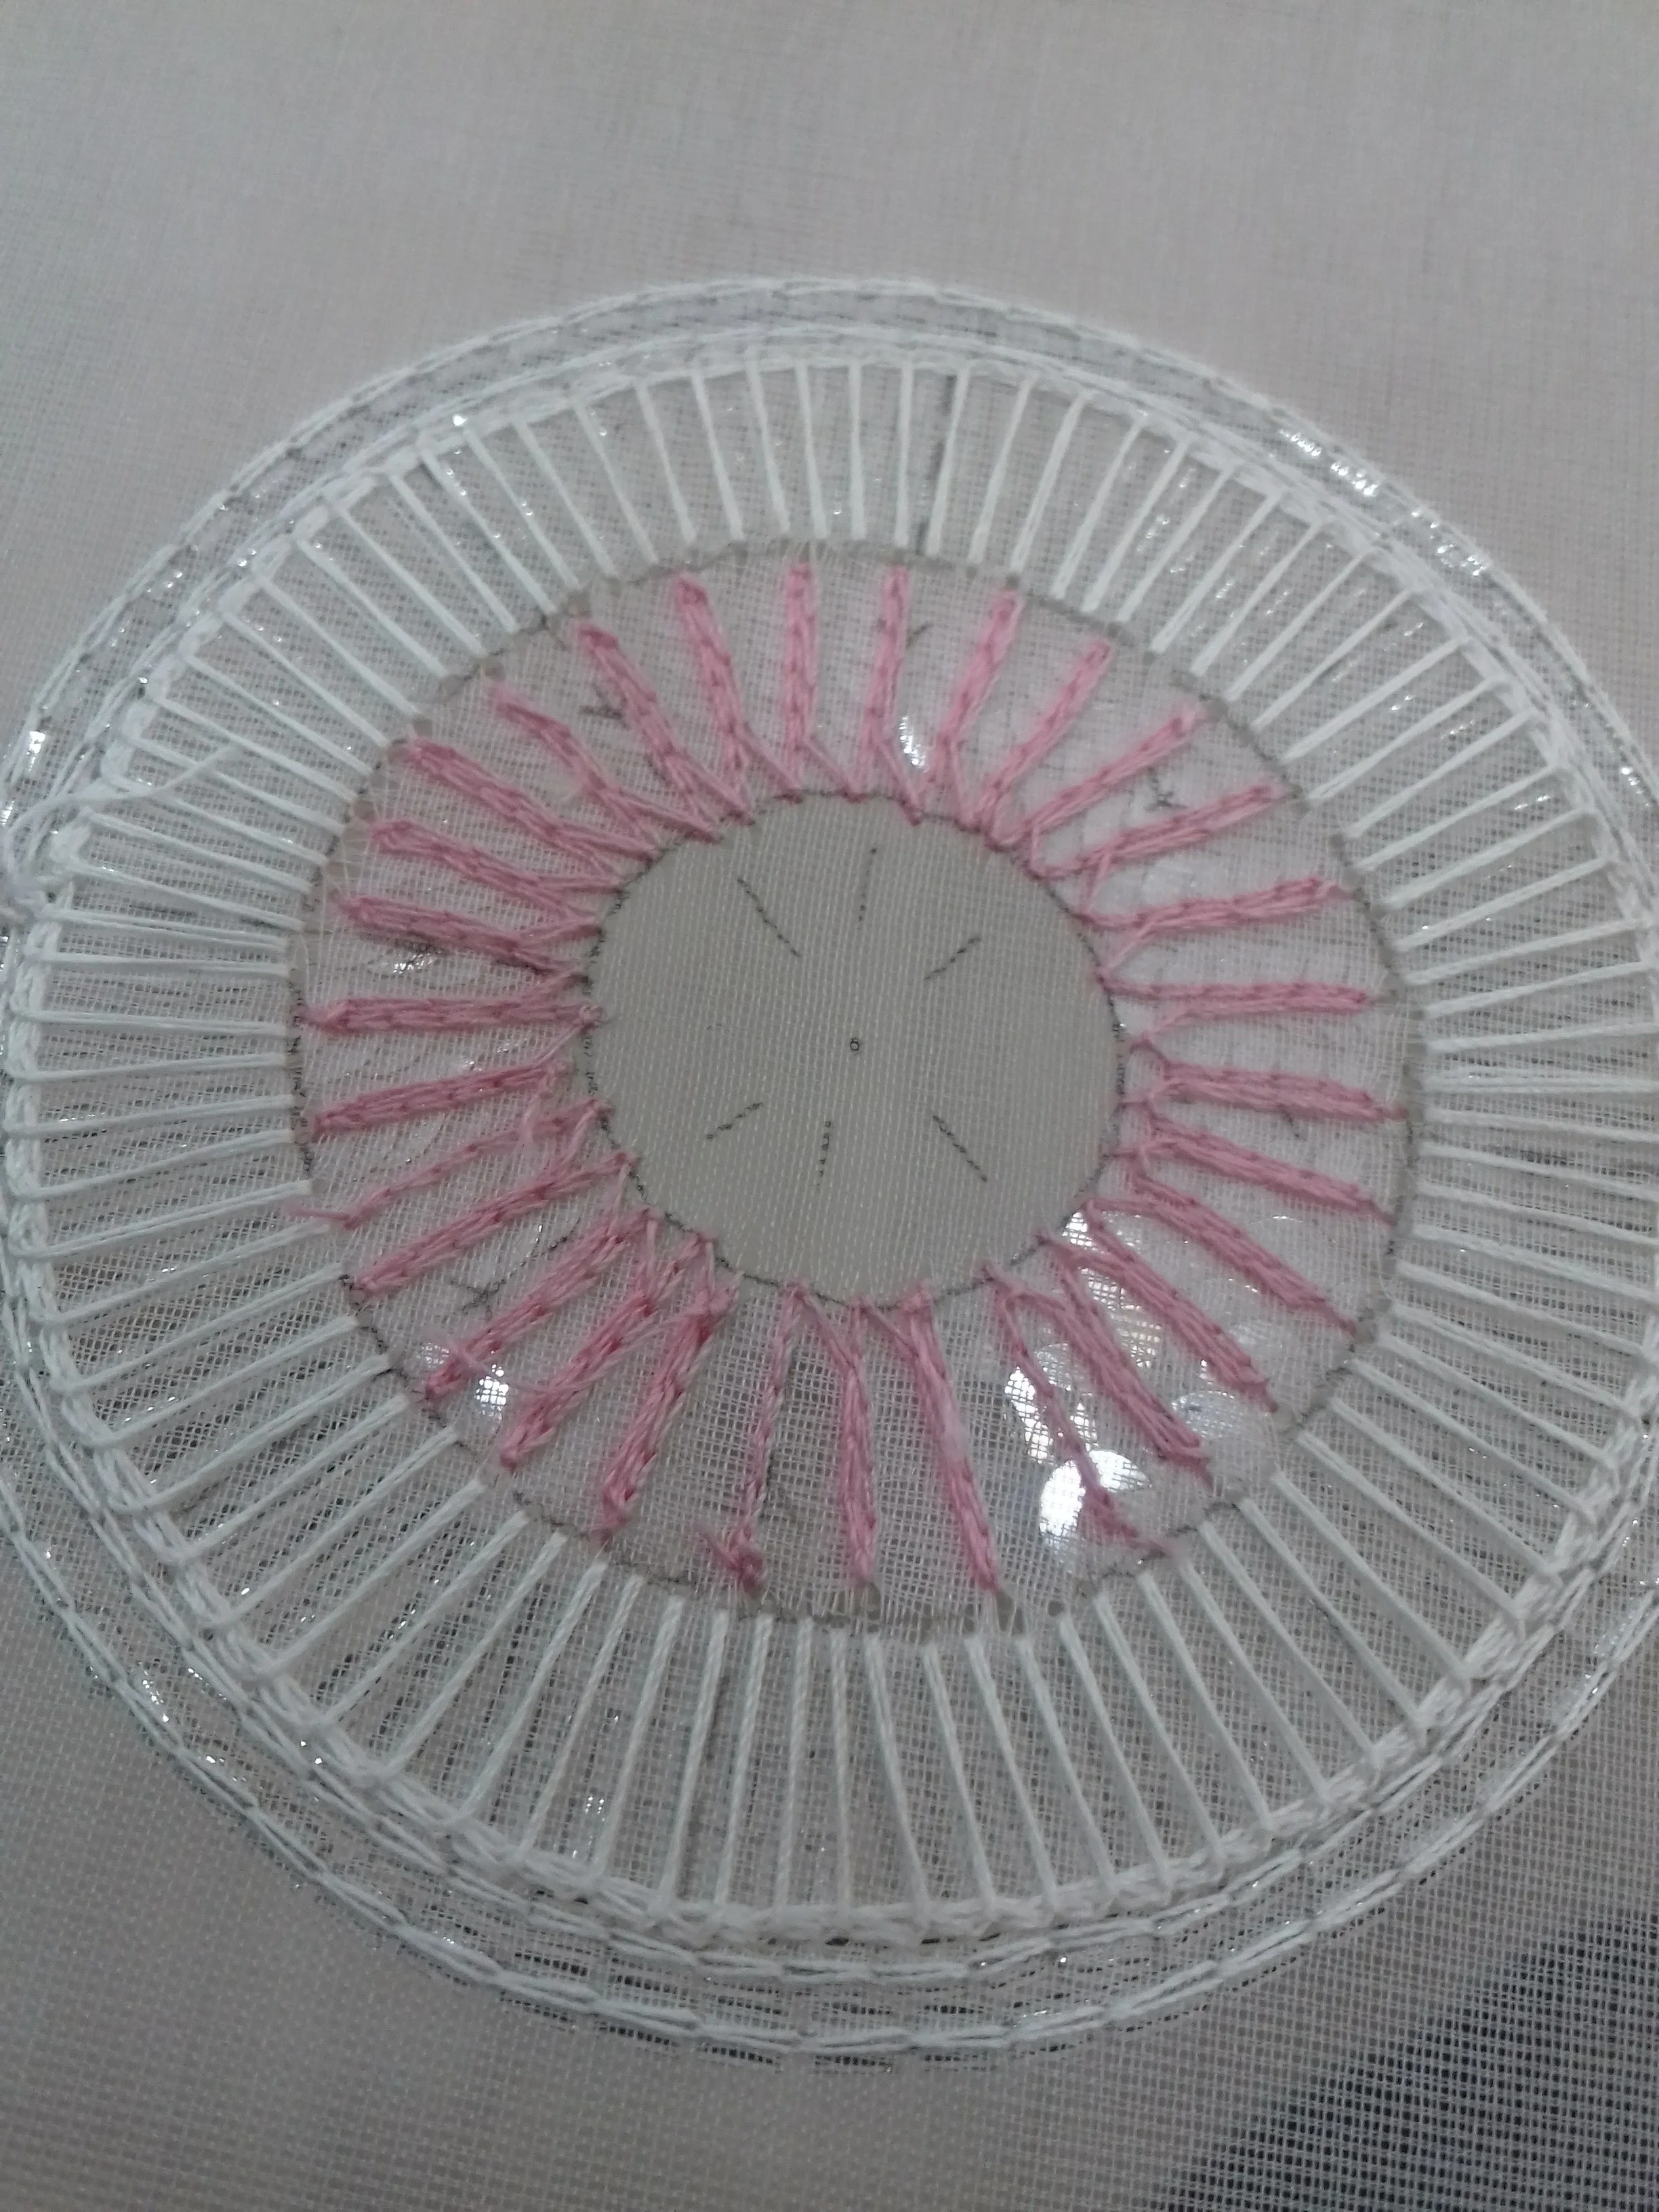
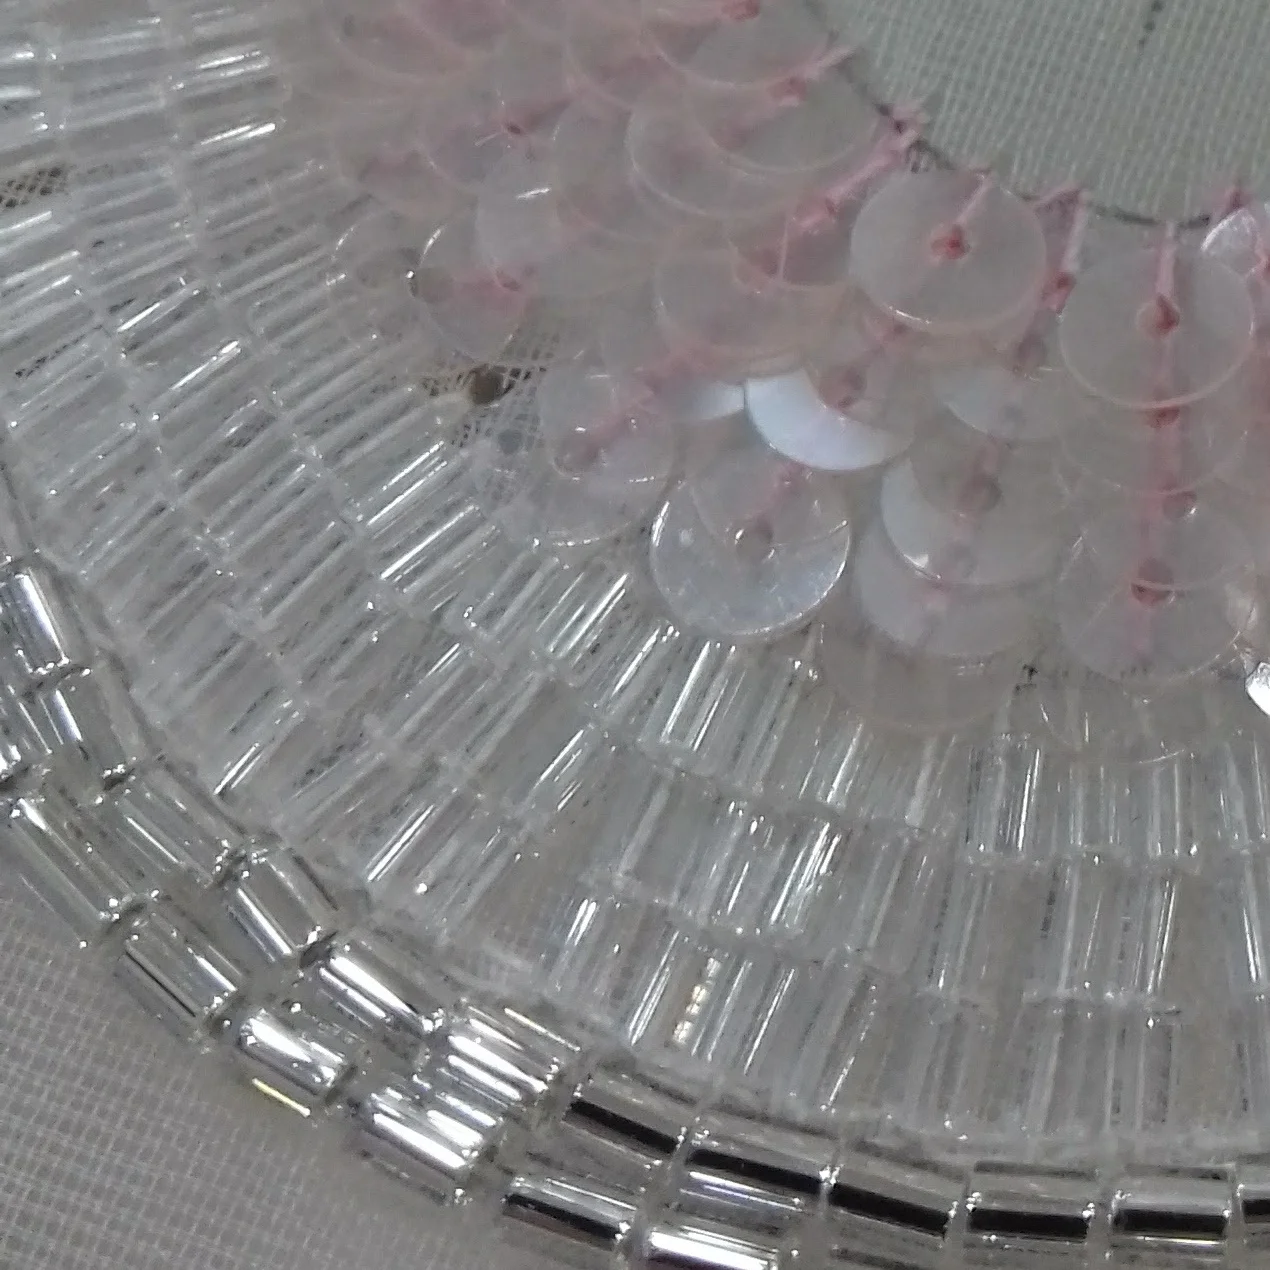
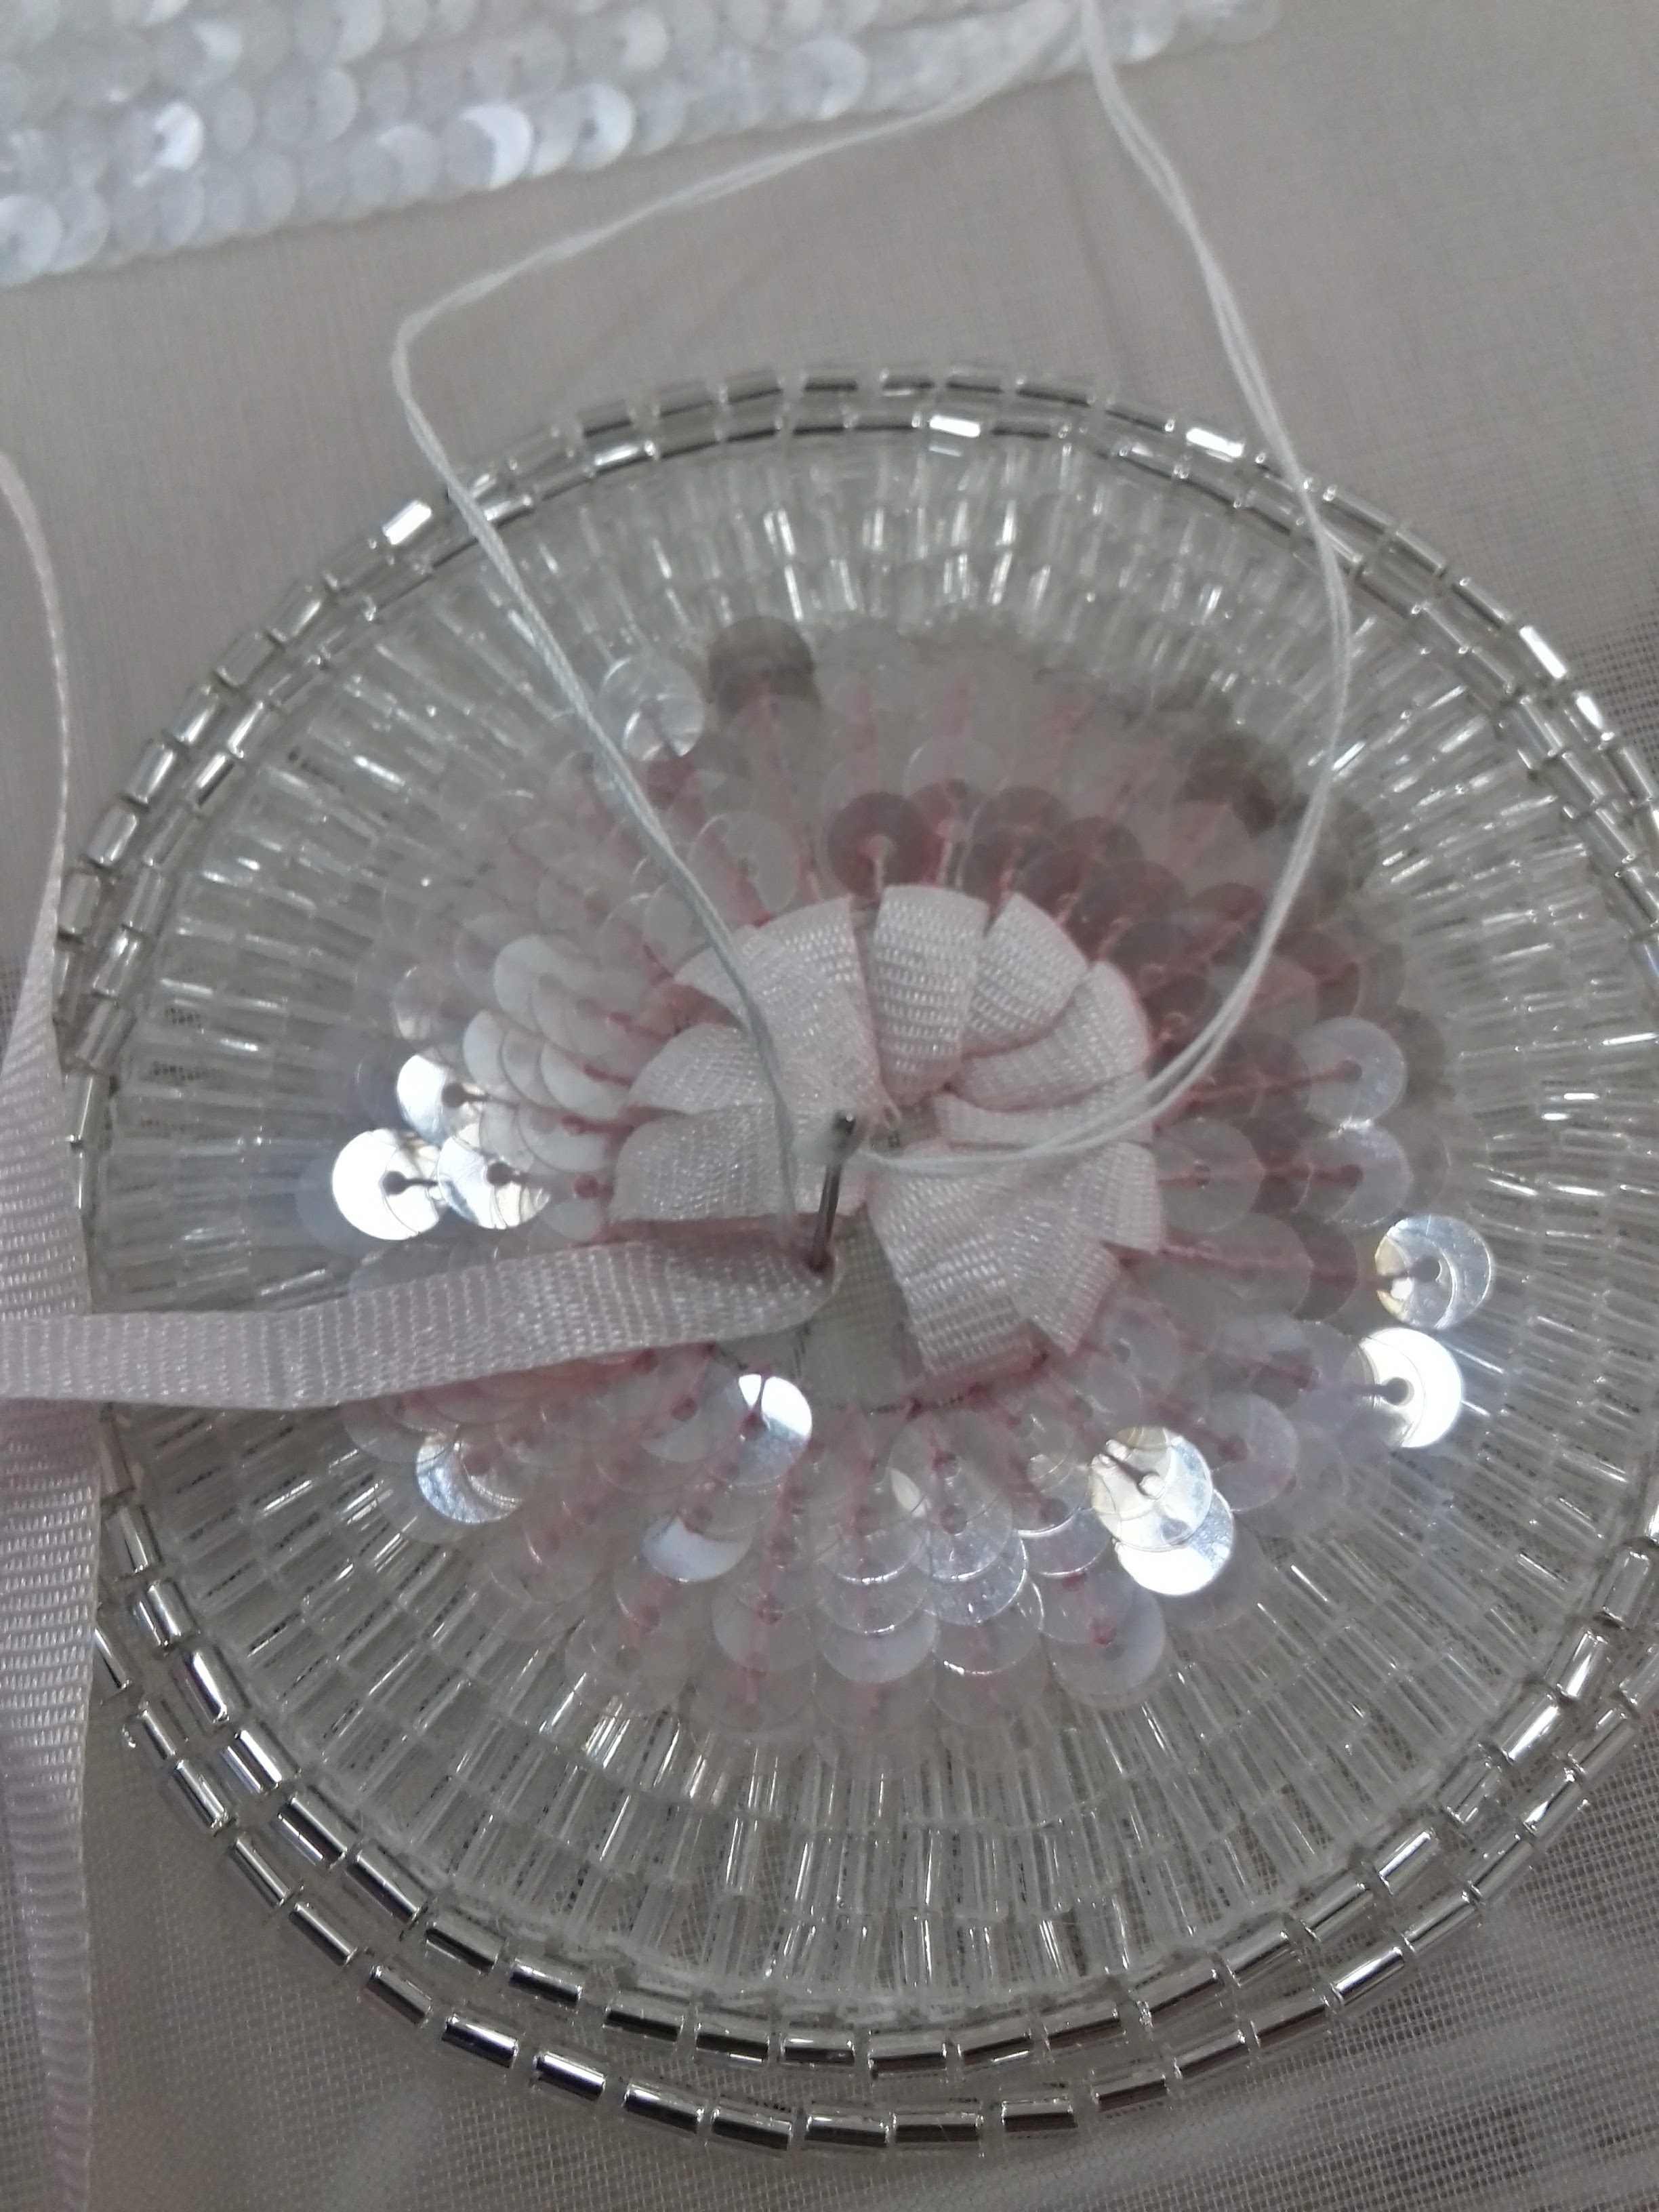
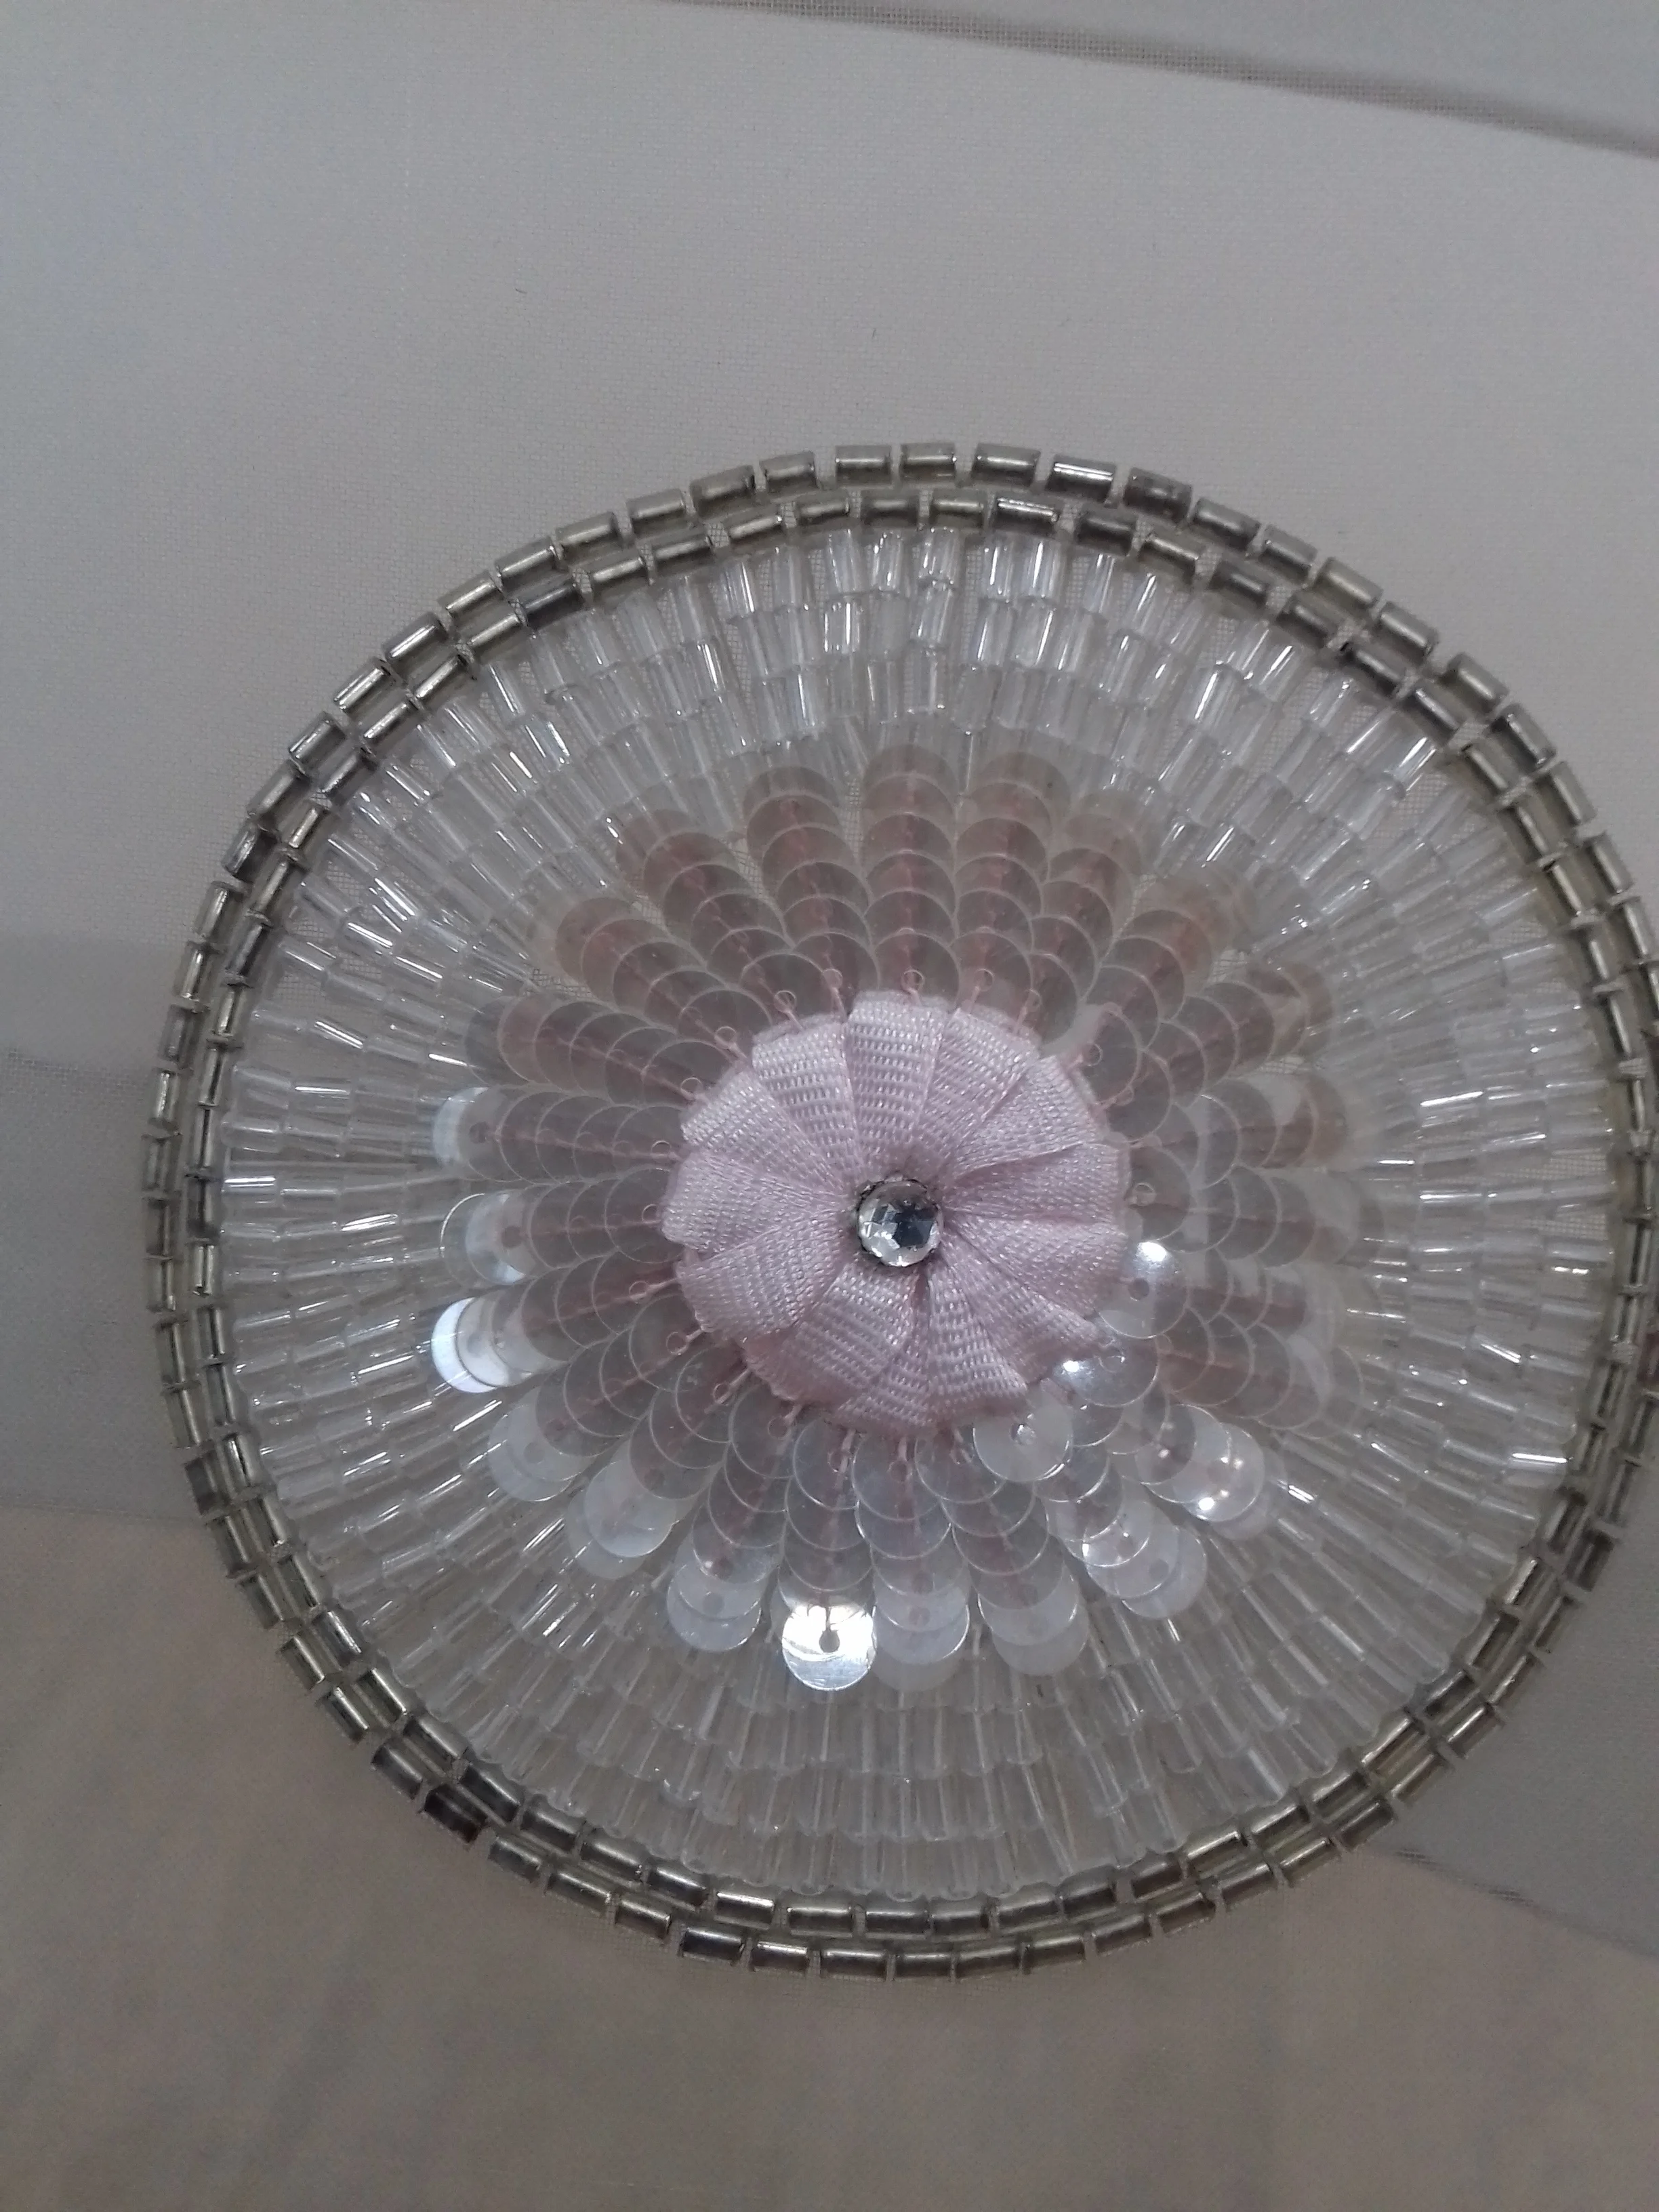
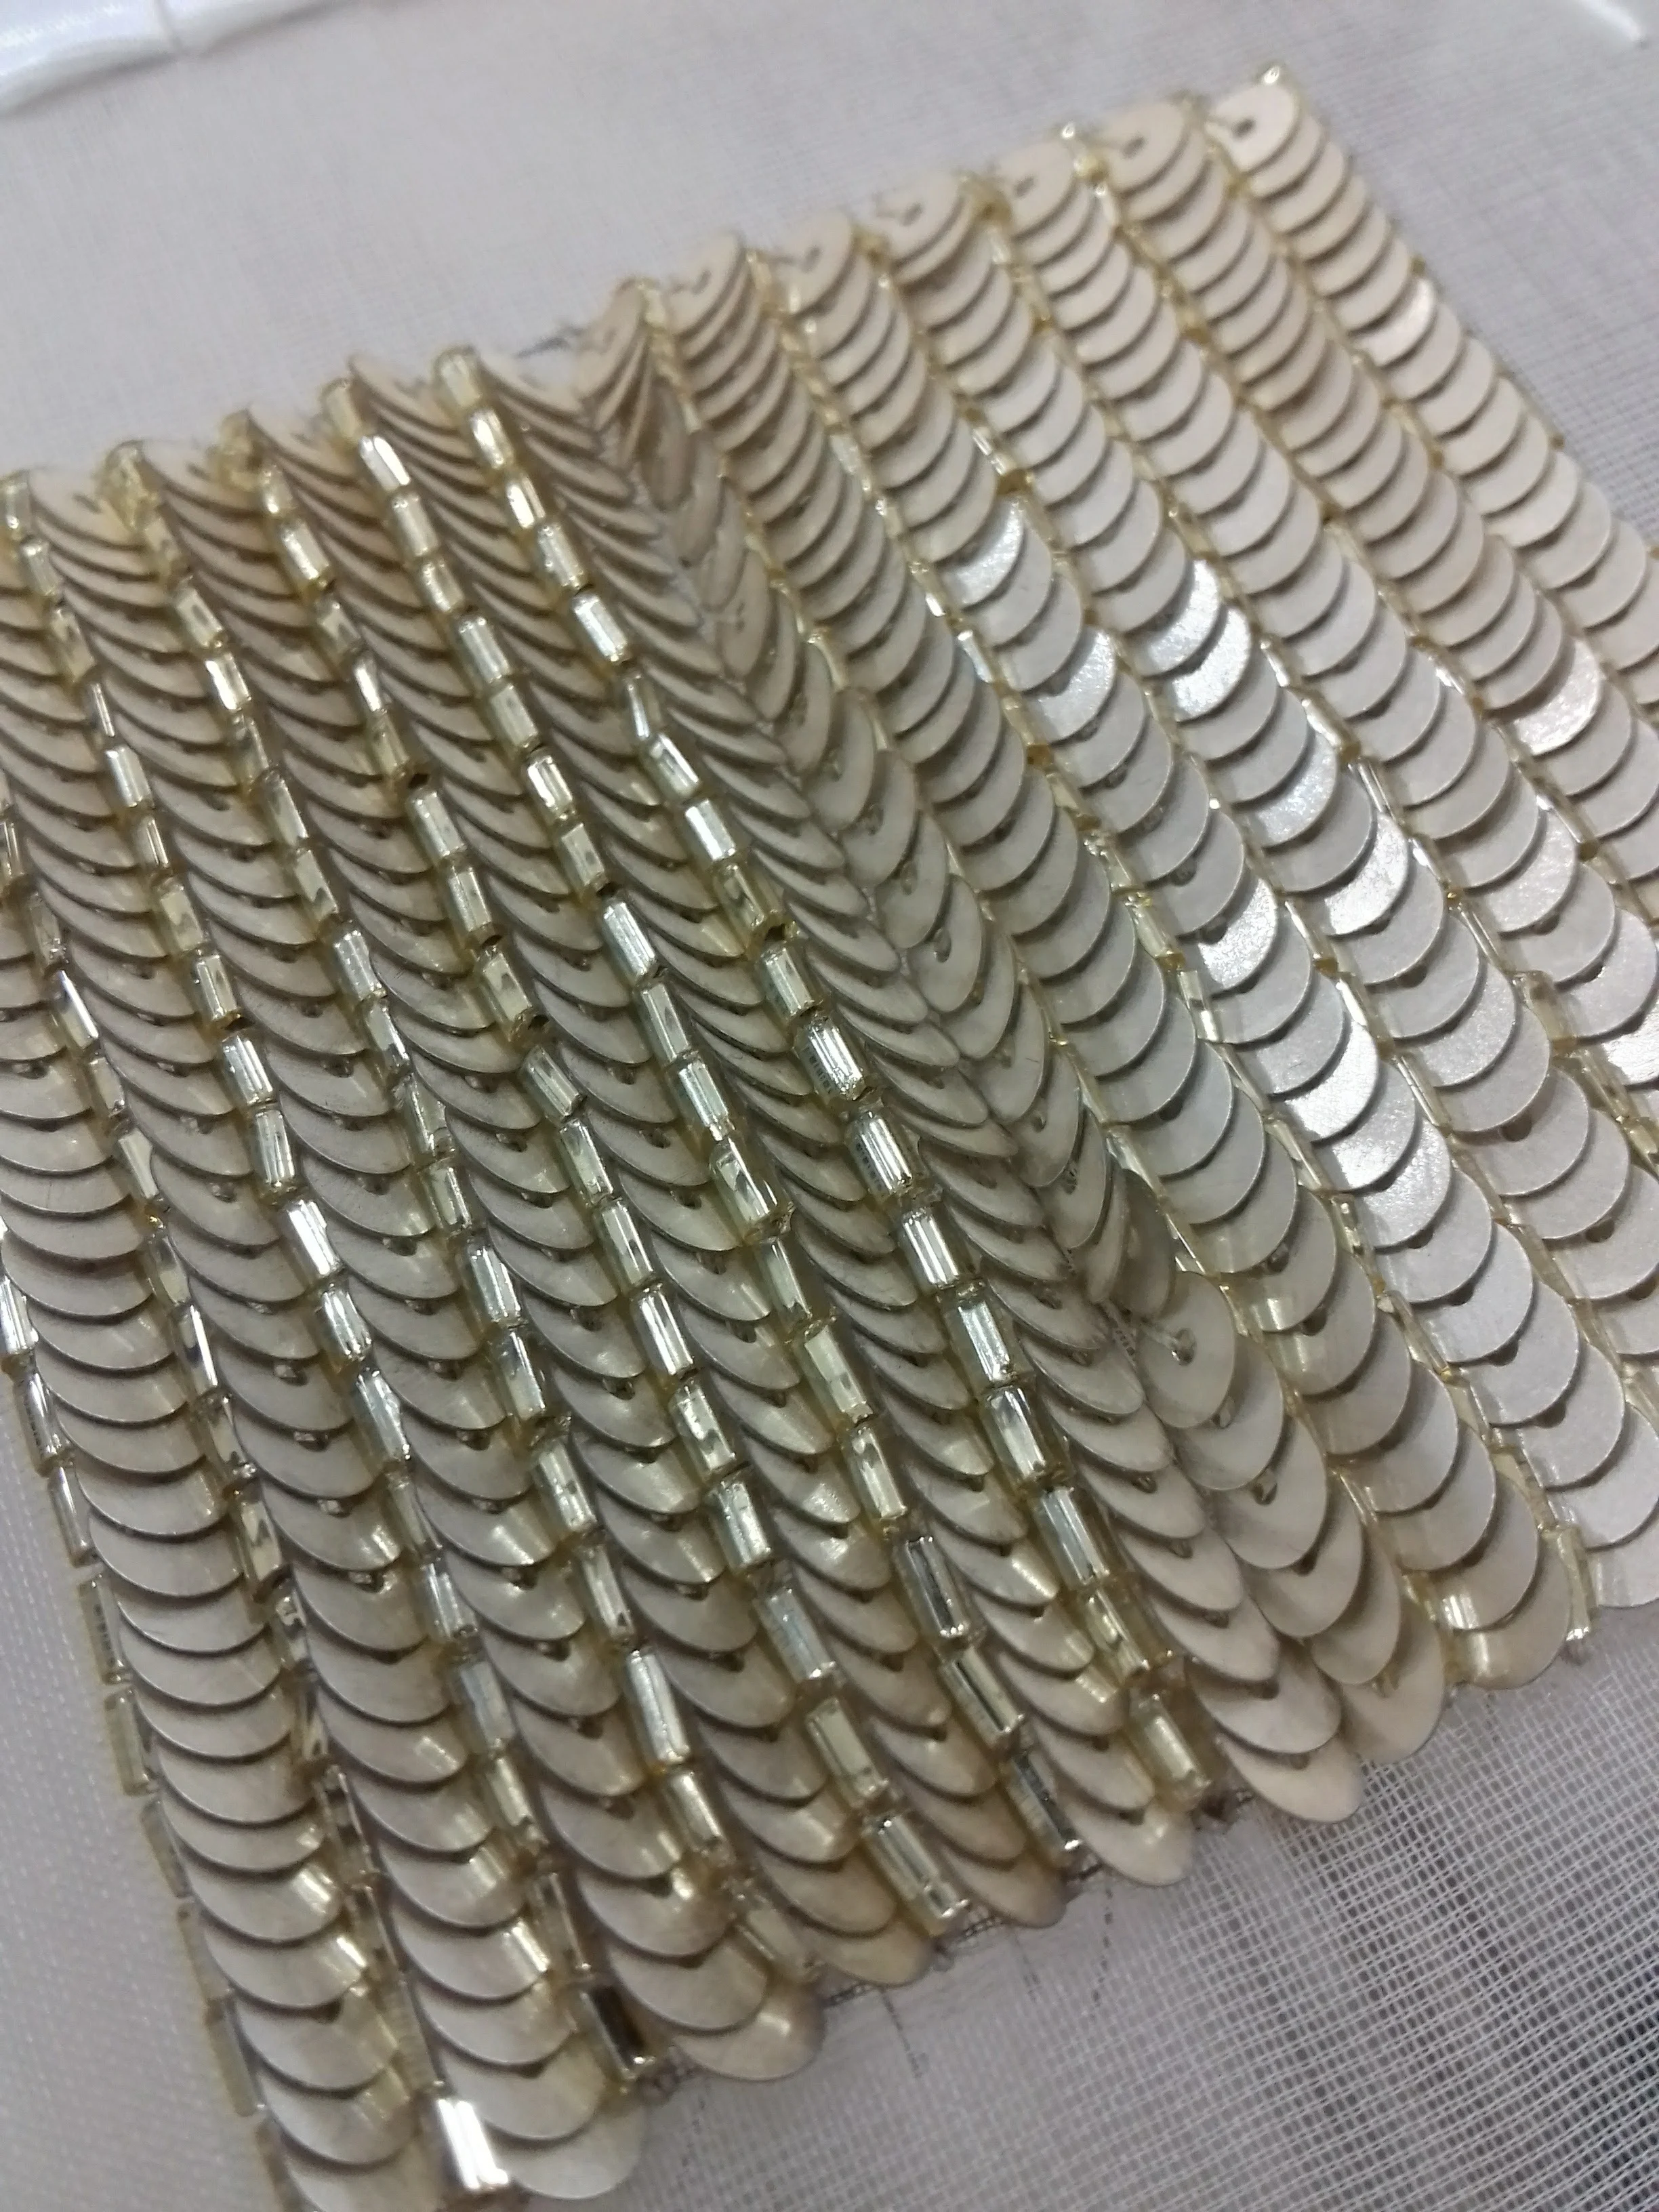
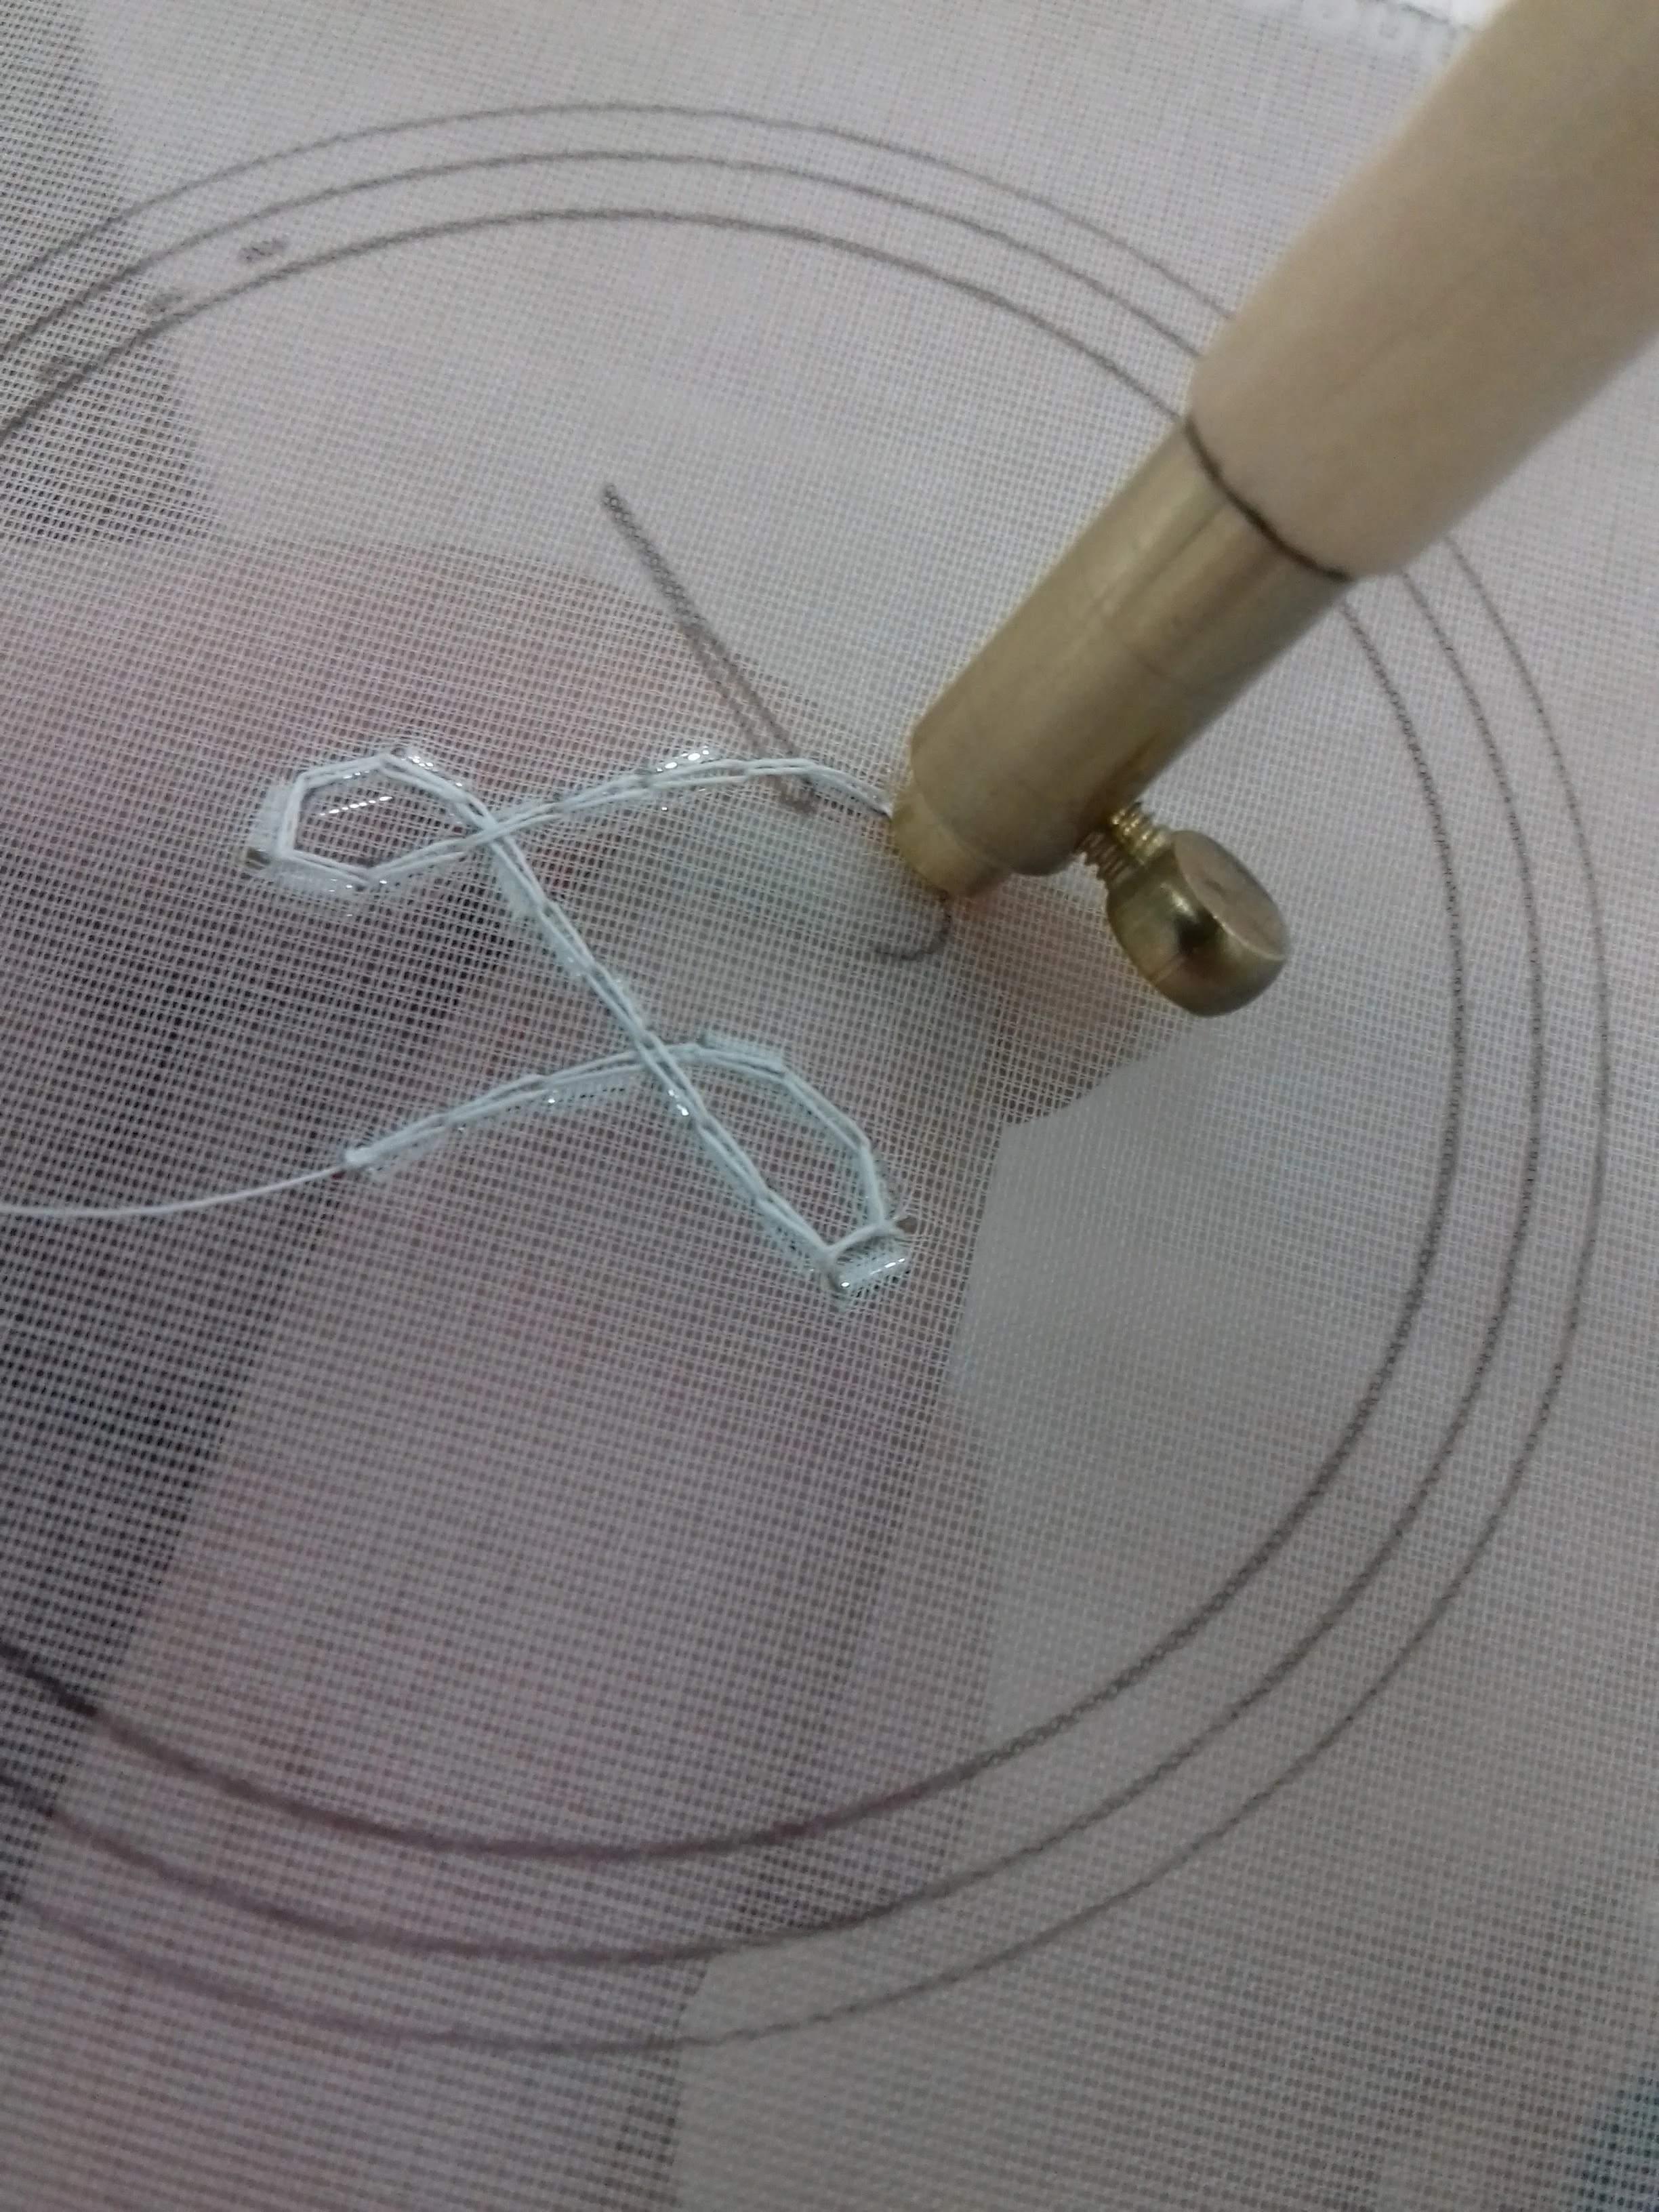
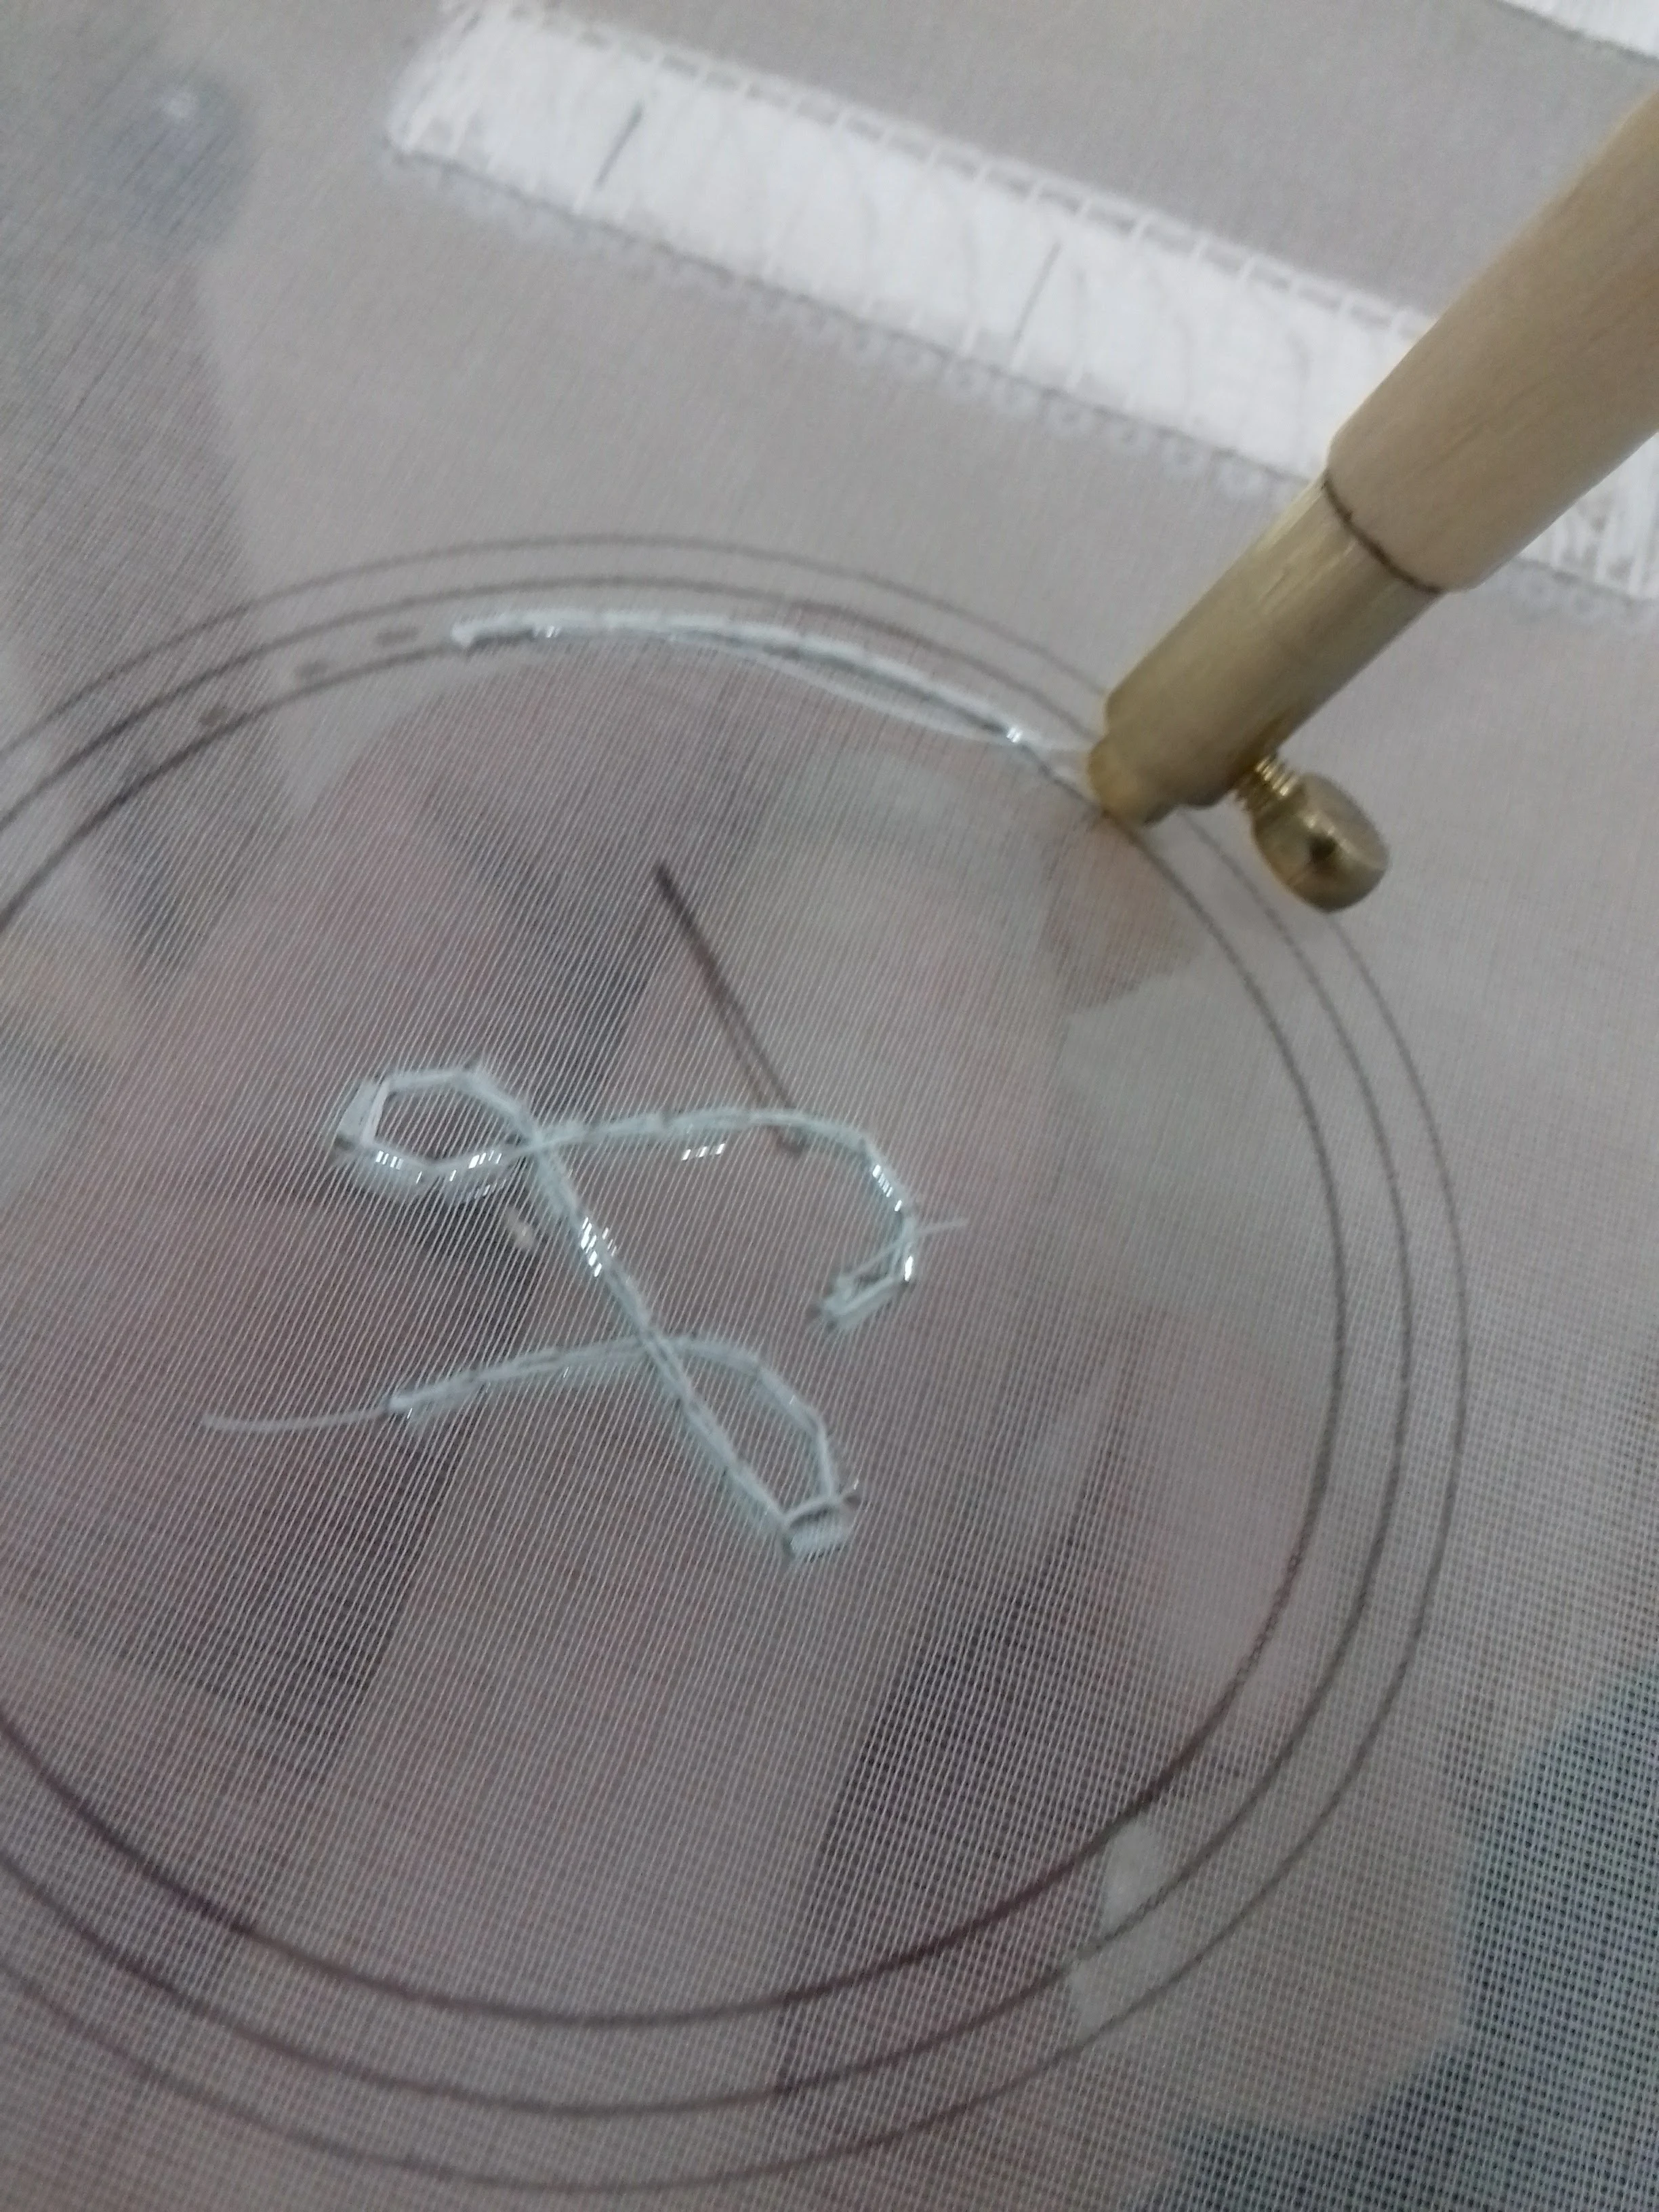
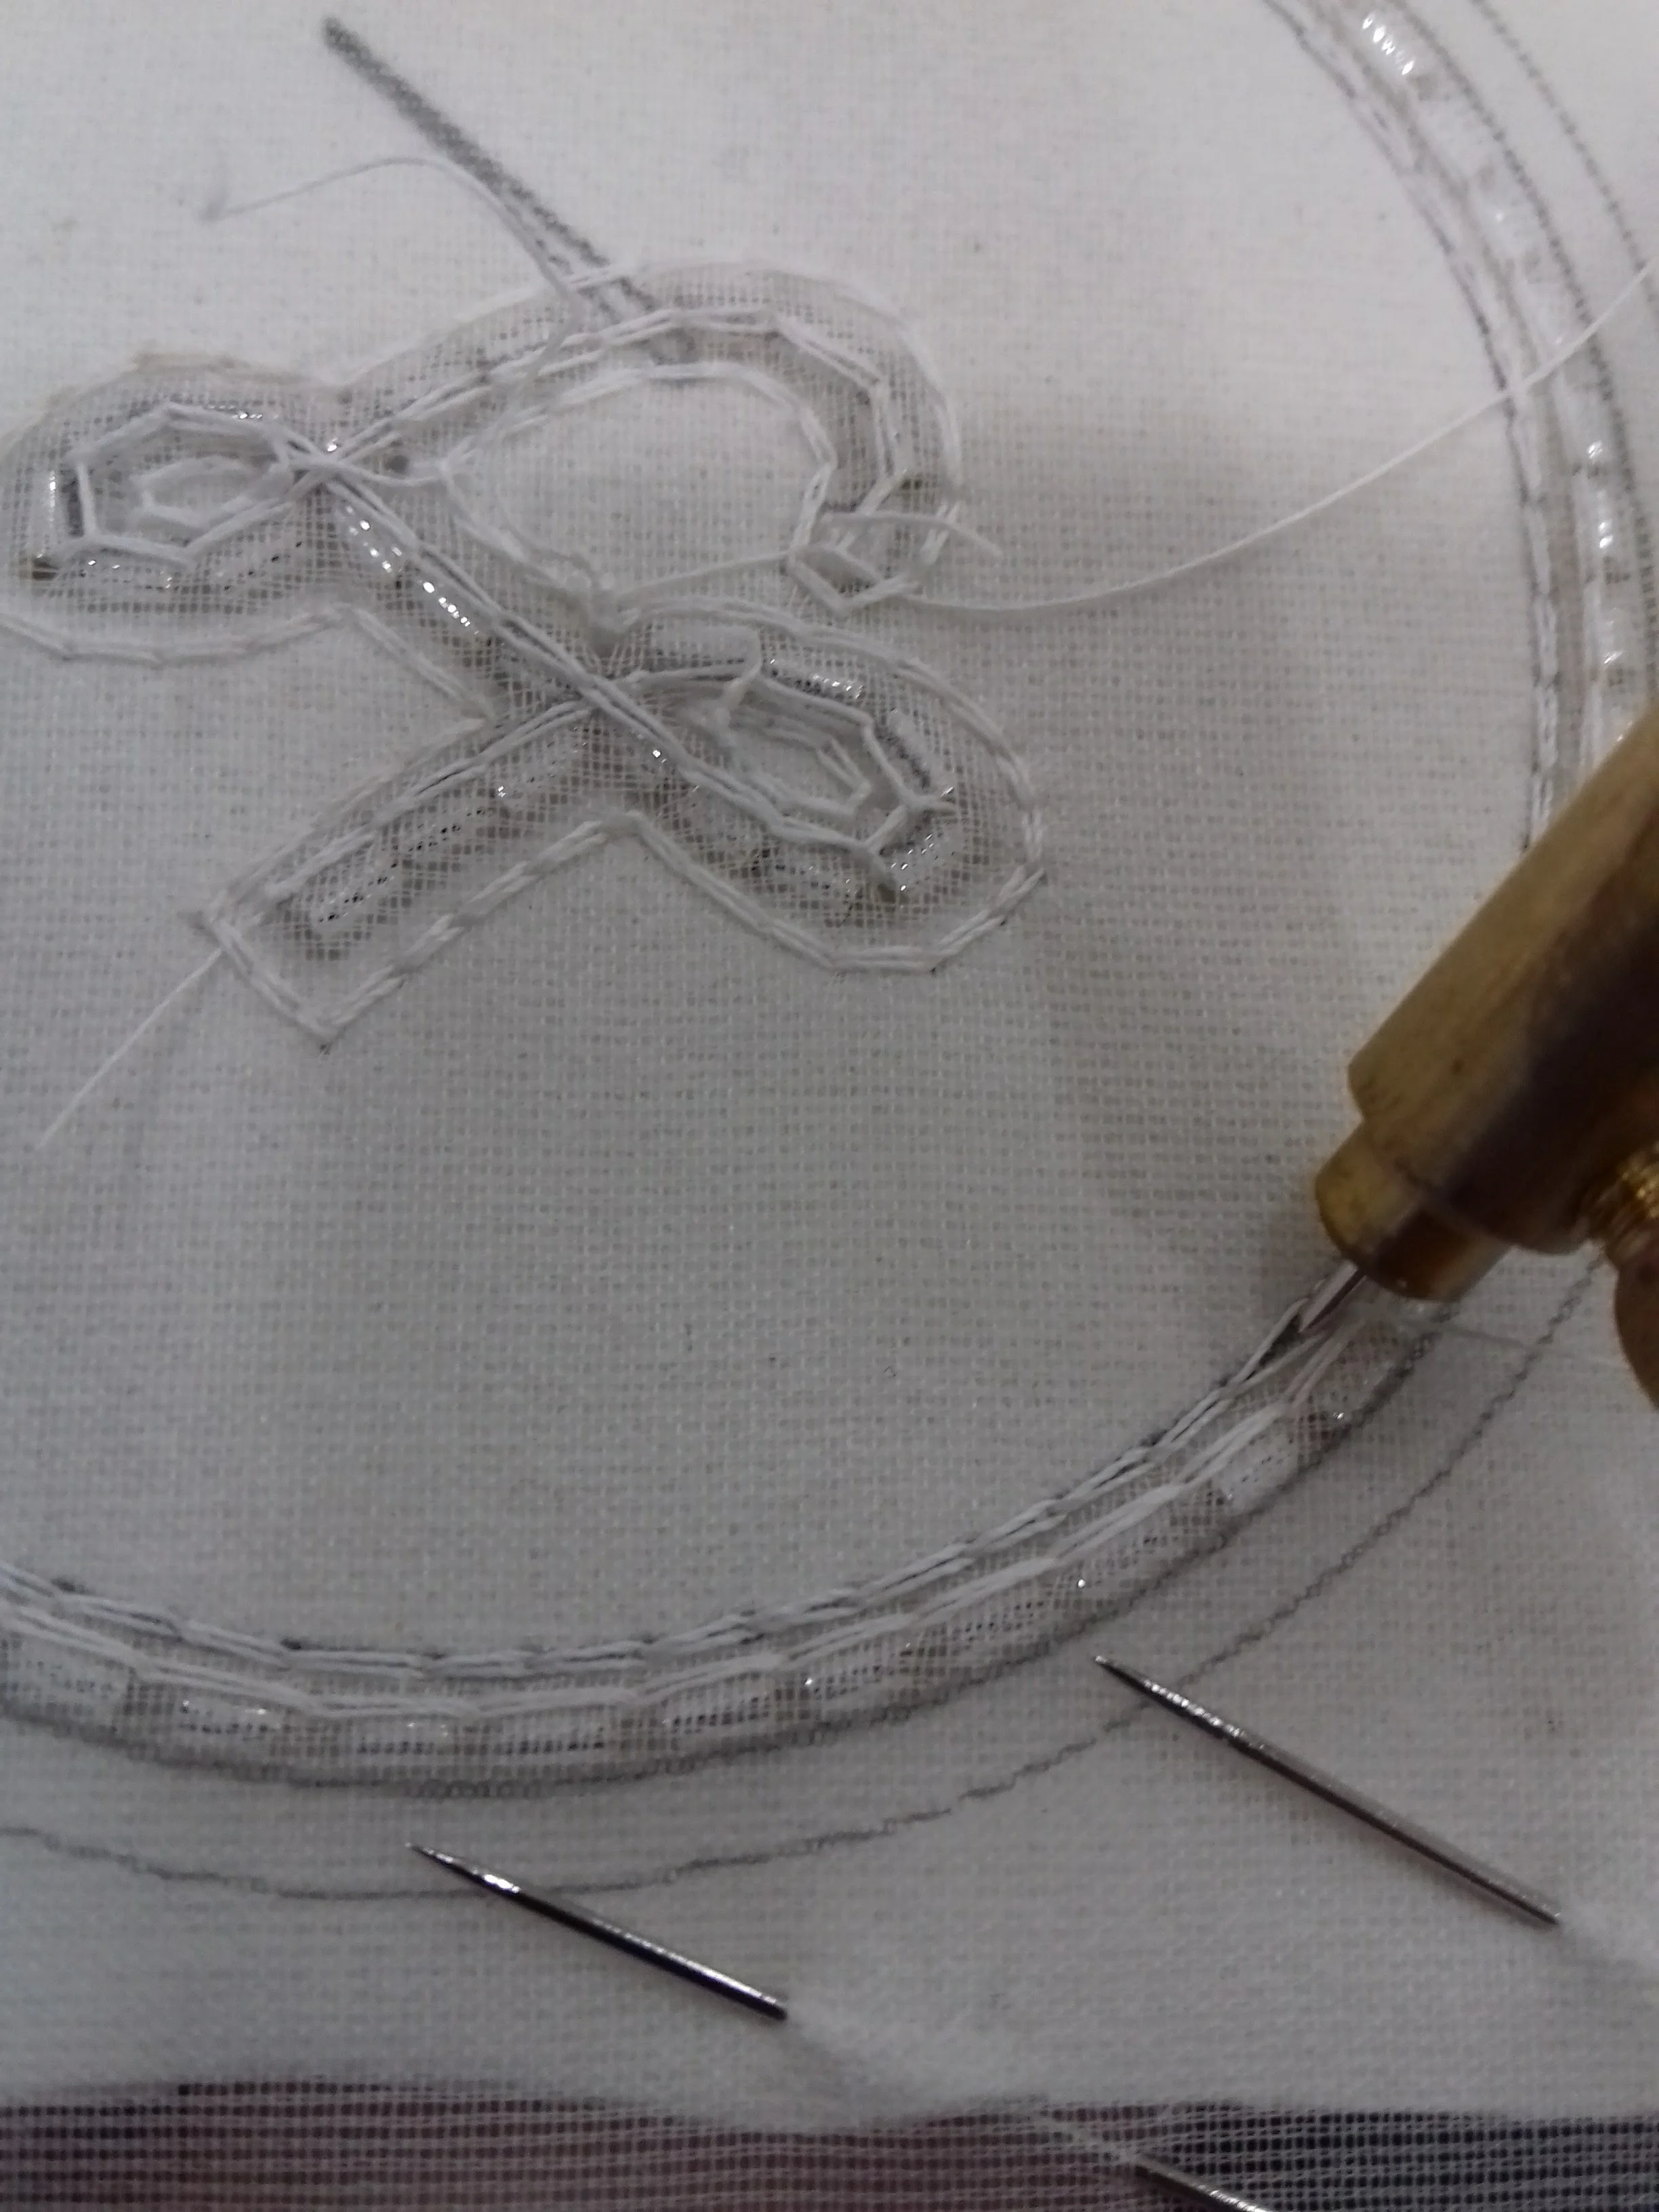
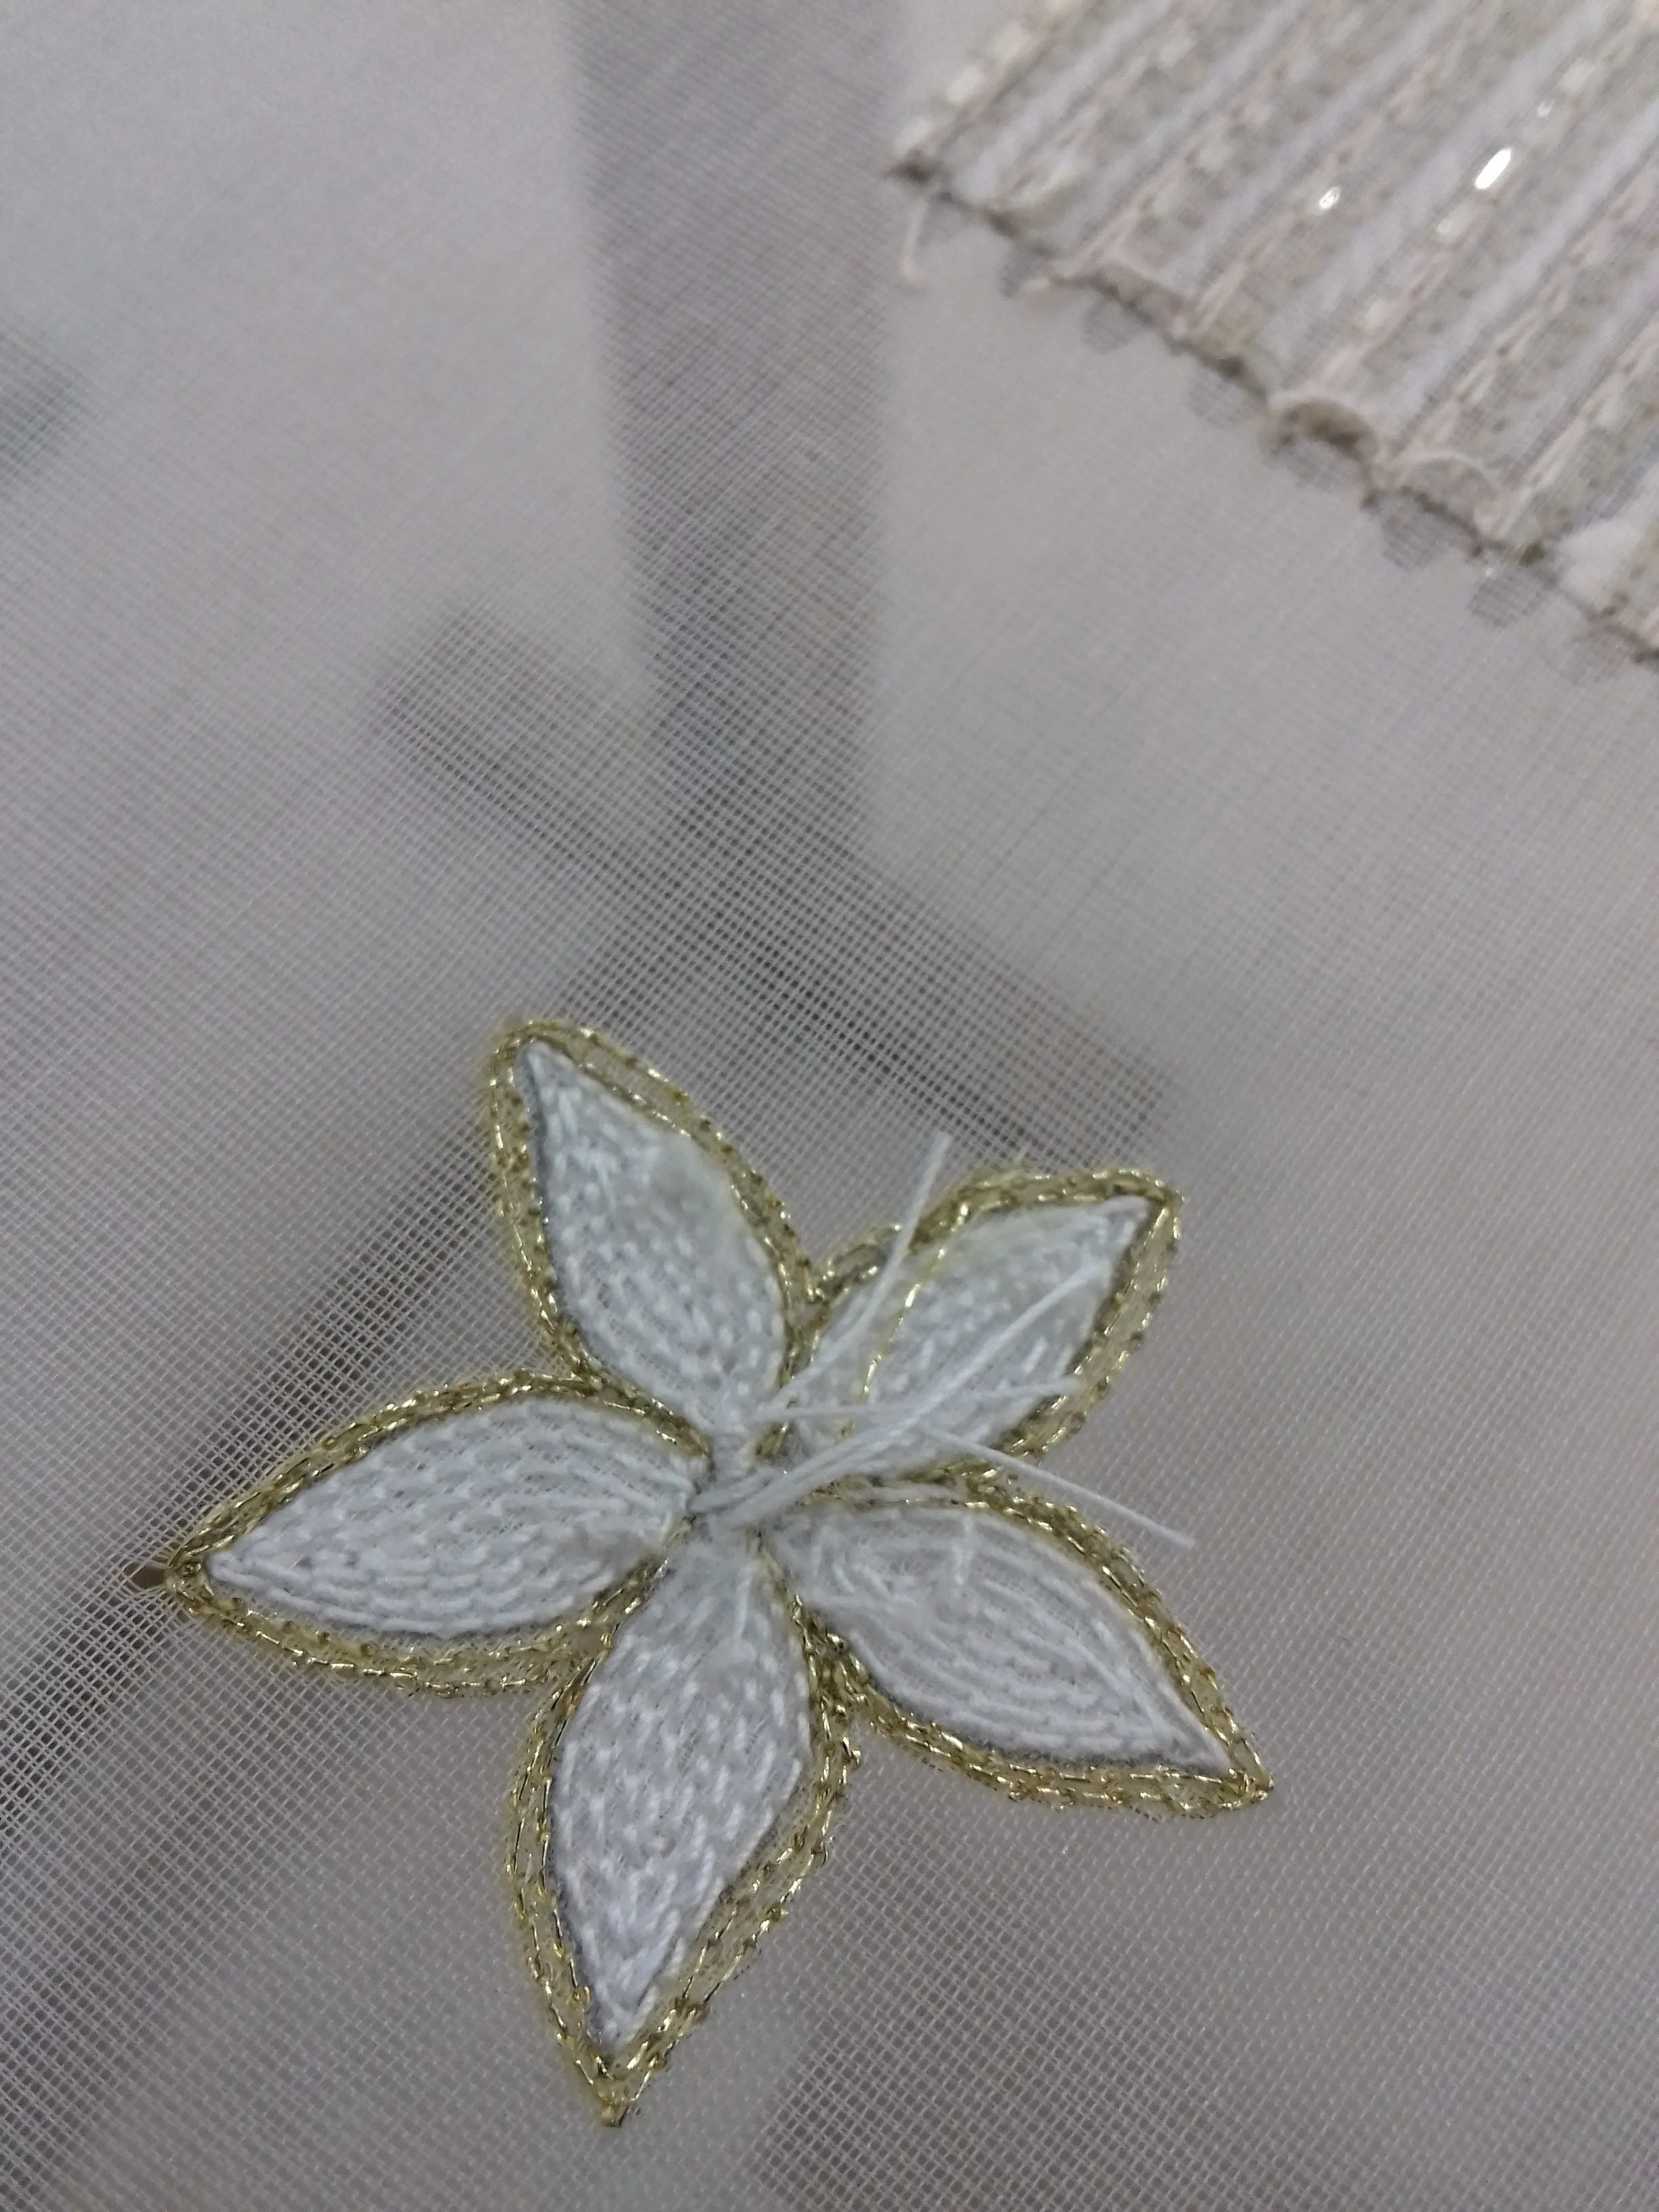
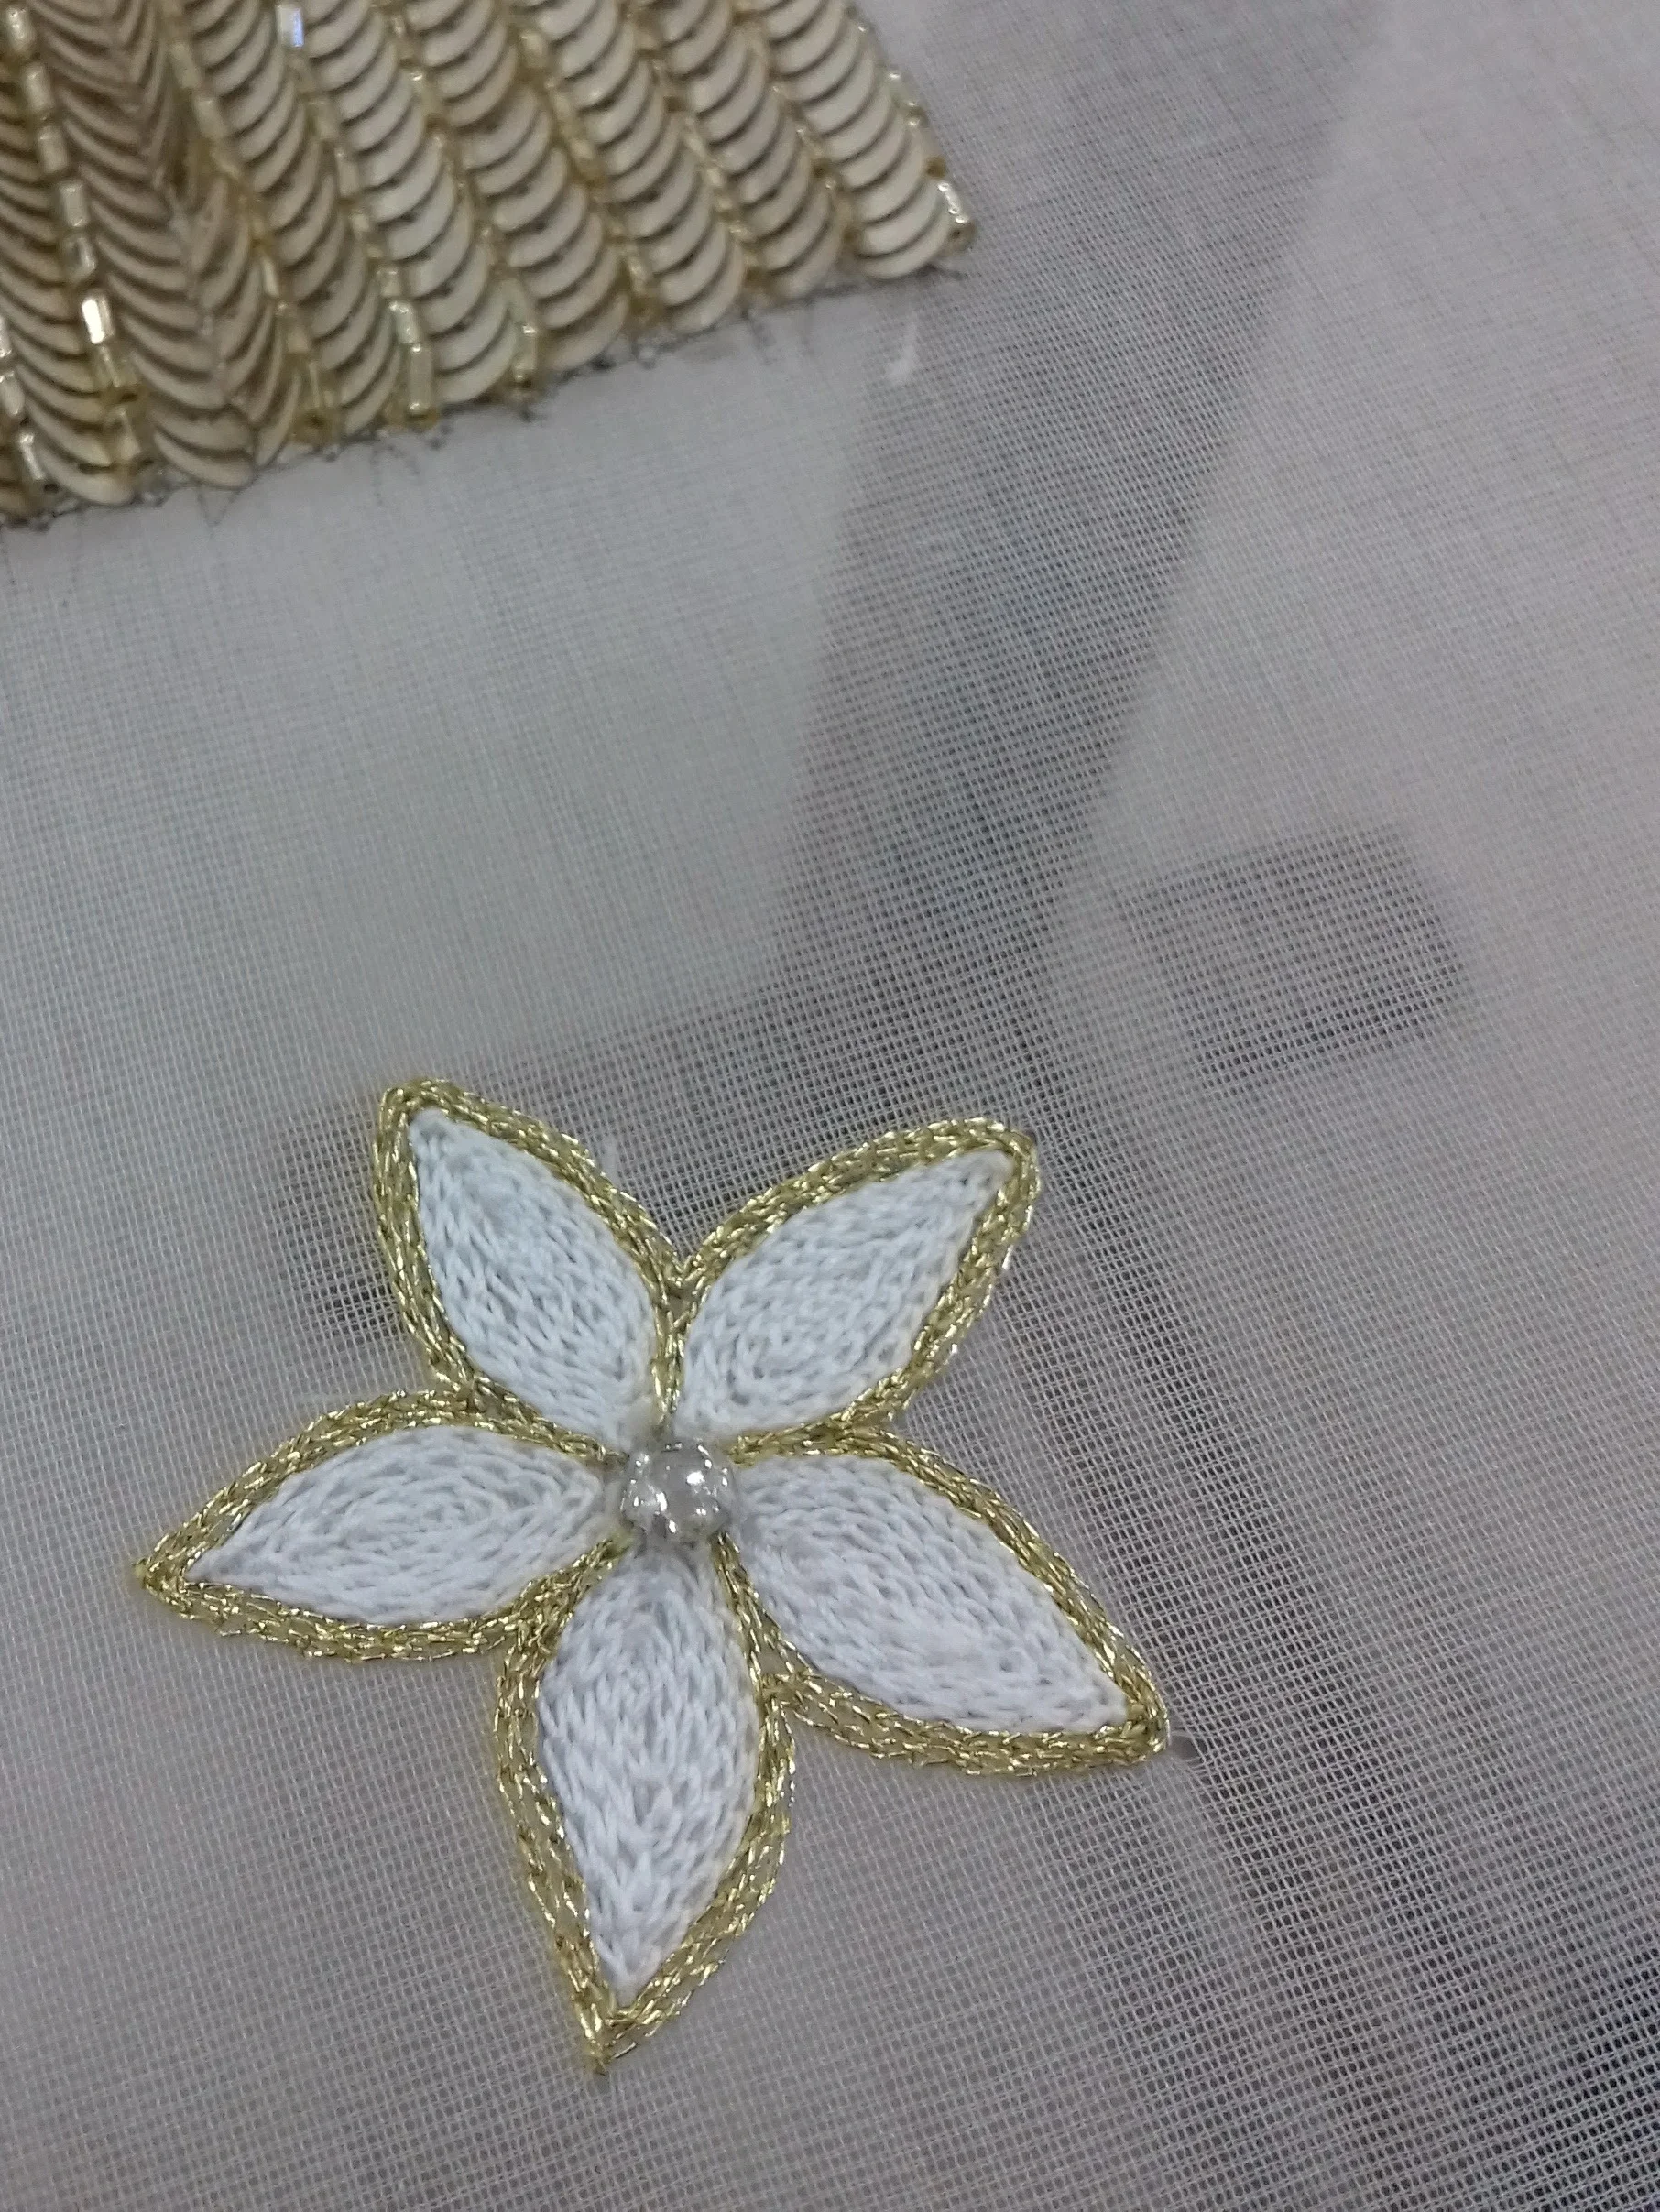
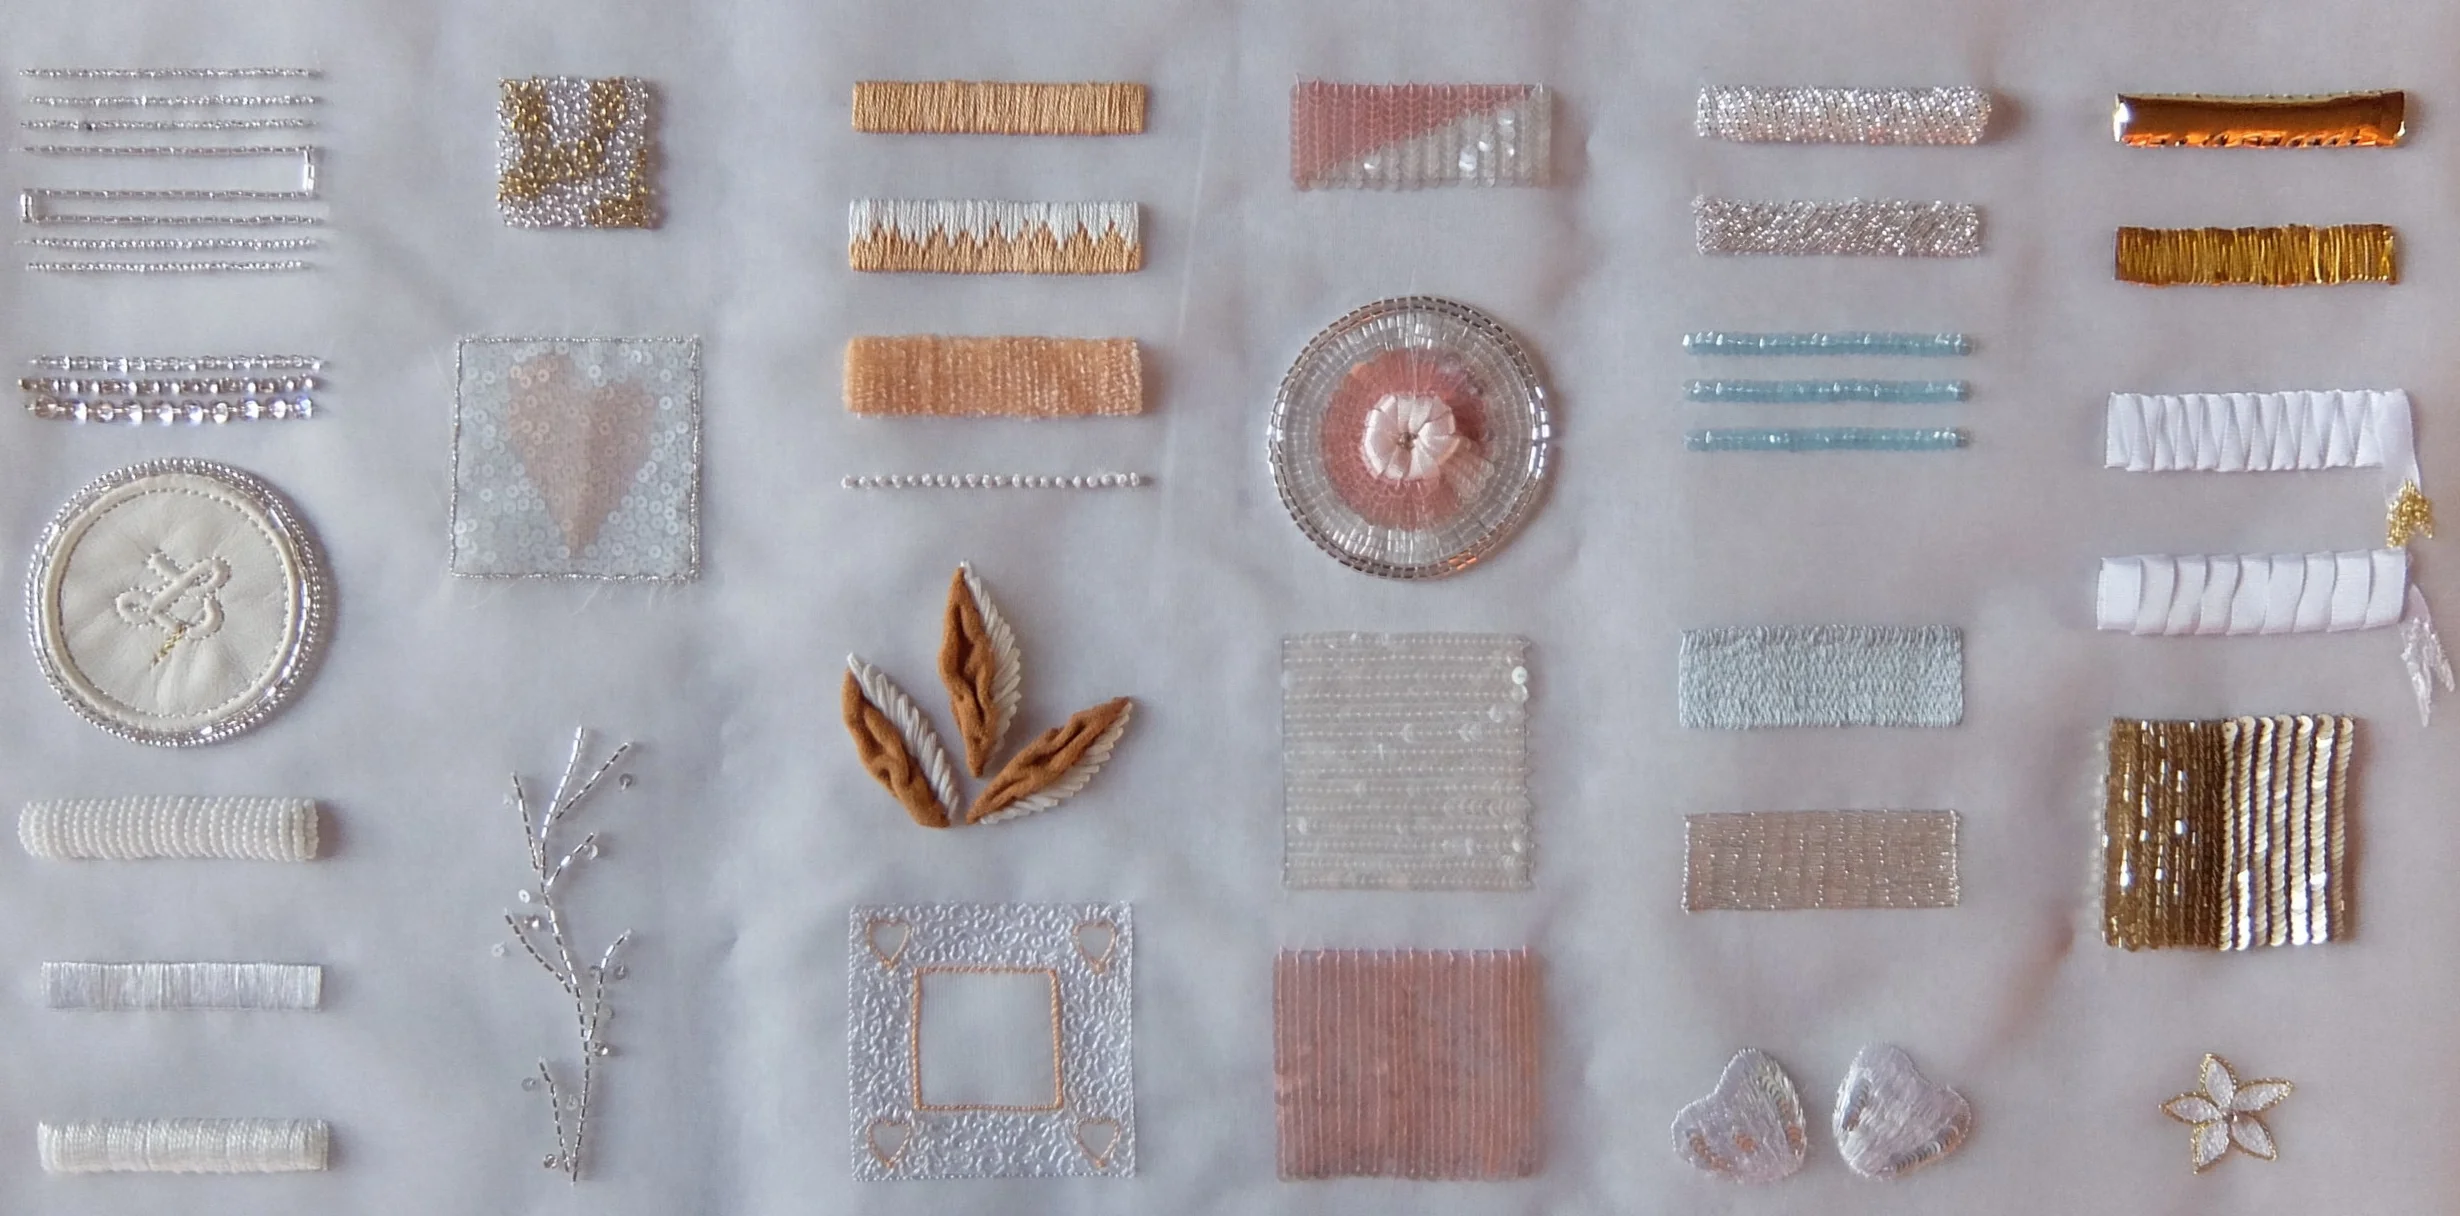
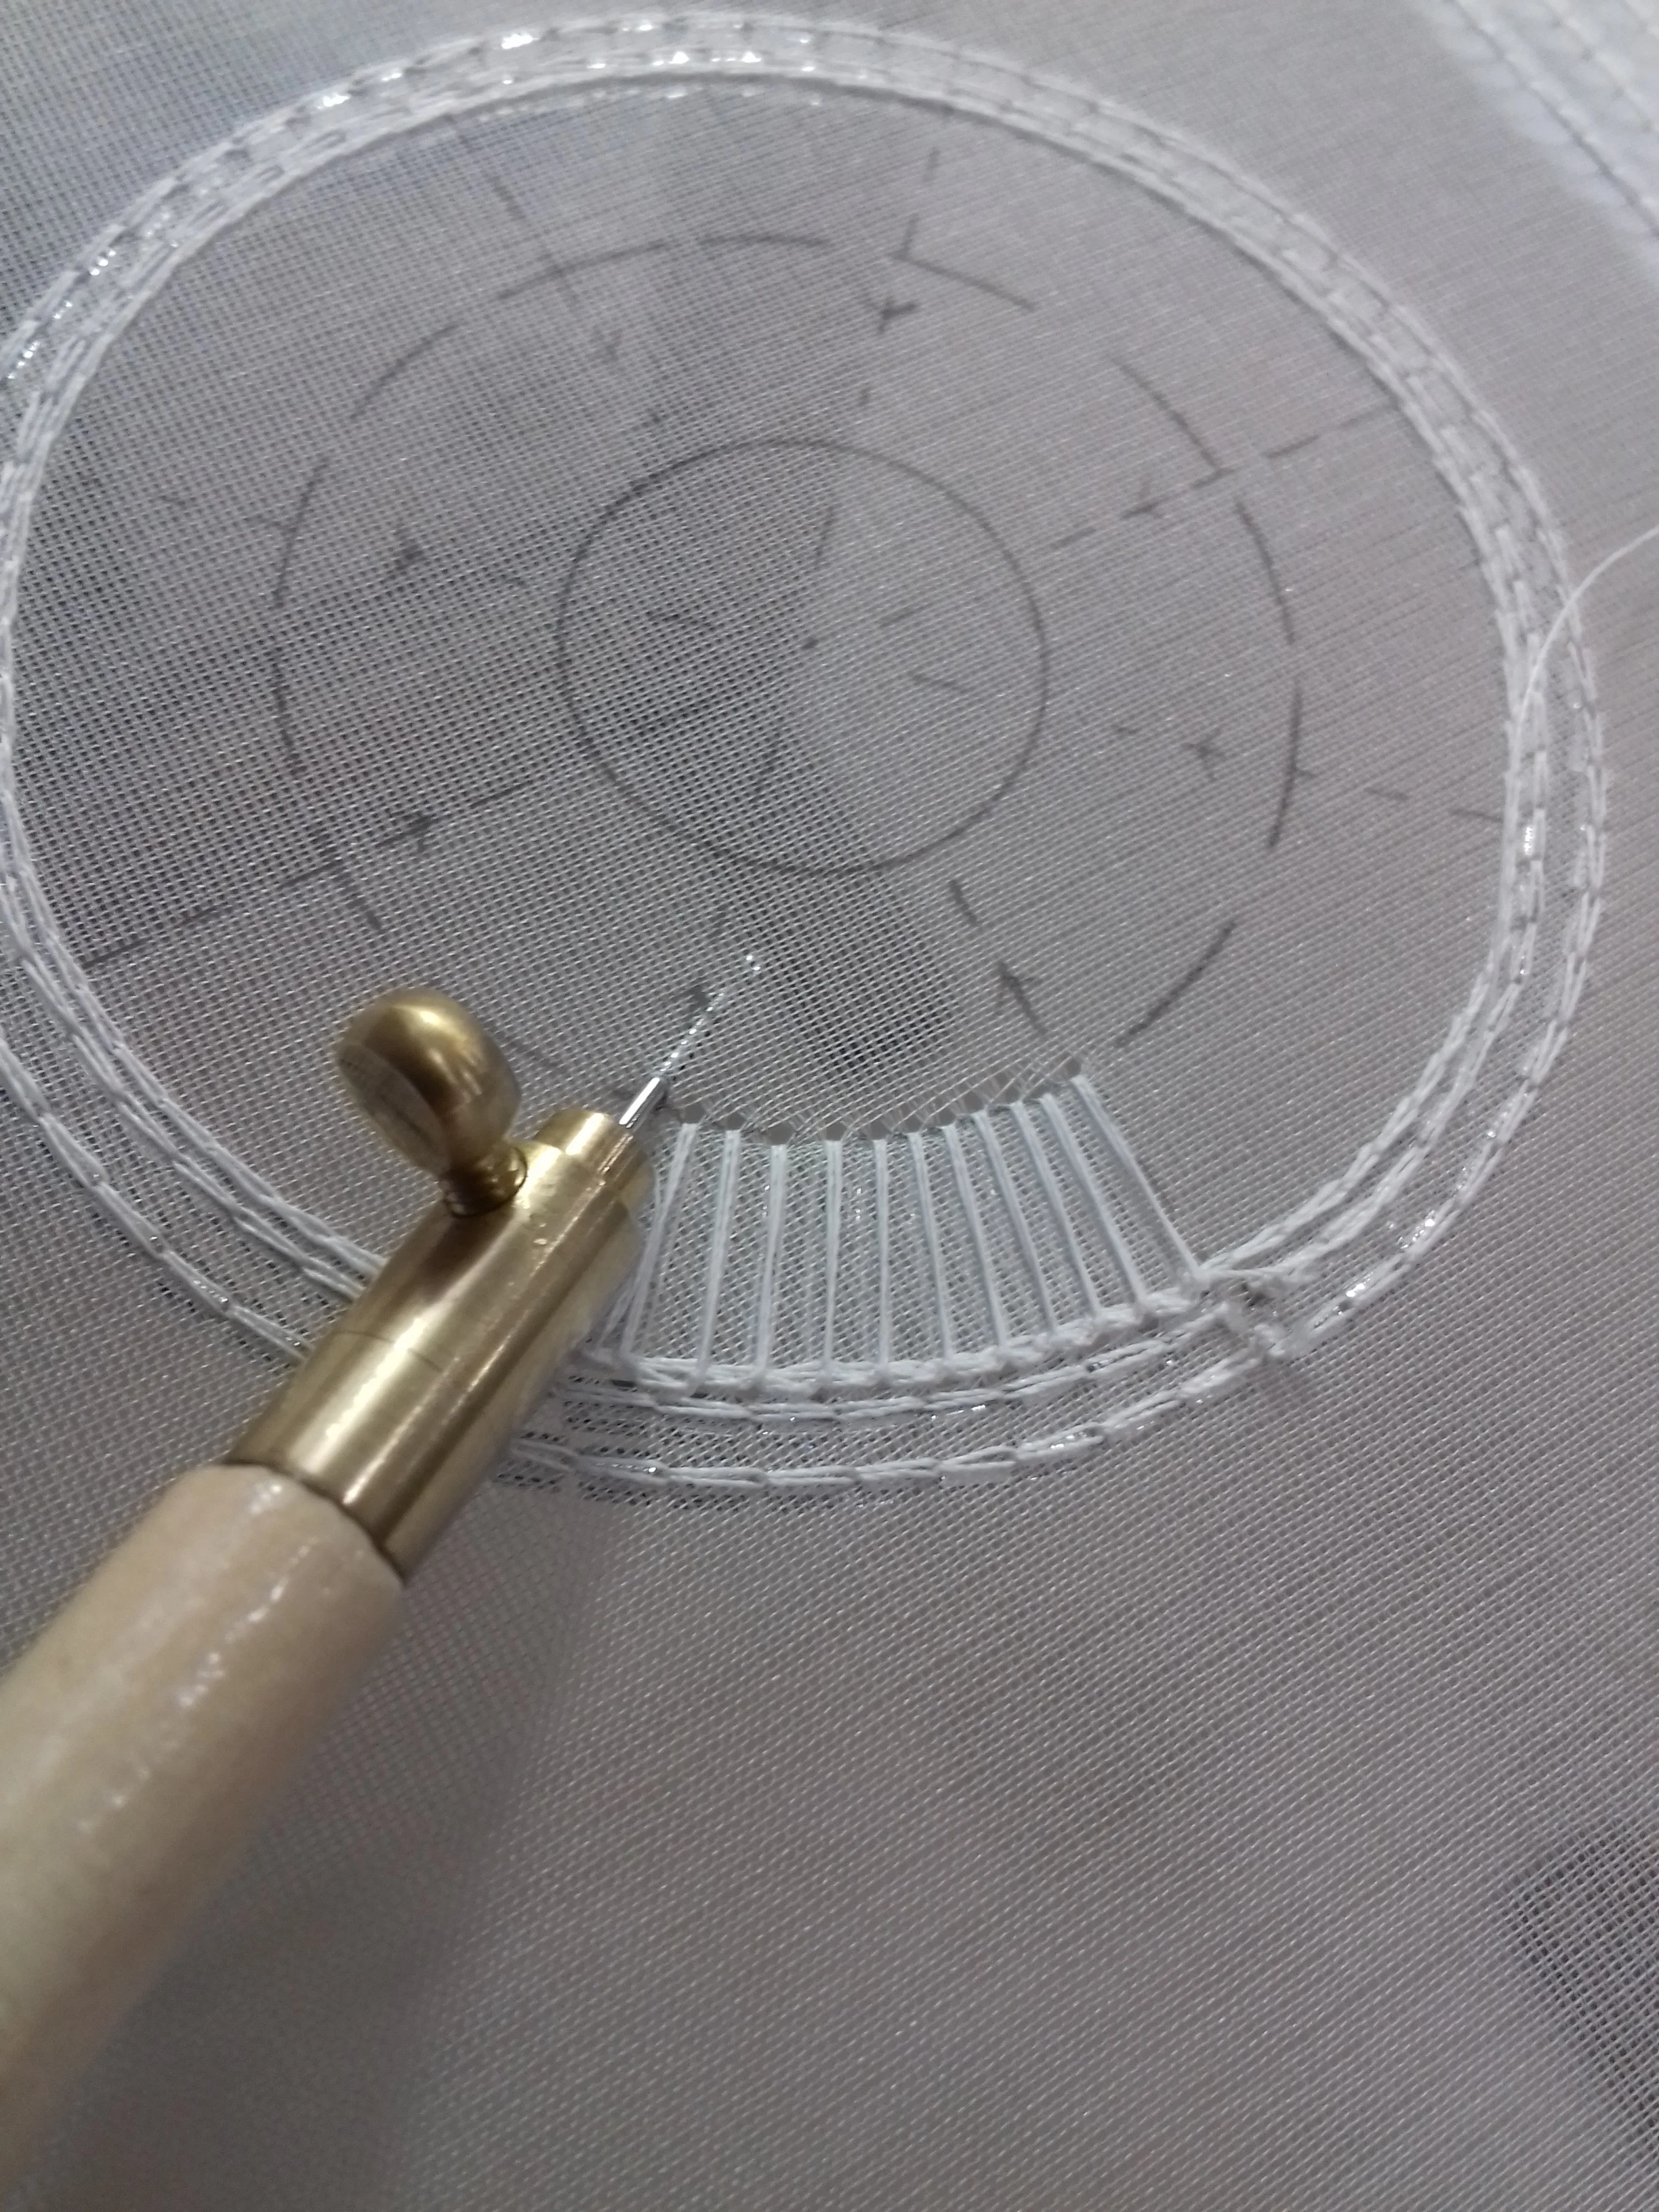
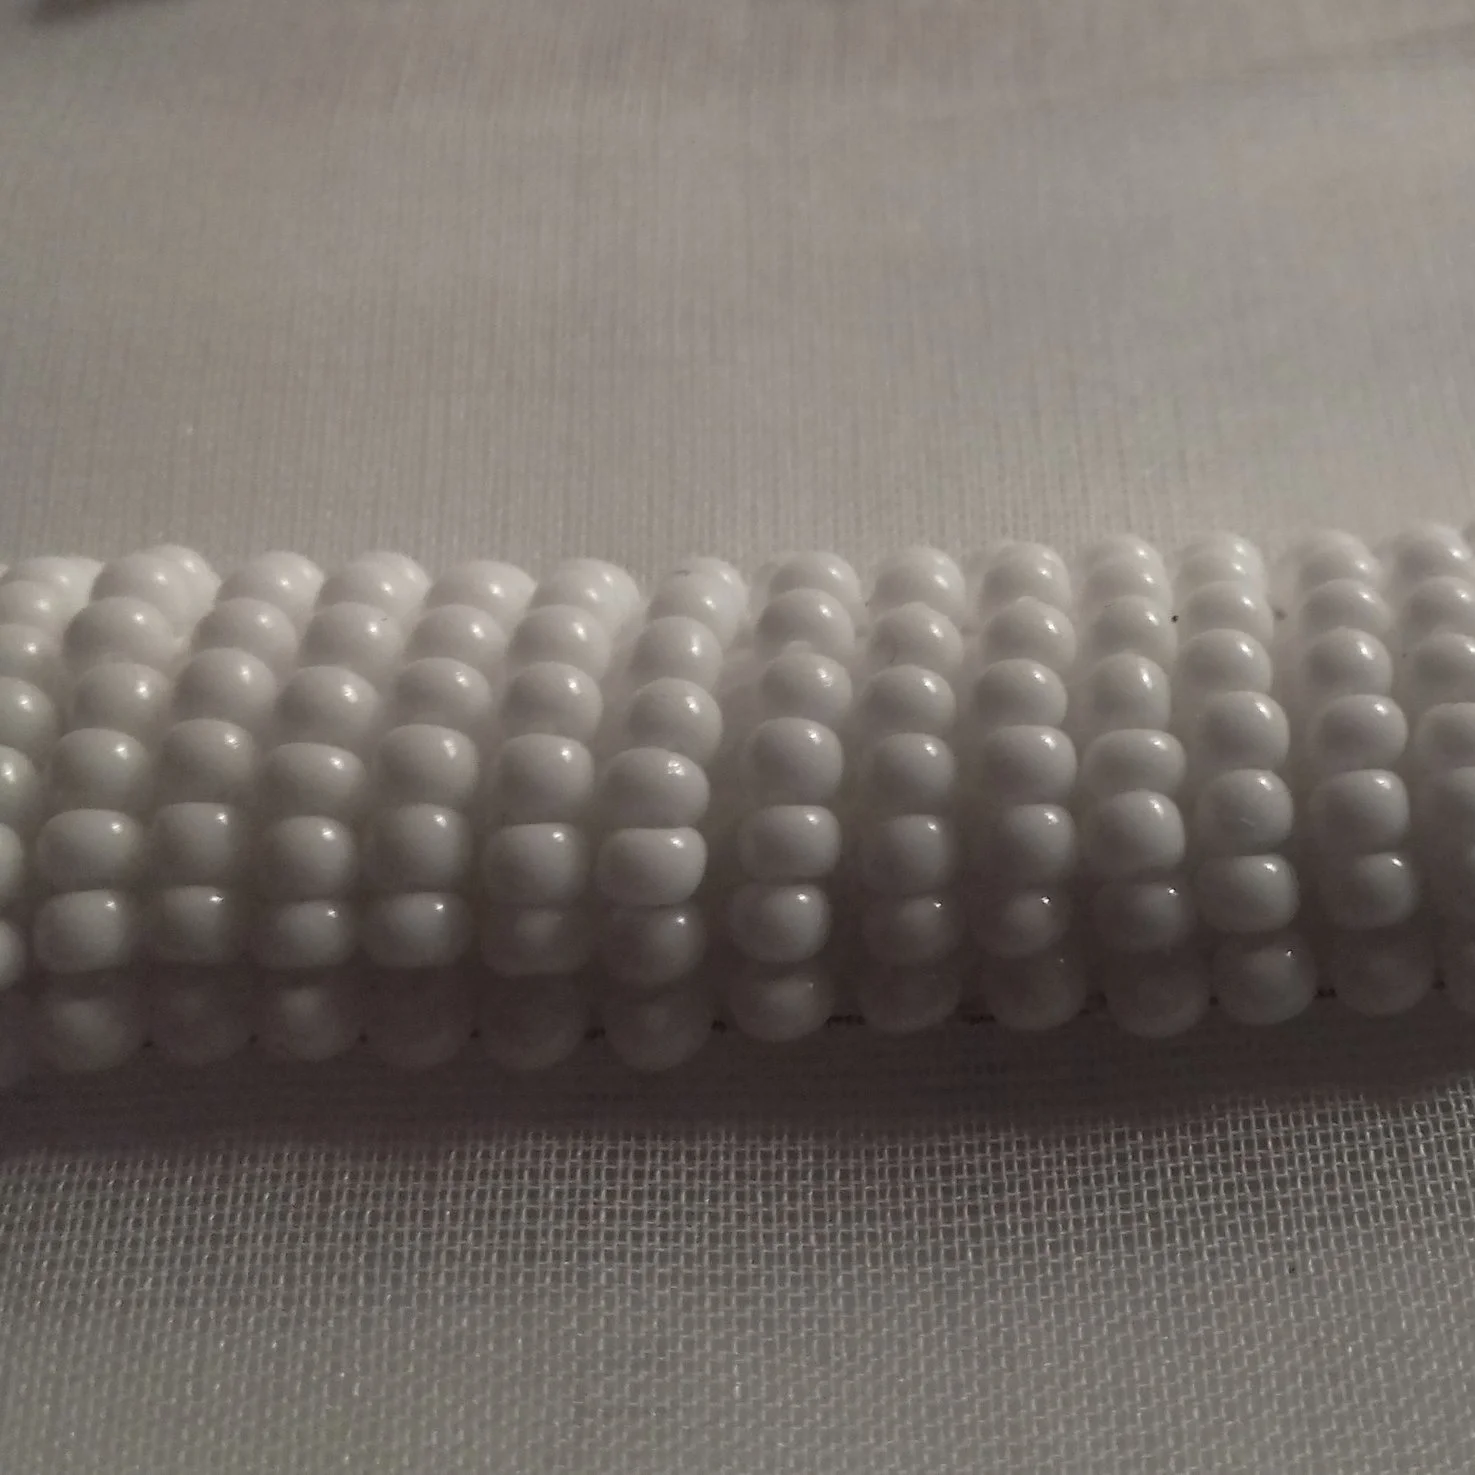
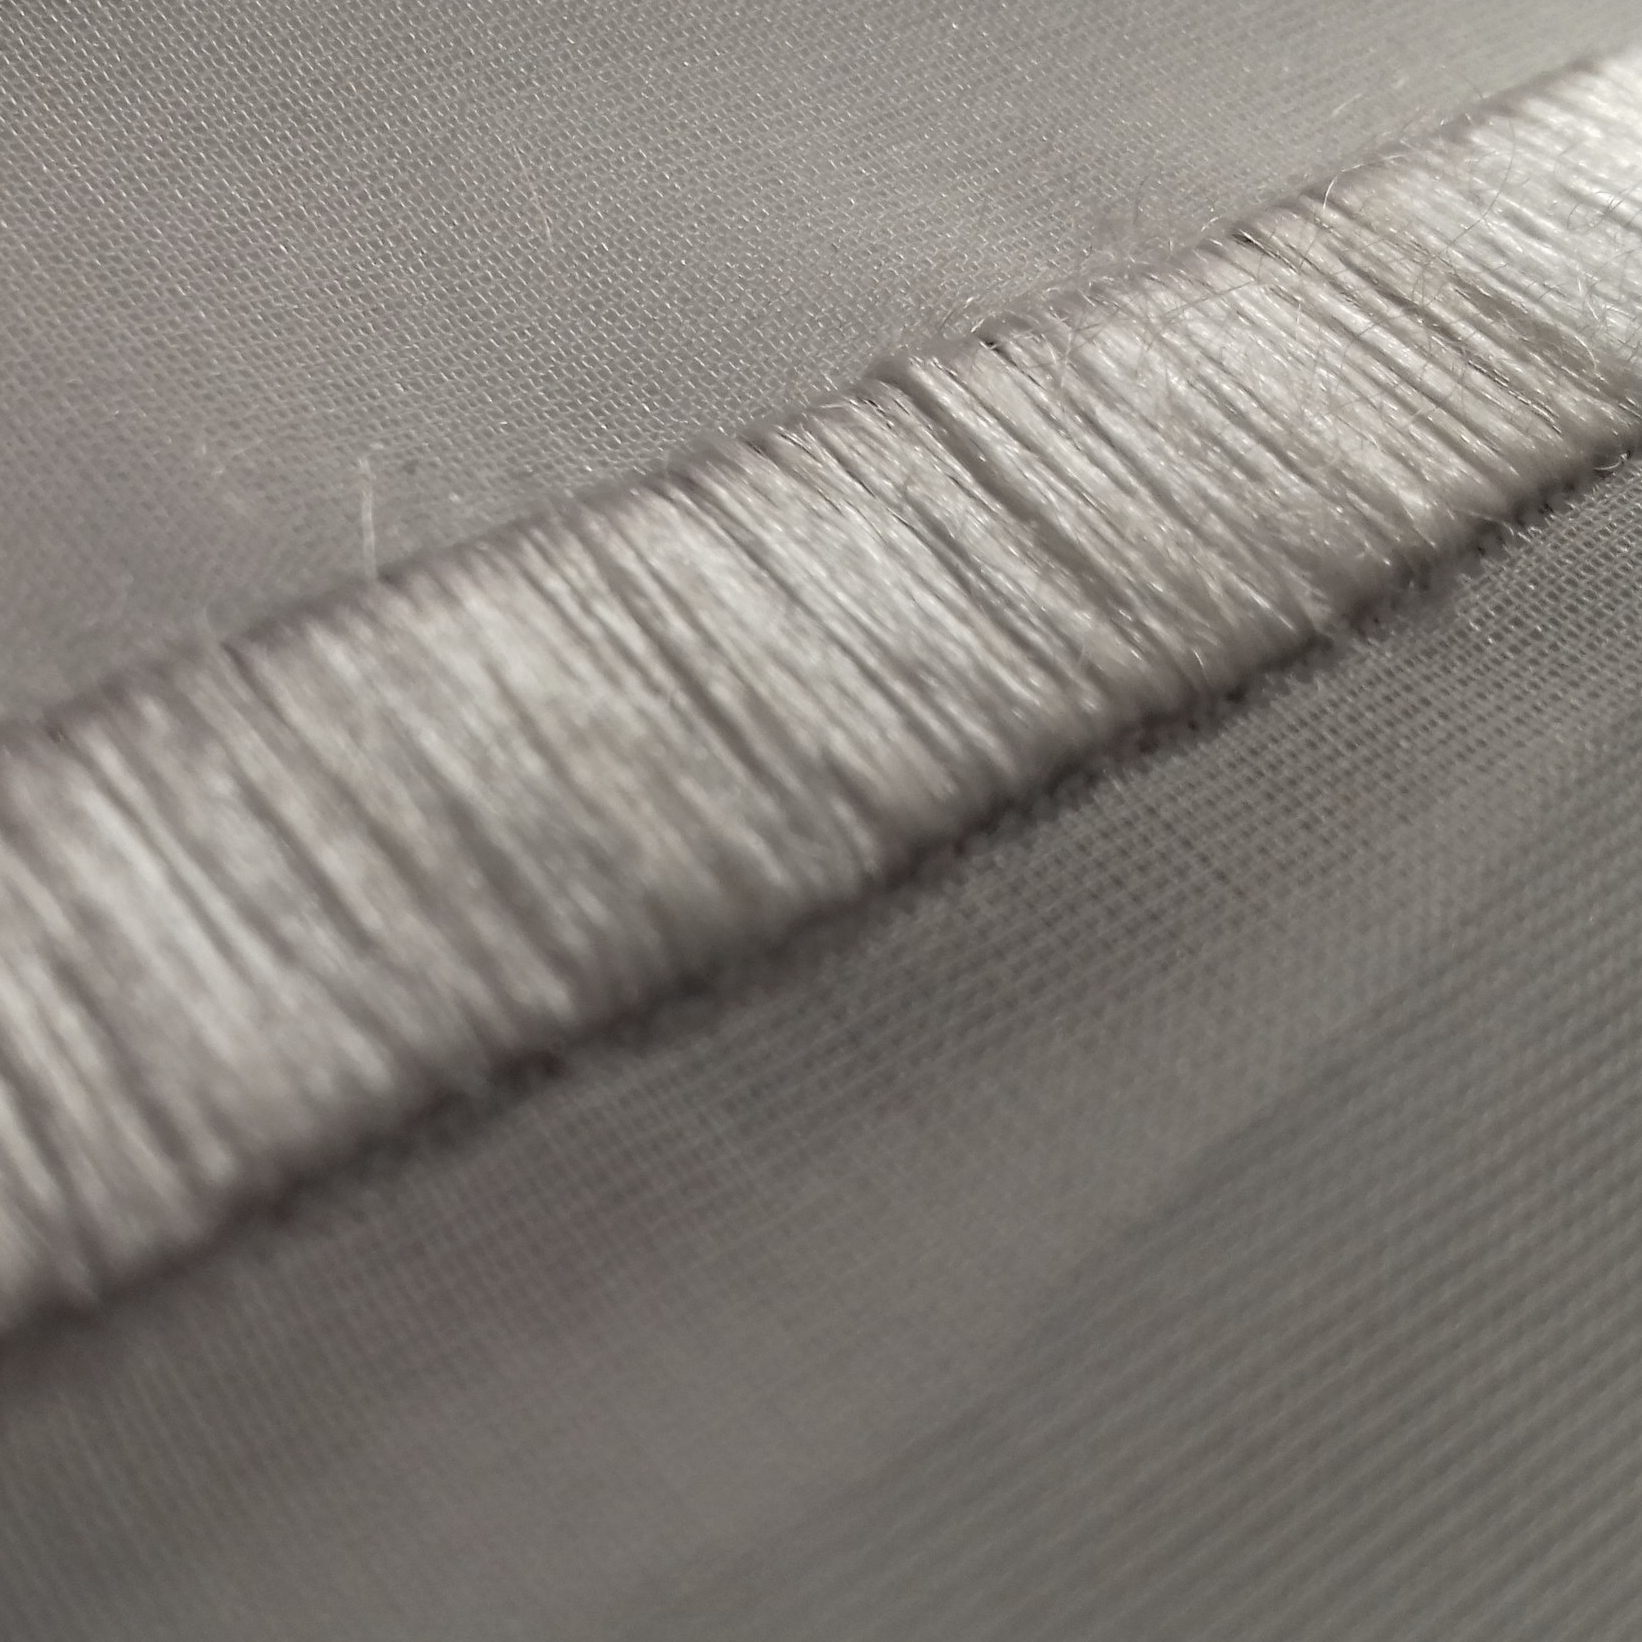
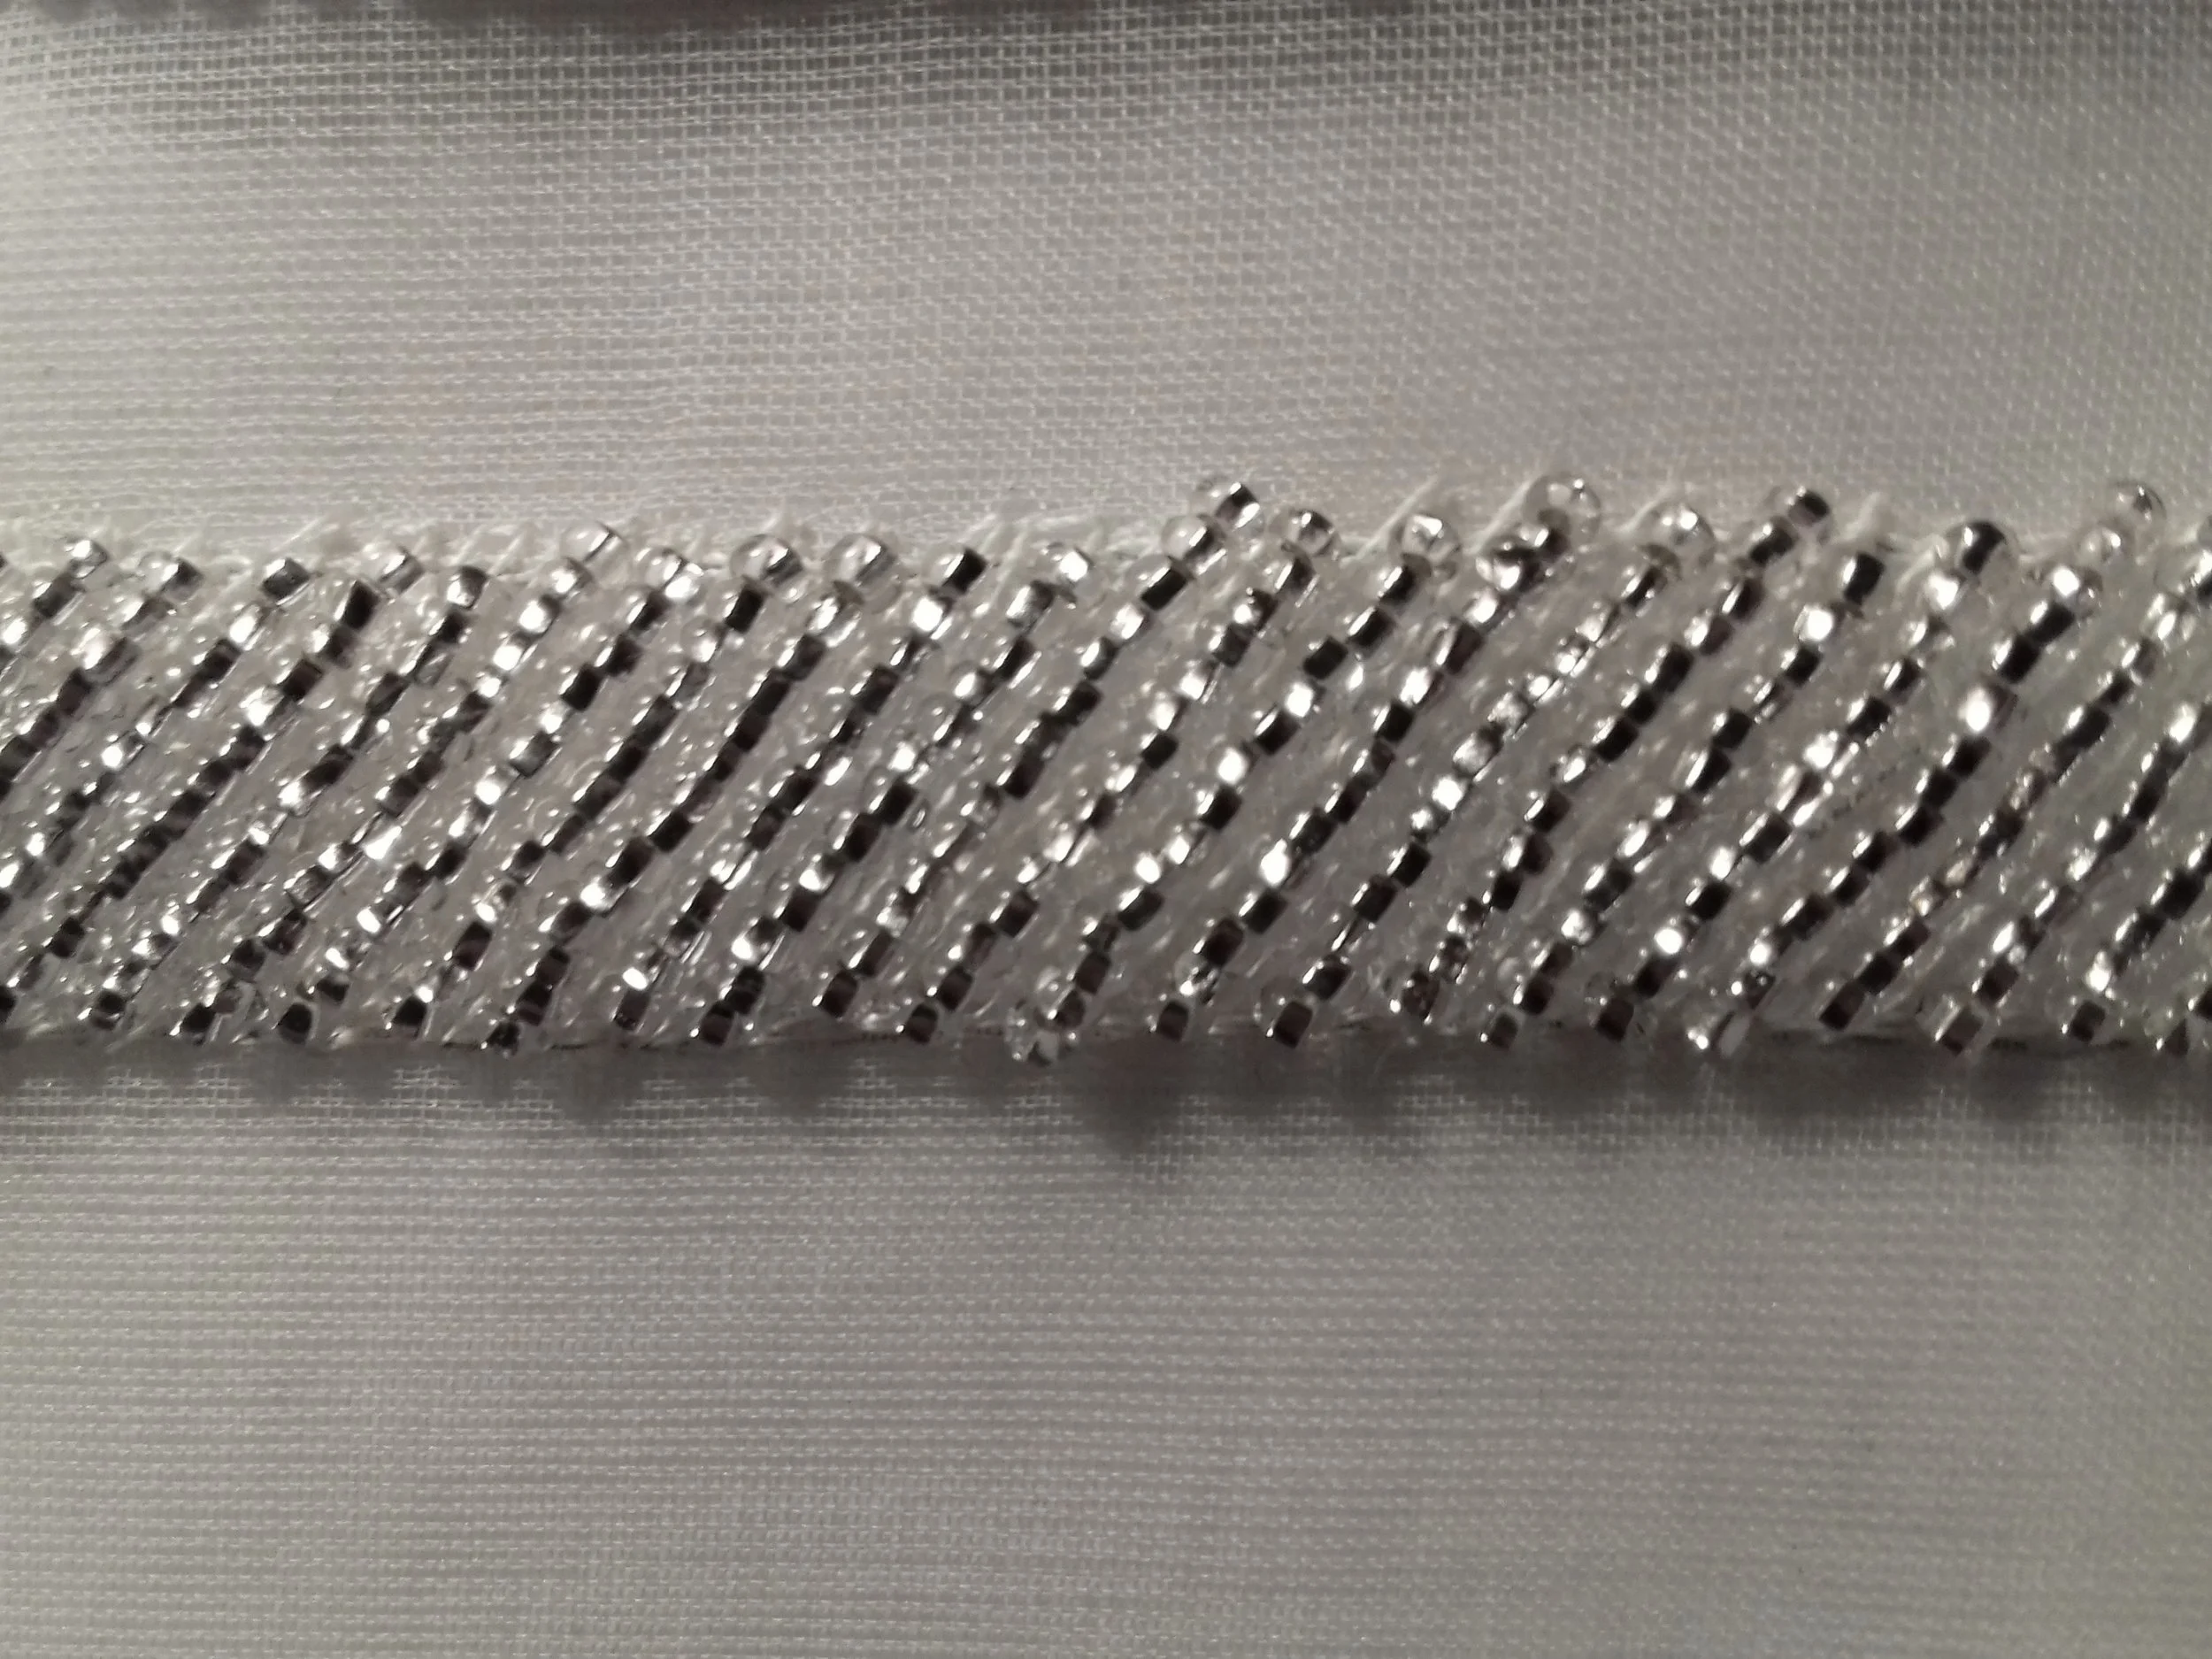
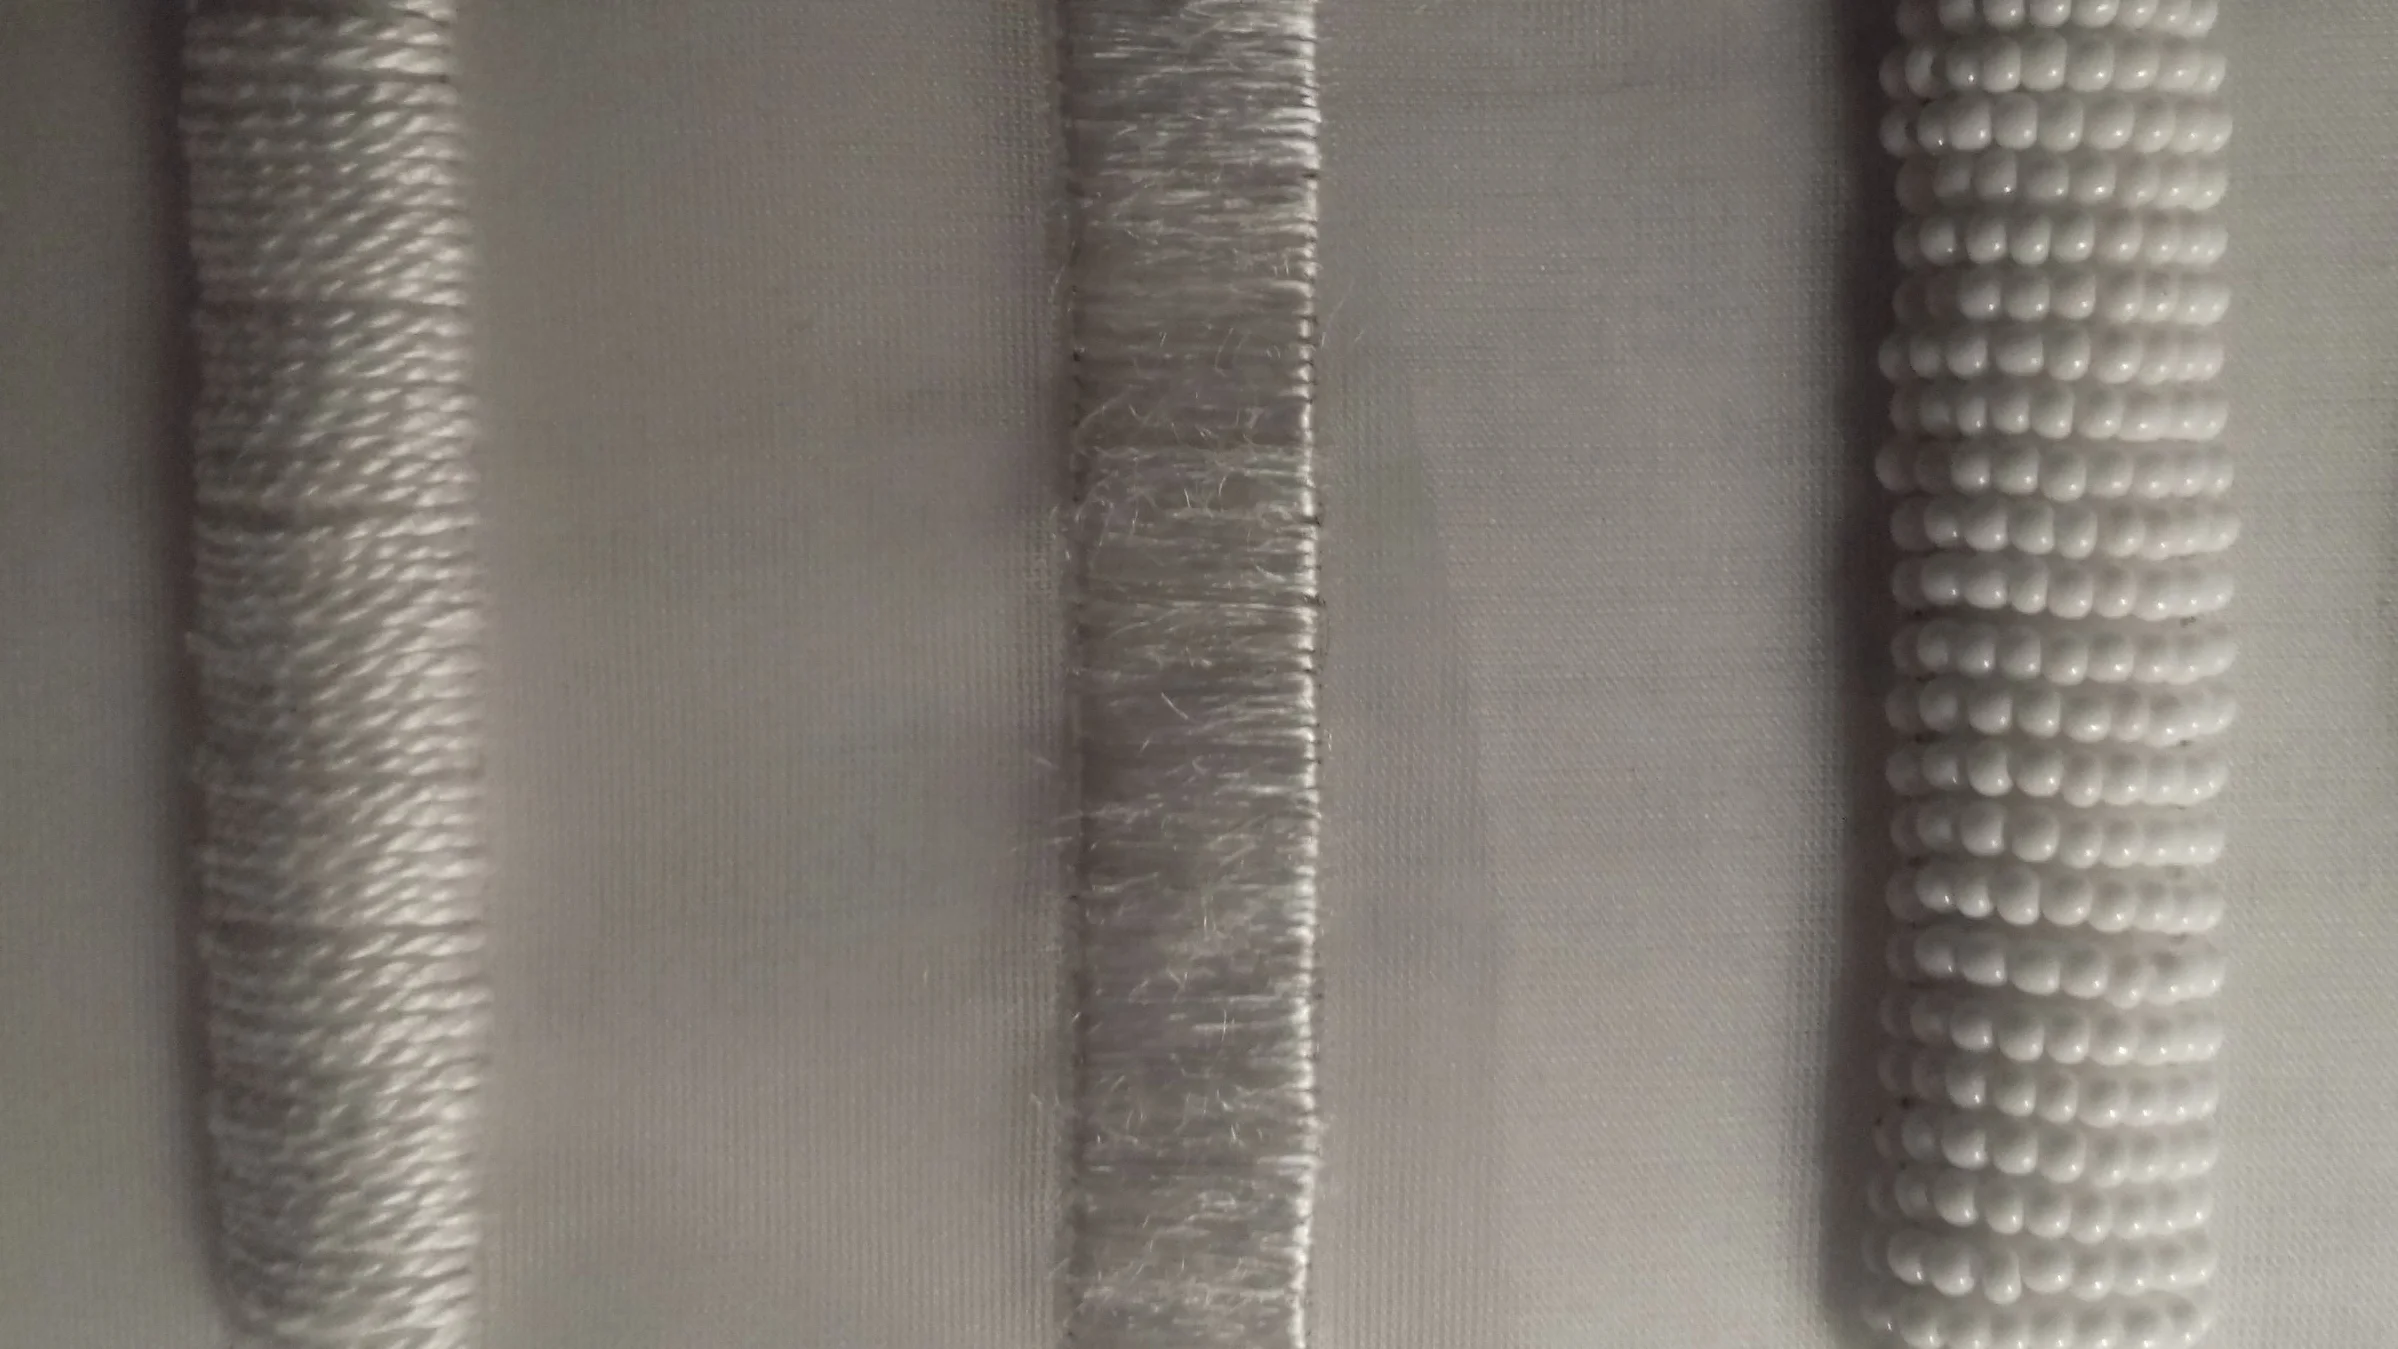
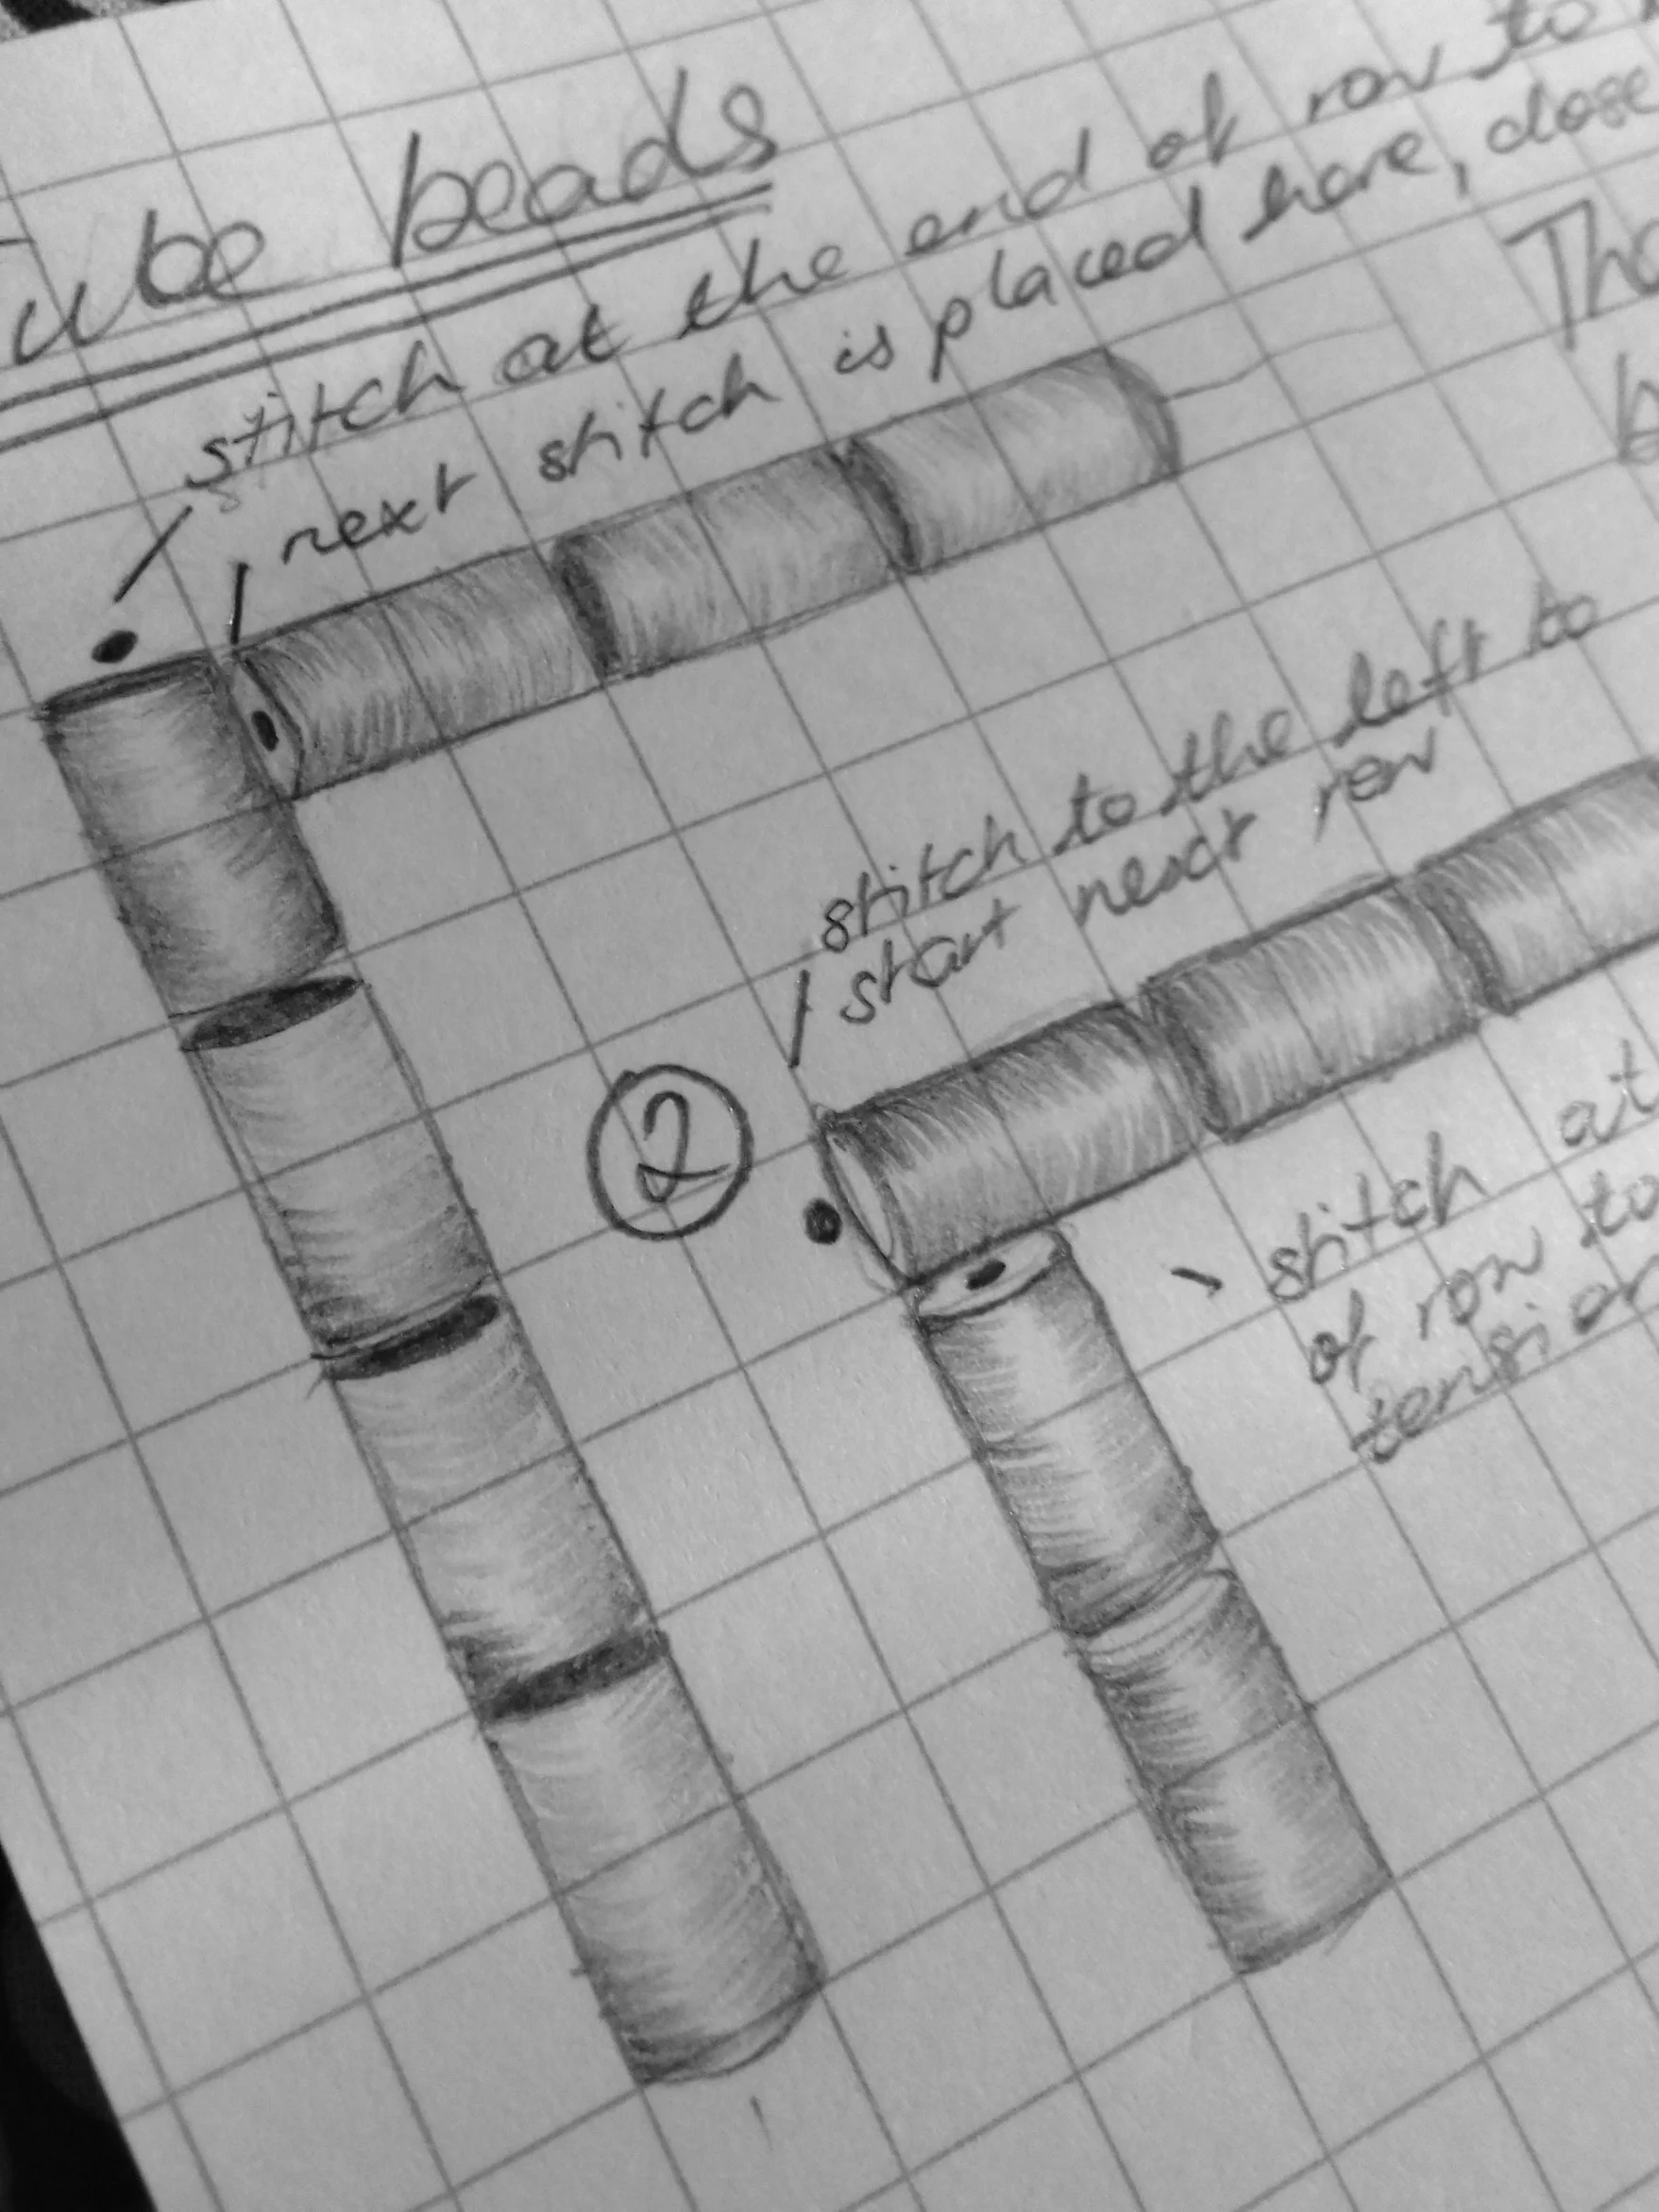
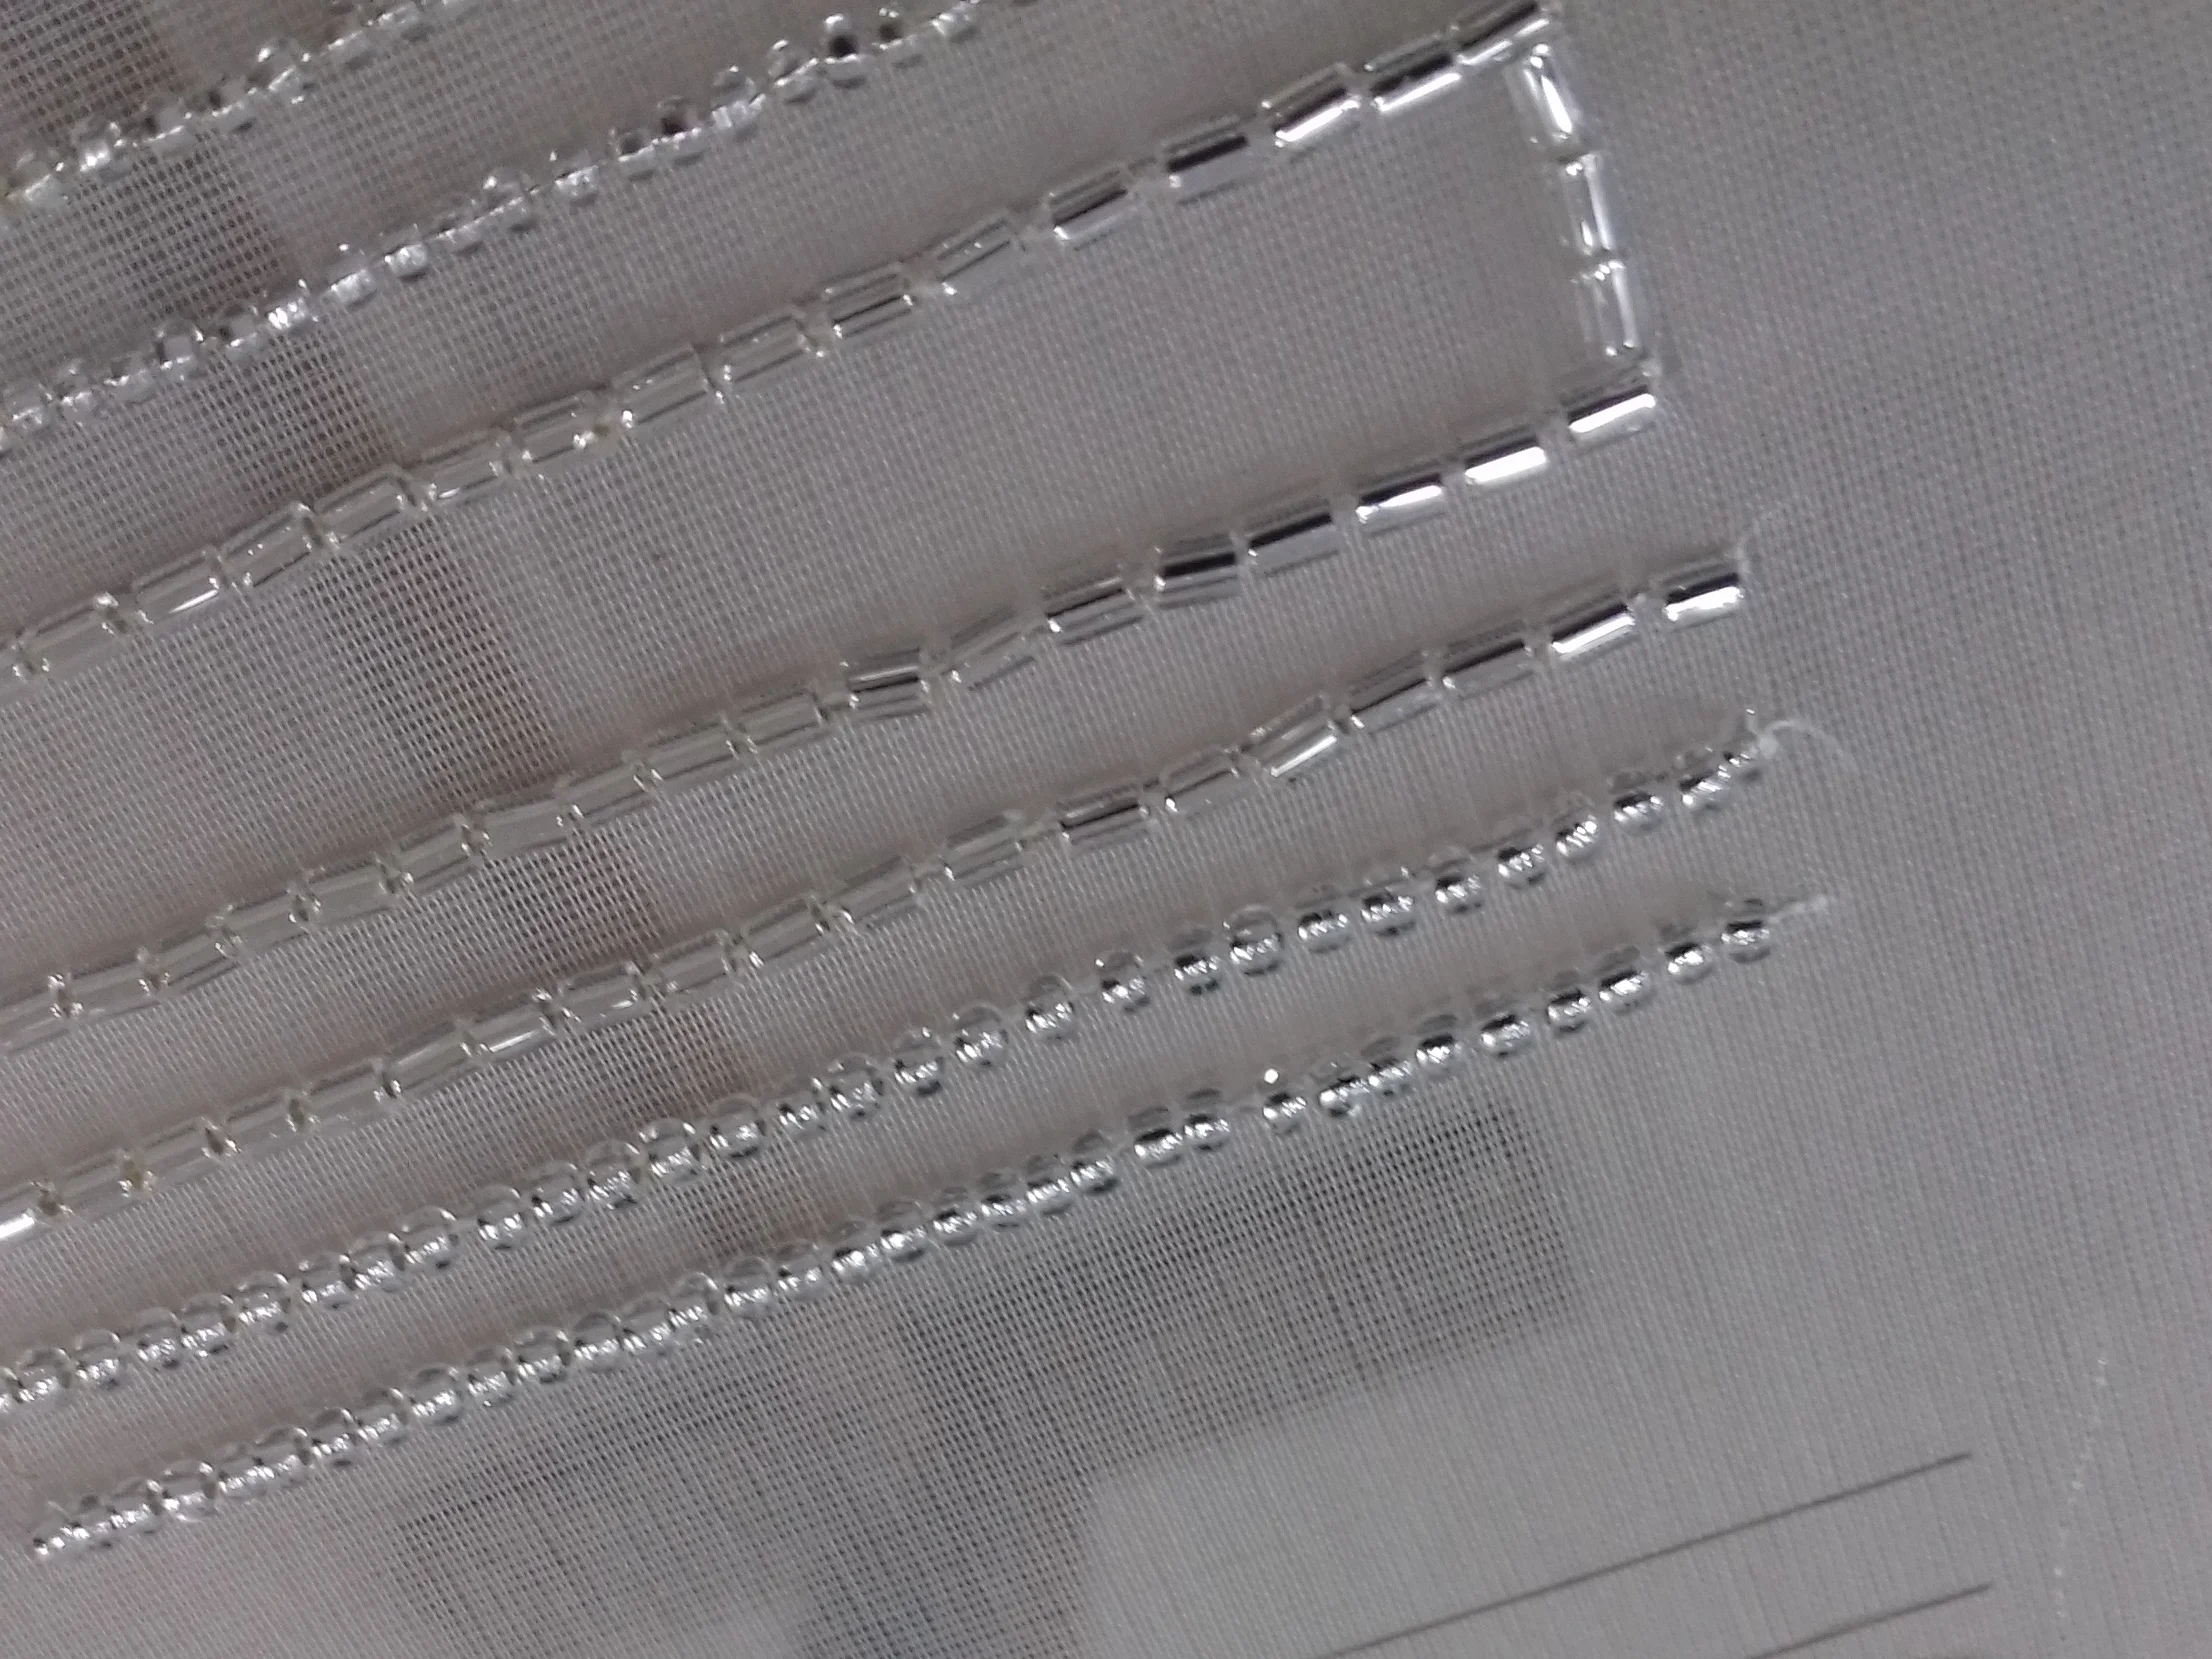
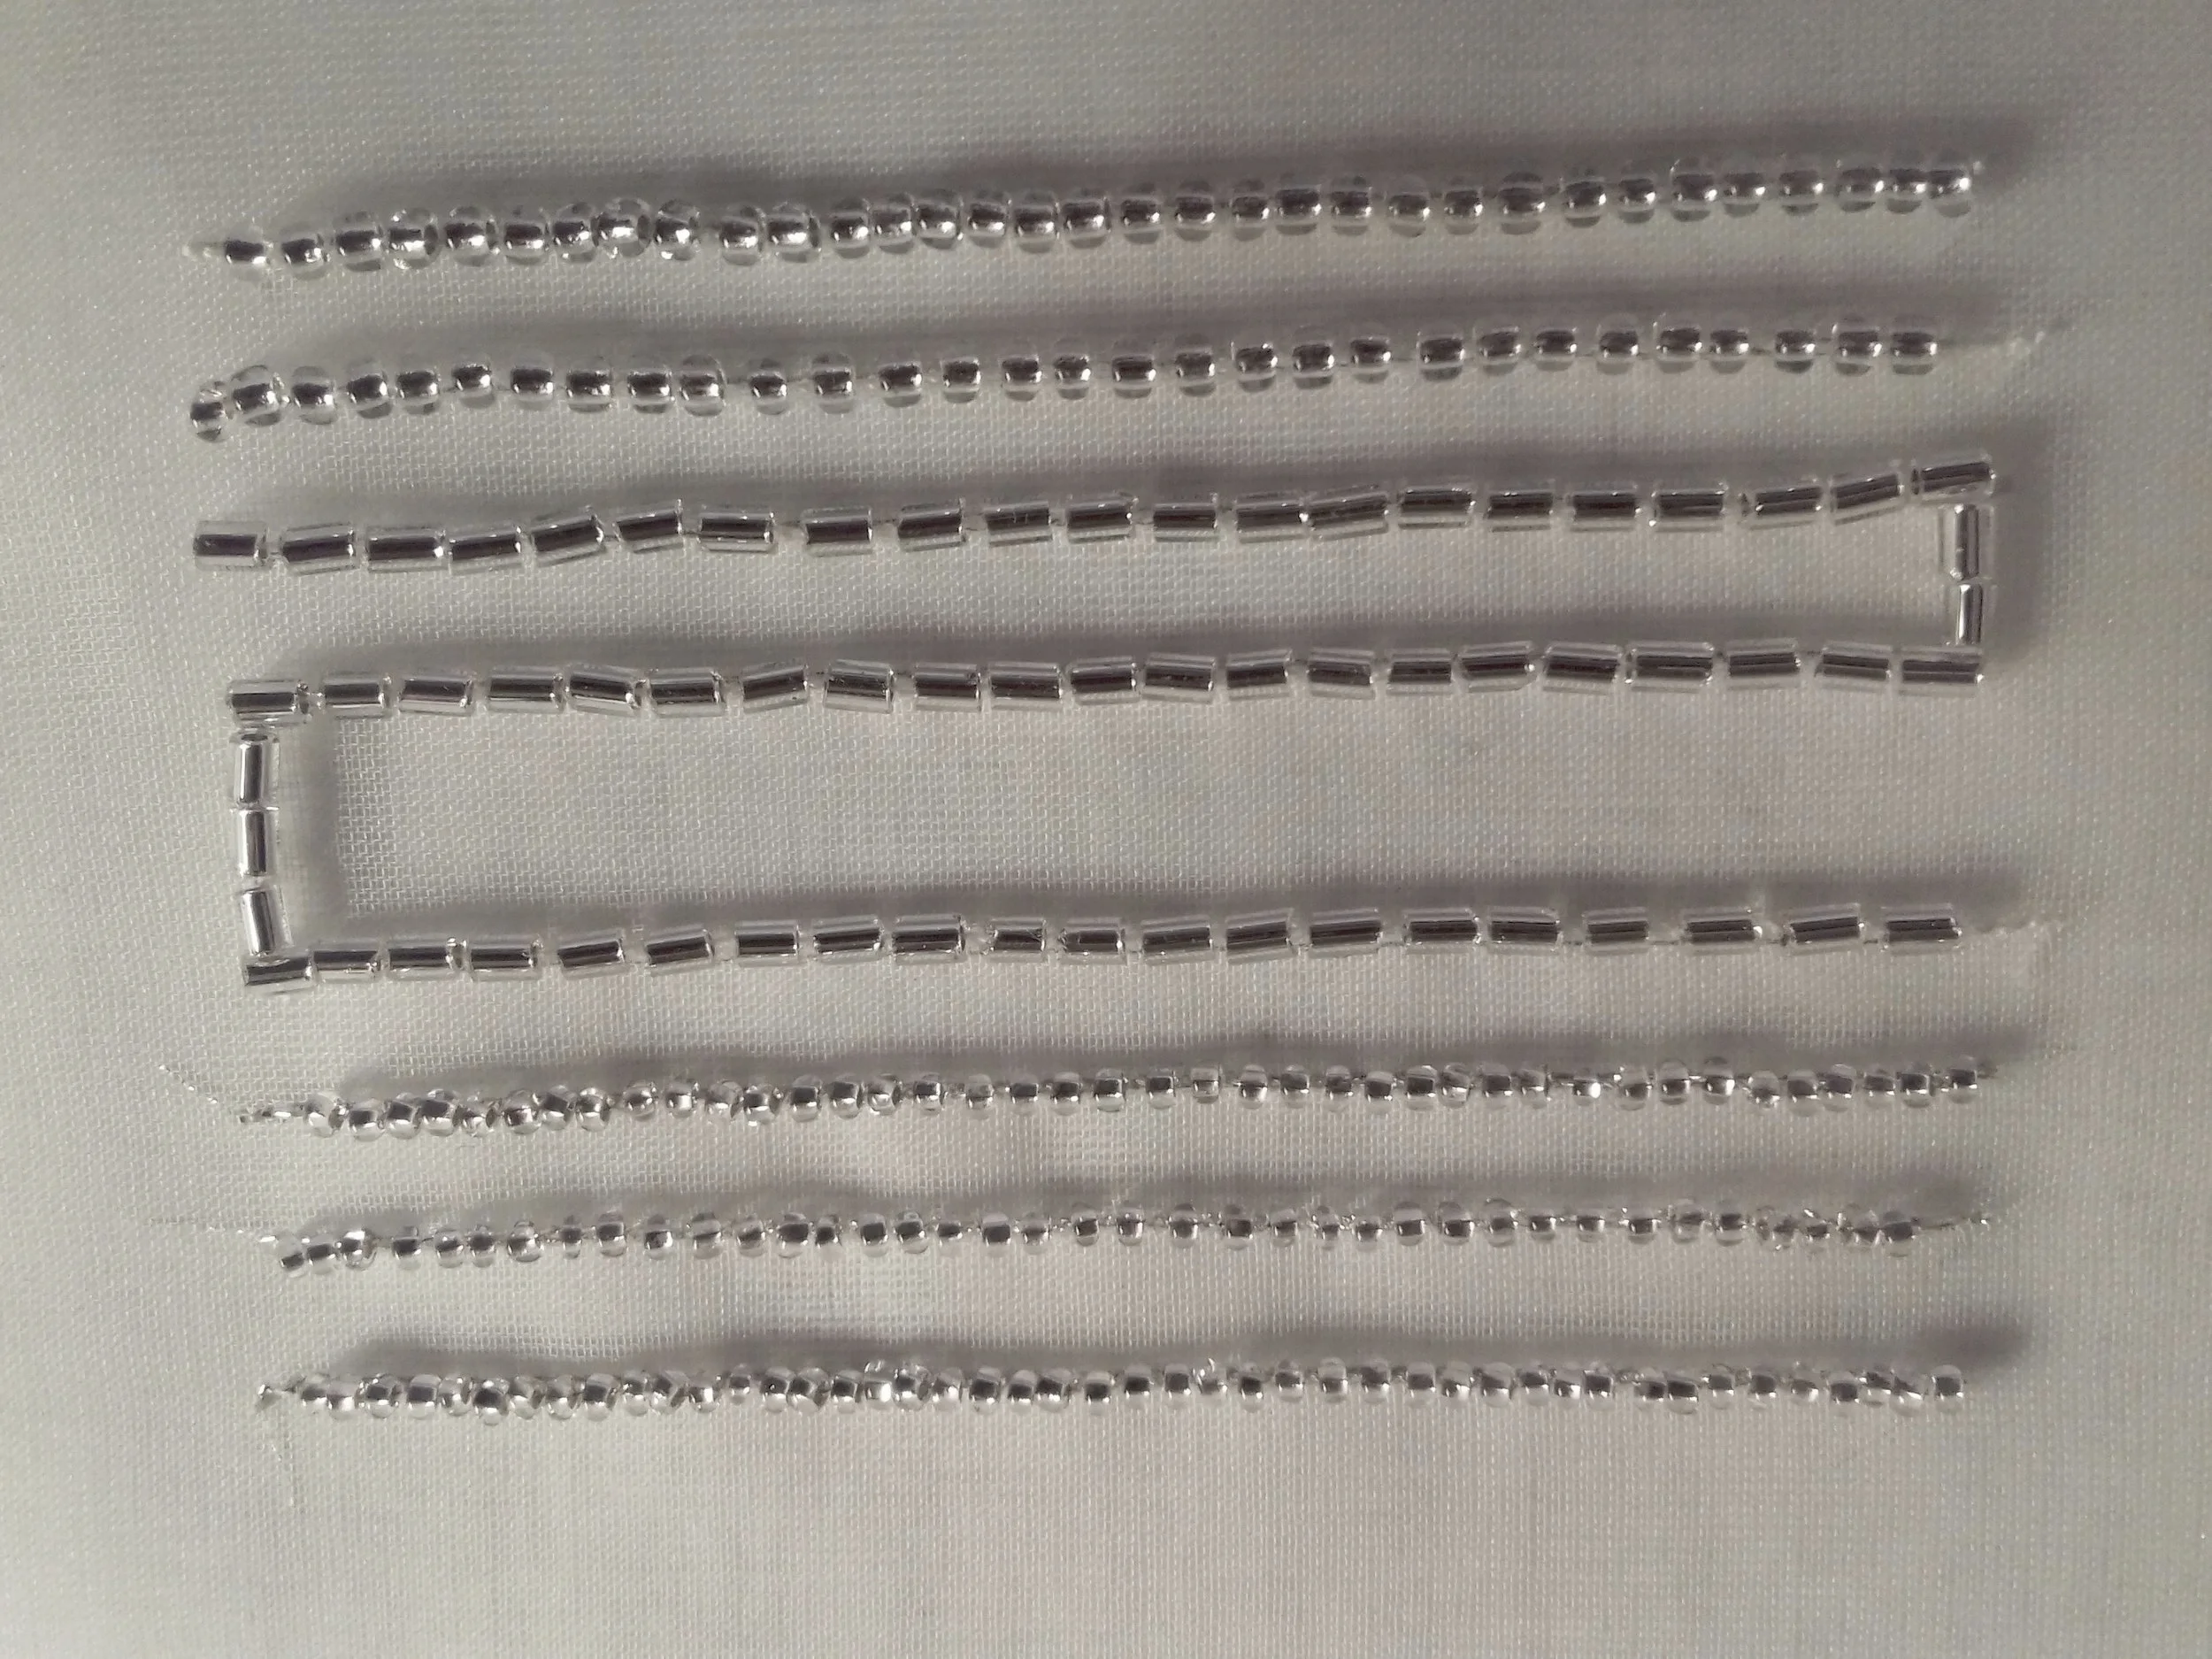
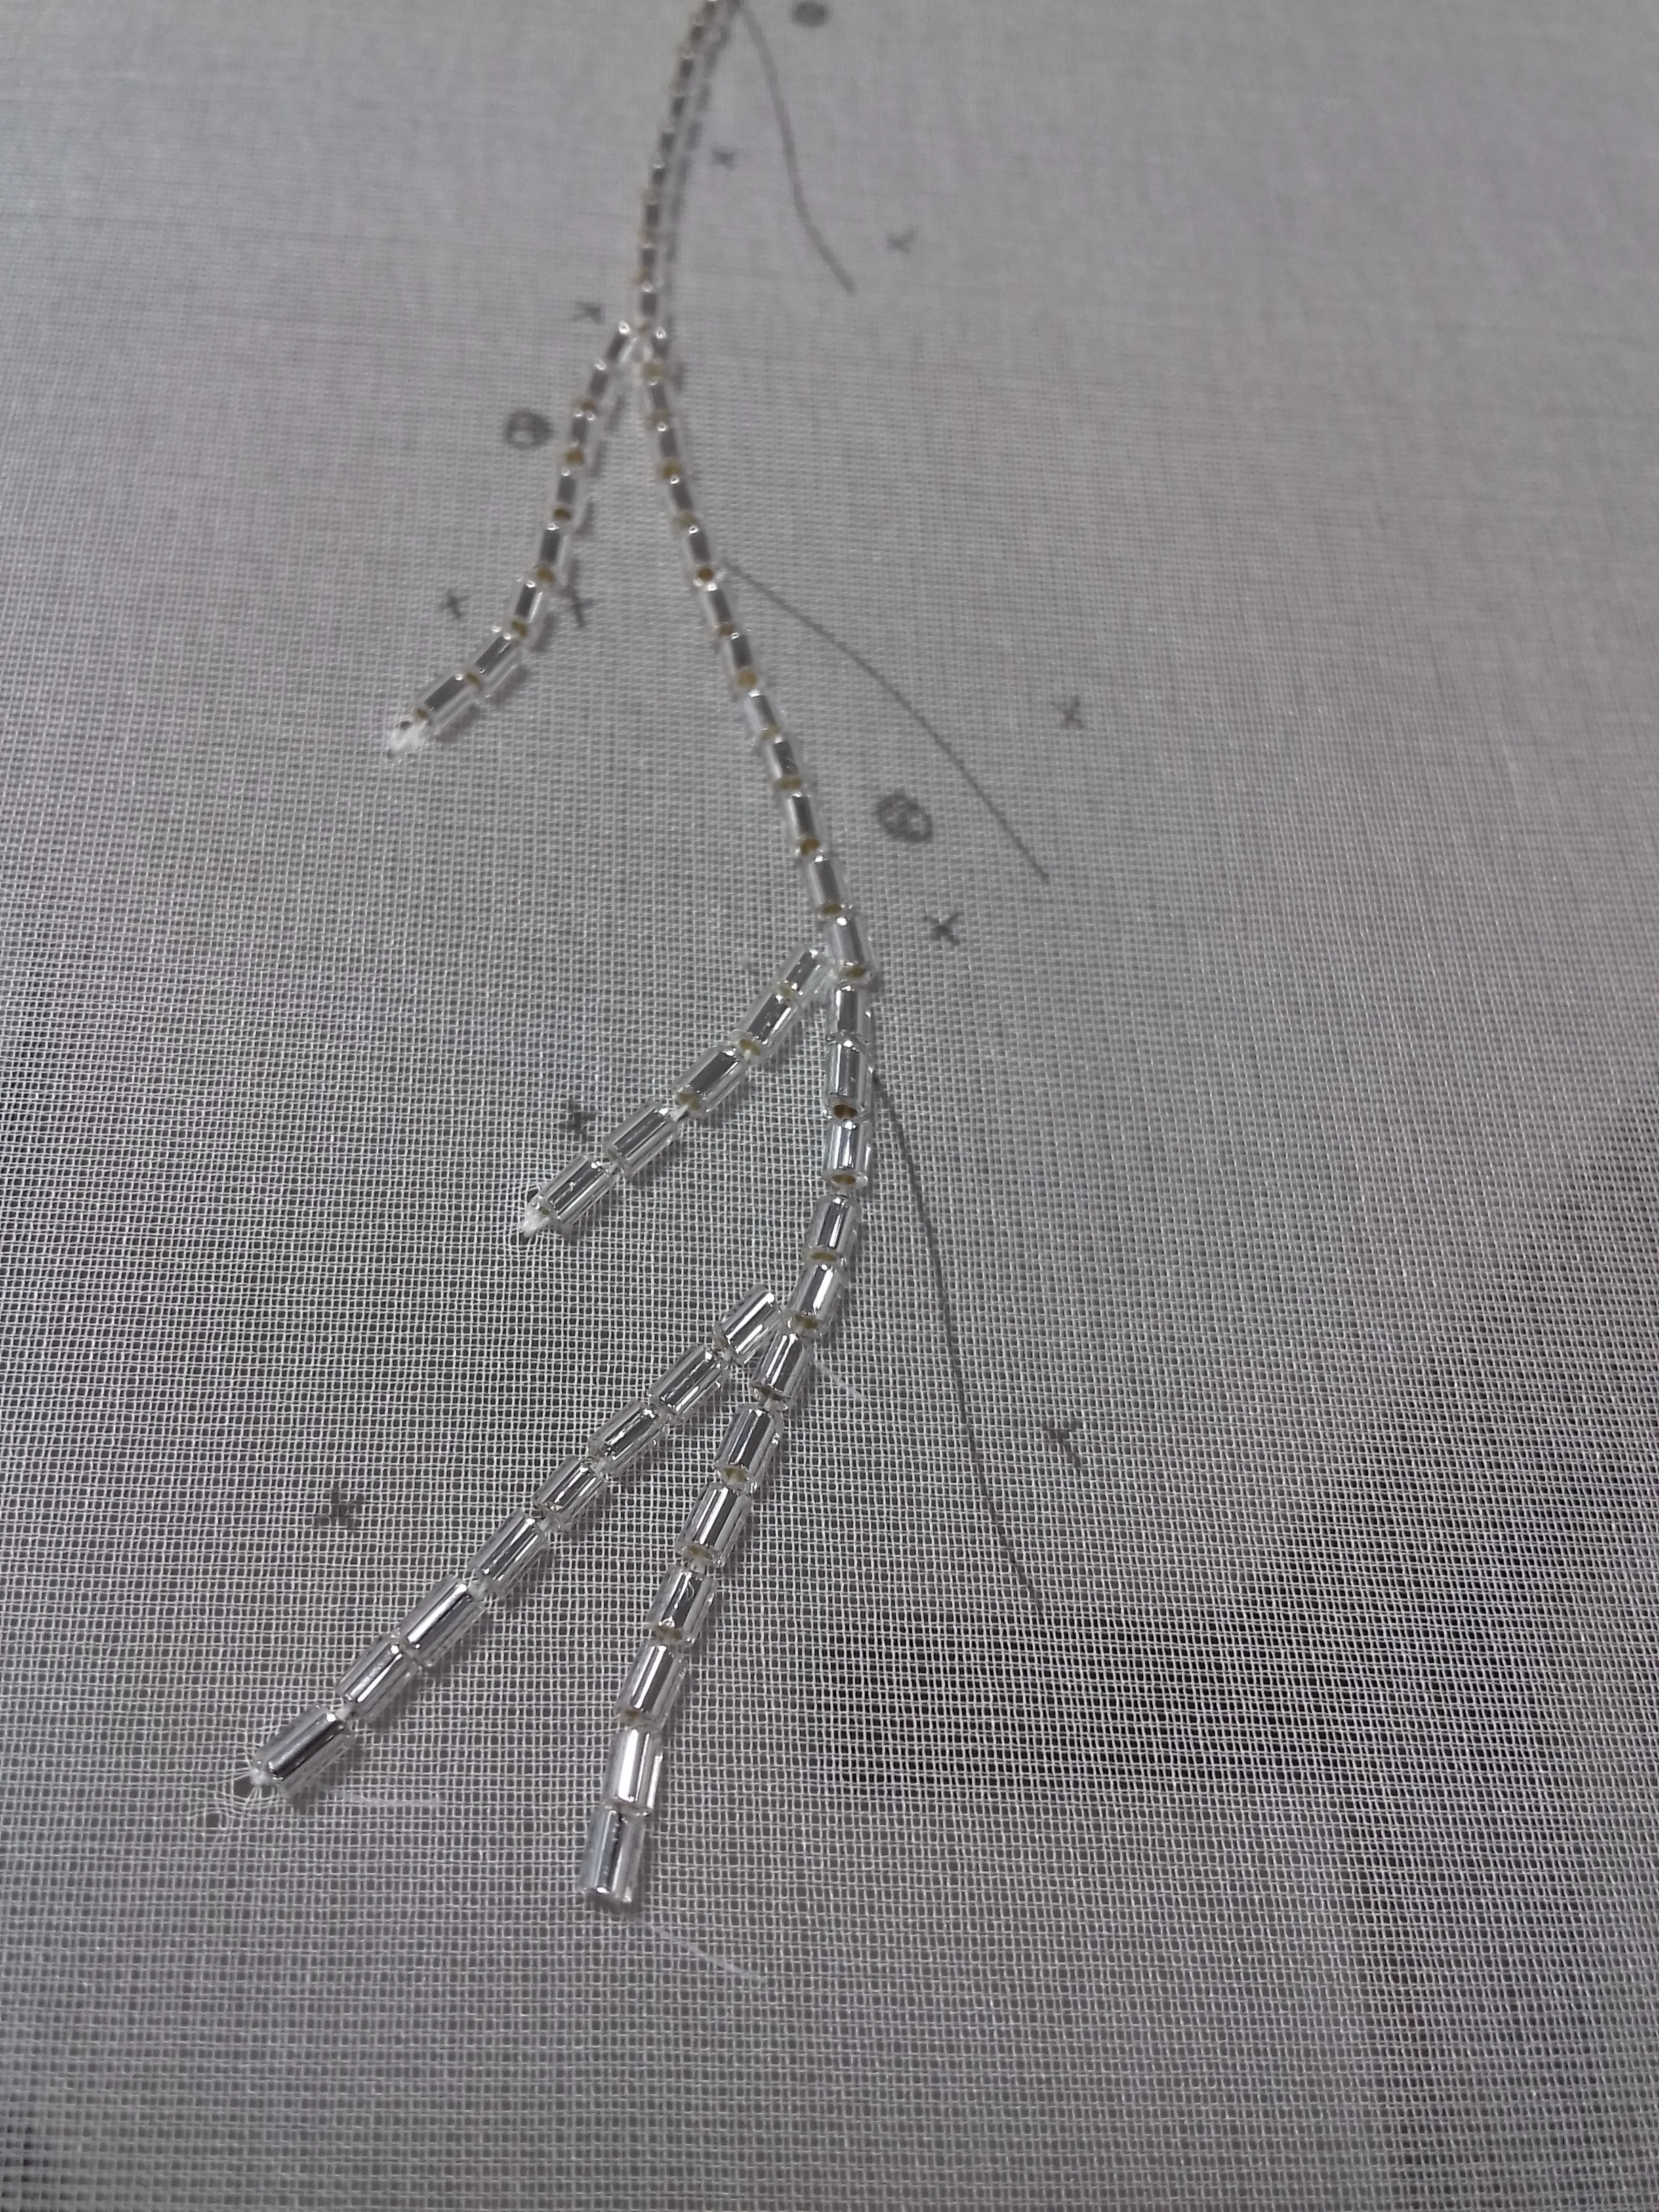
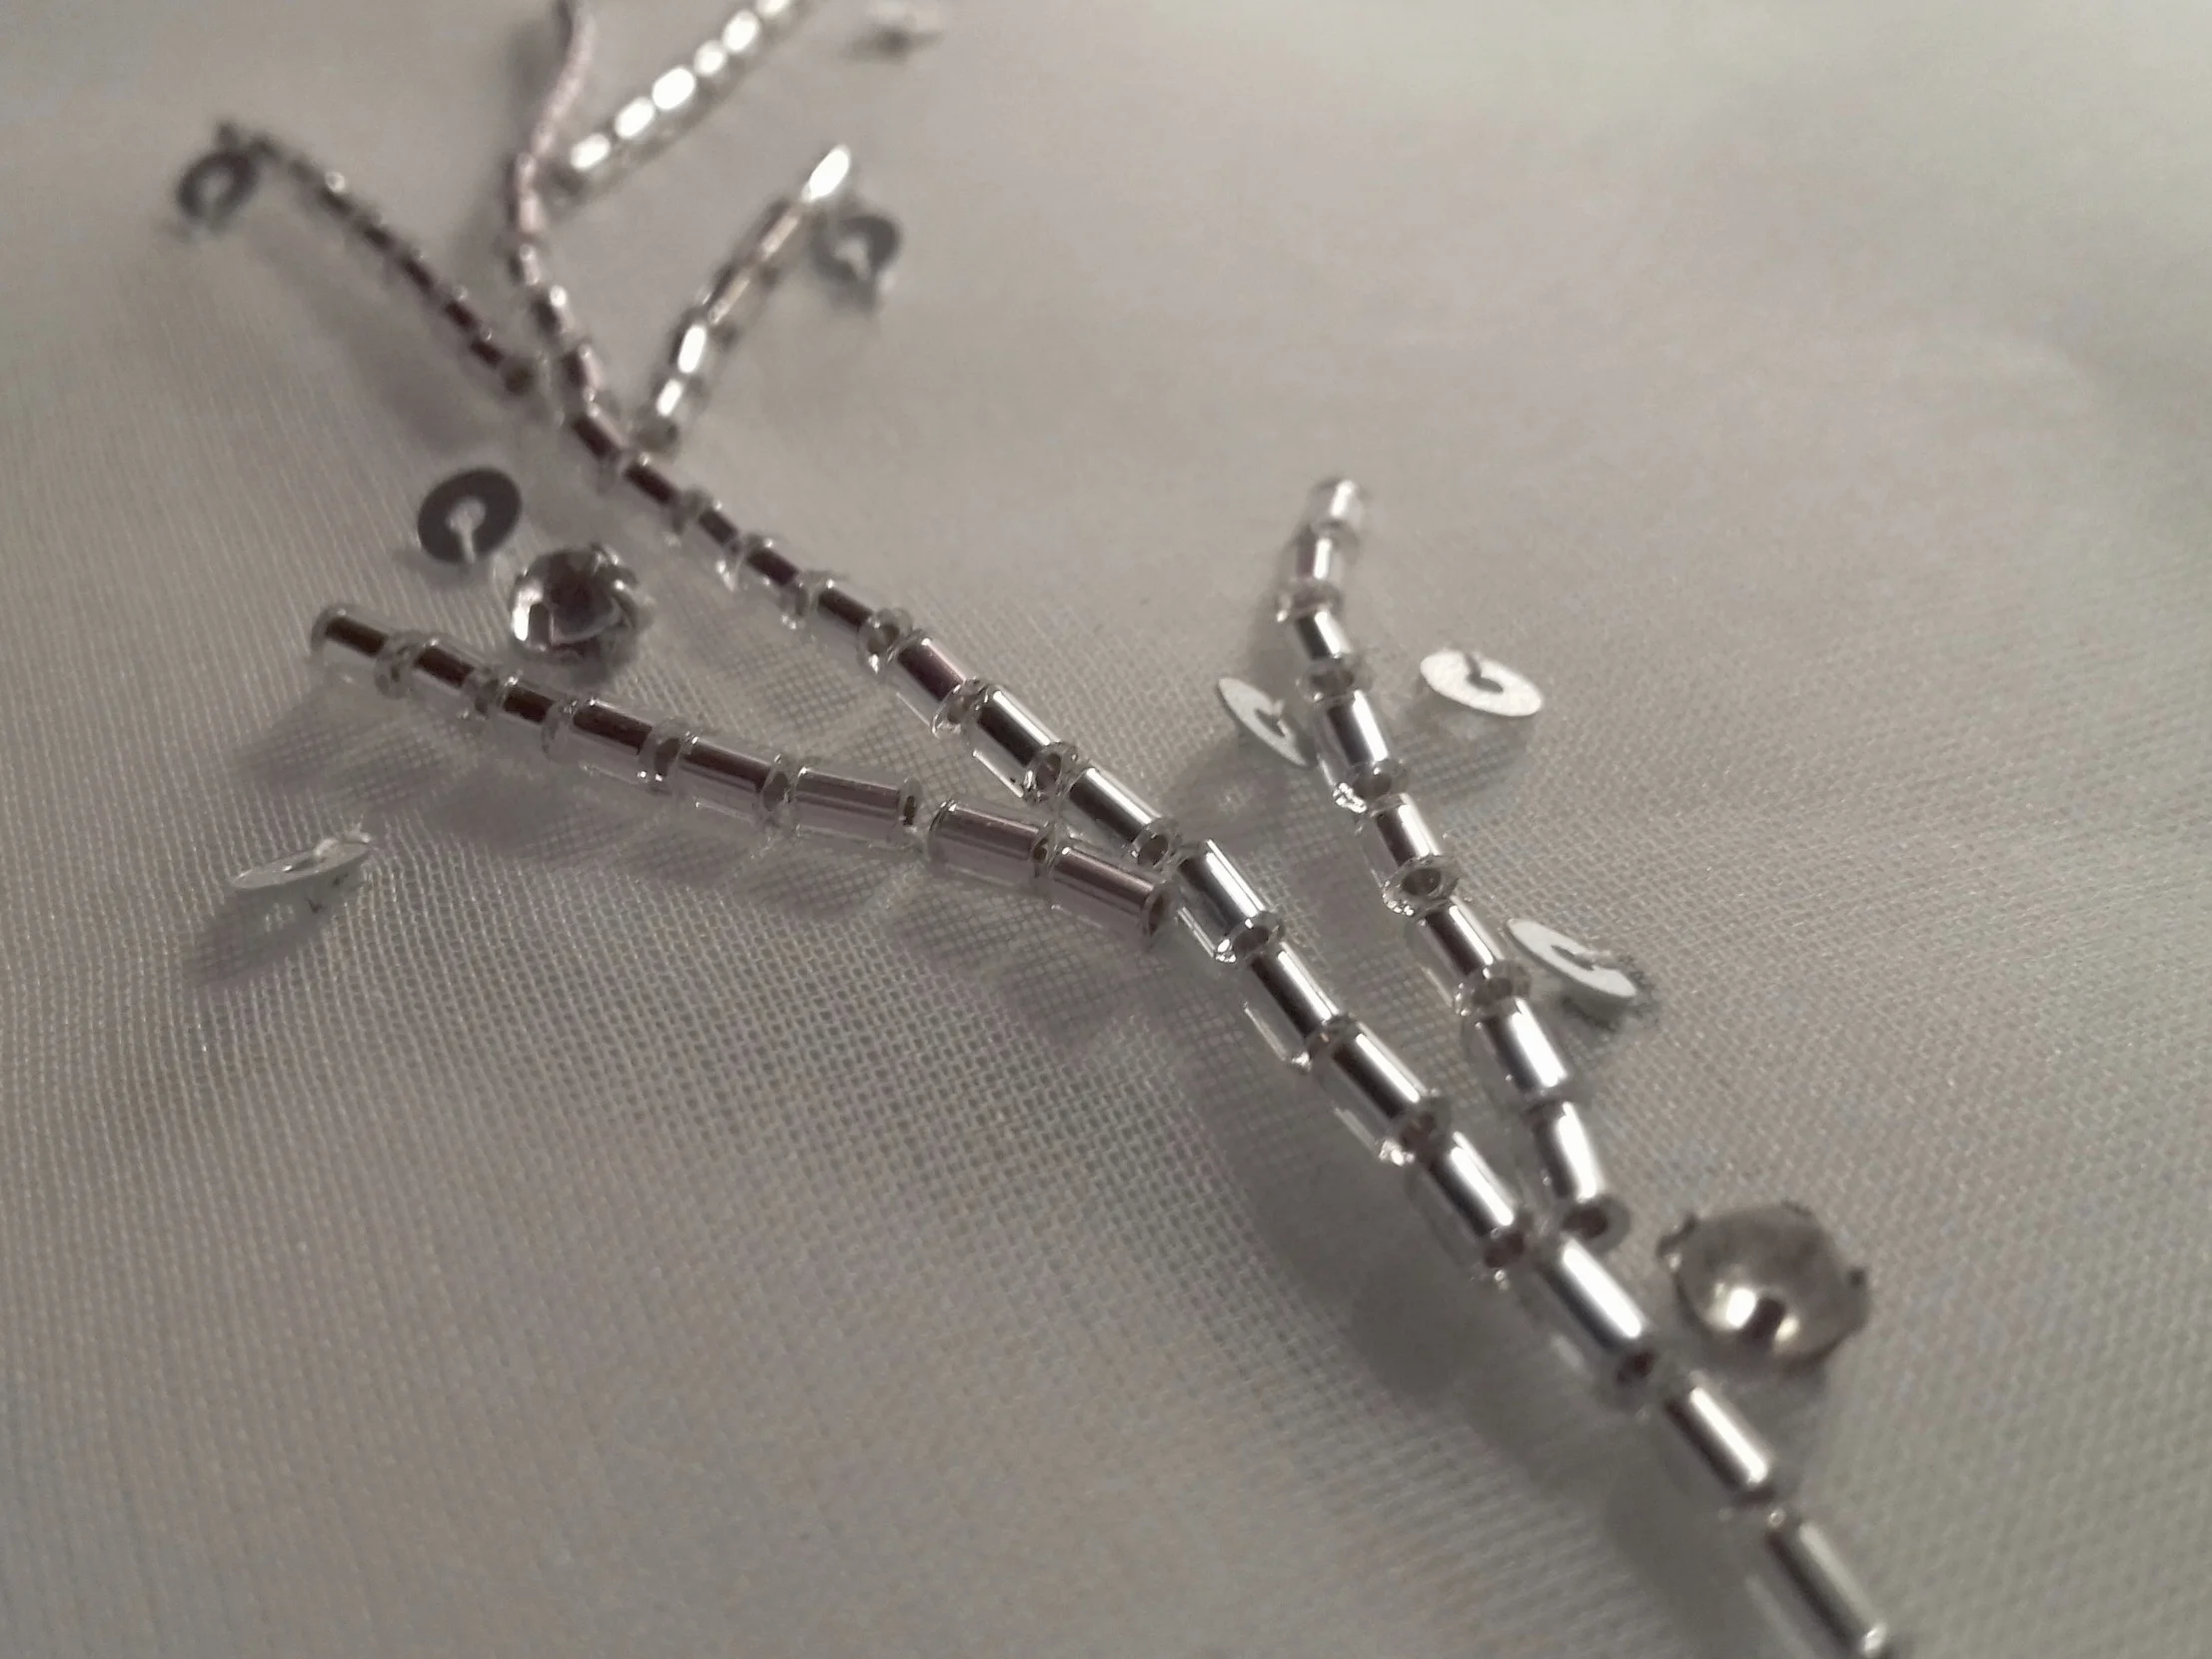
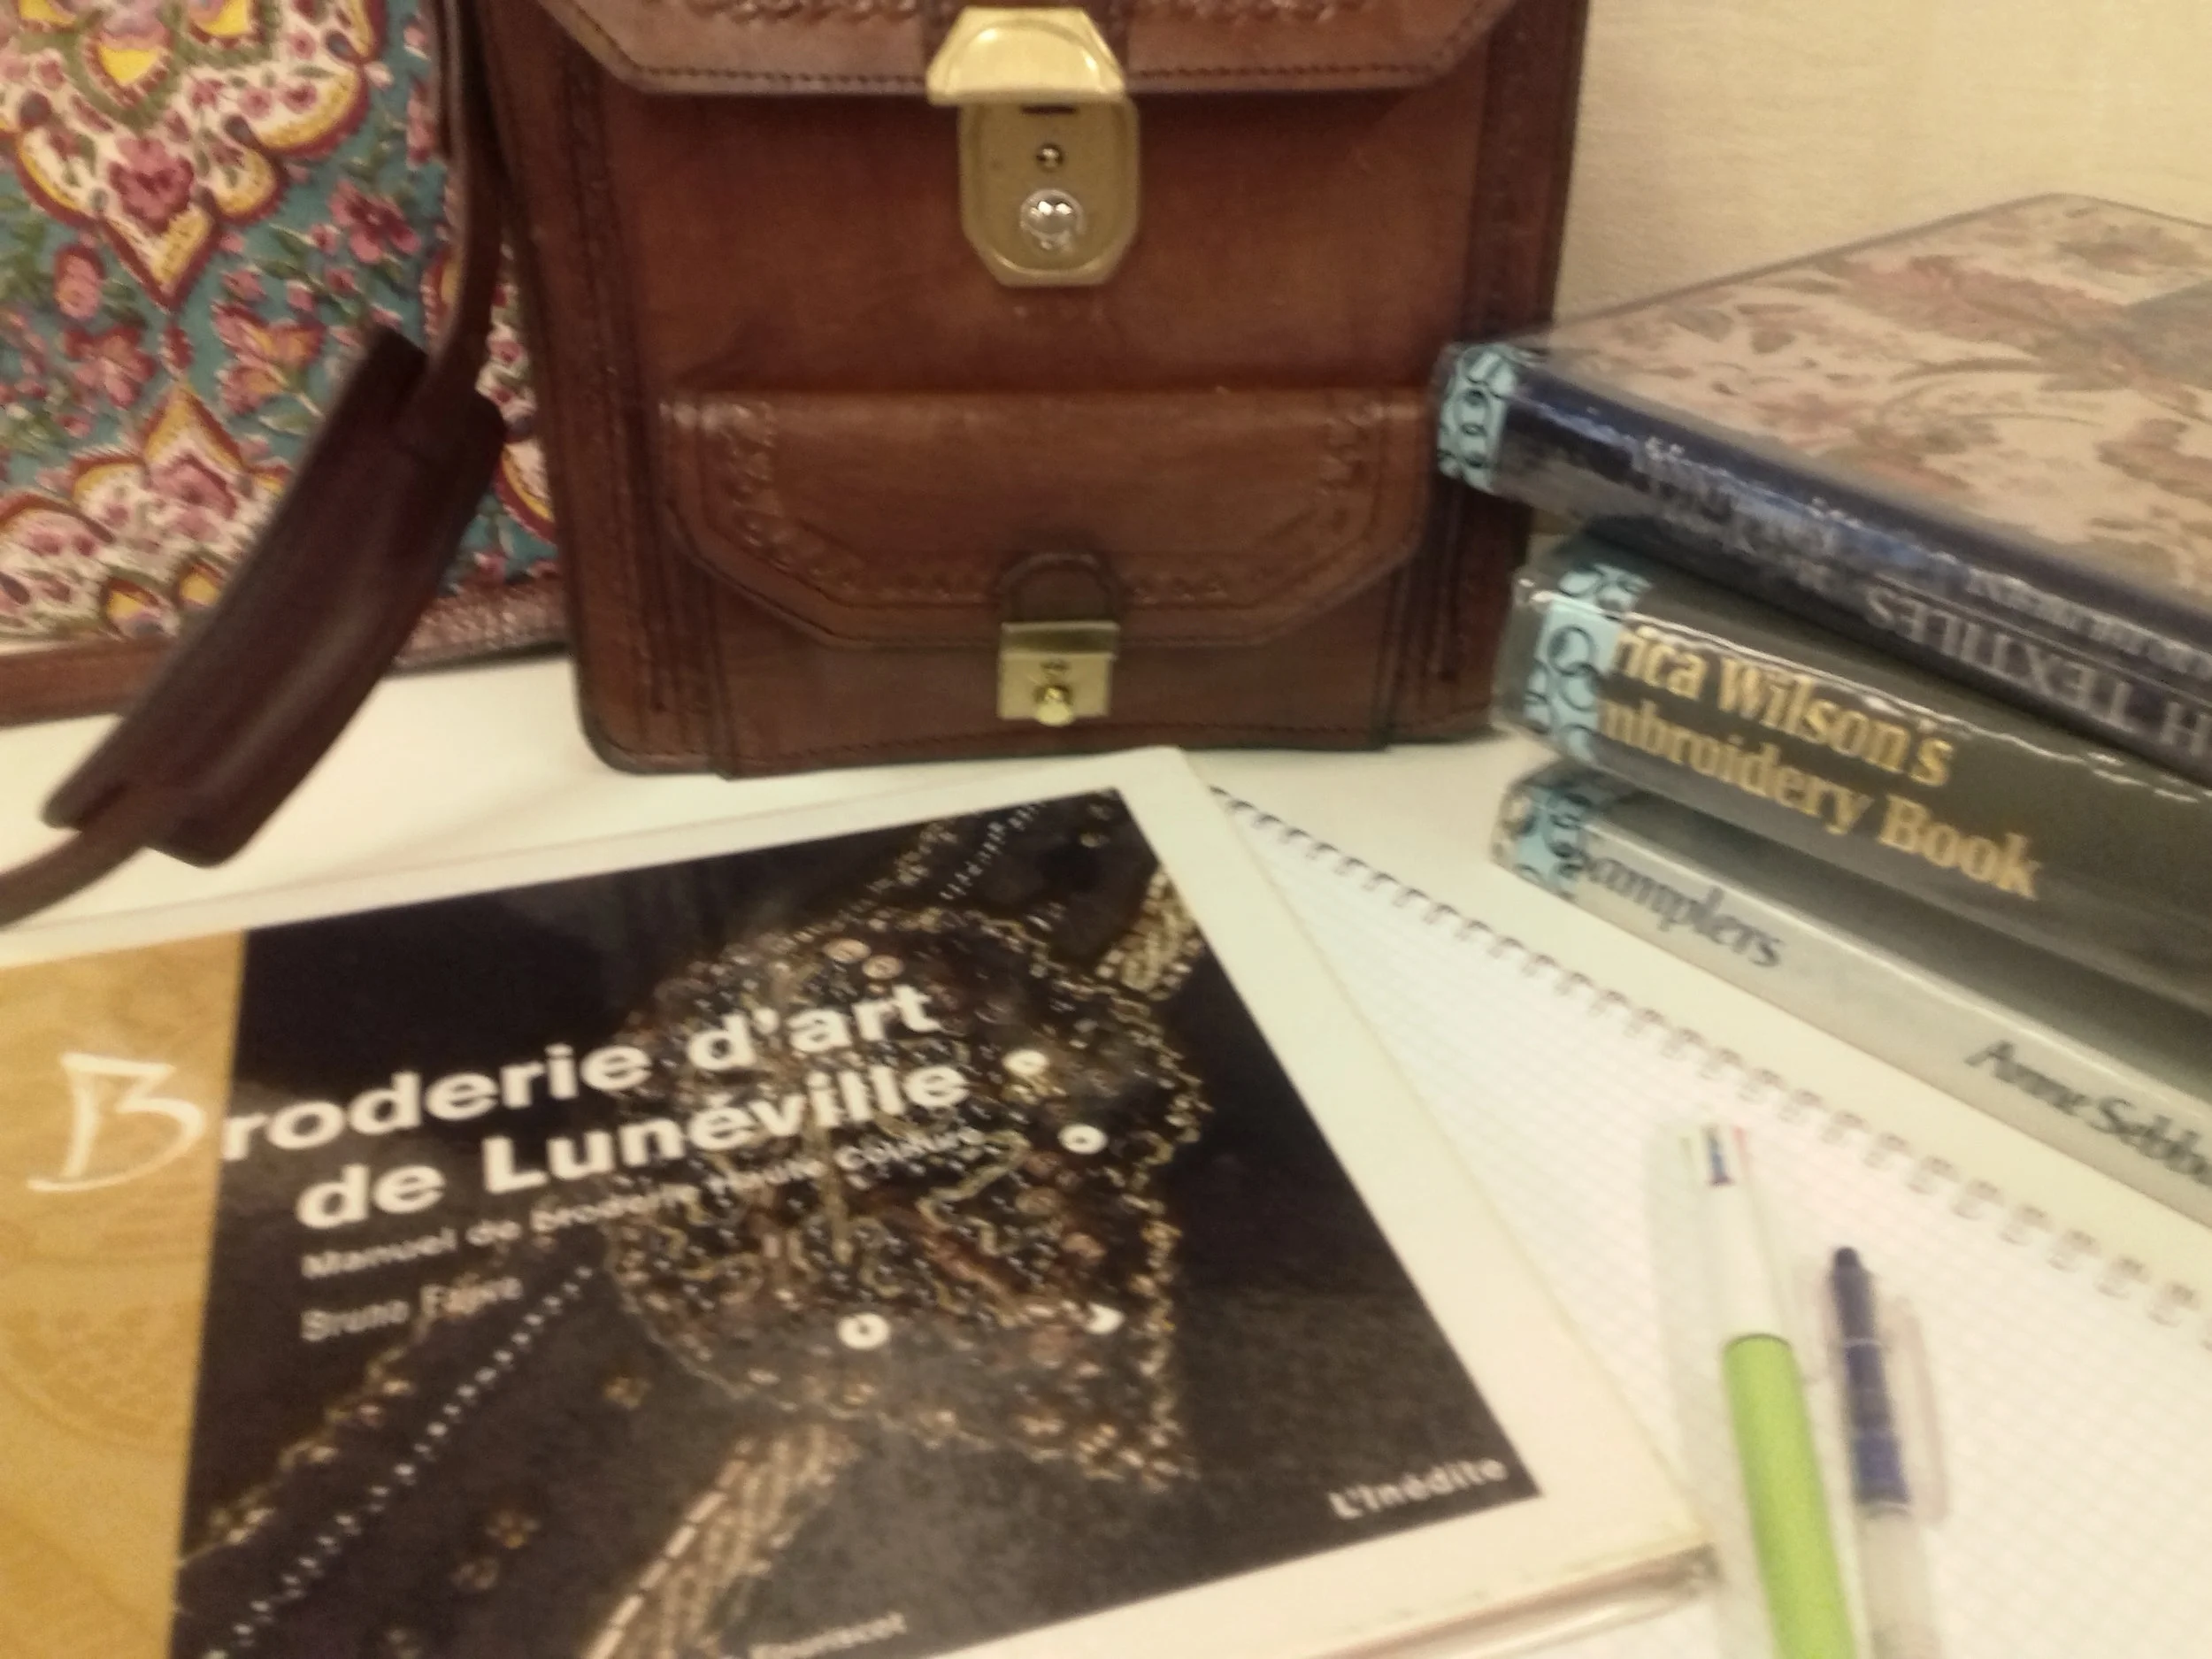
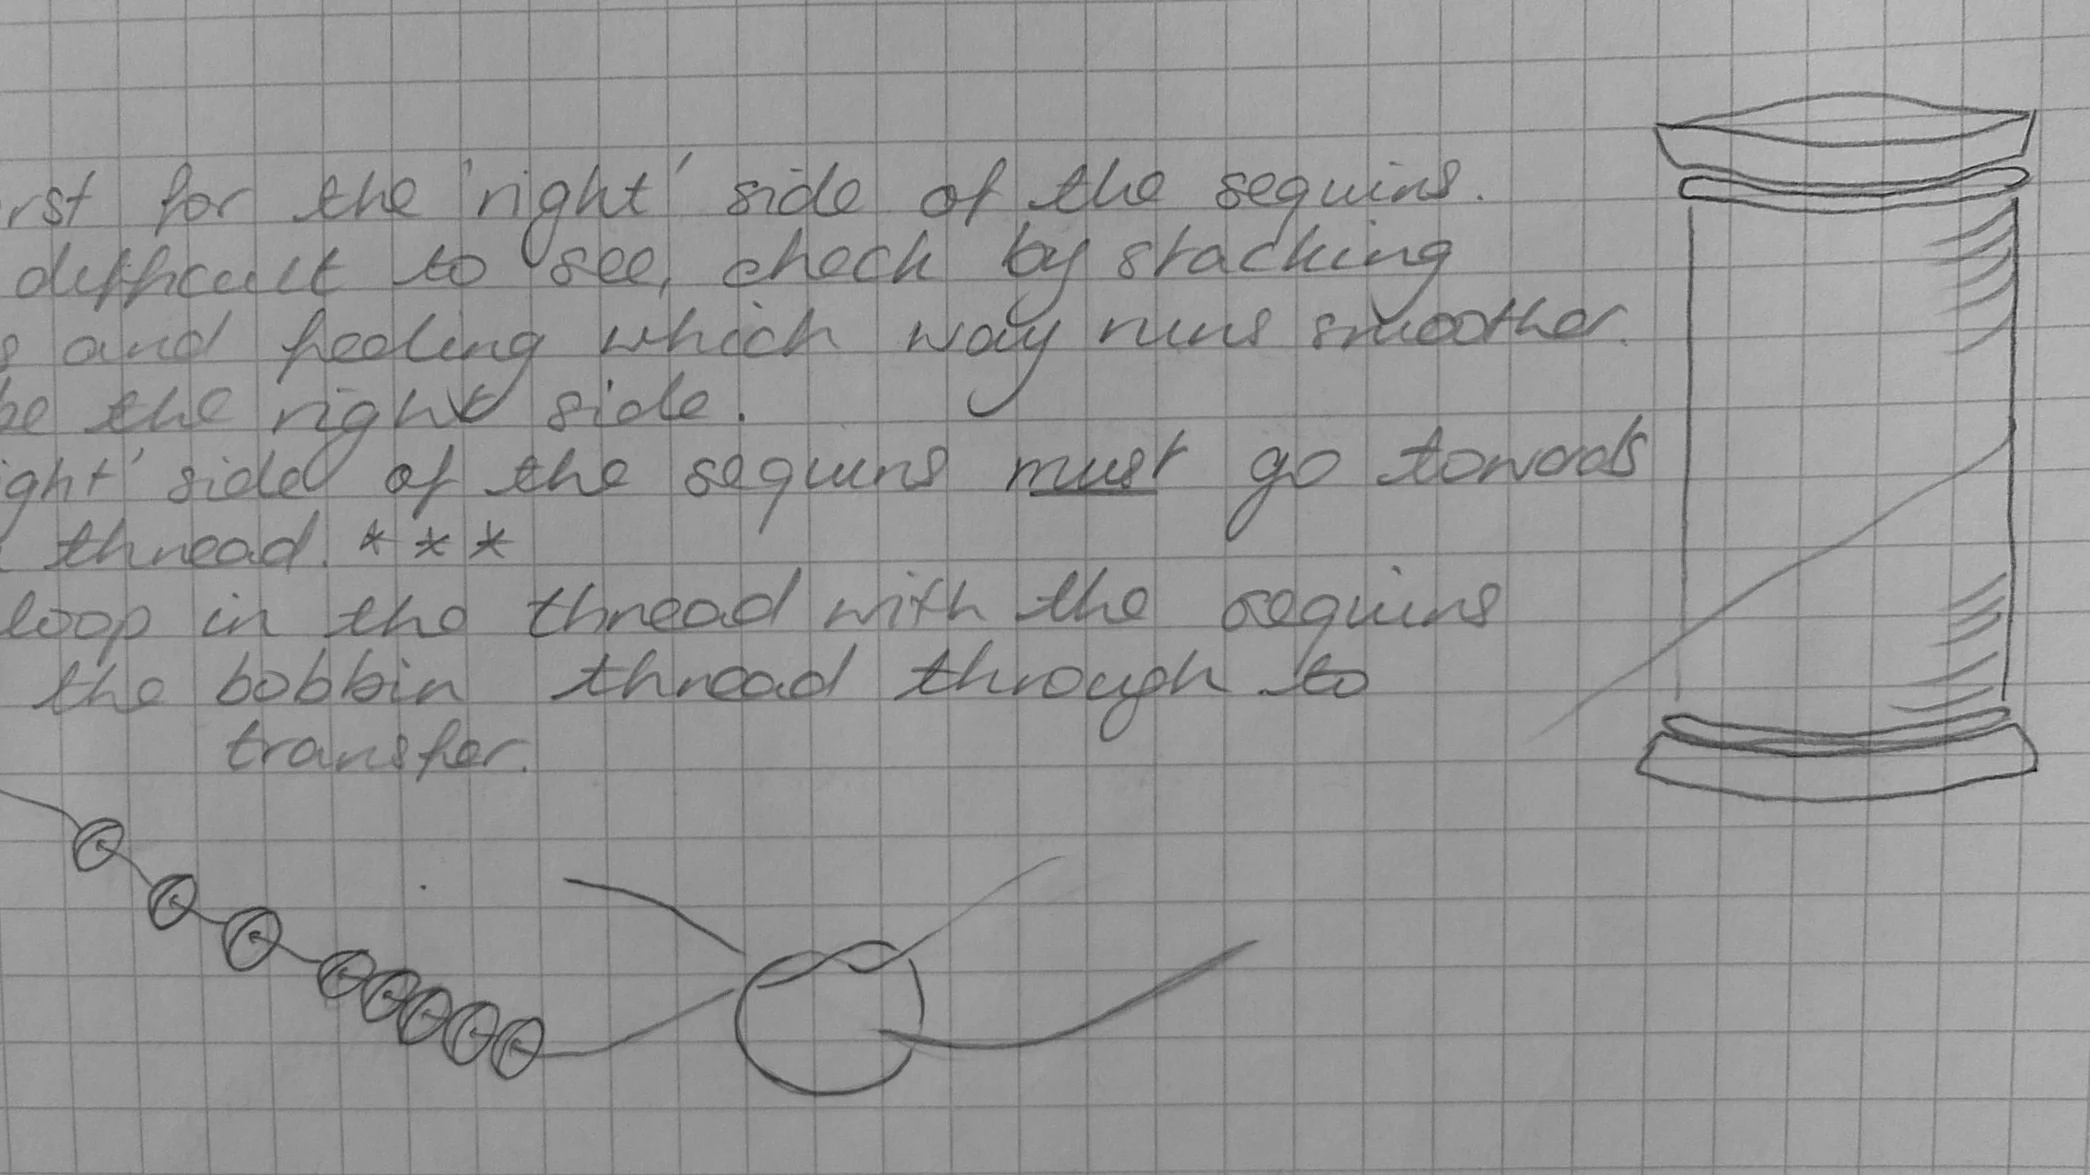
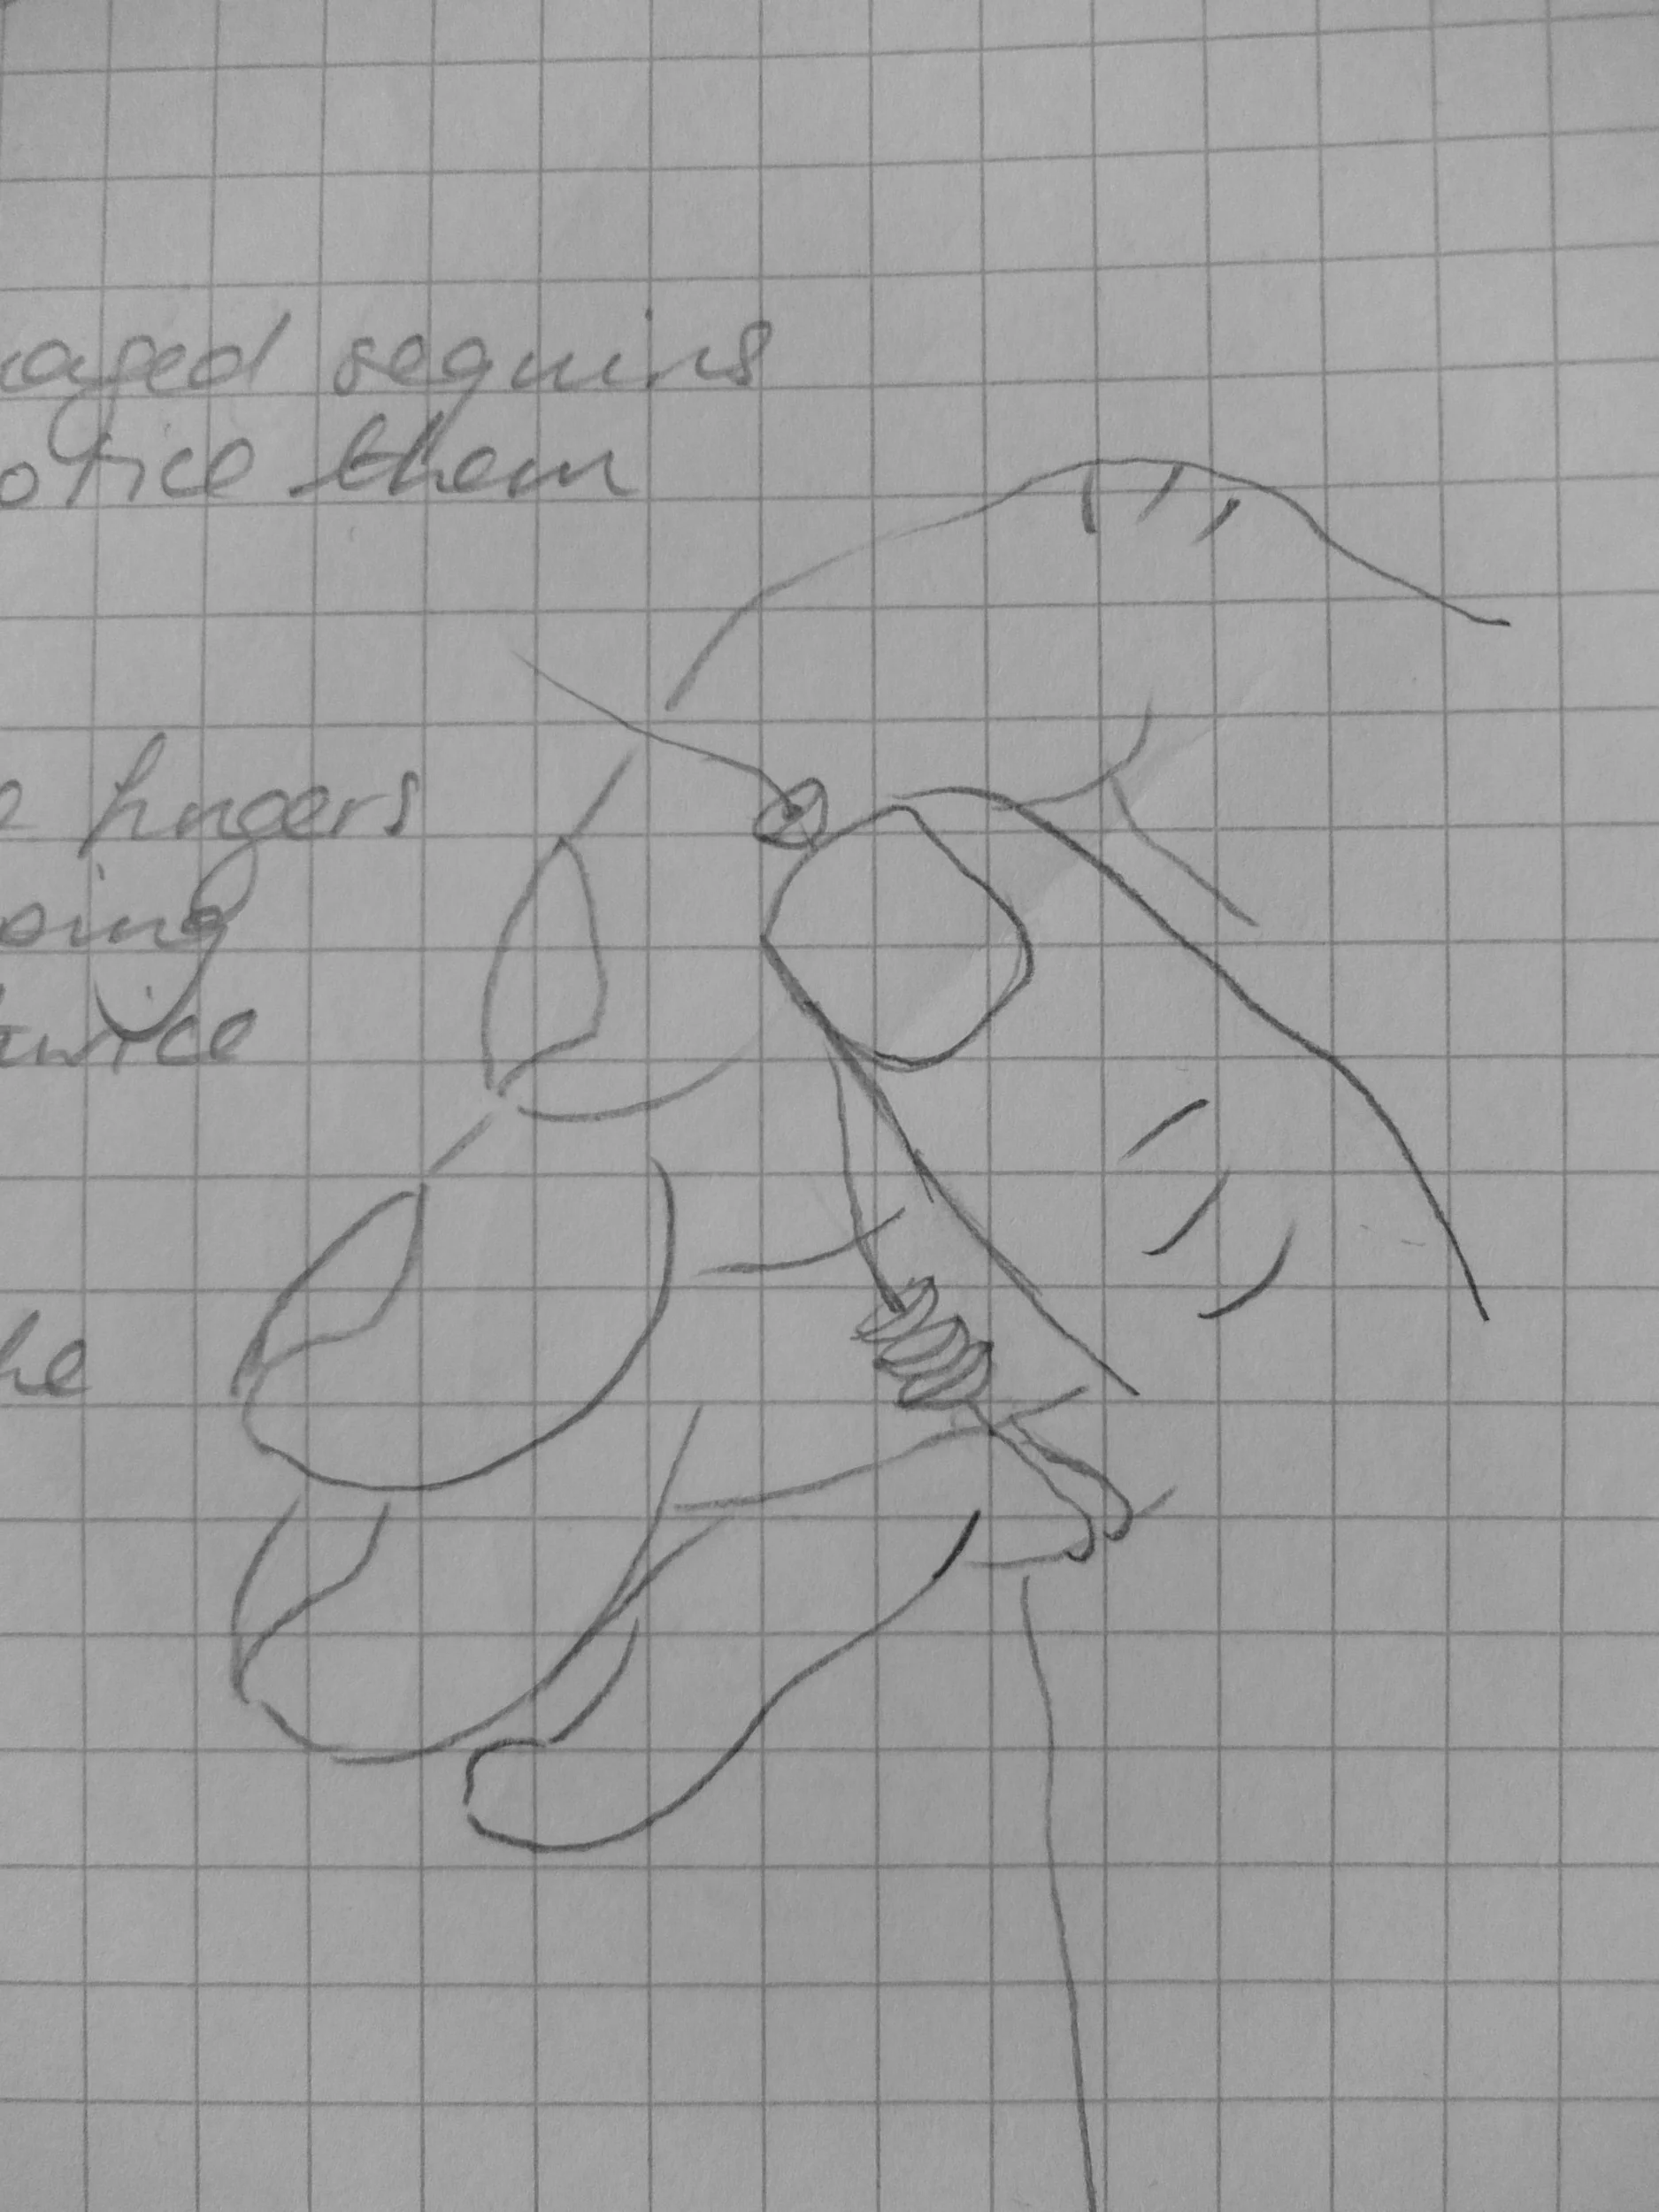
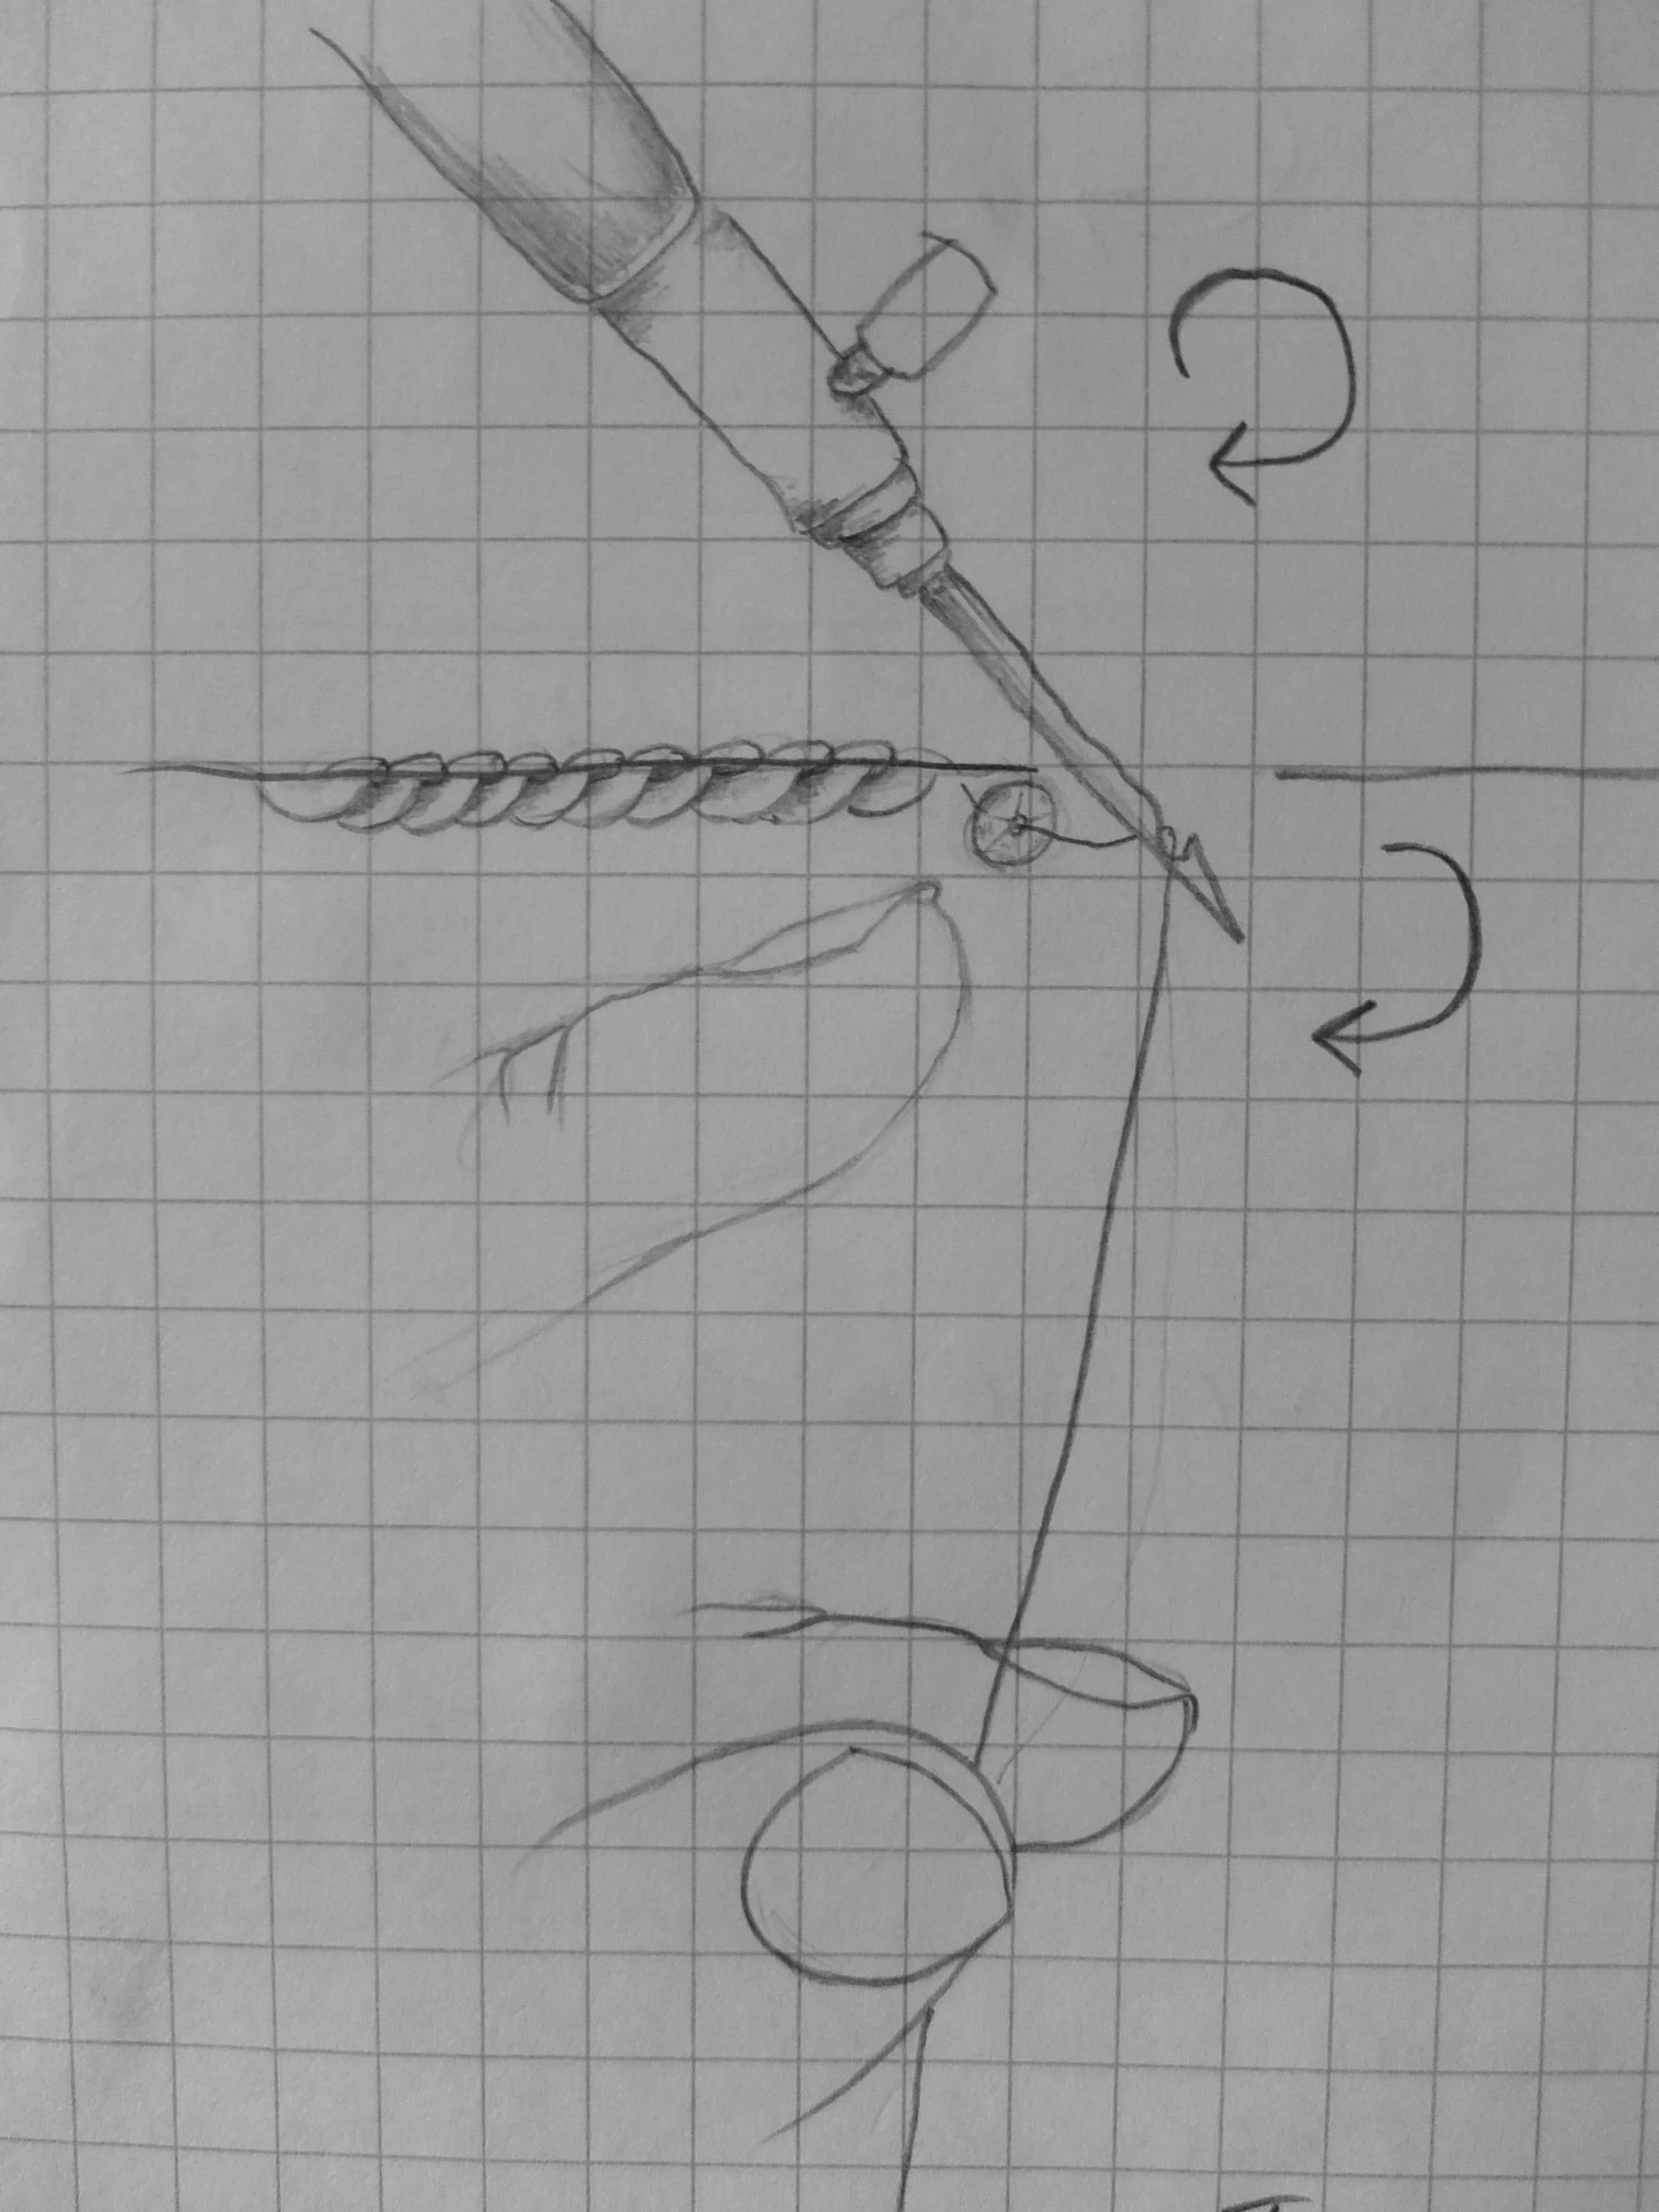
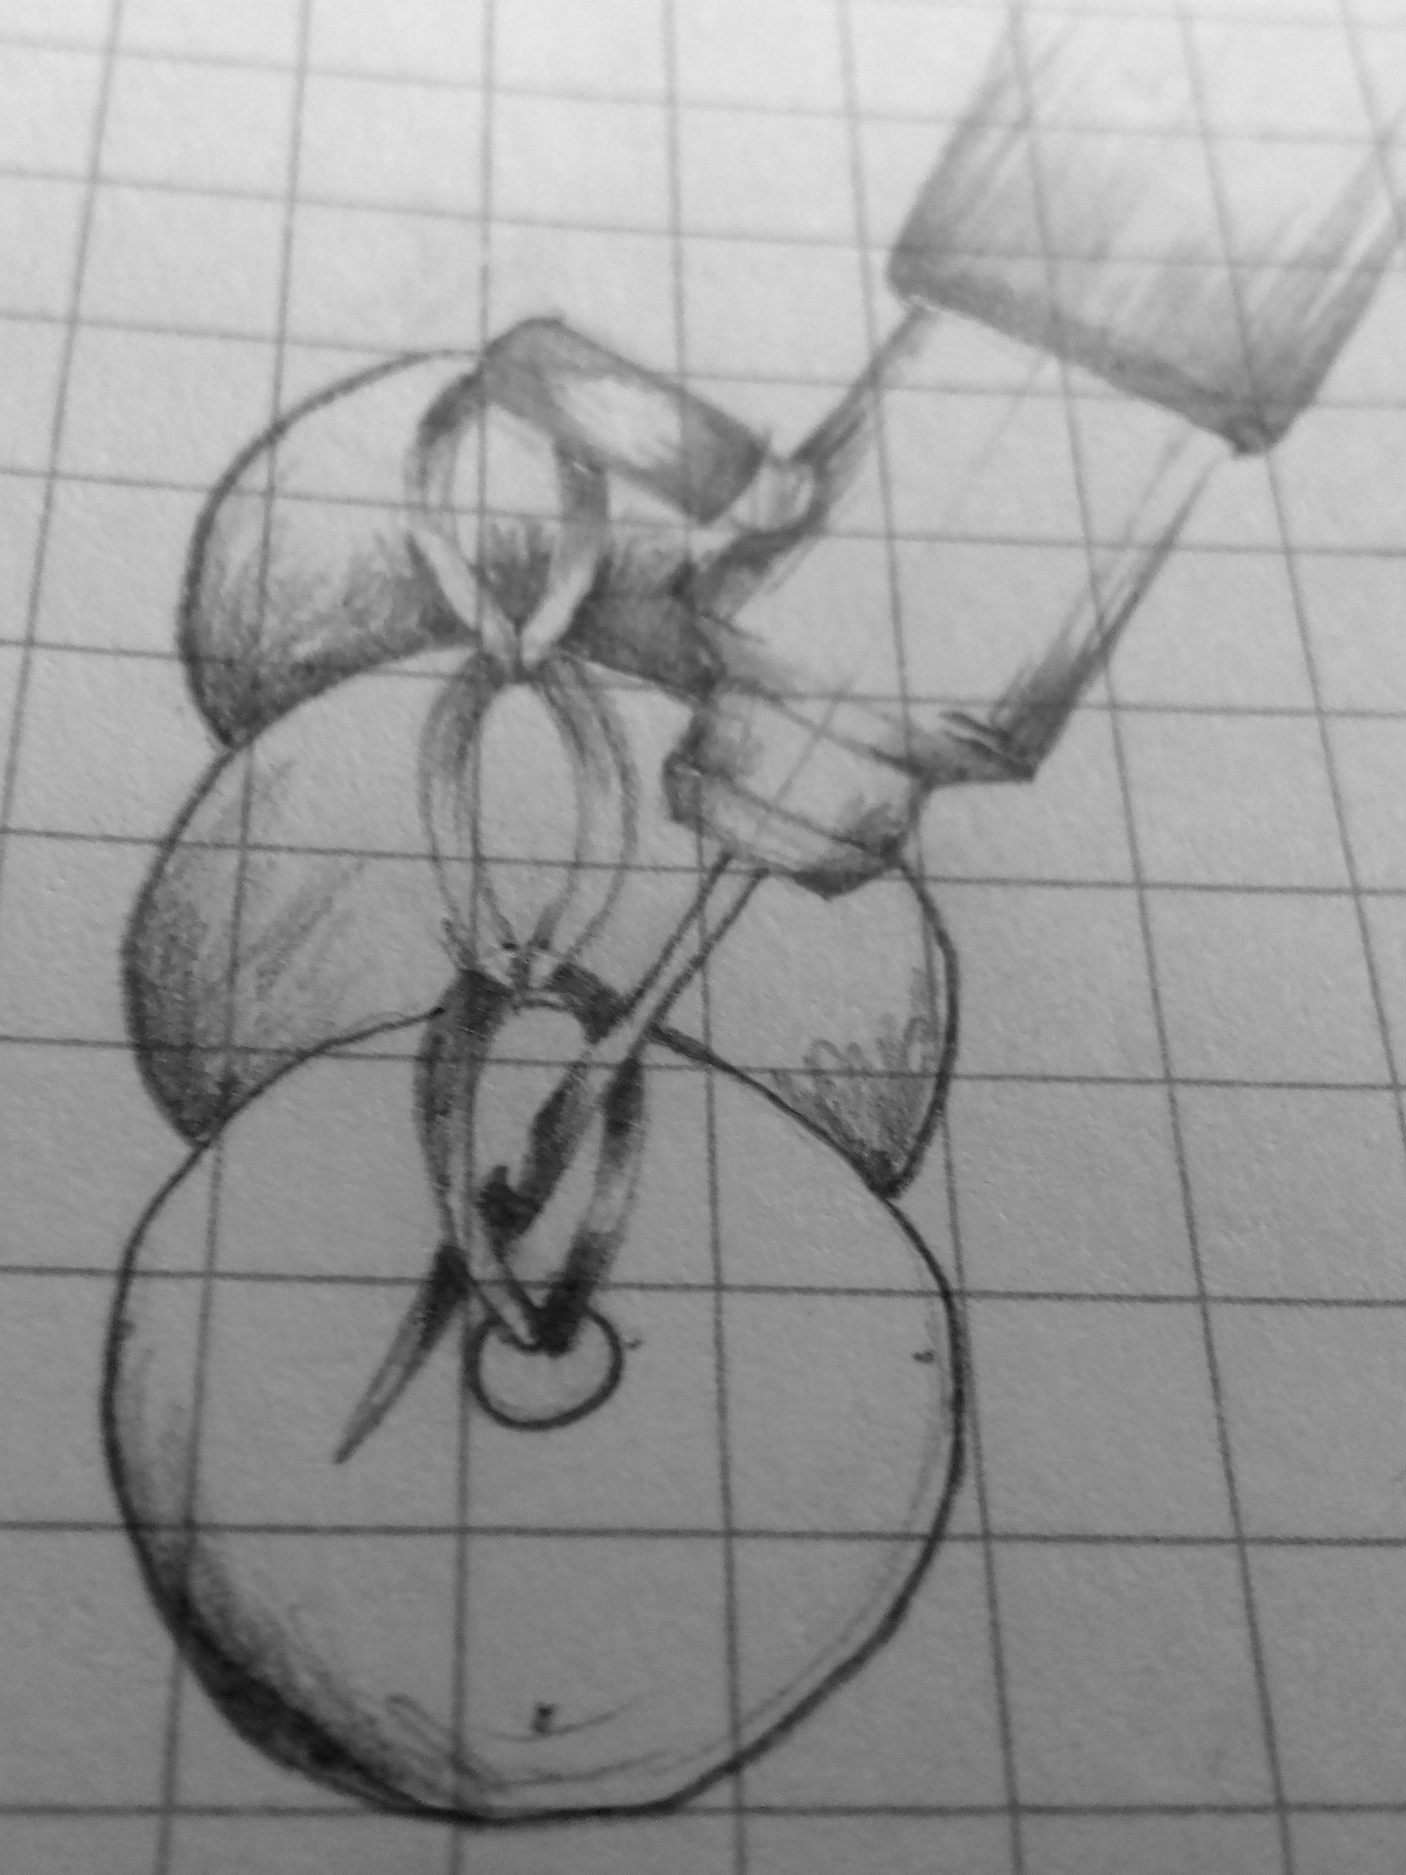
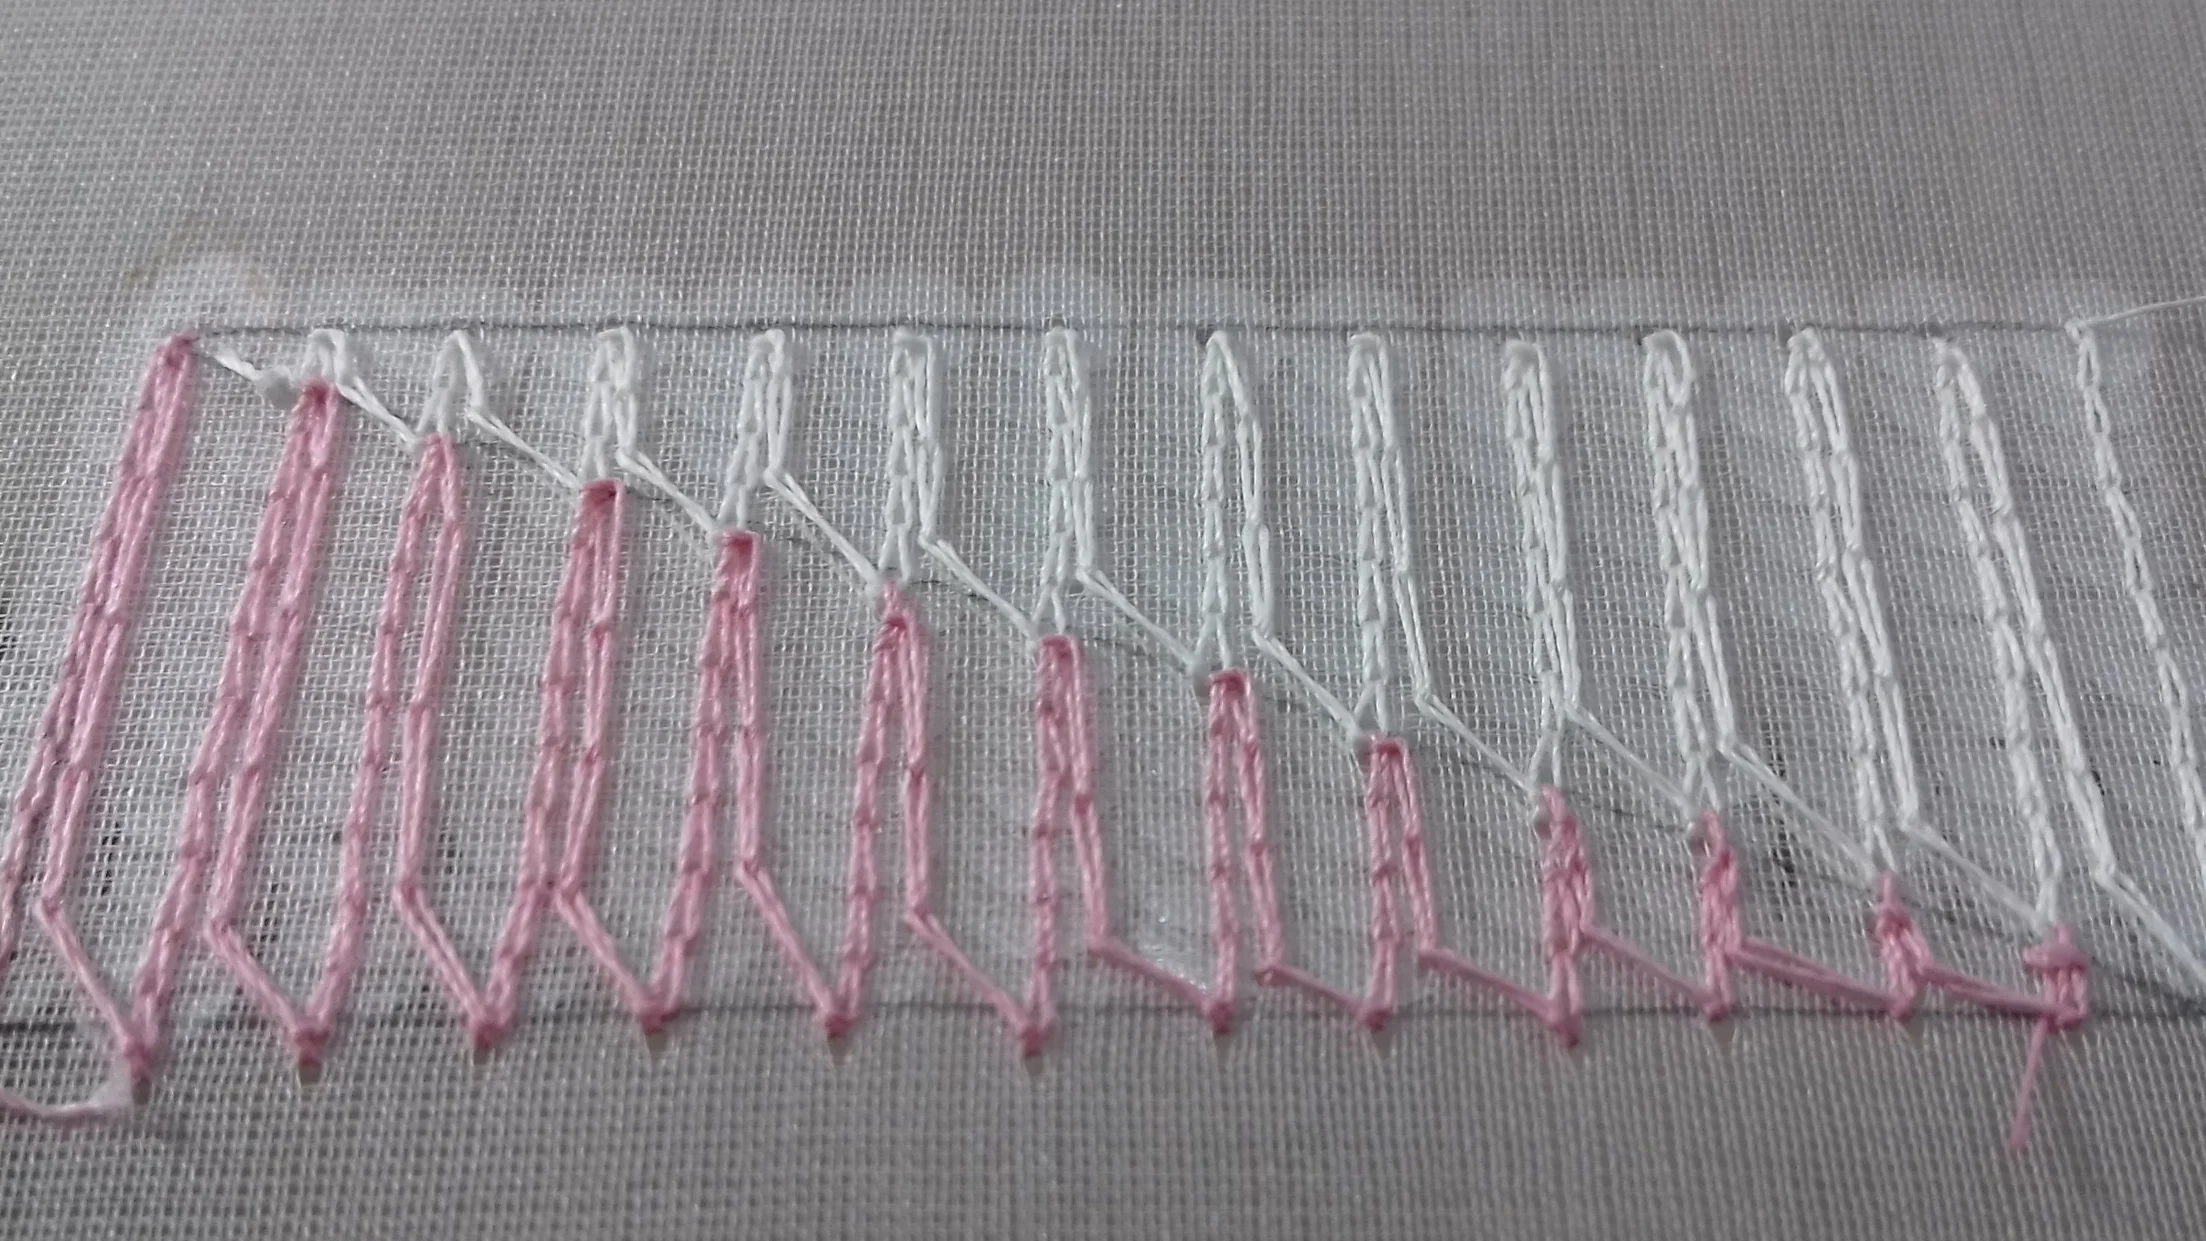
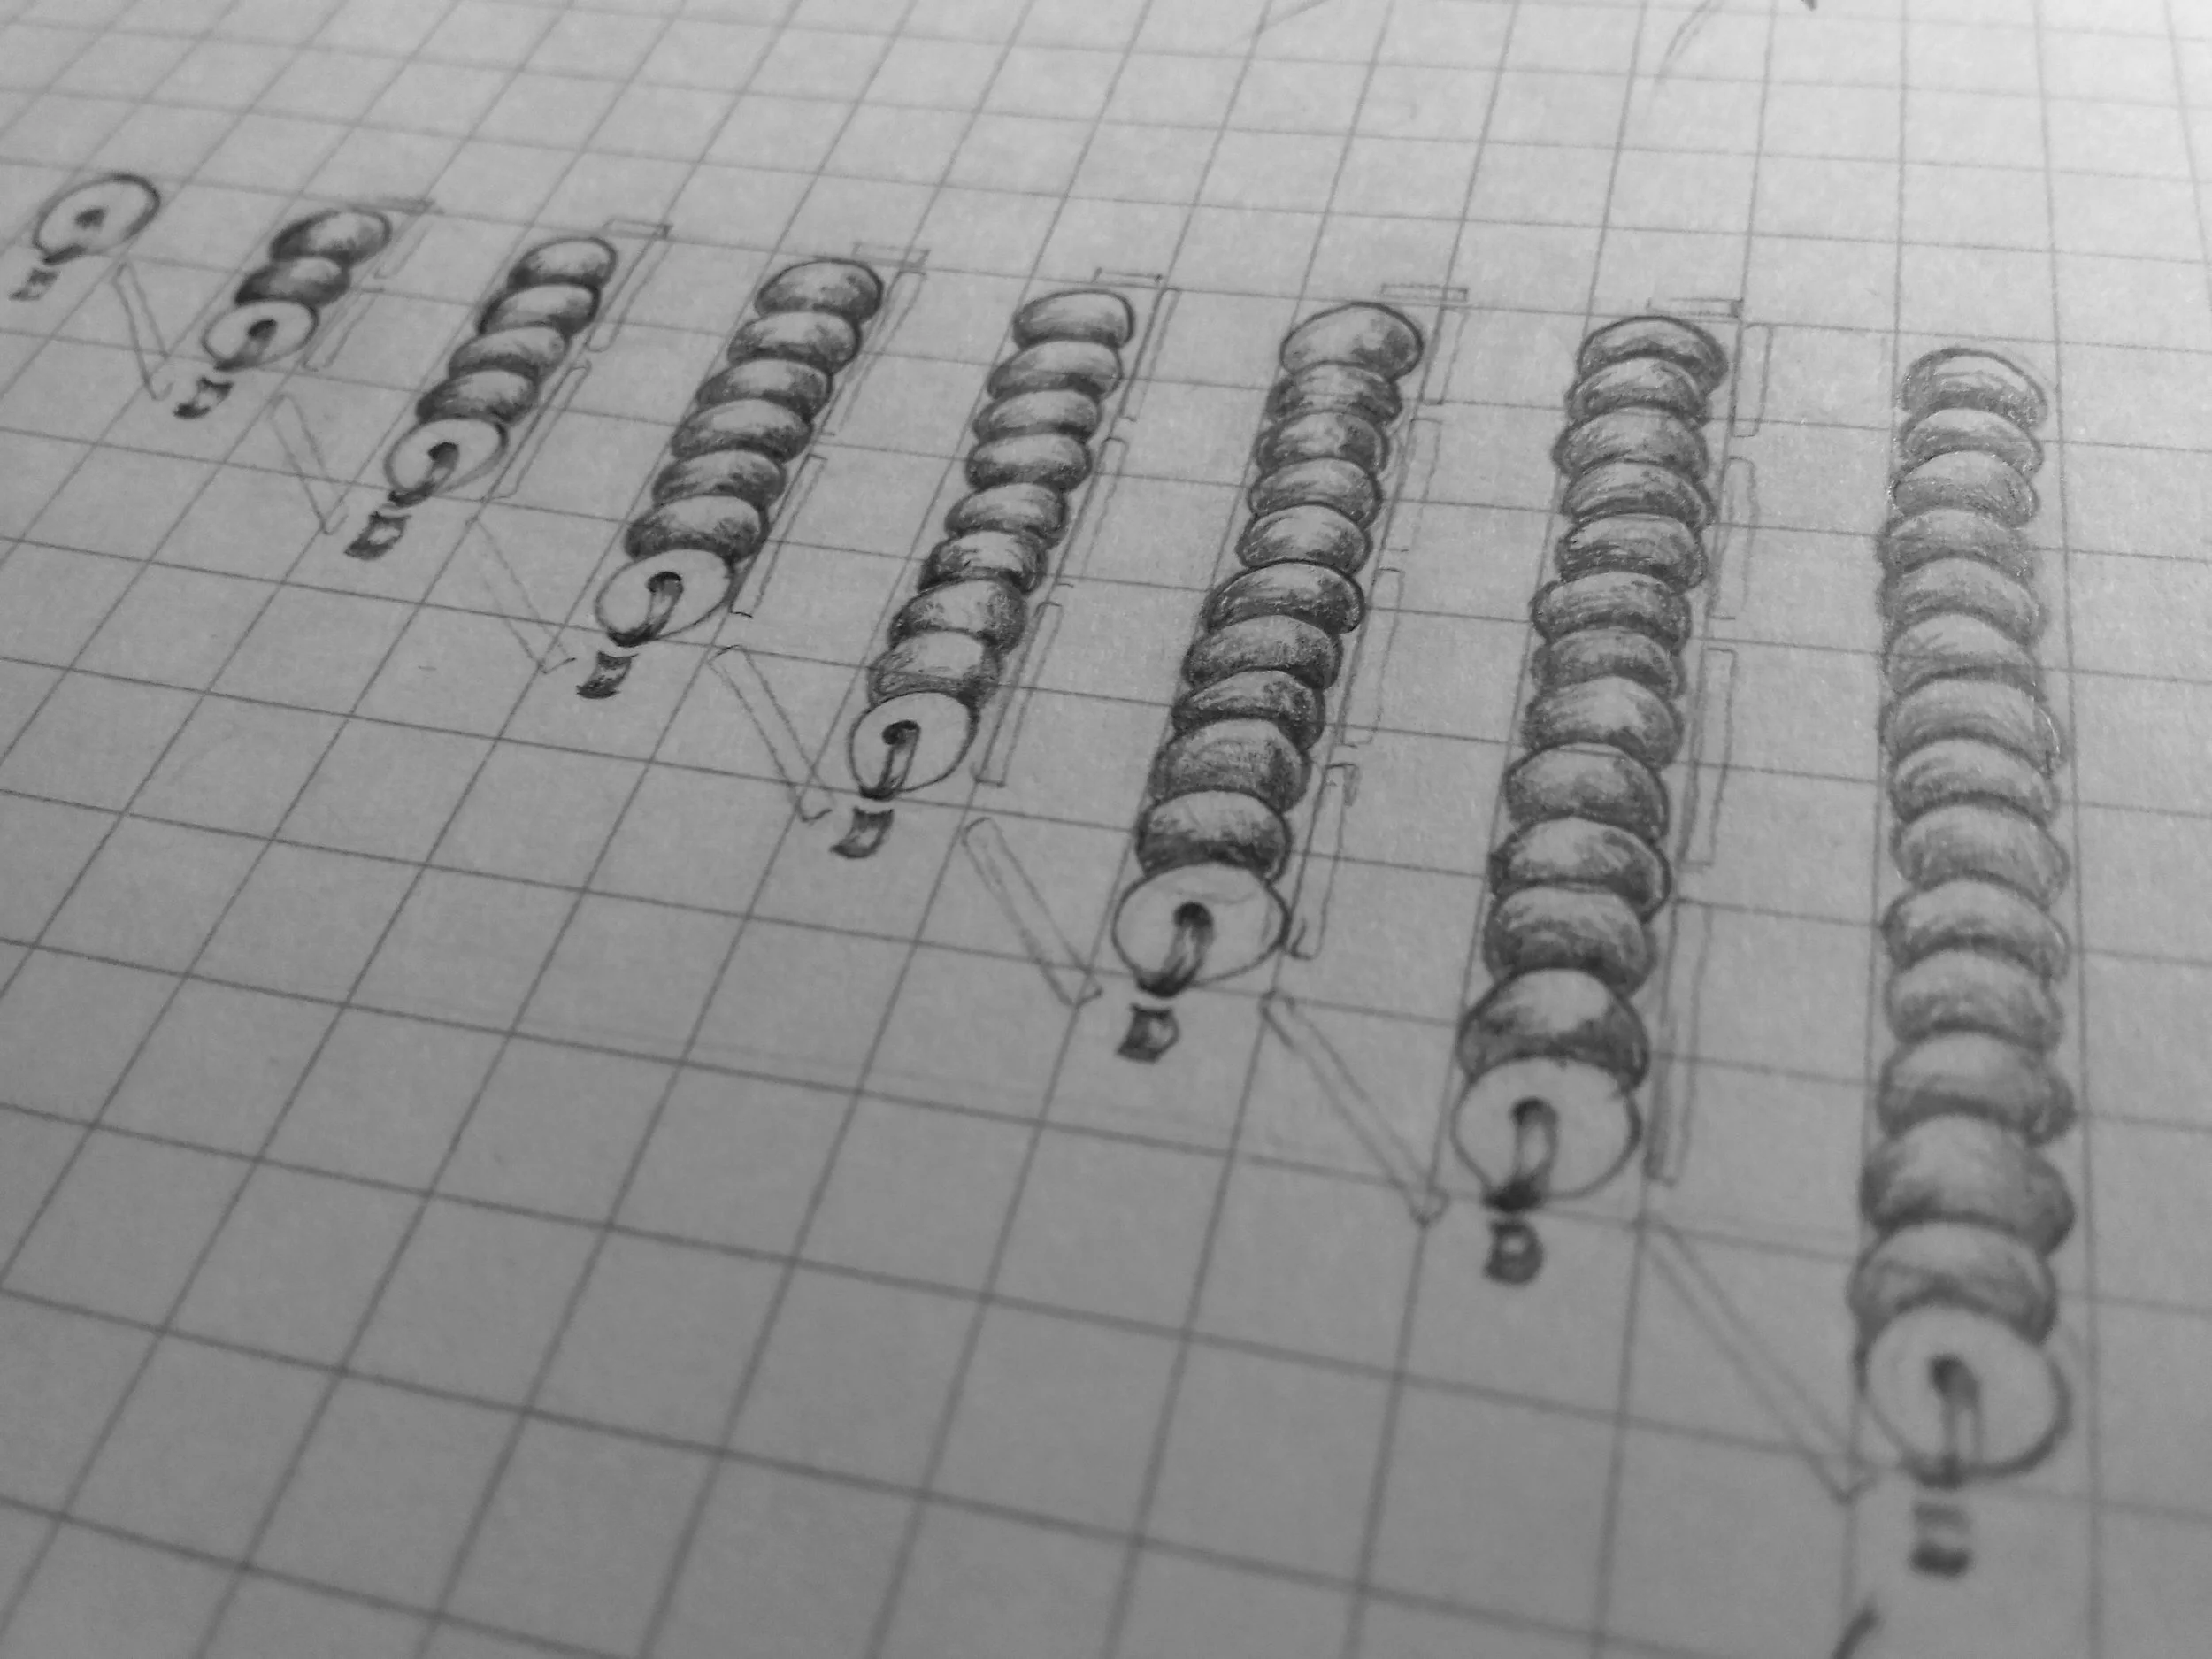
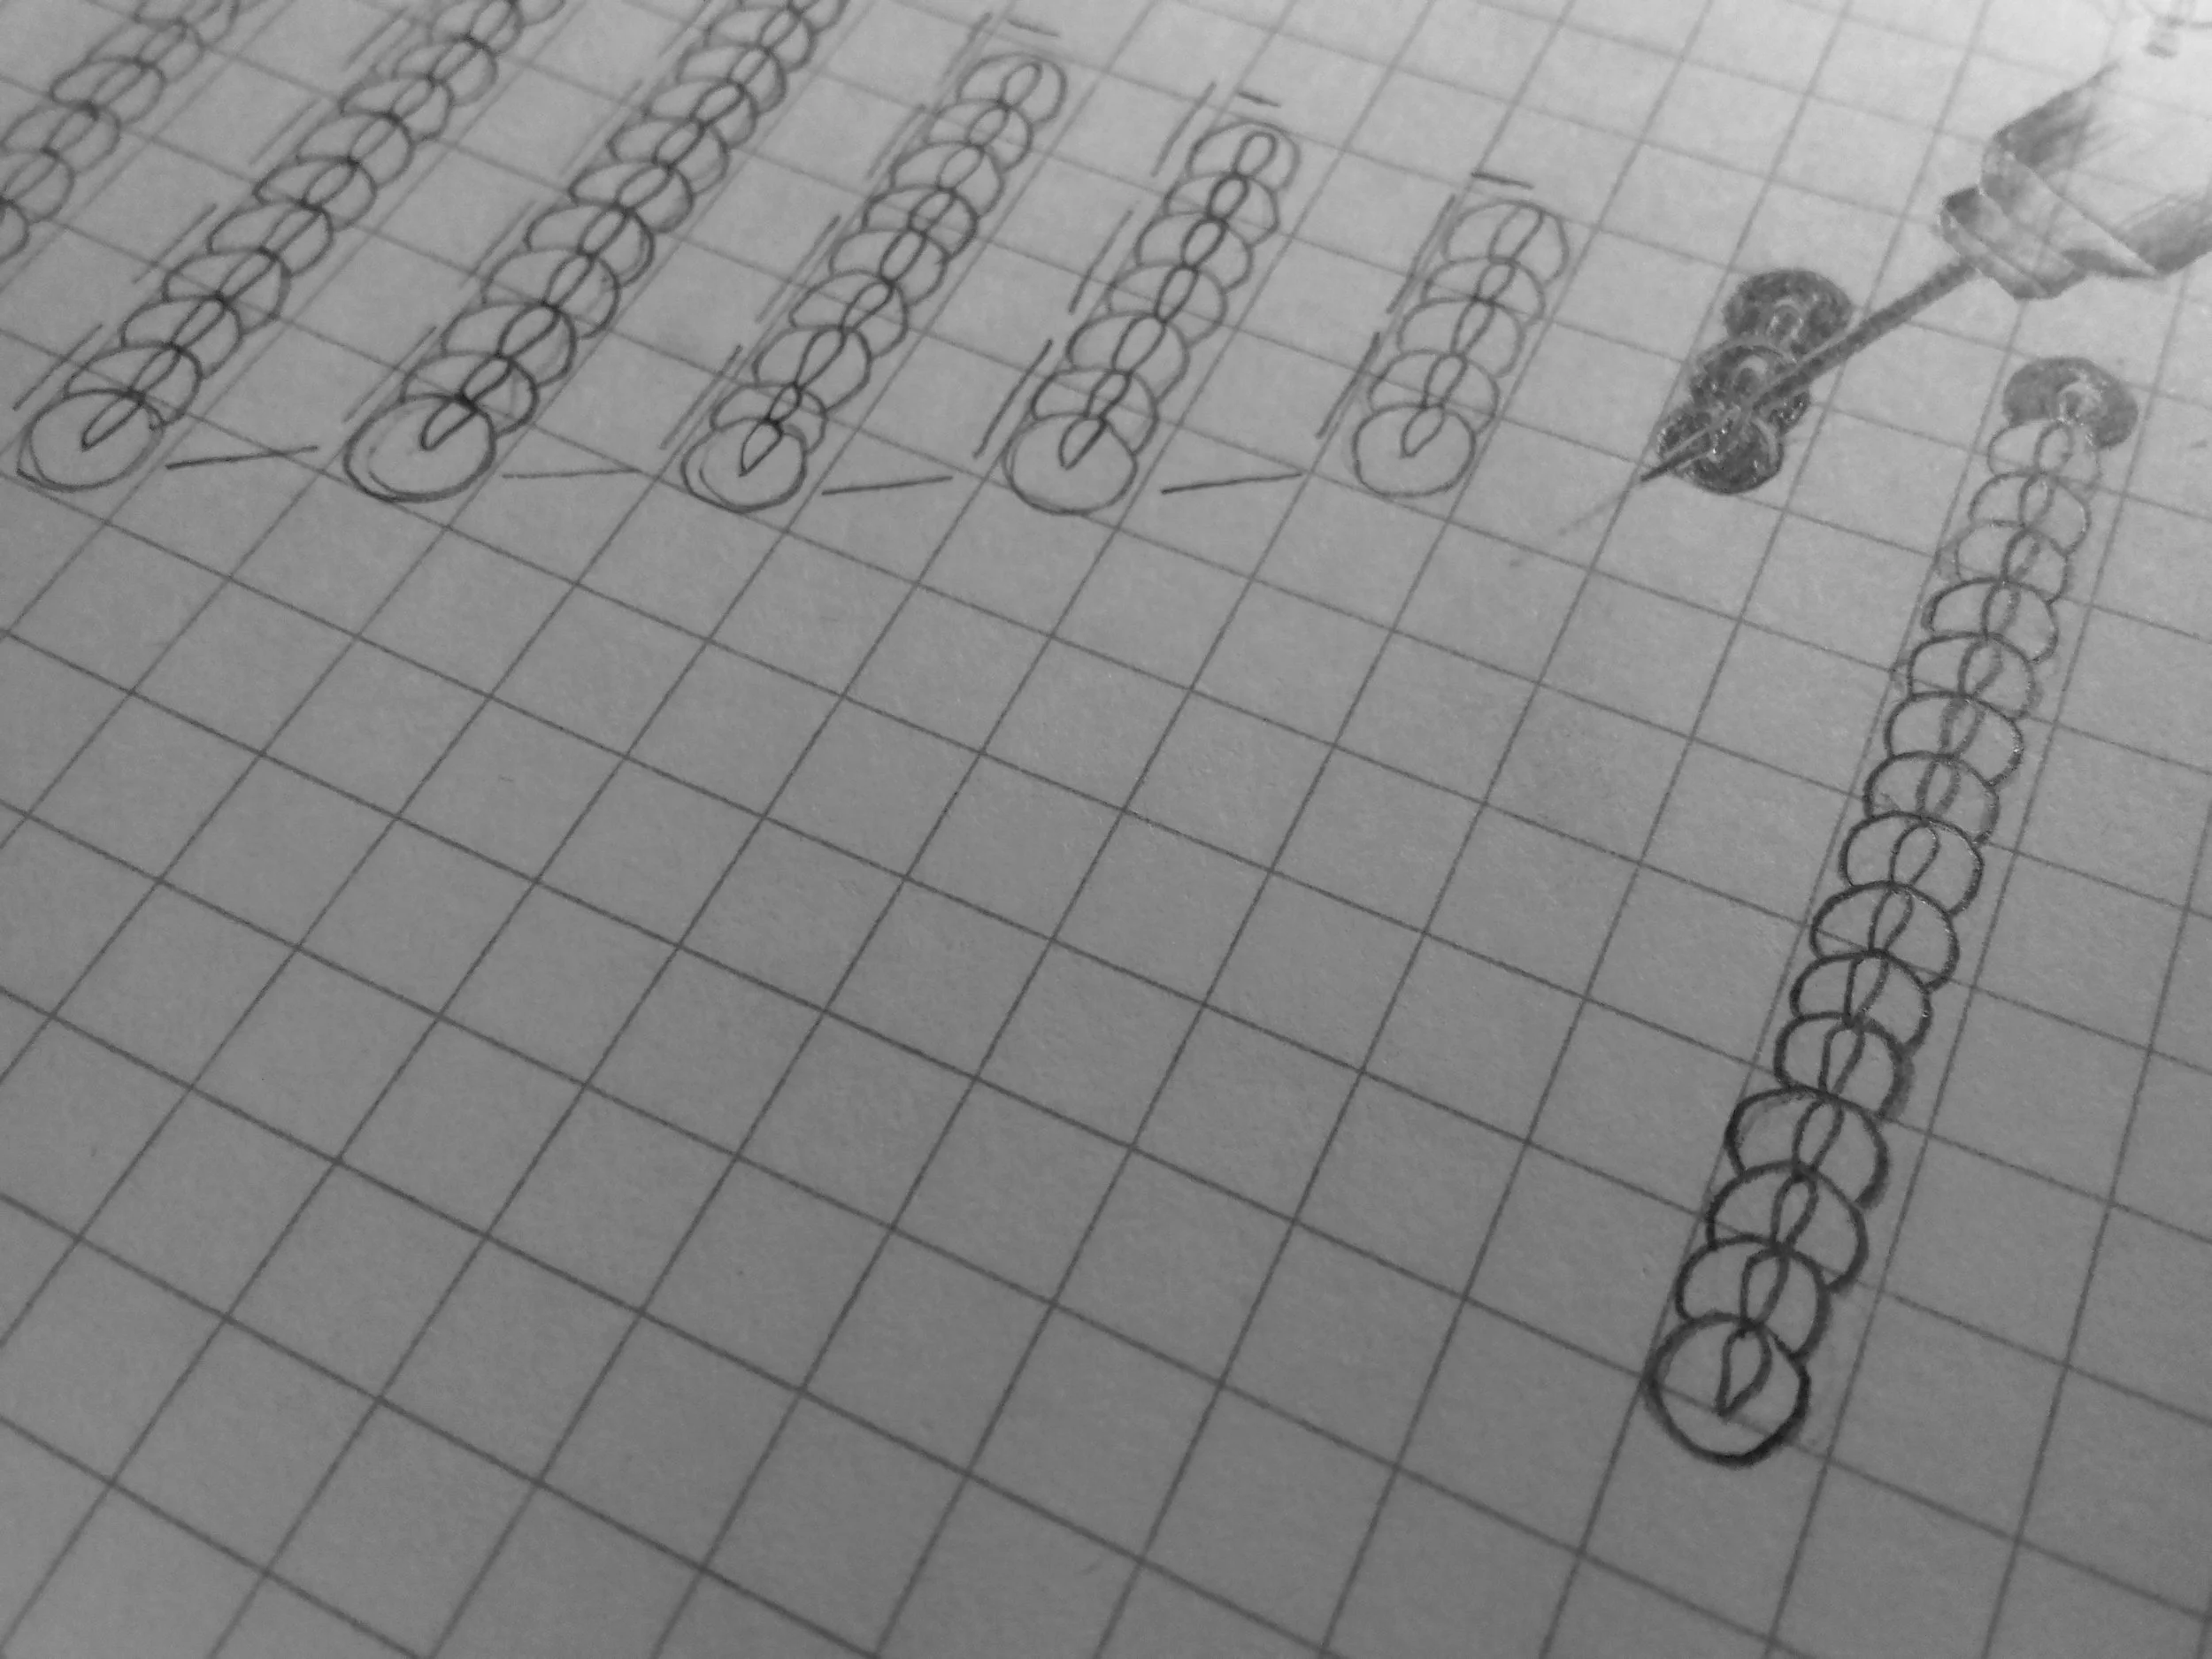
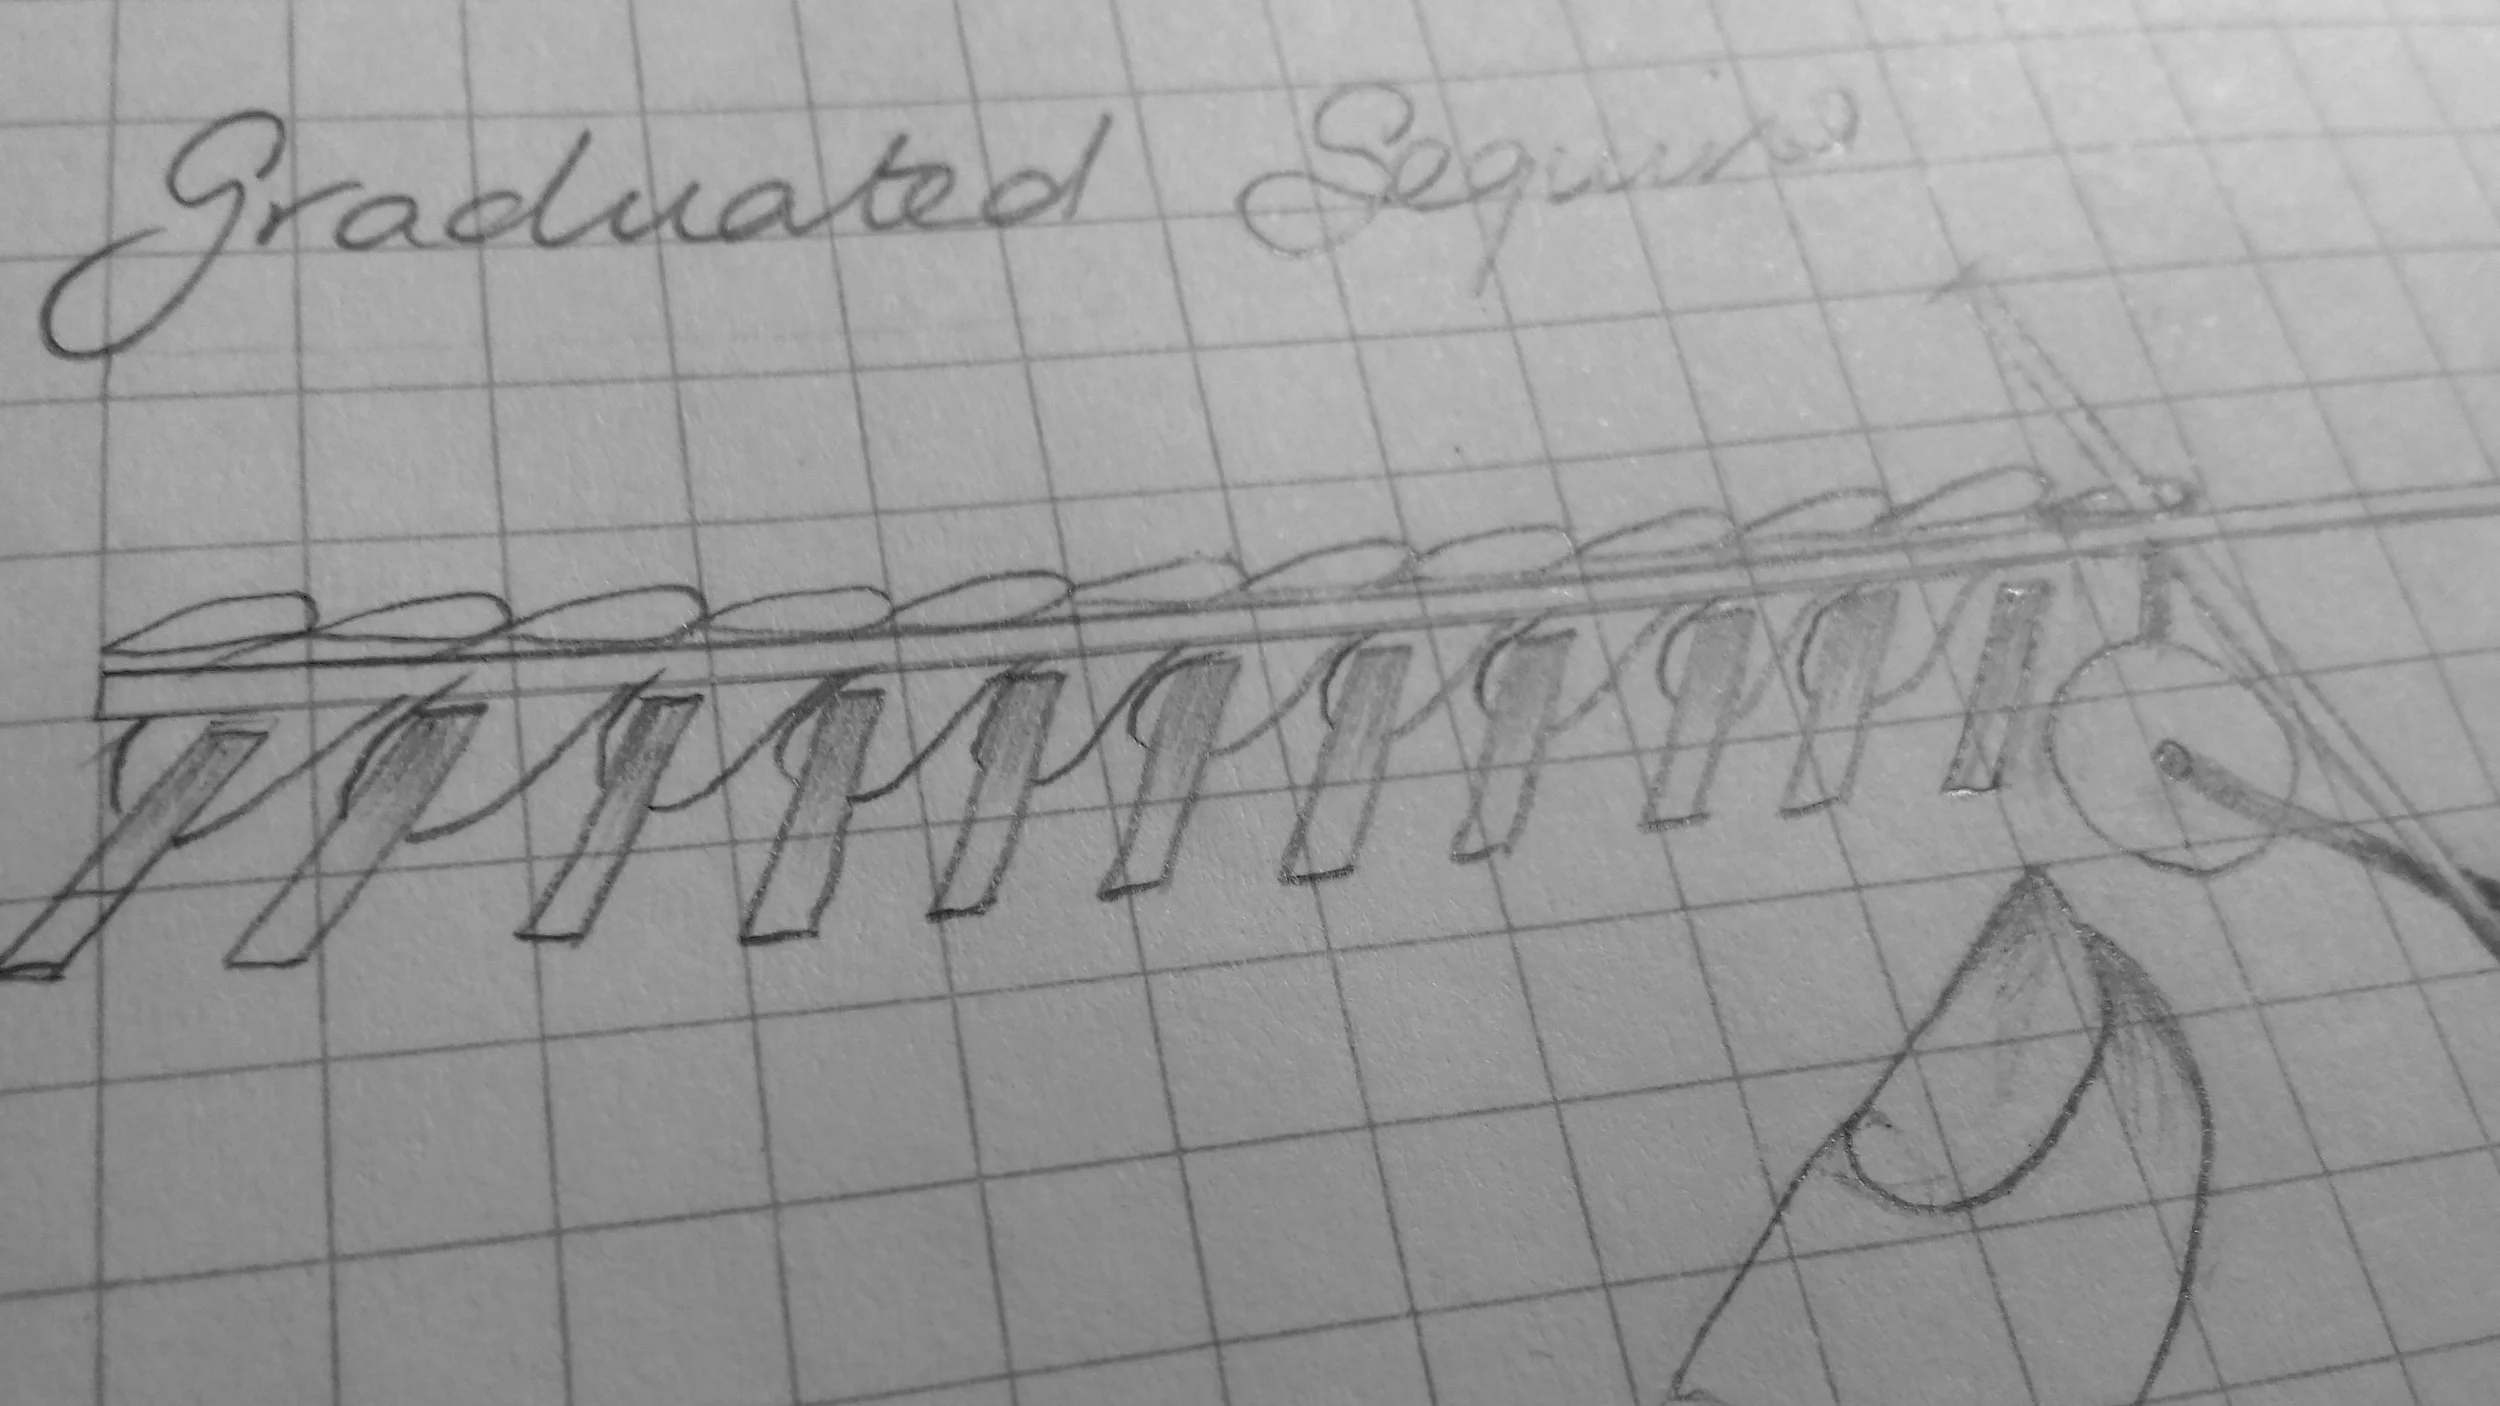
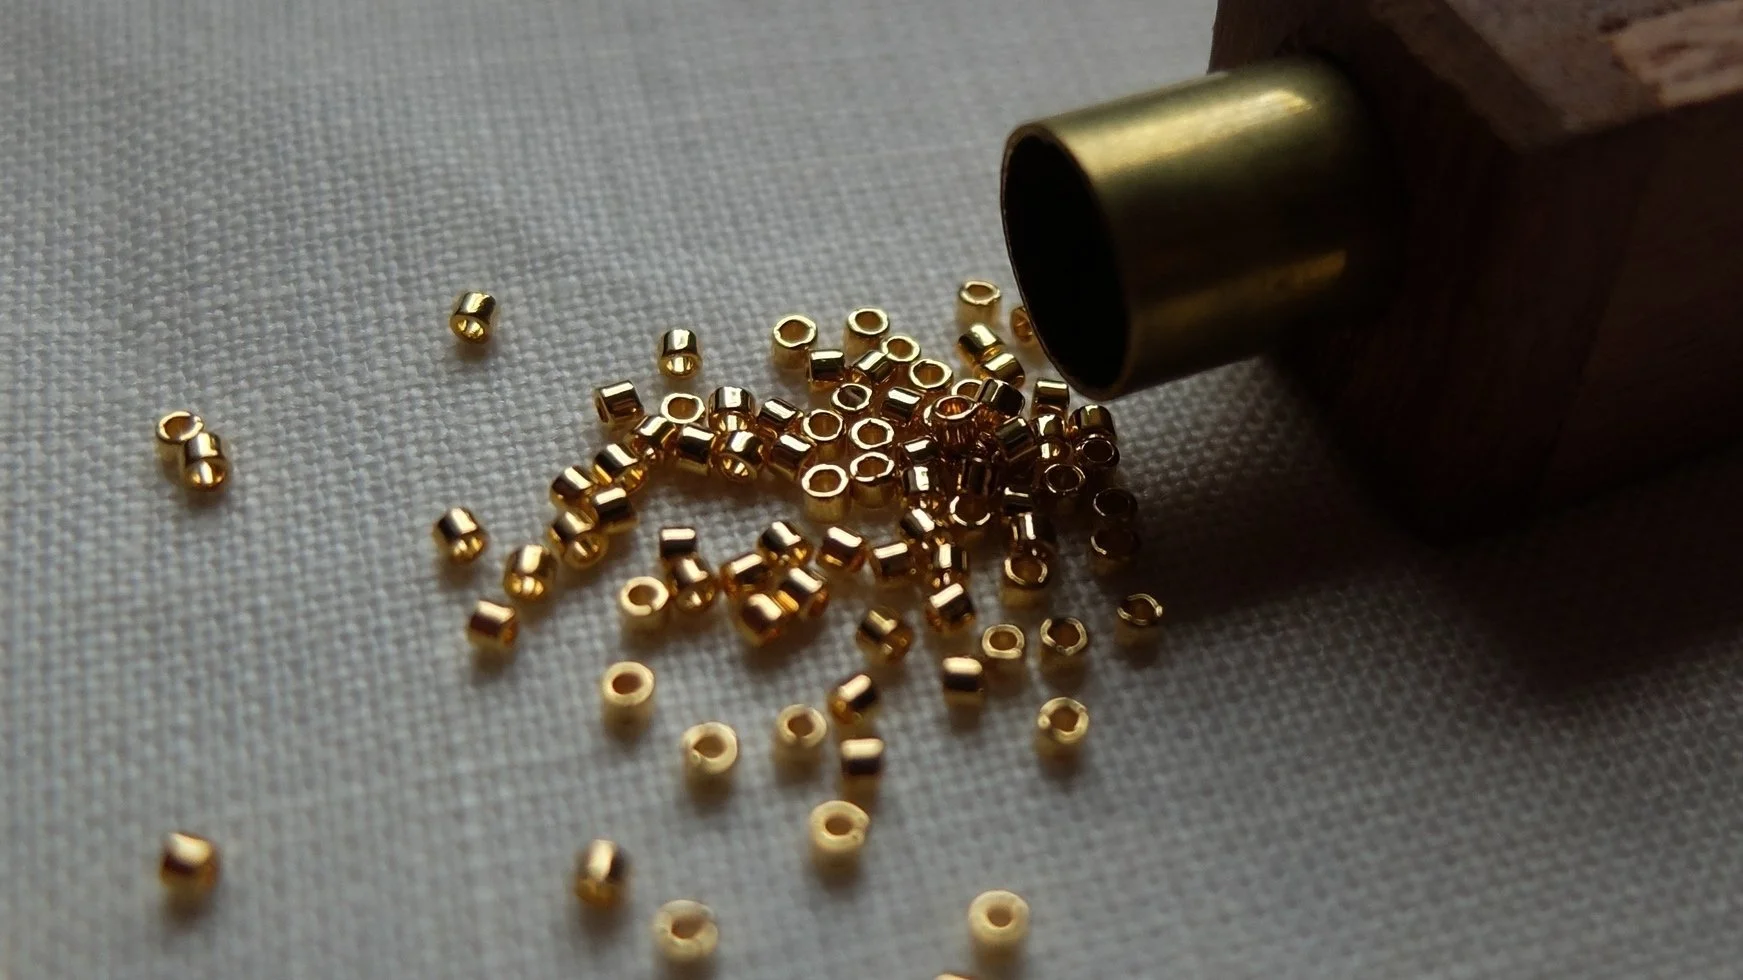
Delighted, I told him that I had learned how to do some of the techniques, applying sequins in a river, graduated sequins, applying beads individually, applying beads in rows, merging rows of beads, applying tube beads, painting with stitches, point-tiré, applying gold metallic ribbon in the come-and-go technique, making 3D pieces, applying 3D pieces and adding volume.
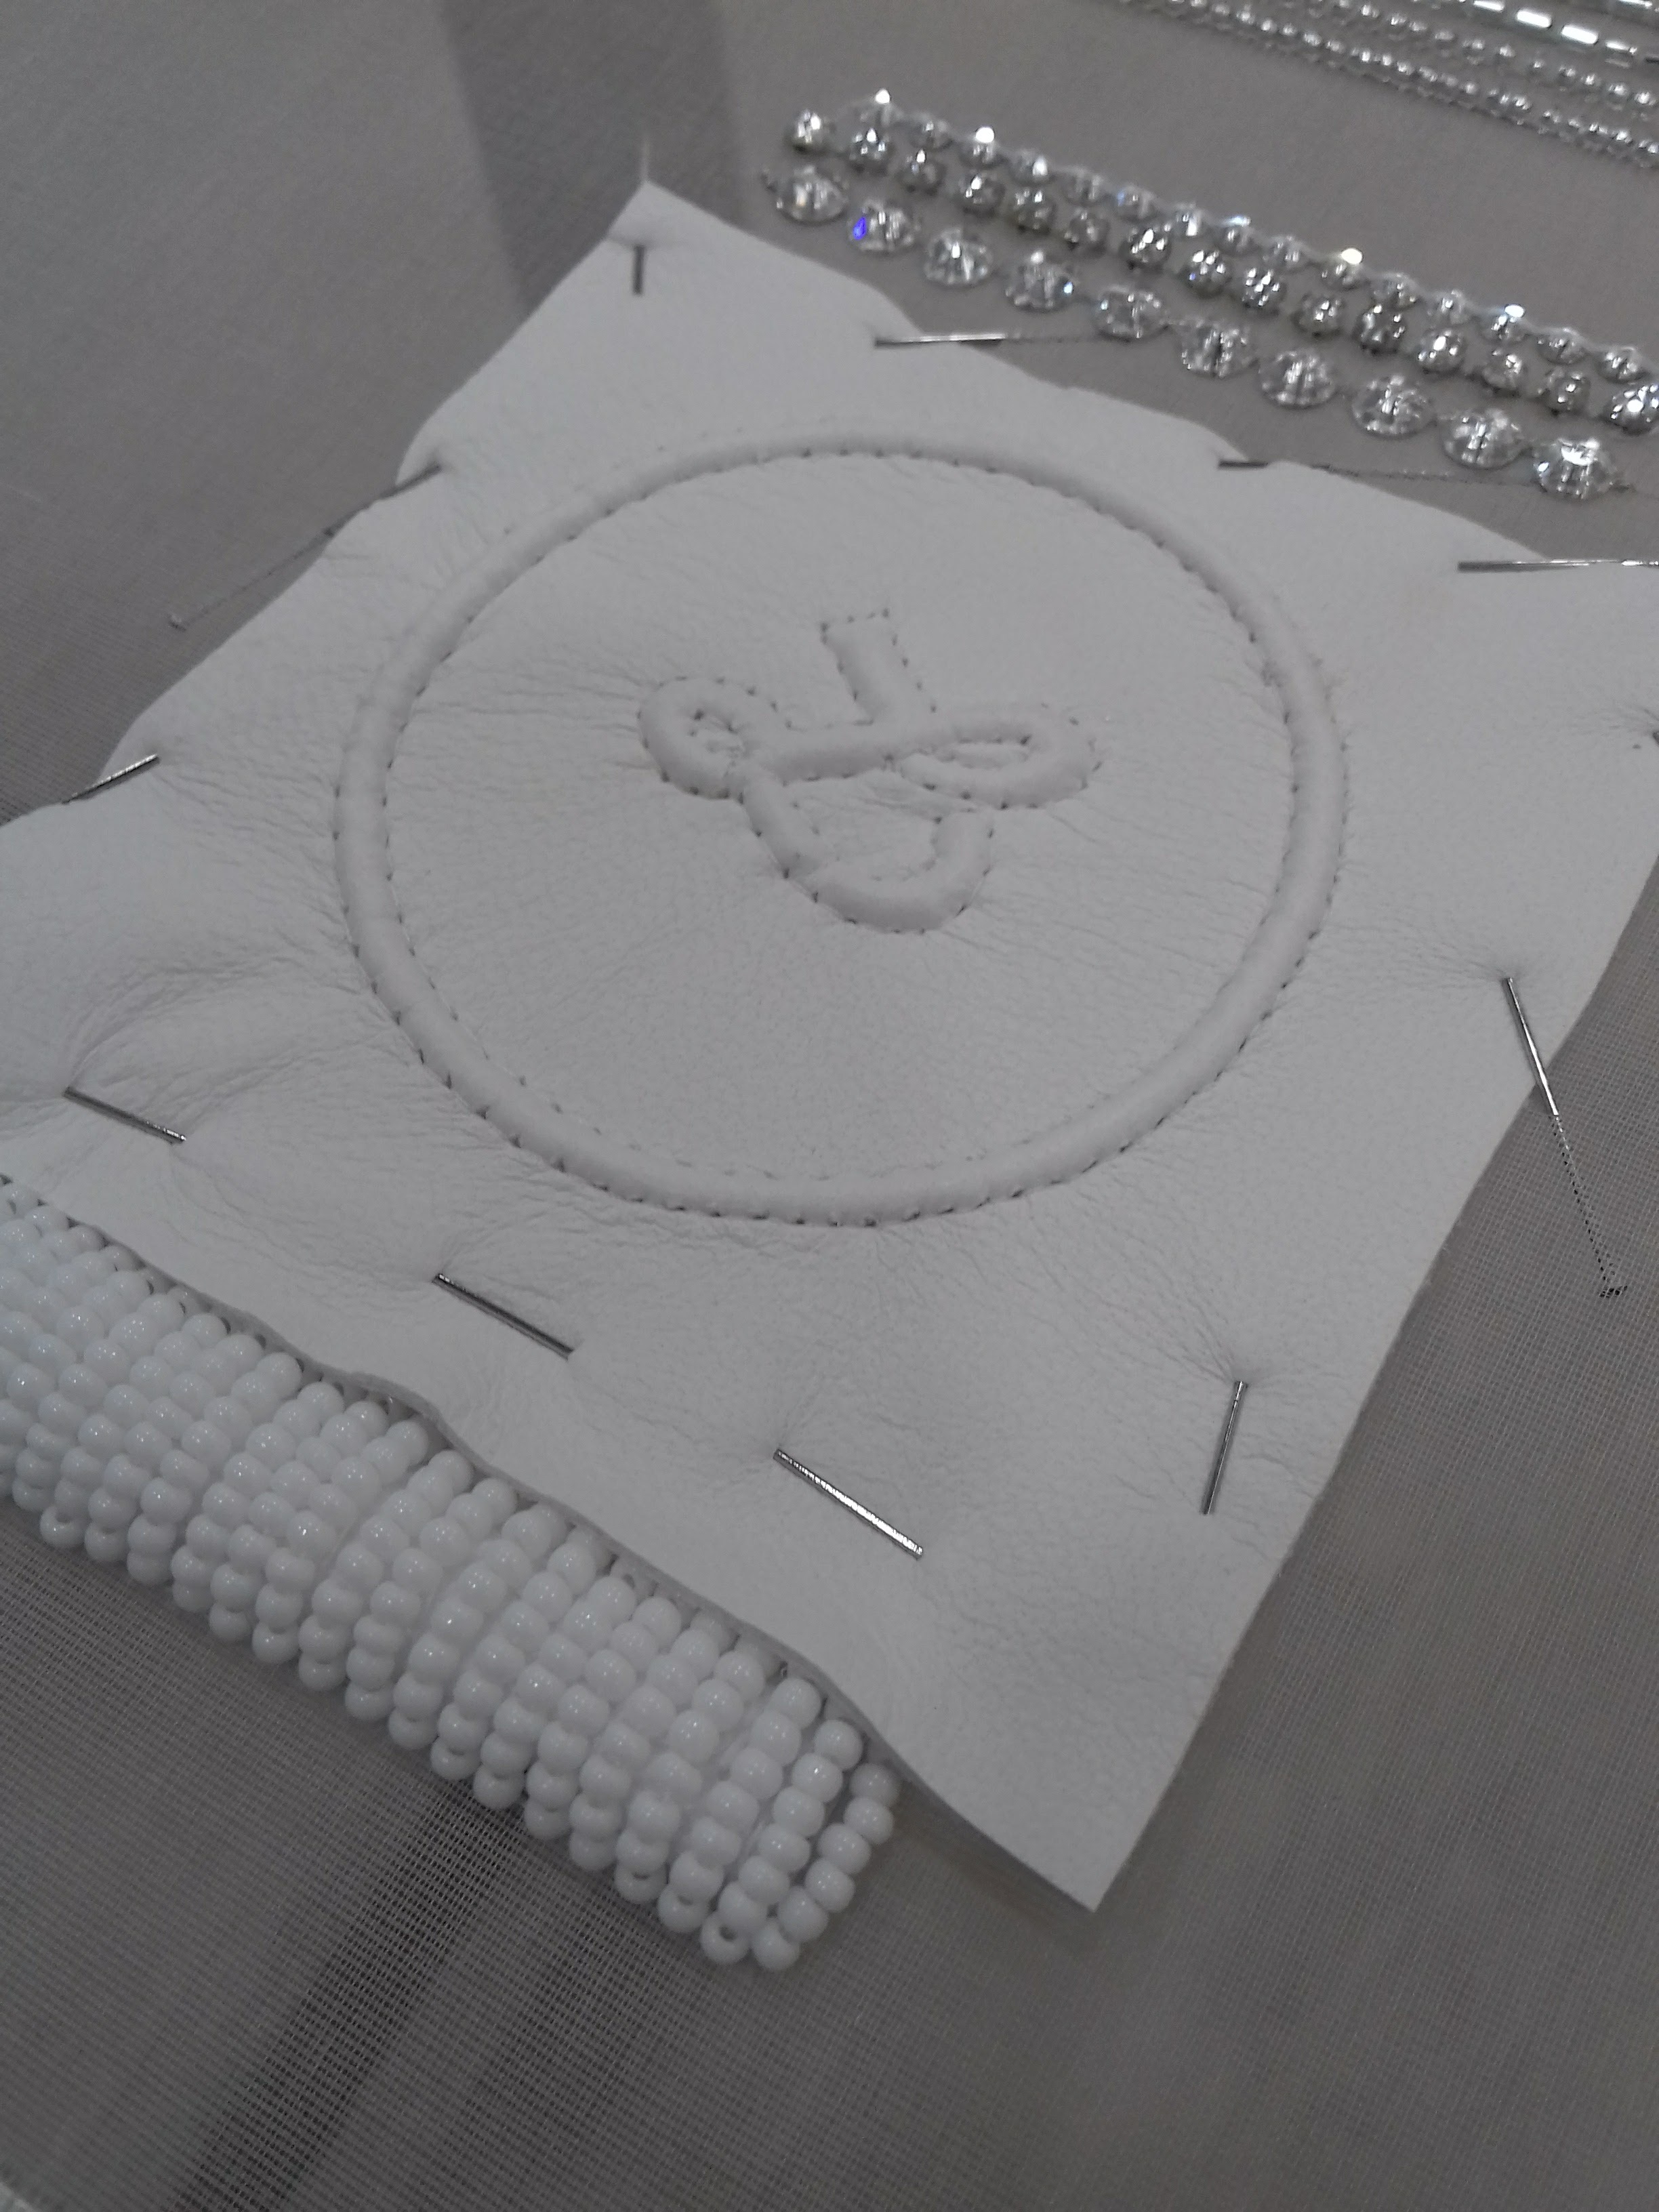
We continued to the handbags and finished with the shoes. It's very hard to embroider onto leather I knowledgeably informed him! Not wanting to take up too much of his time I thanked him and as we descended the marble staircase he said to come back as often as I wished, that there would be more embroidery in the next collection for me to admire!
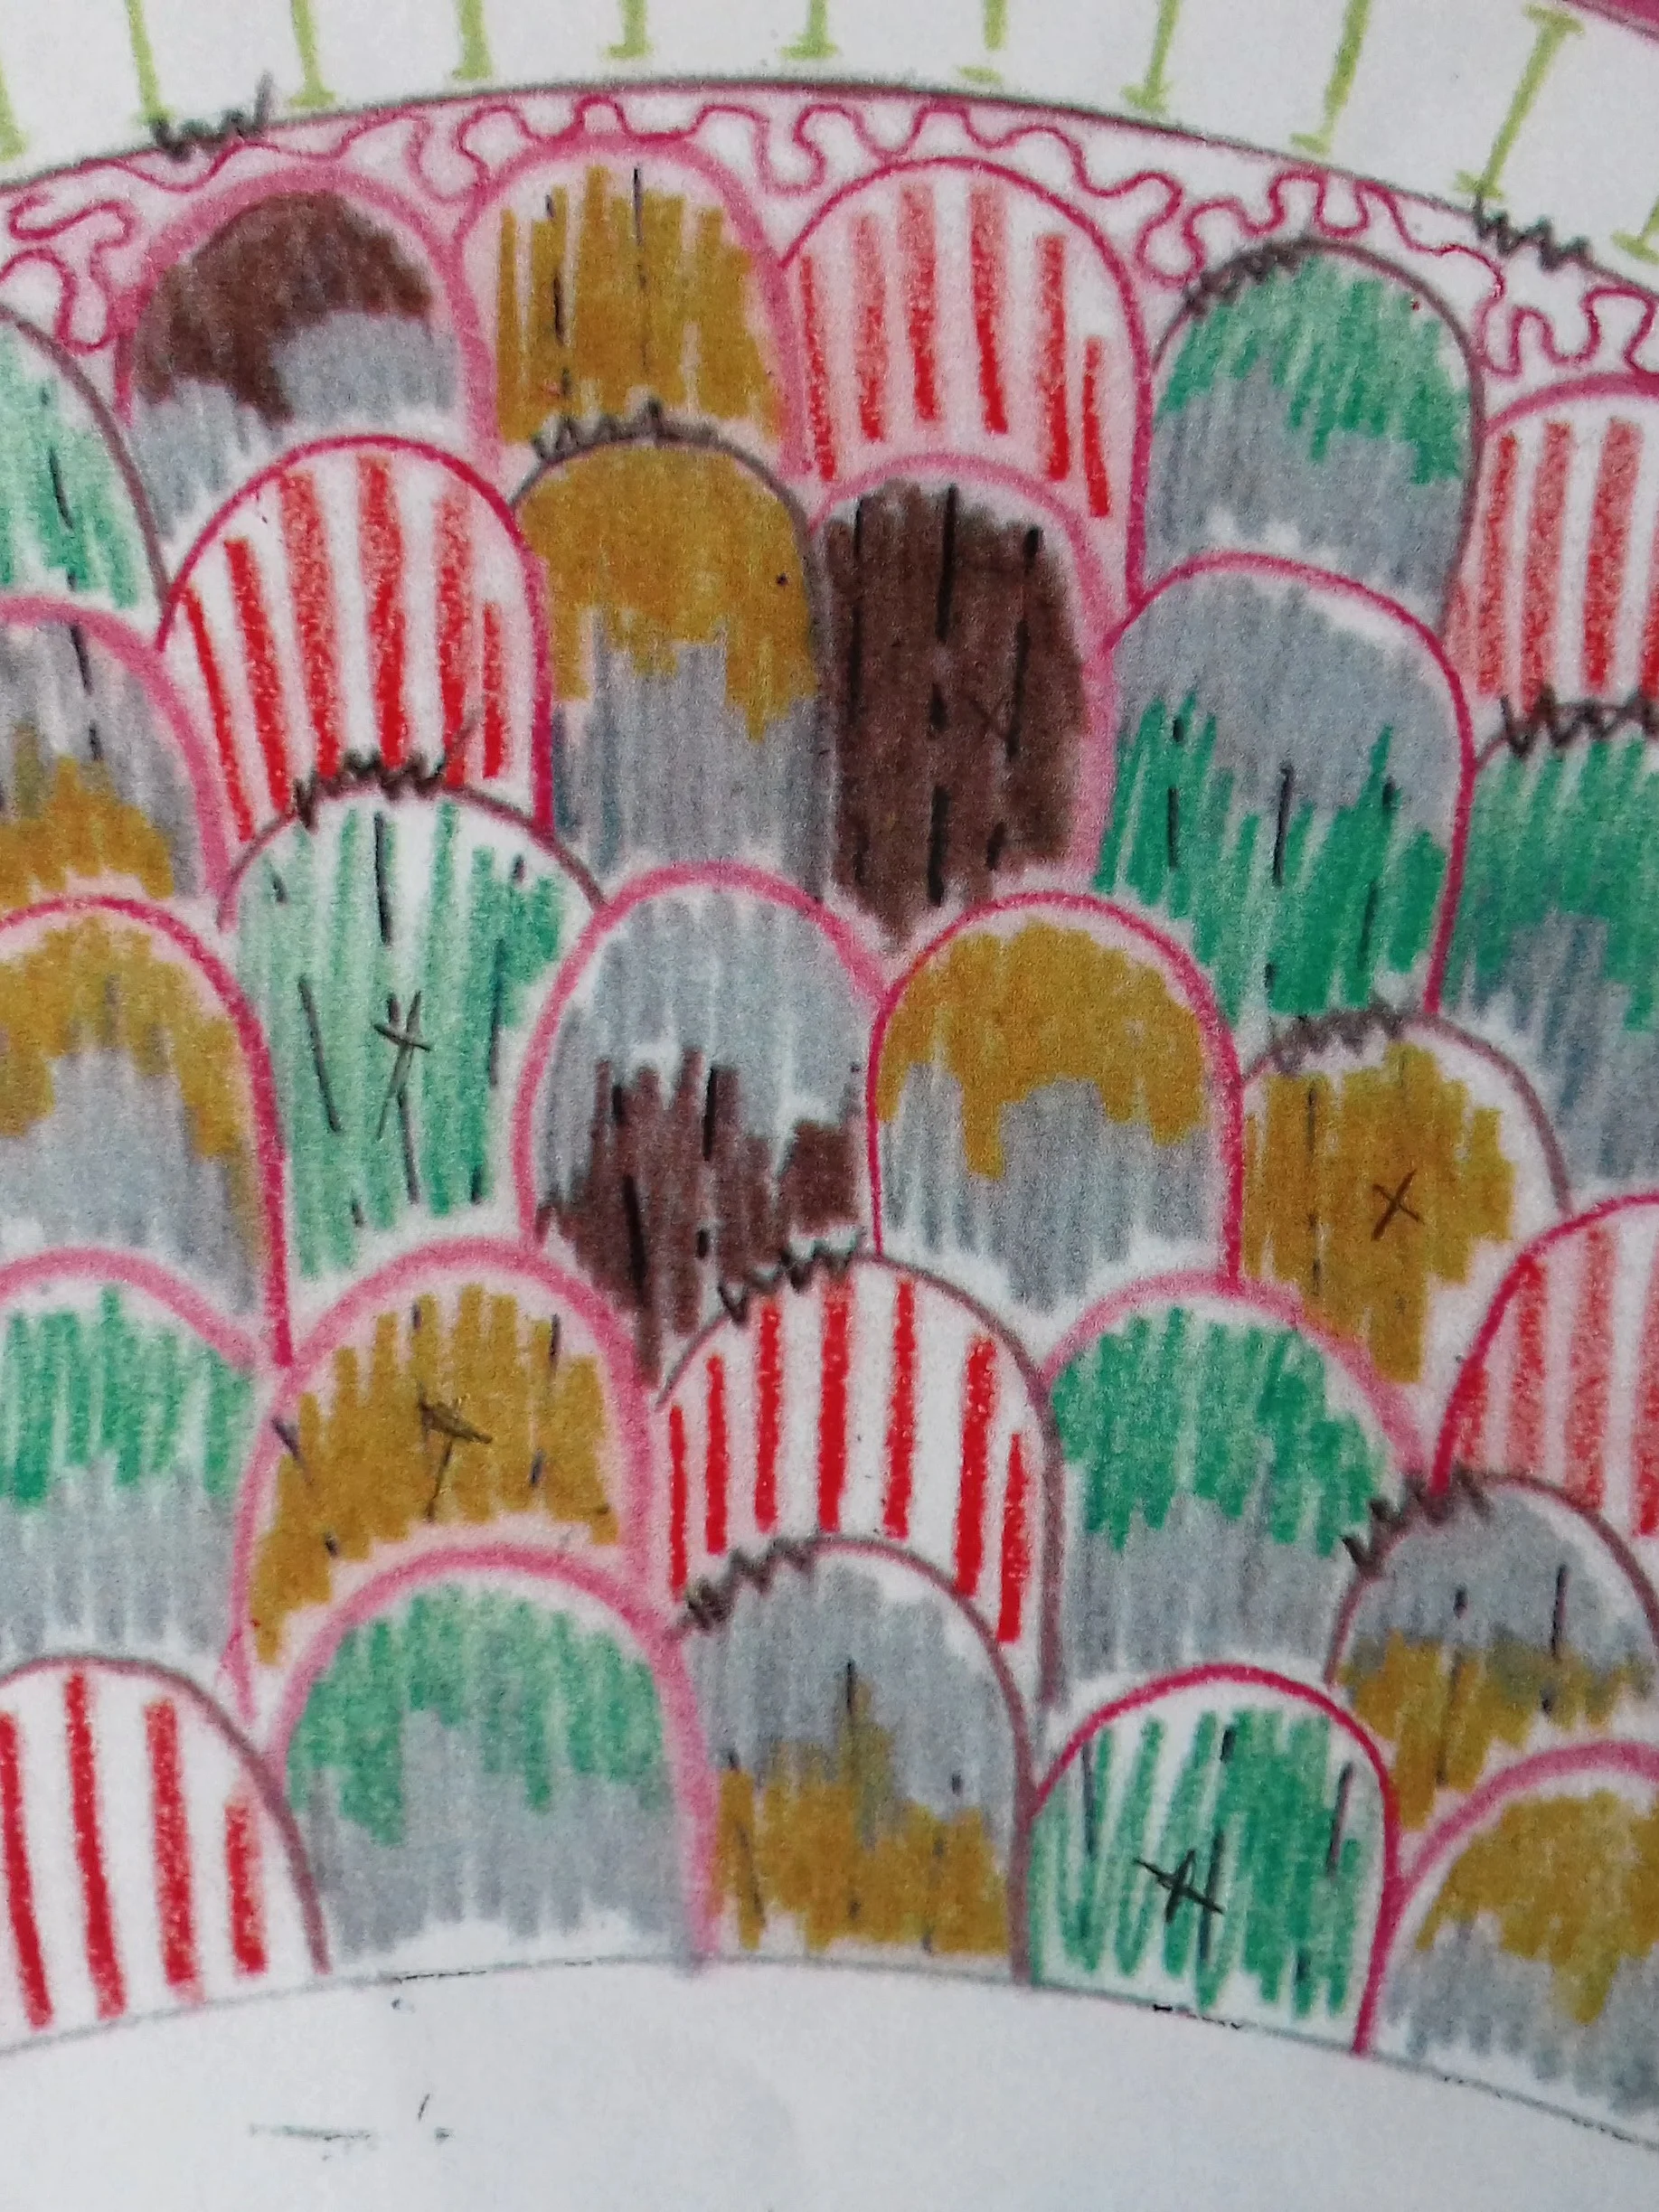
I skipped out onto the pavement. Previously I had studied this kind of embroidery in books, museums or galleries. I had never actually touched the work of a master embroiderer! Looking at the prices of the clothes I was surprised, by that stage I knew how long it took to apply a row of sequins in a river and on the items I saw there were floods of them! I thought perhaps that I am still quite slow, but with time and practice I would speed up. I was truly inspired and hurried onto the metro, excited to start my homework!
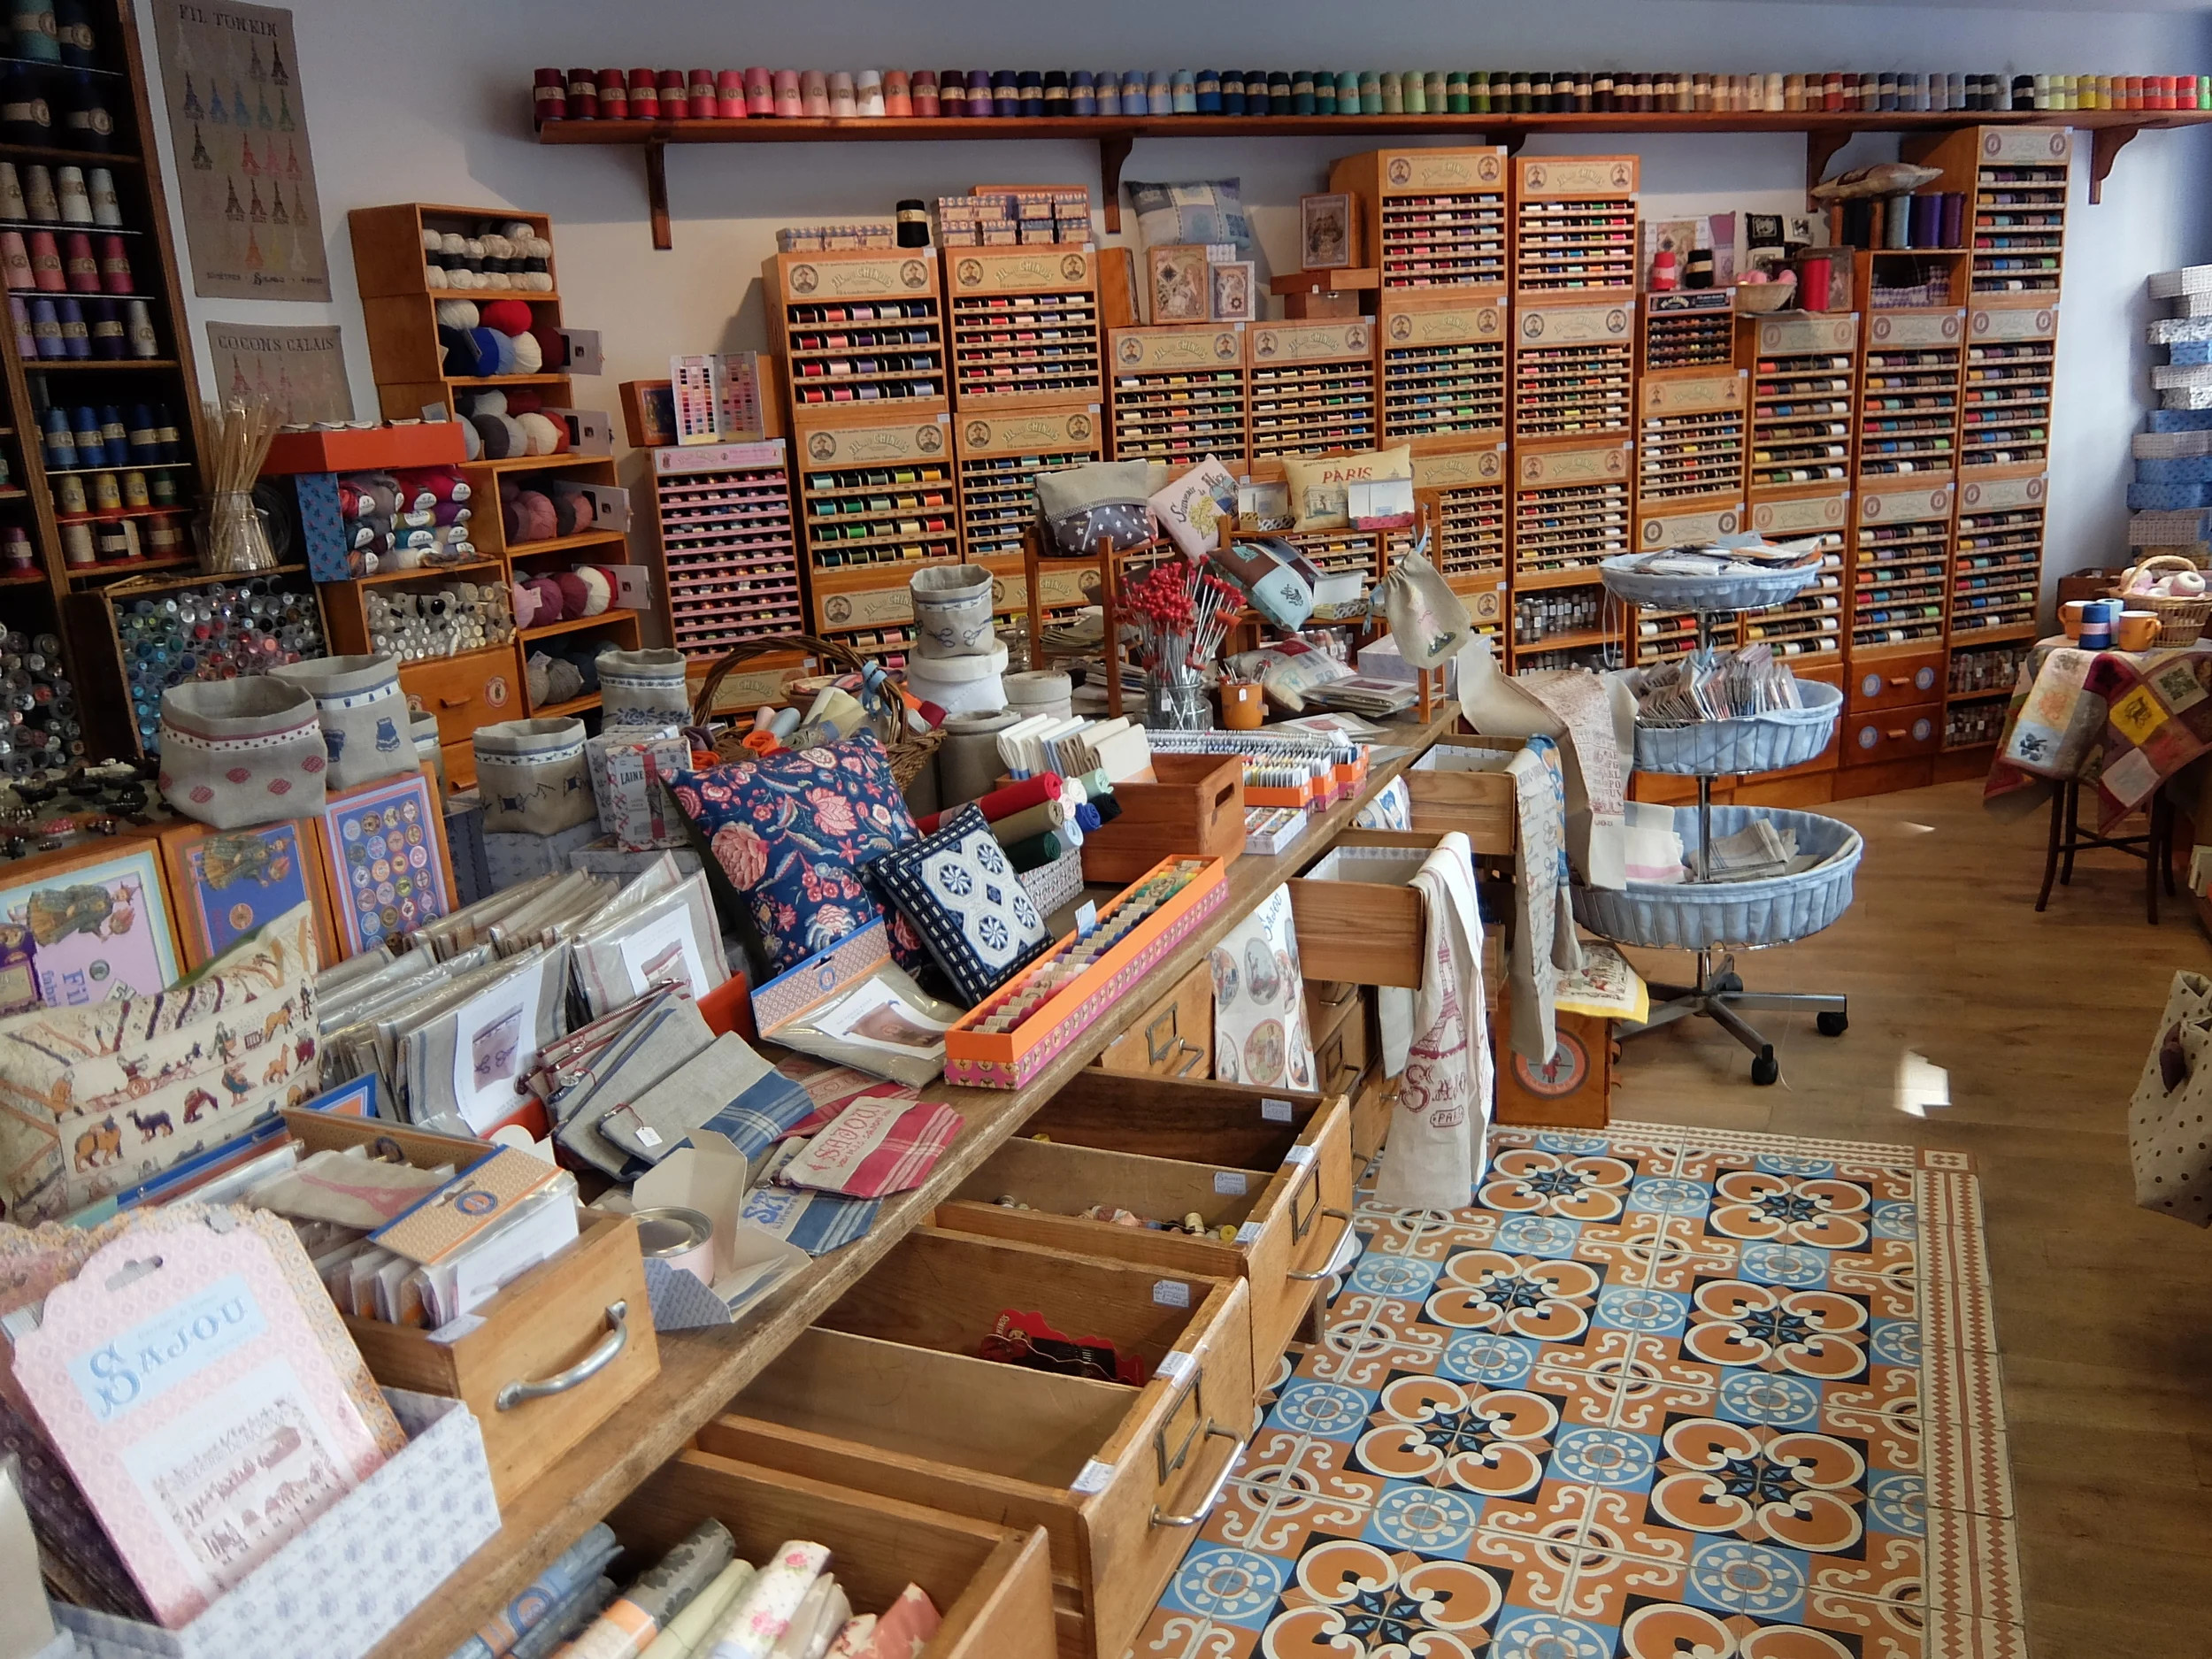
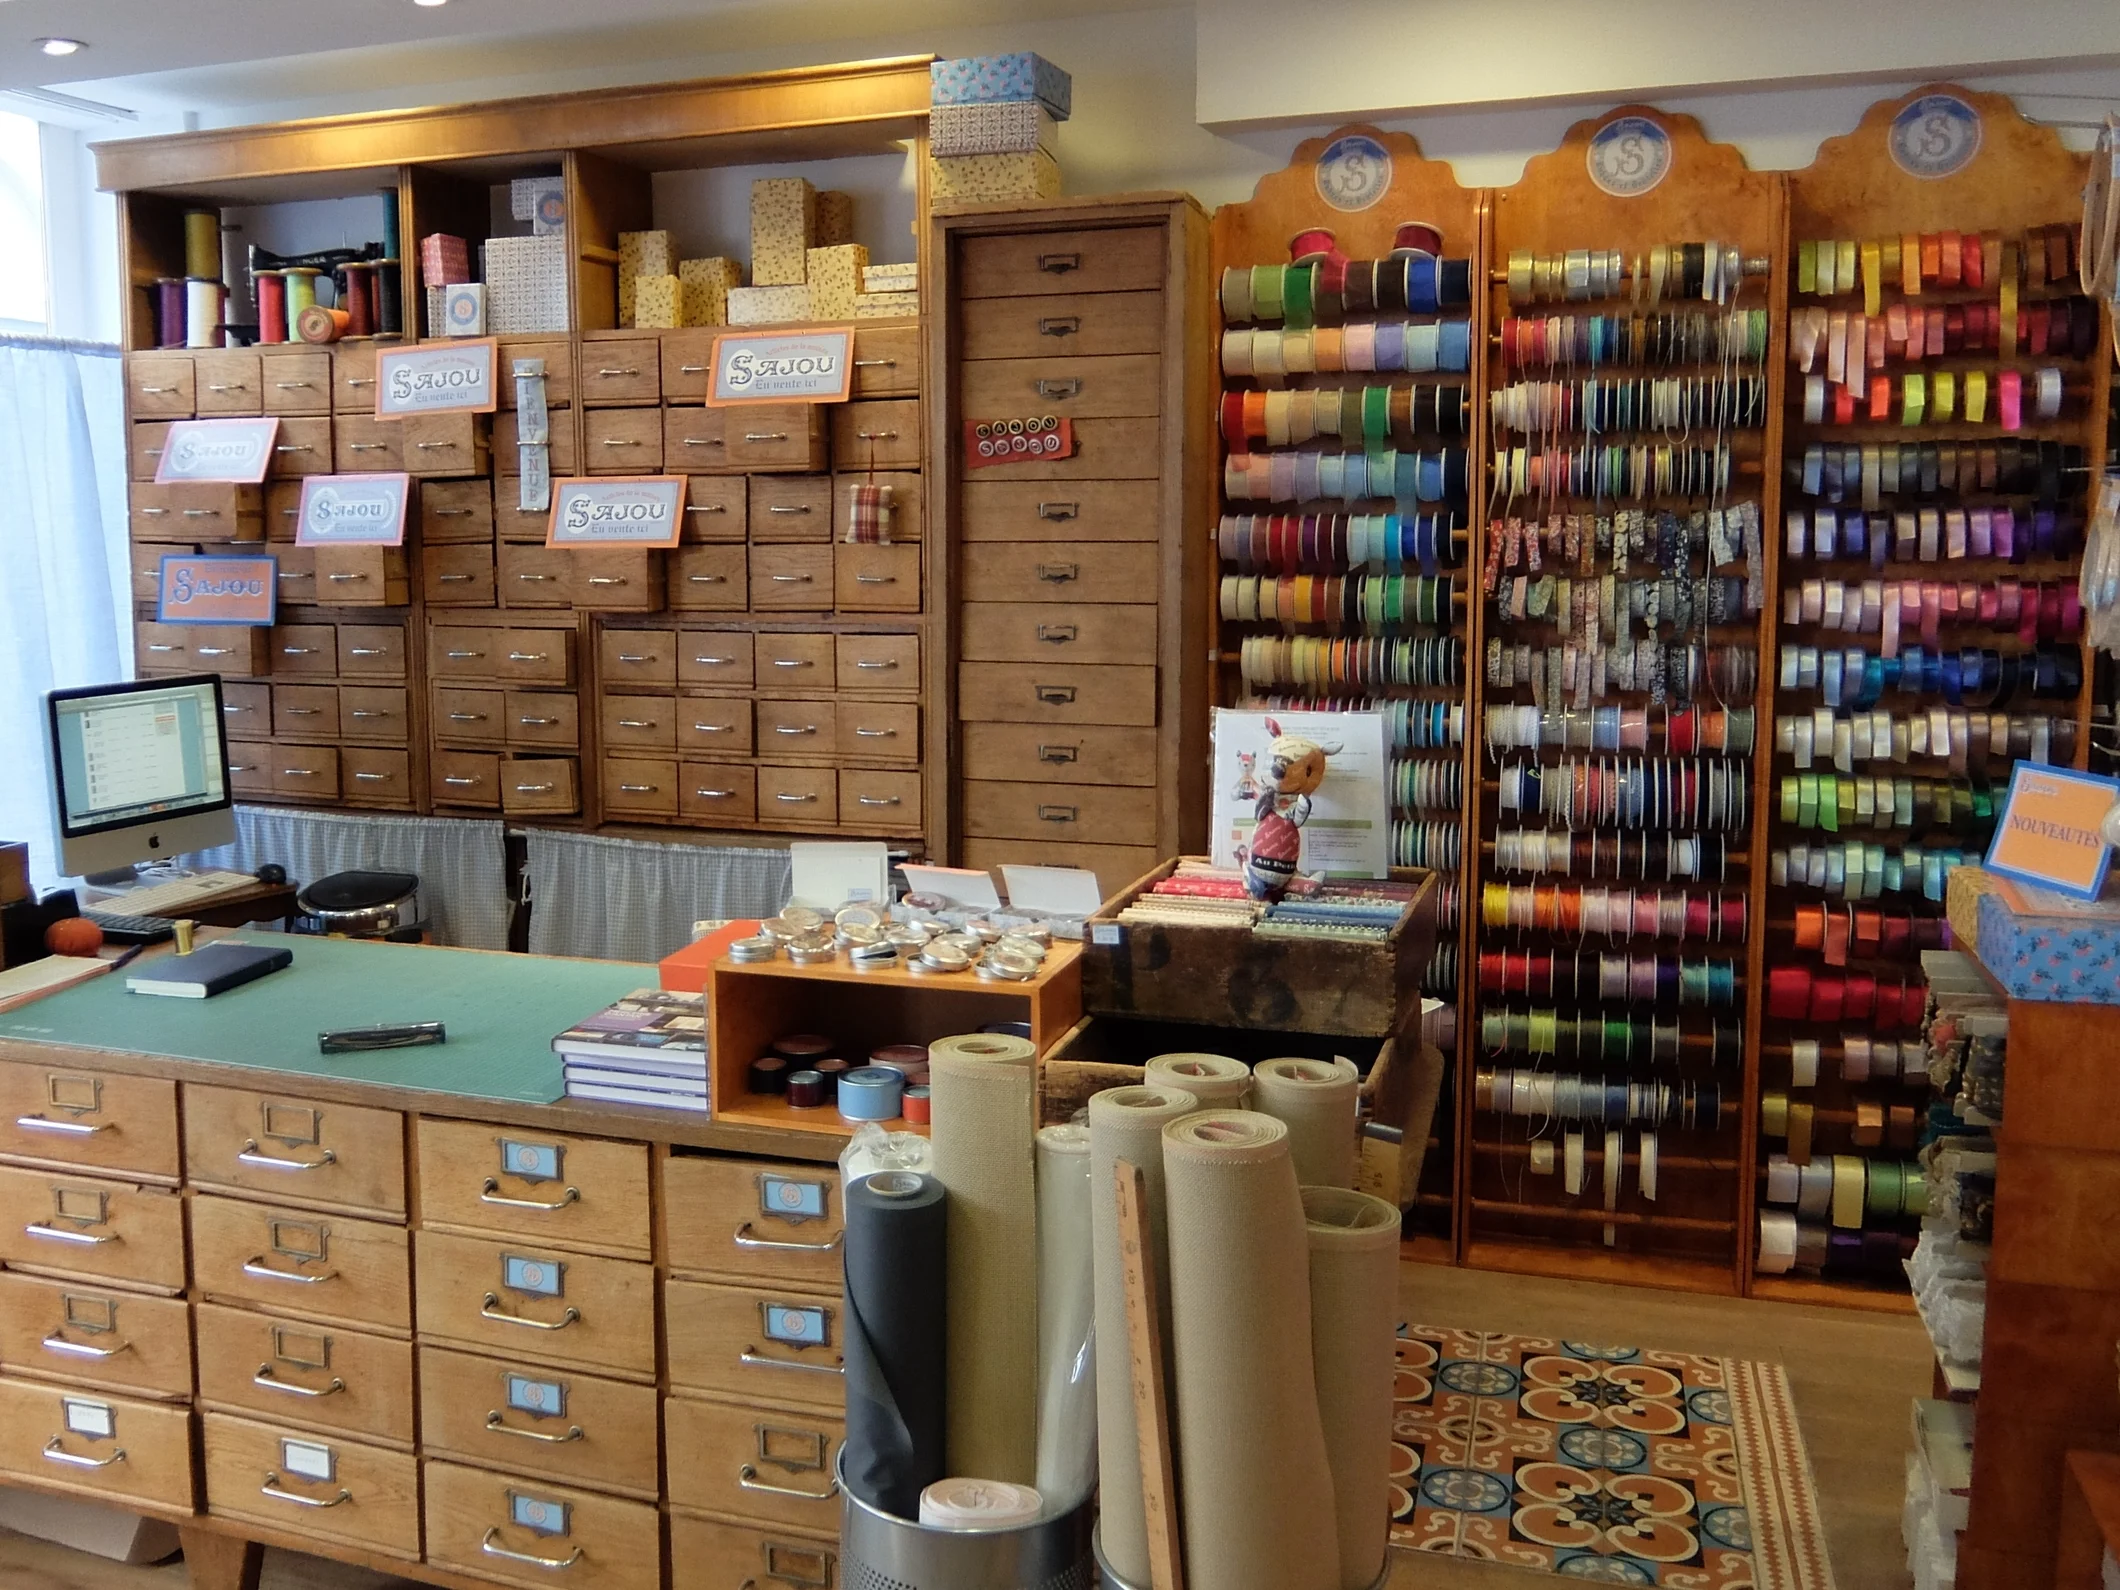
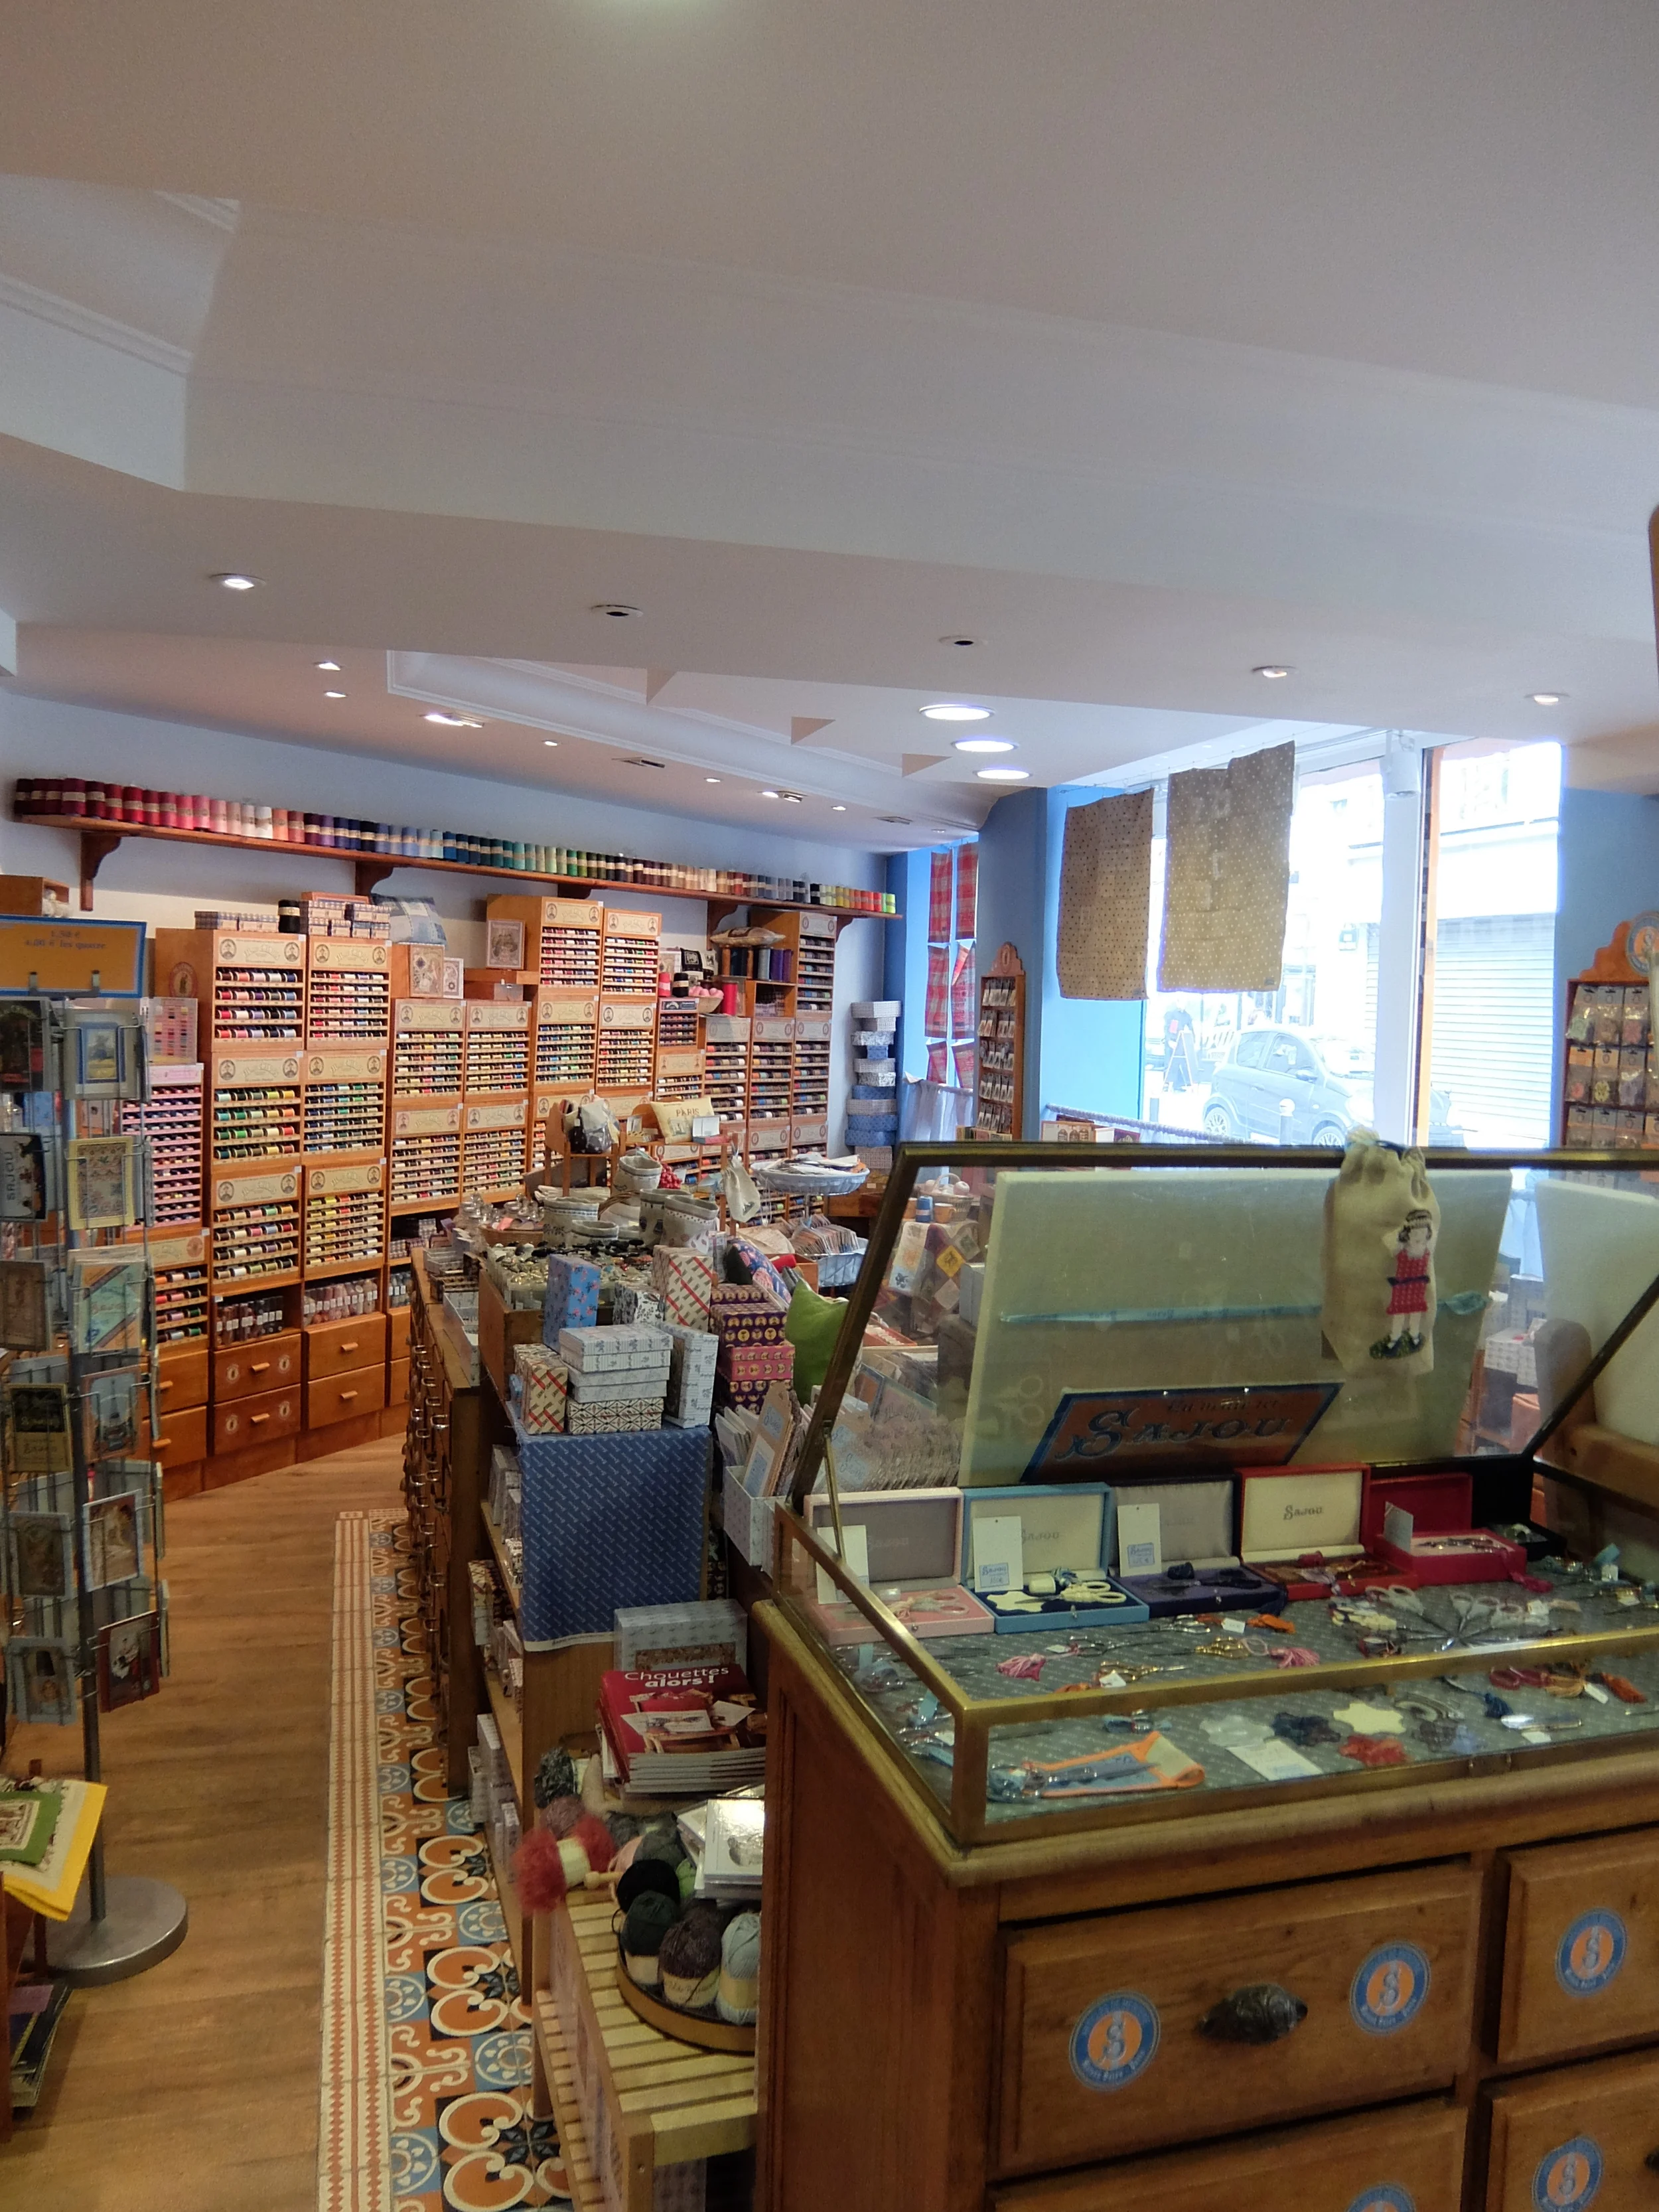
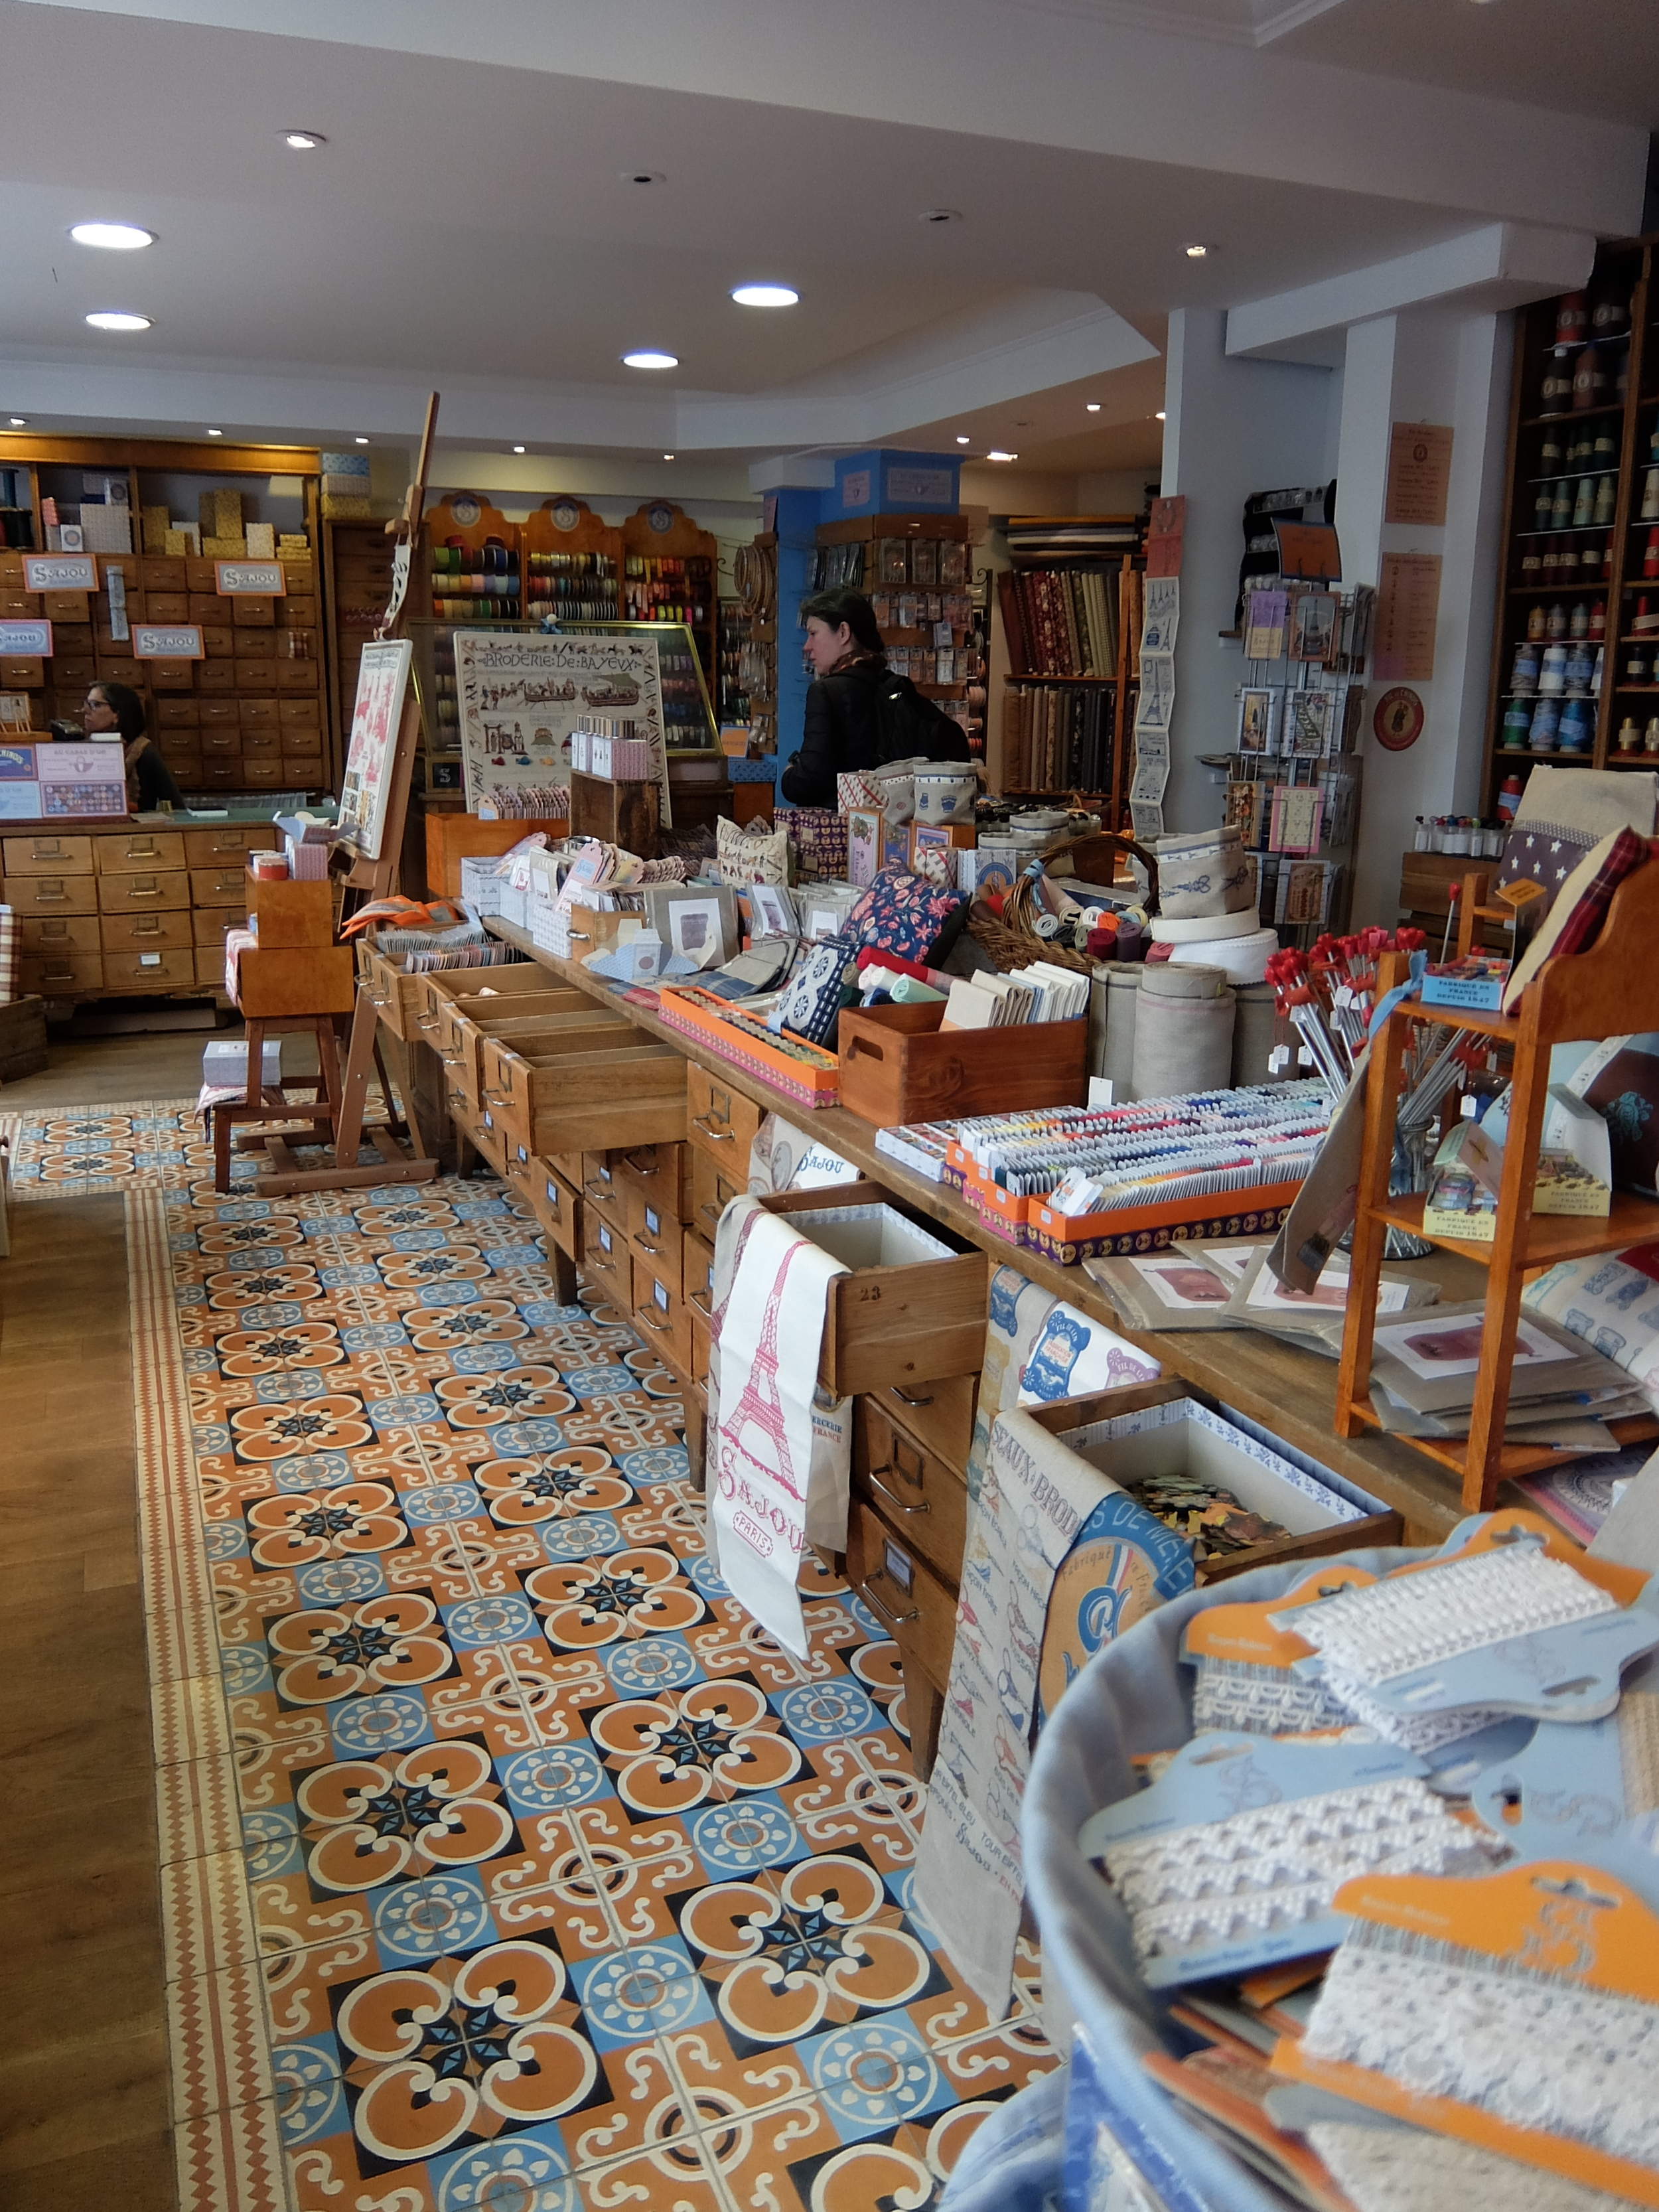
Textile Tours of Paris
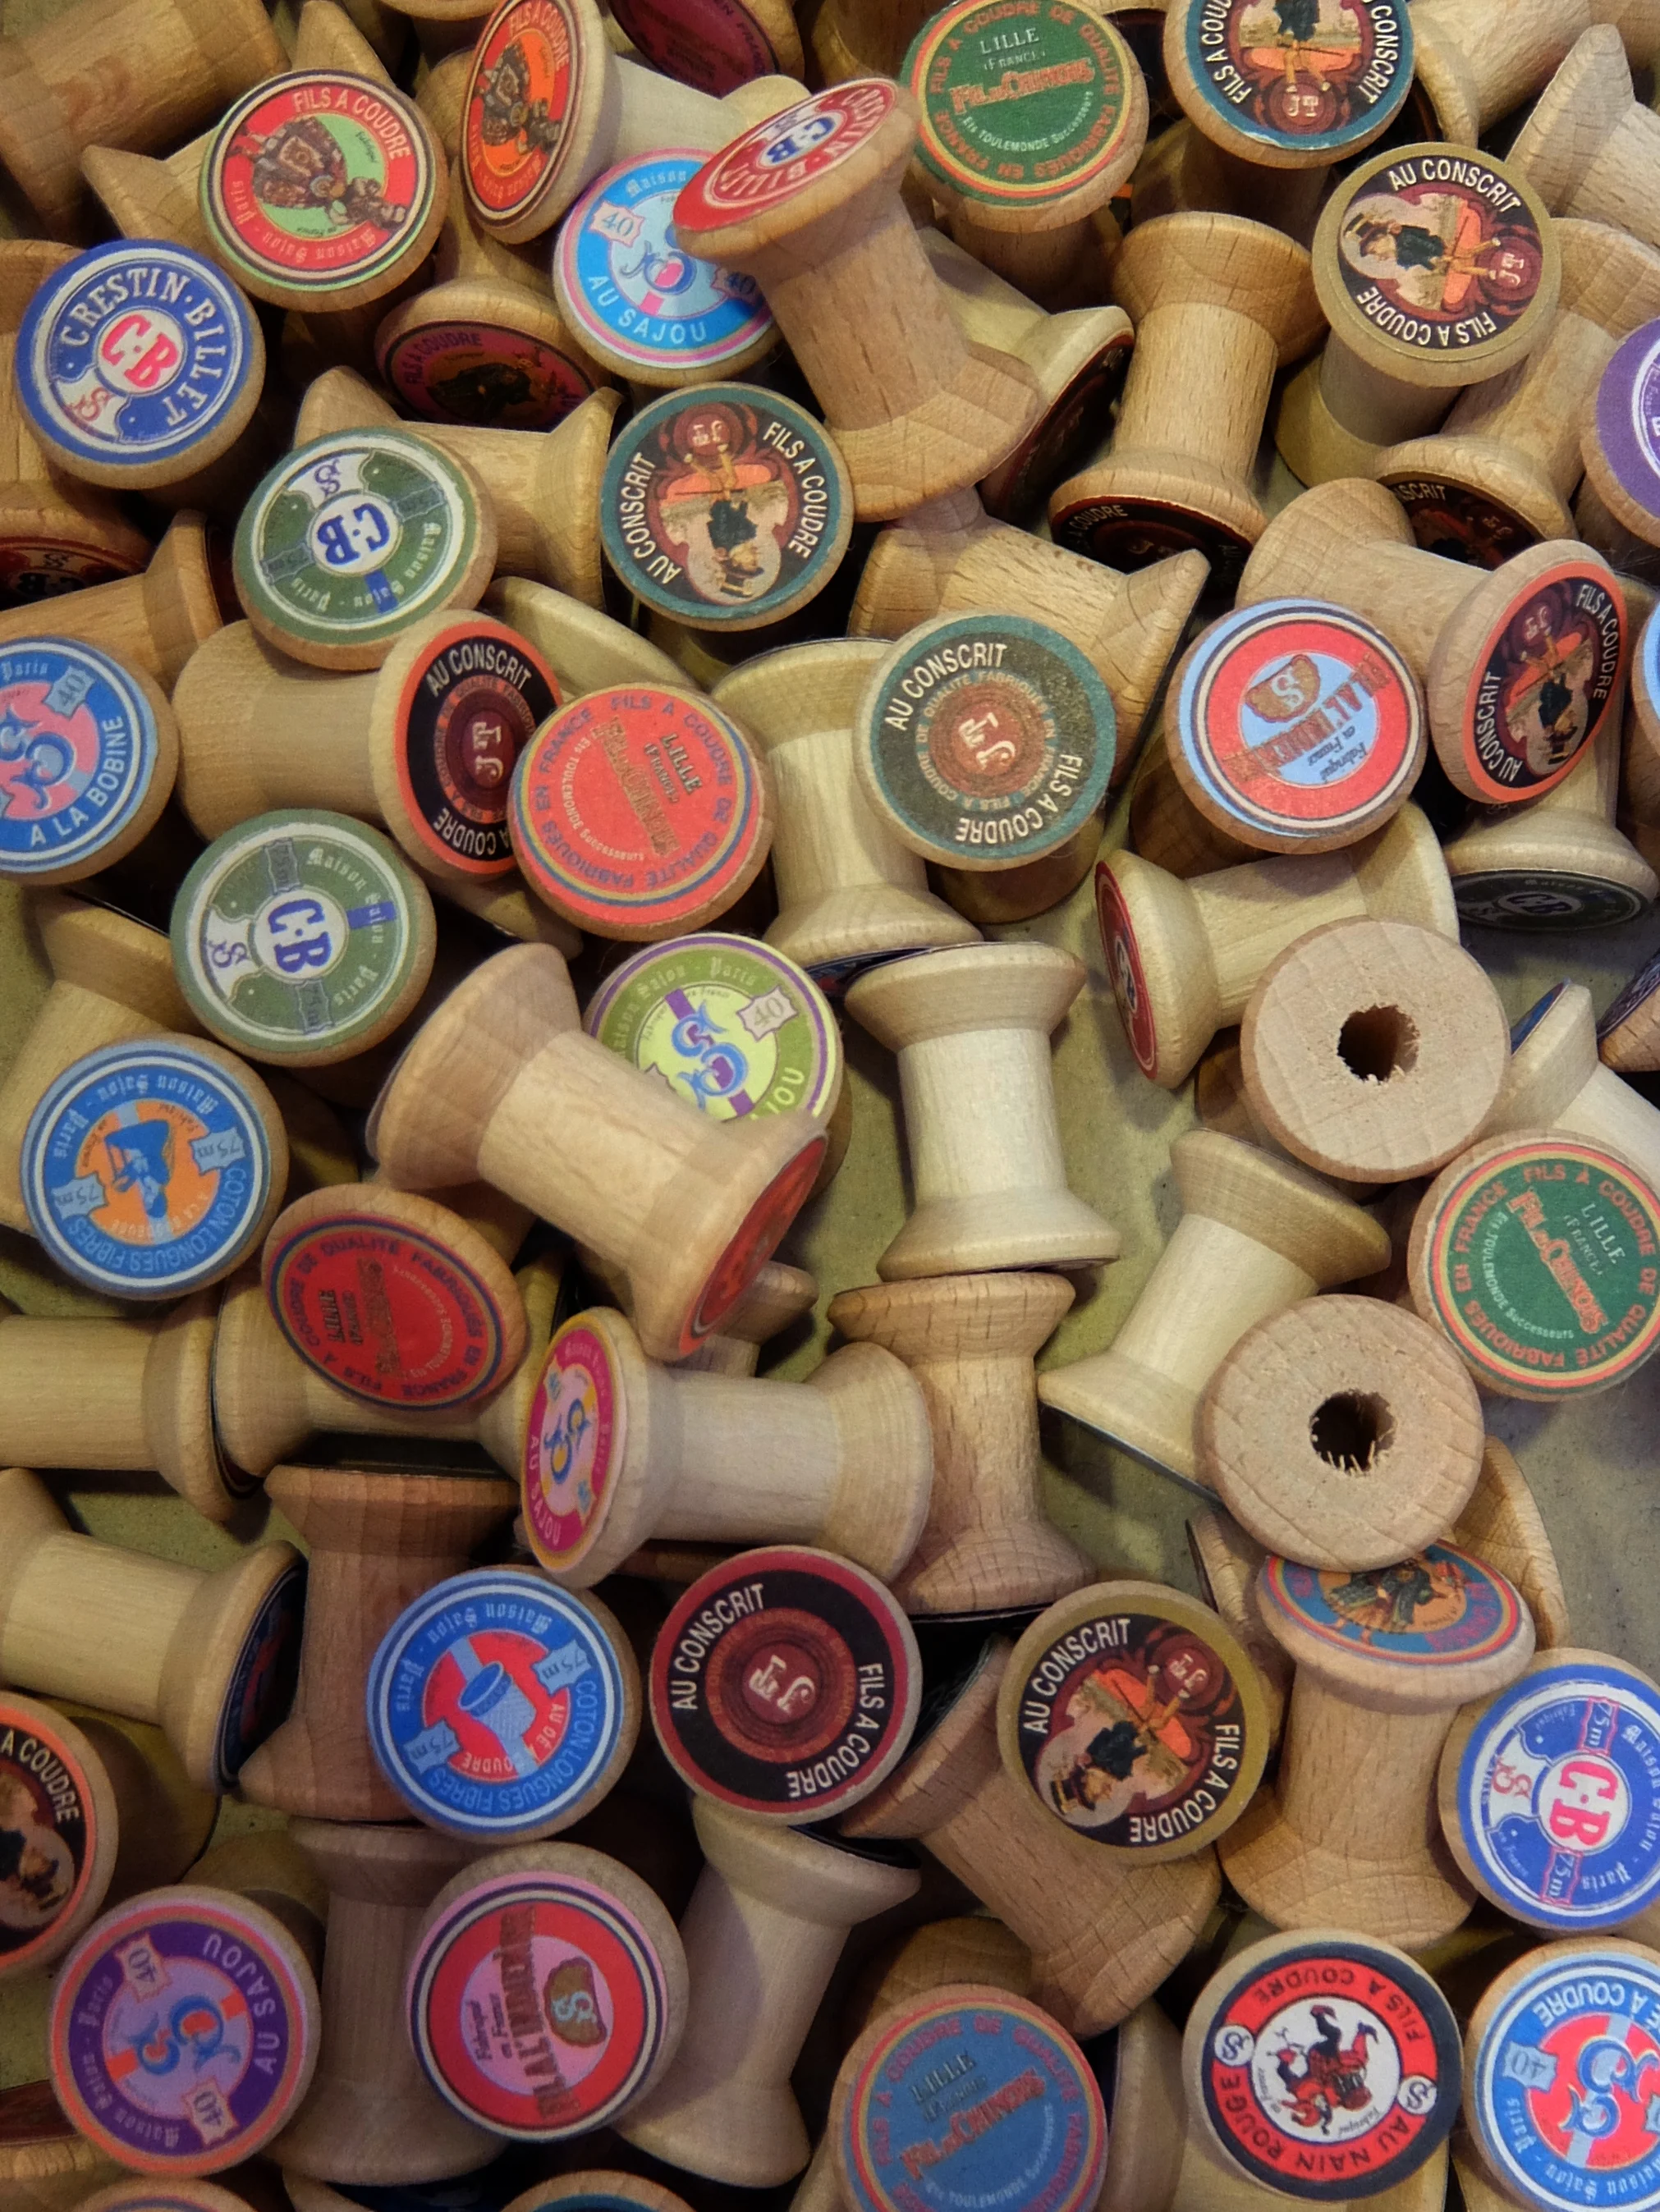
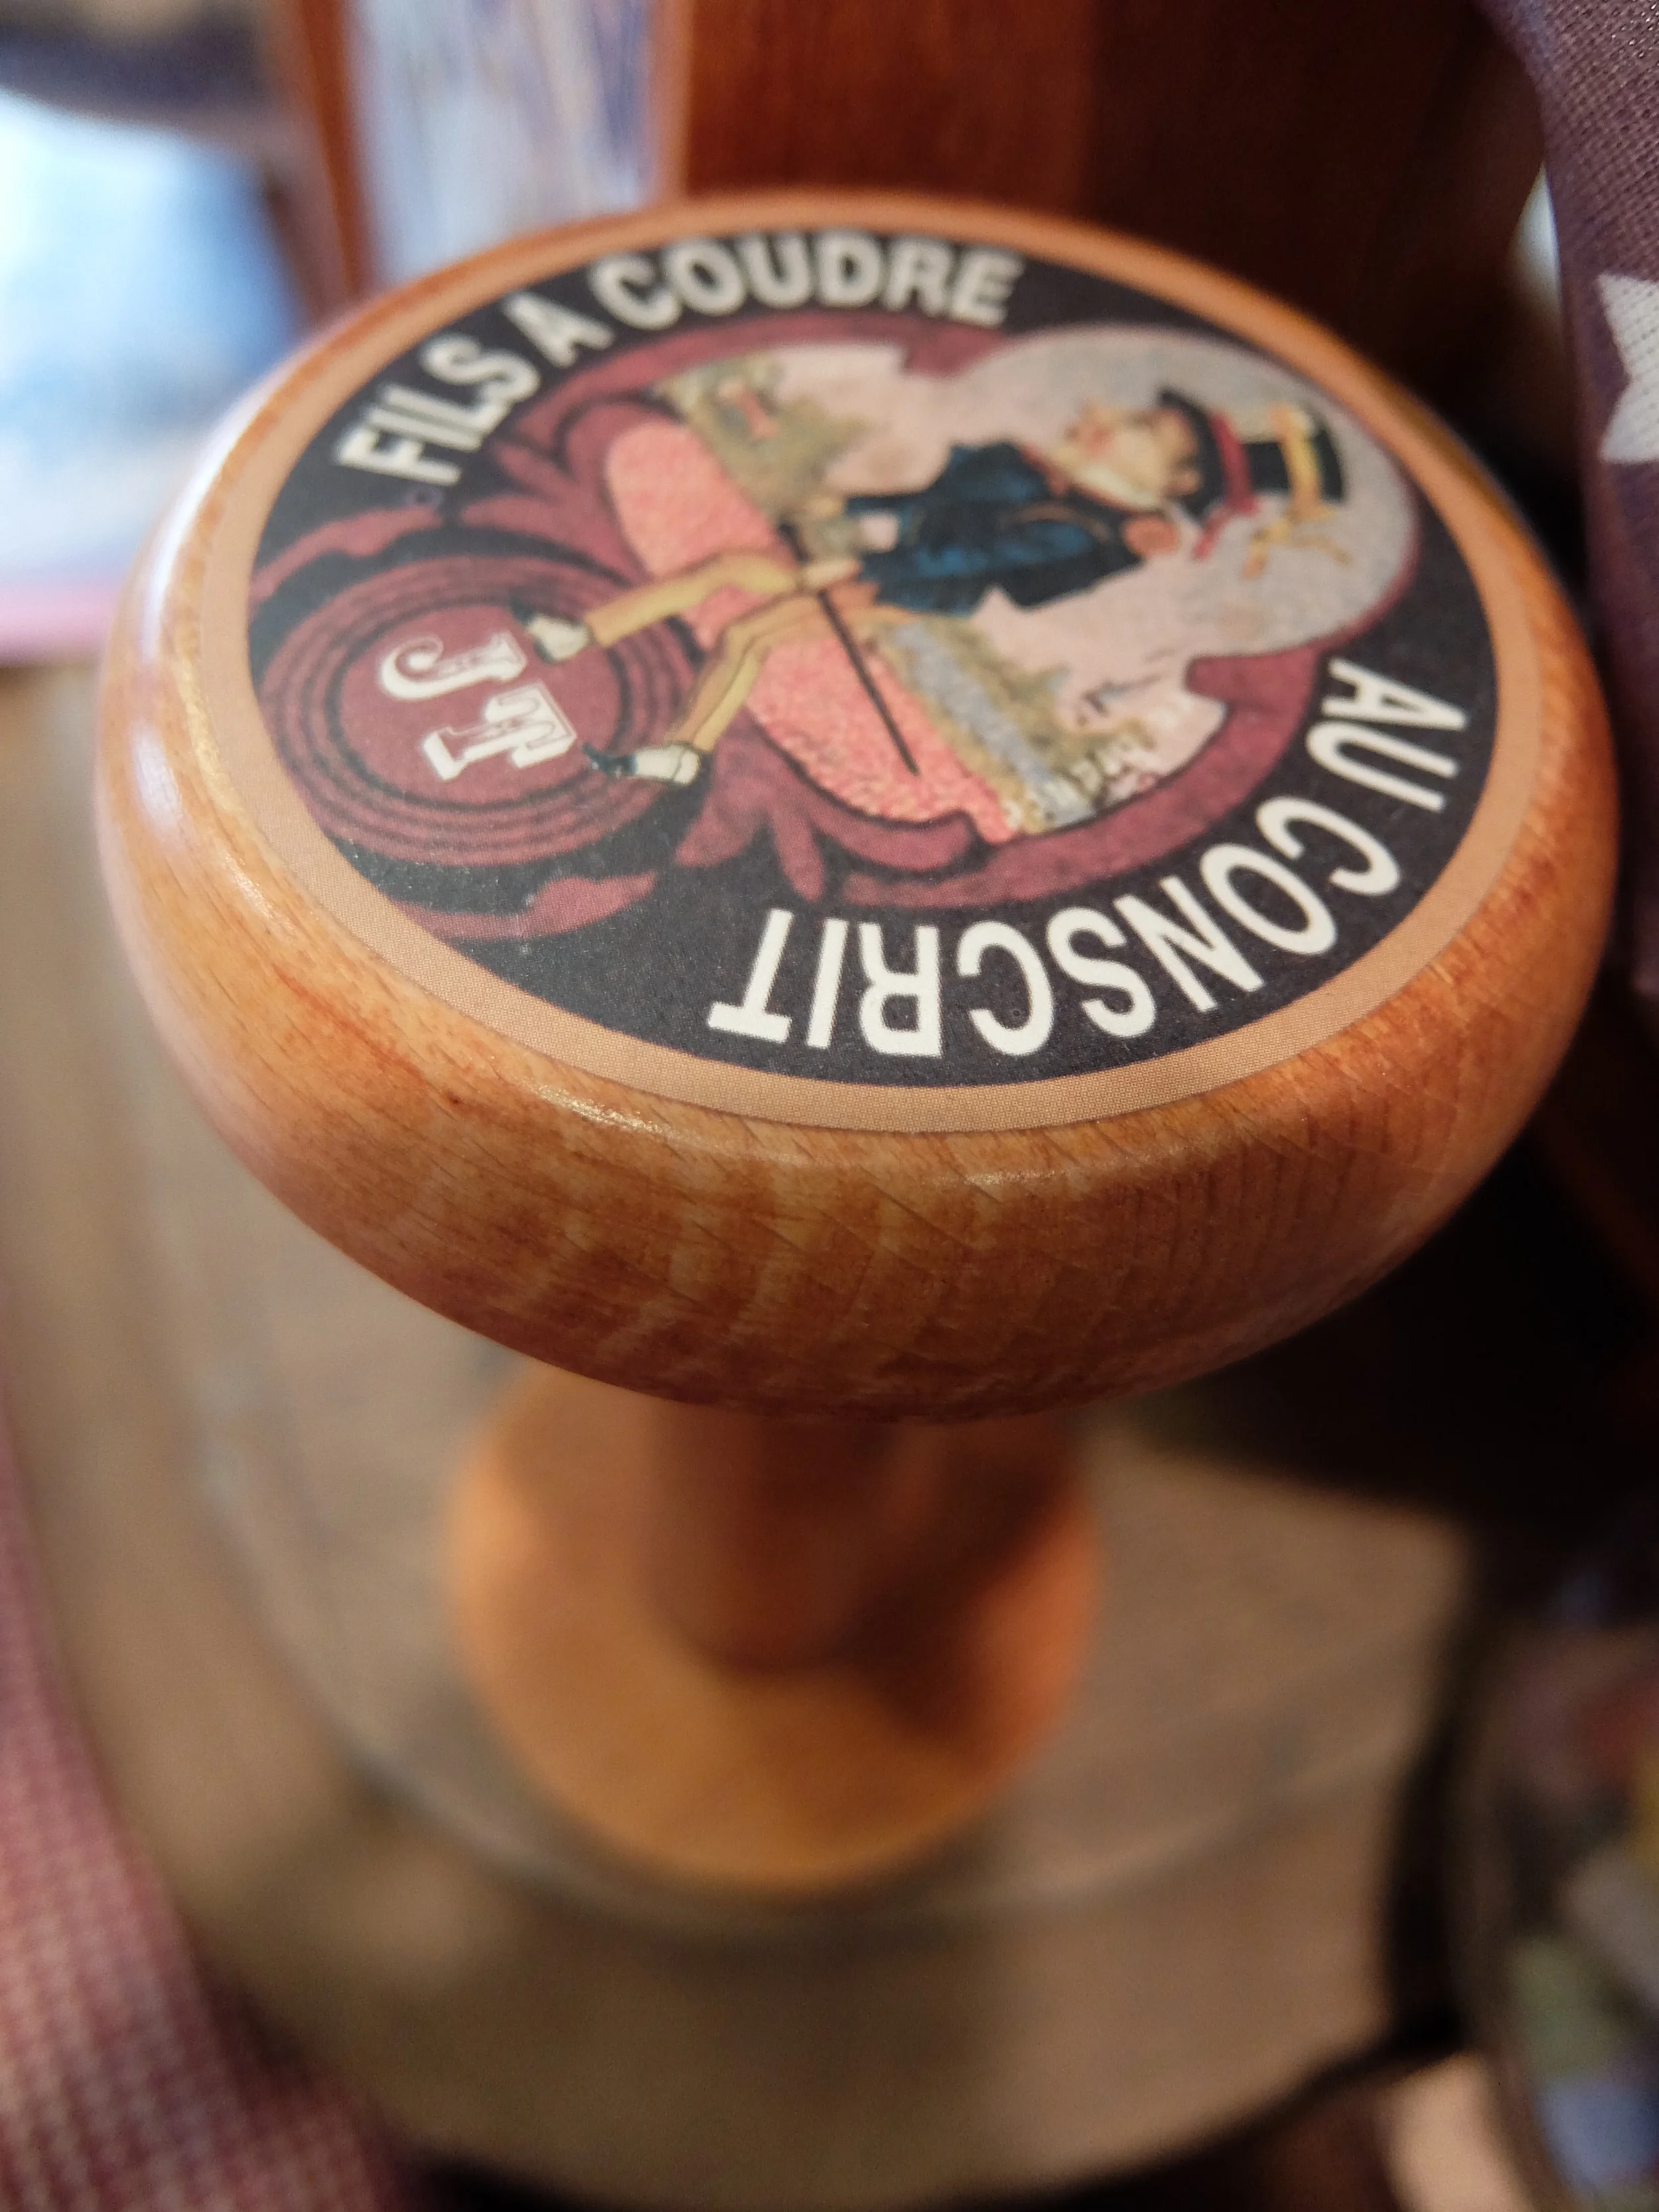
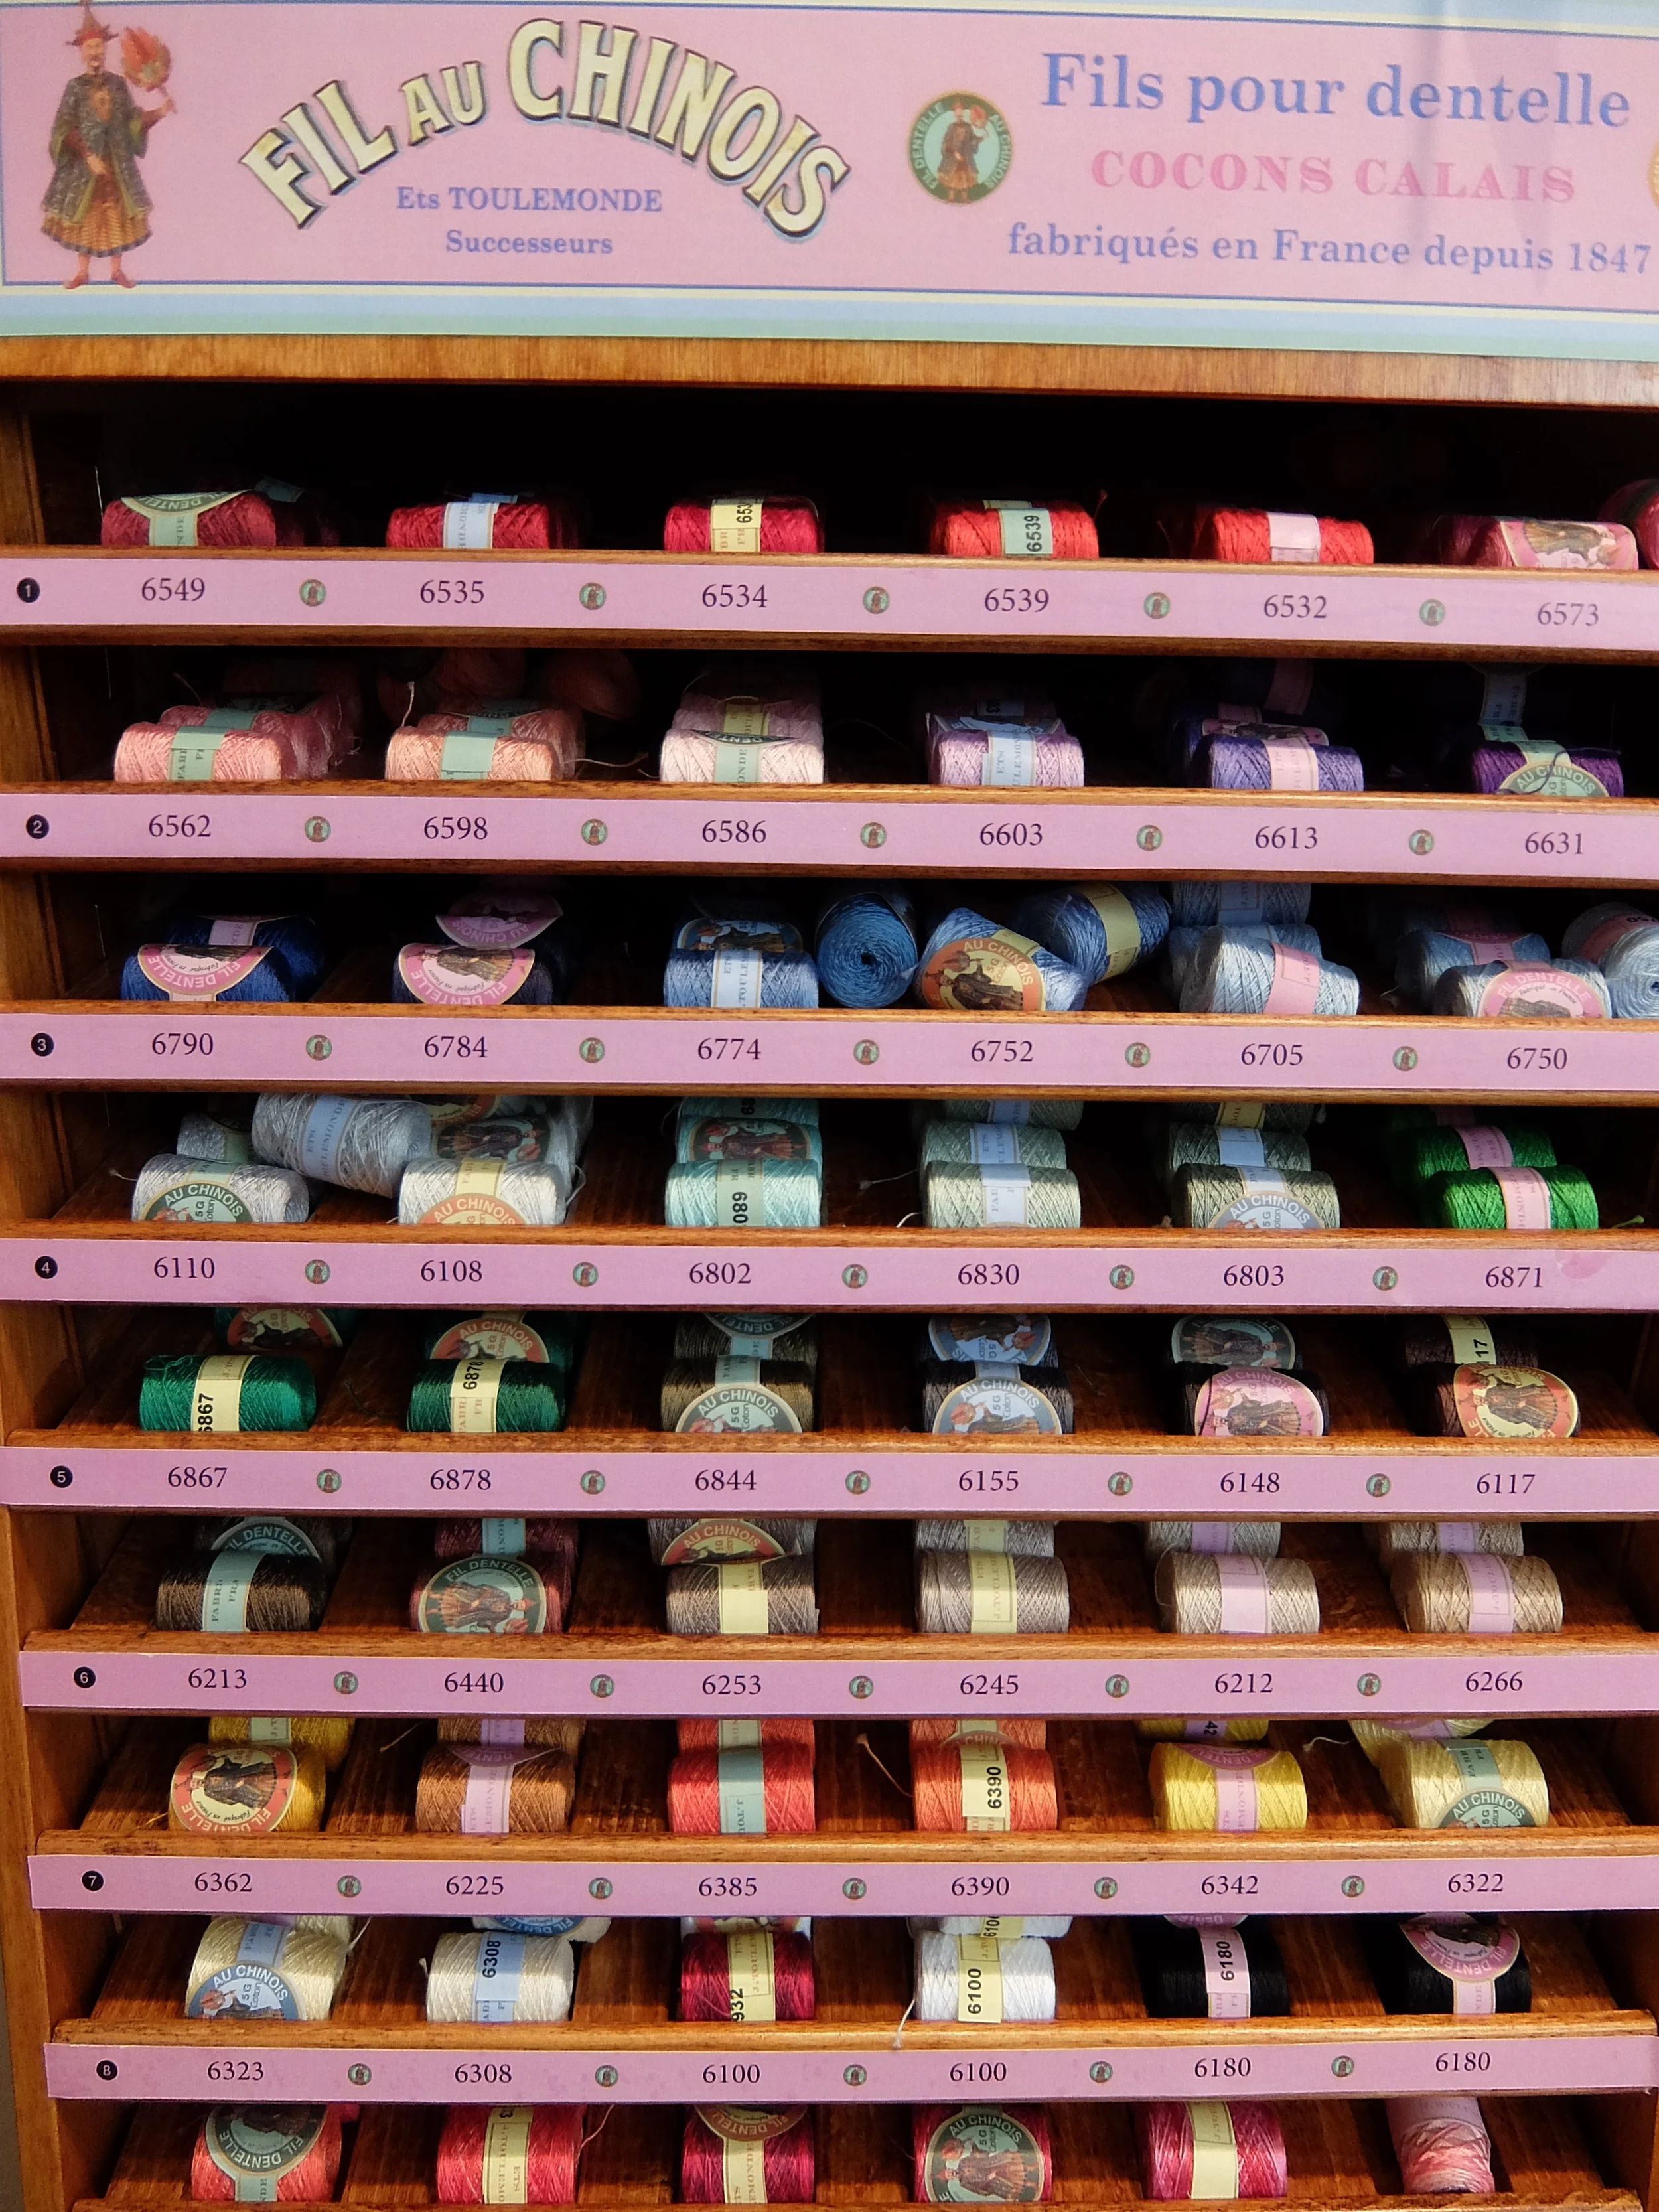
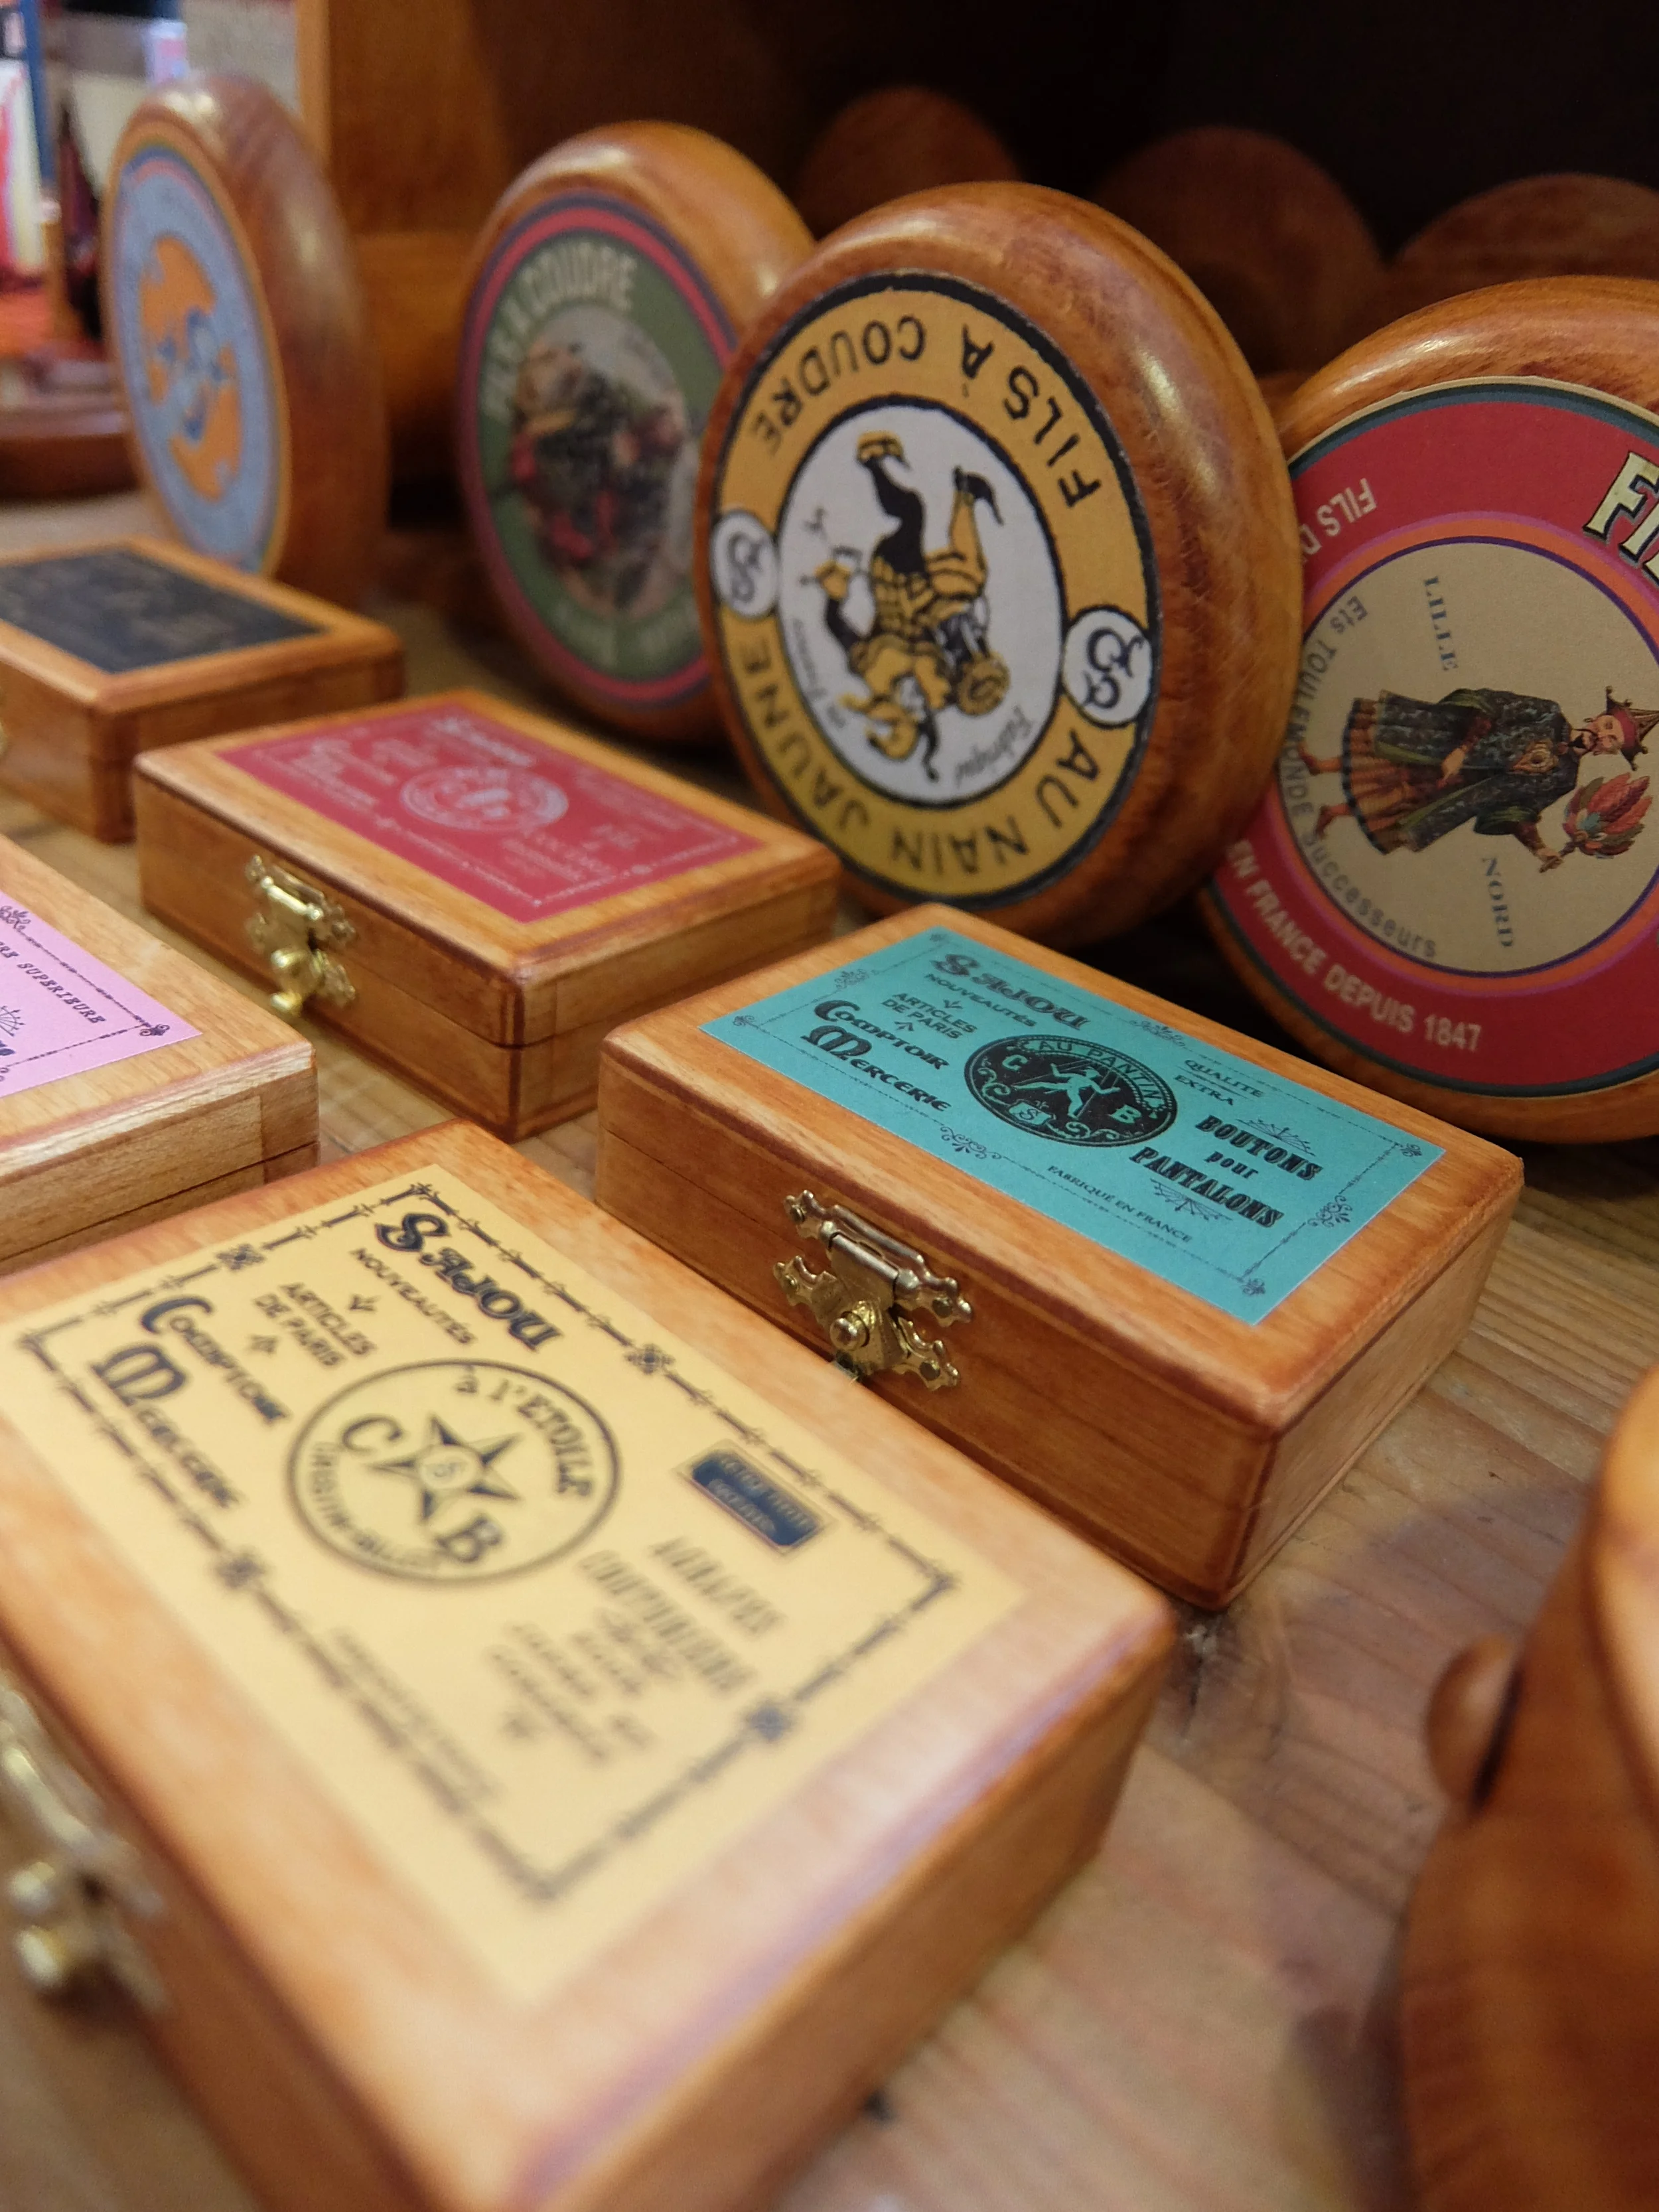
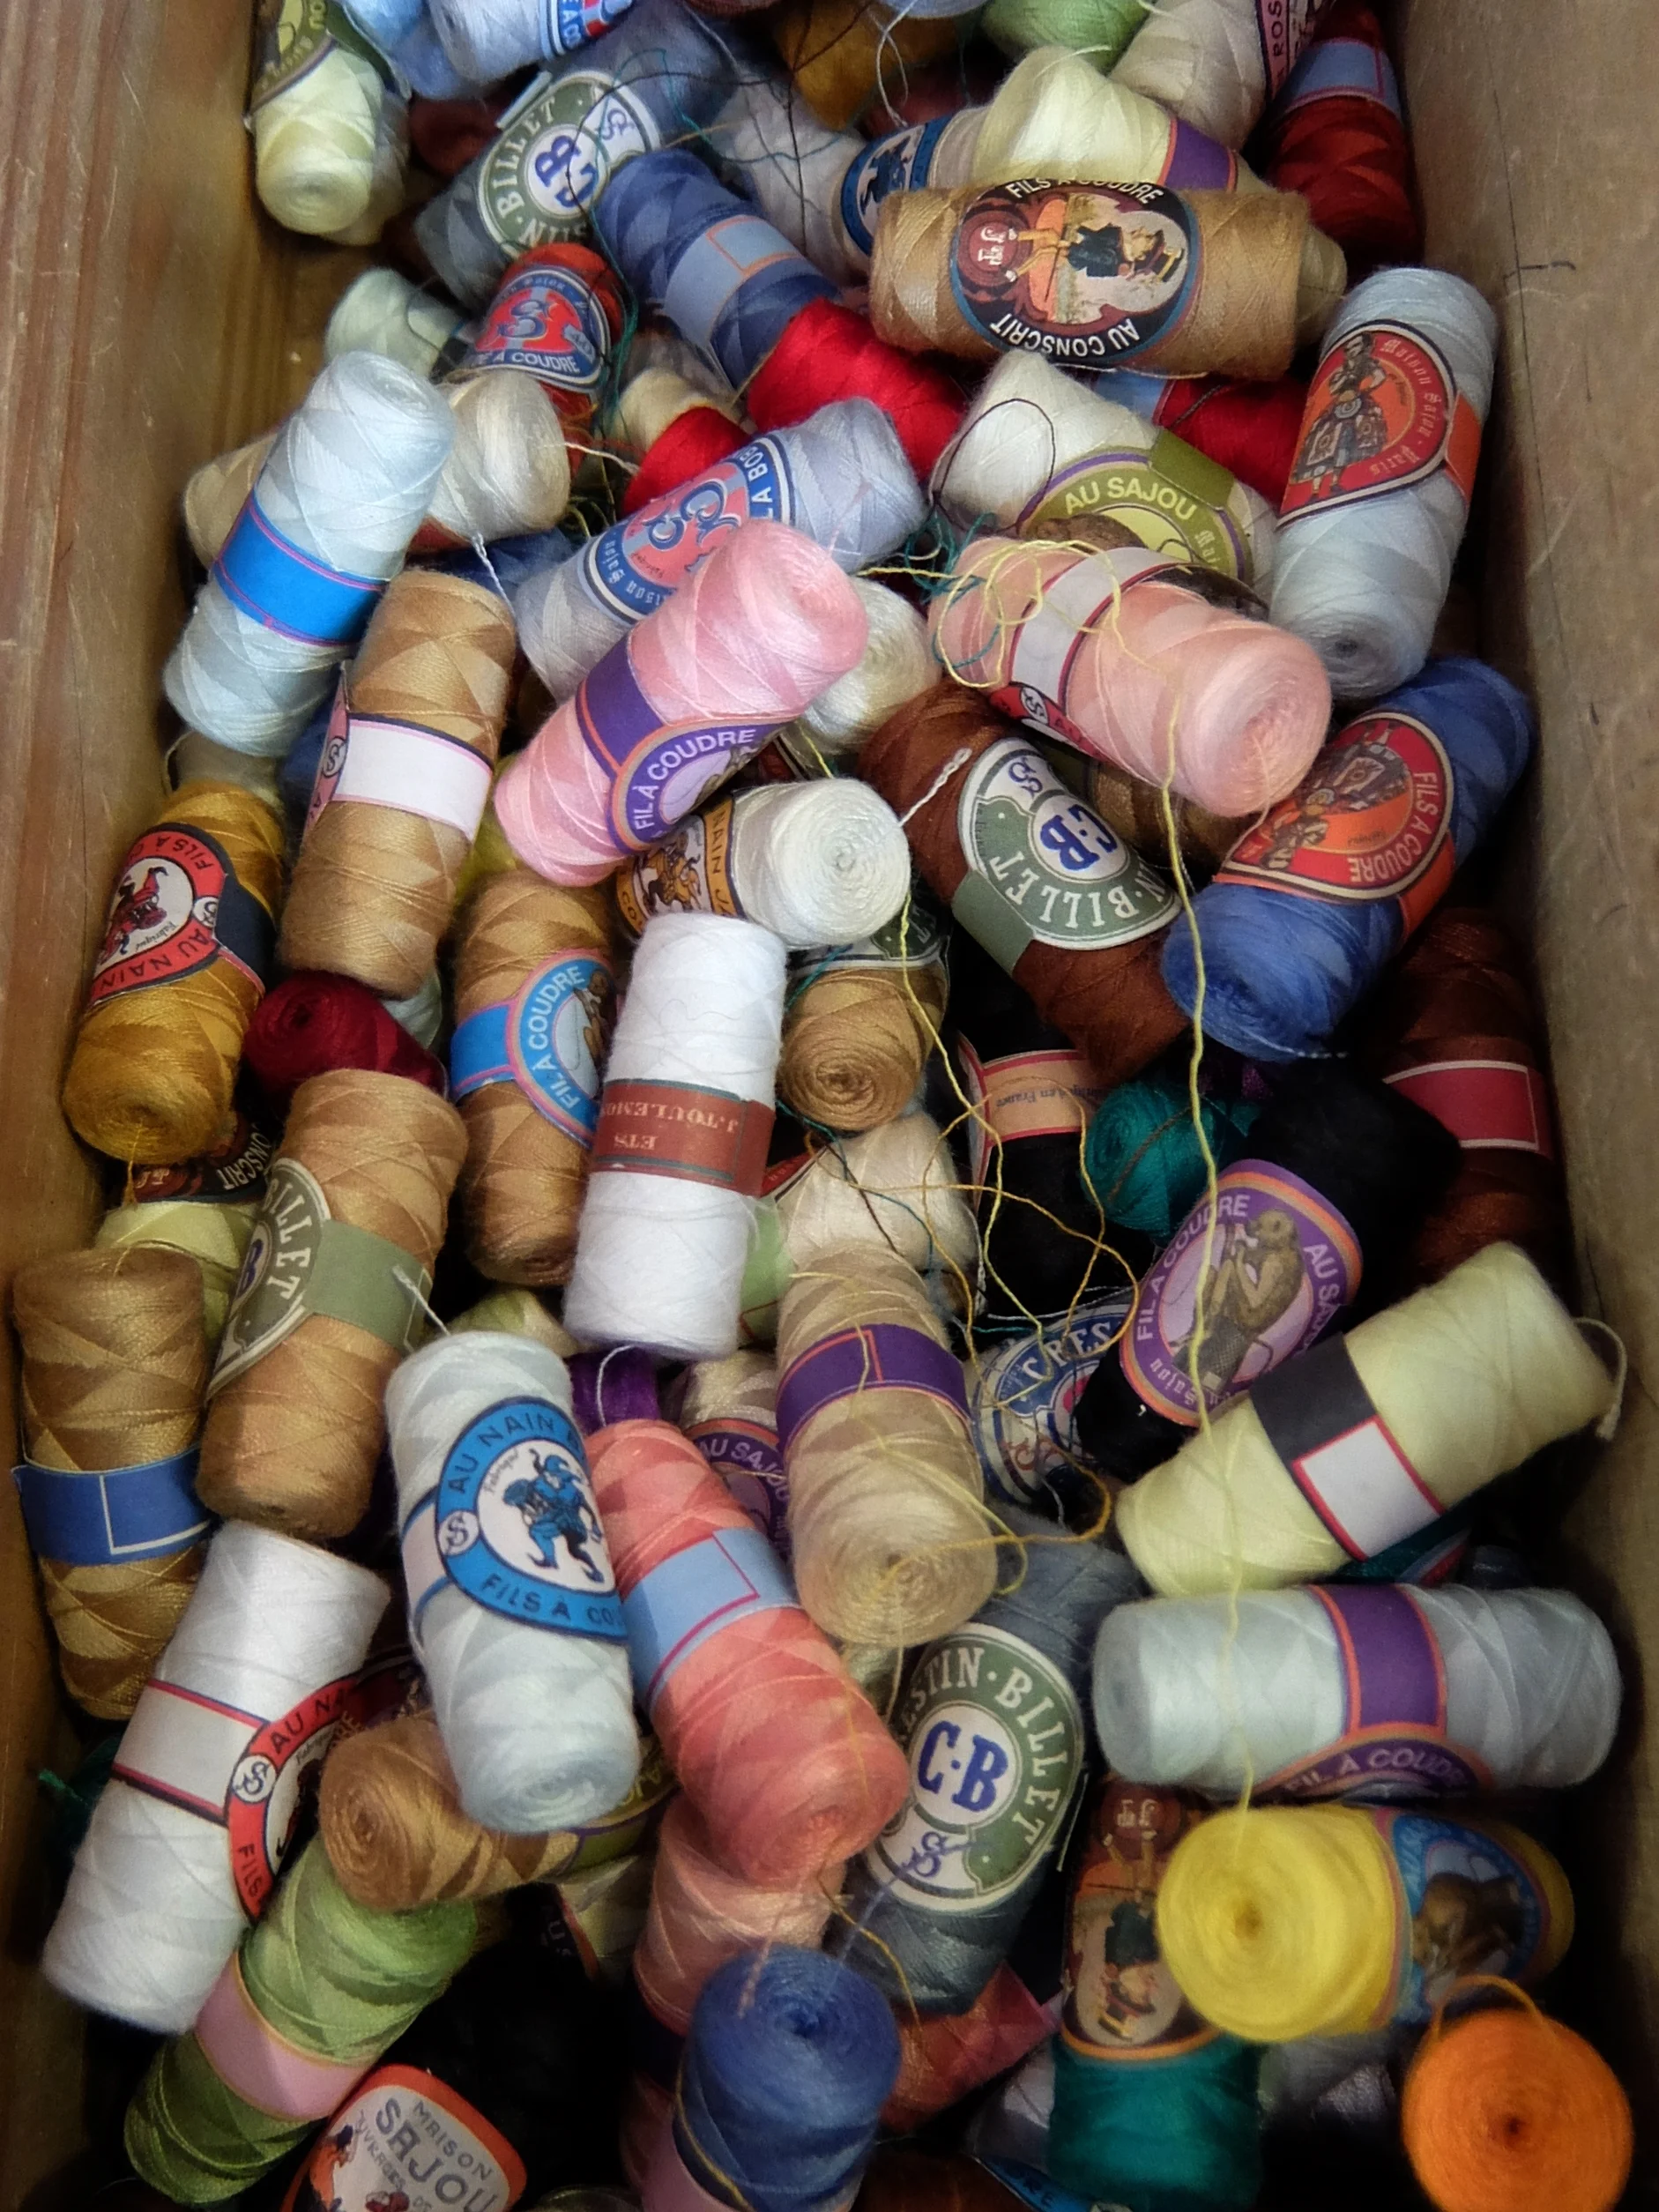
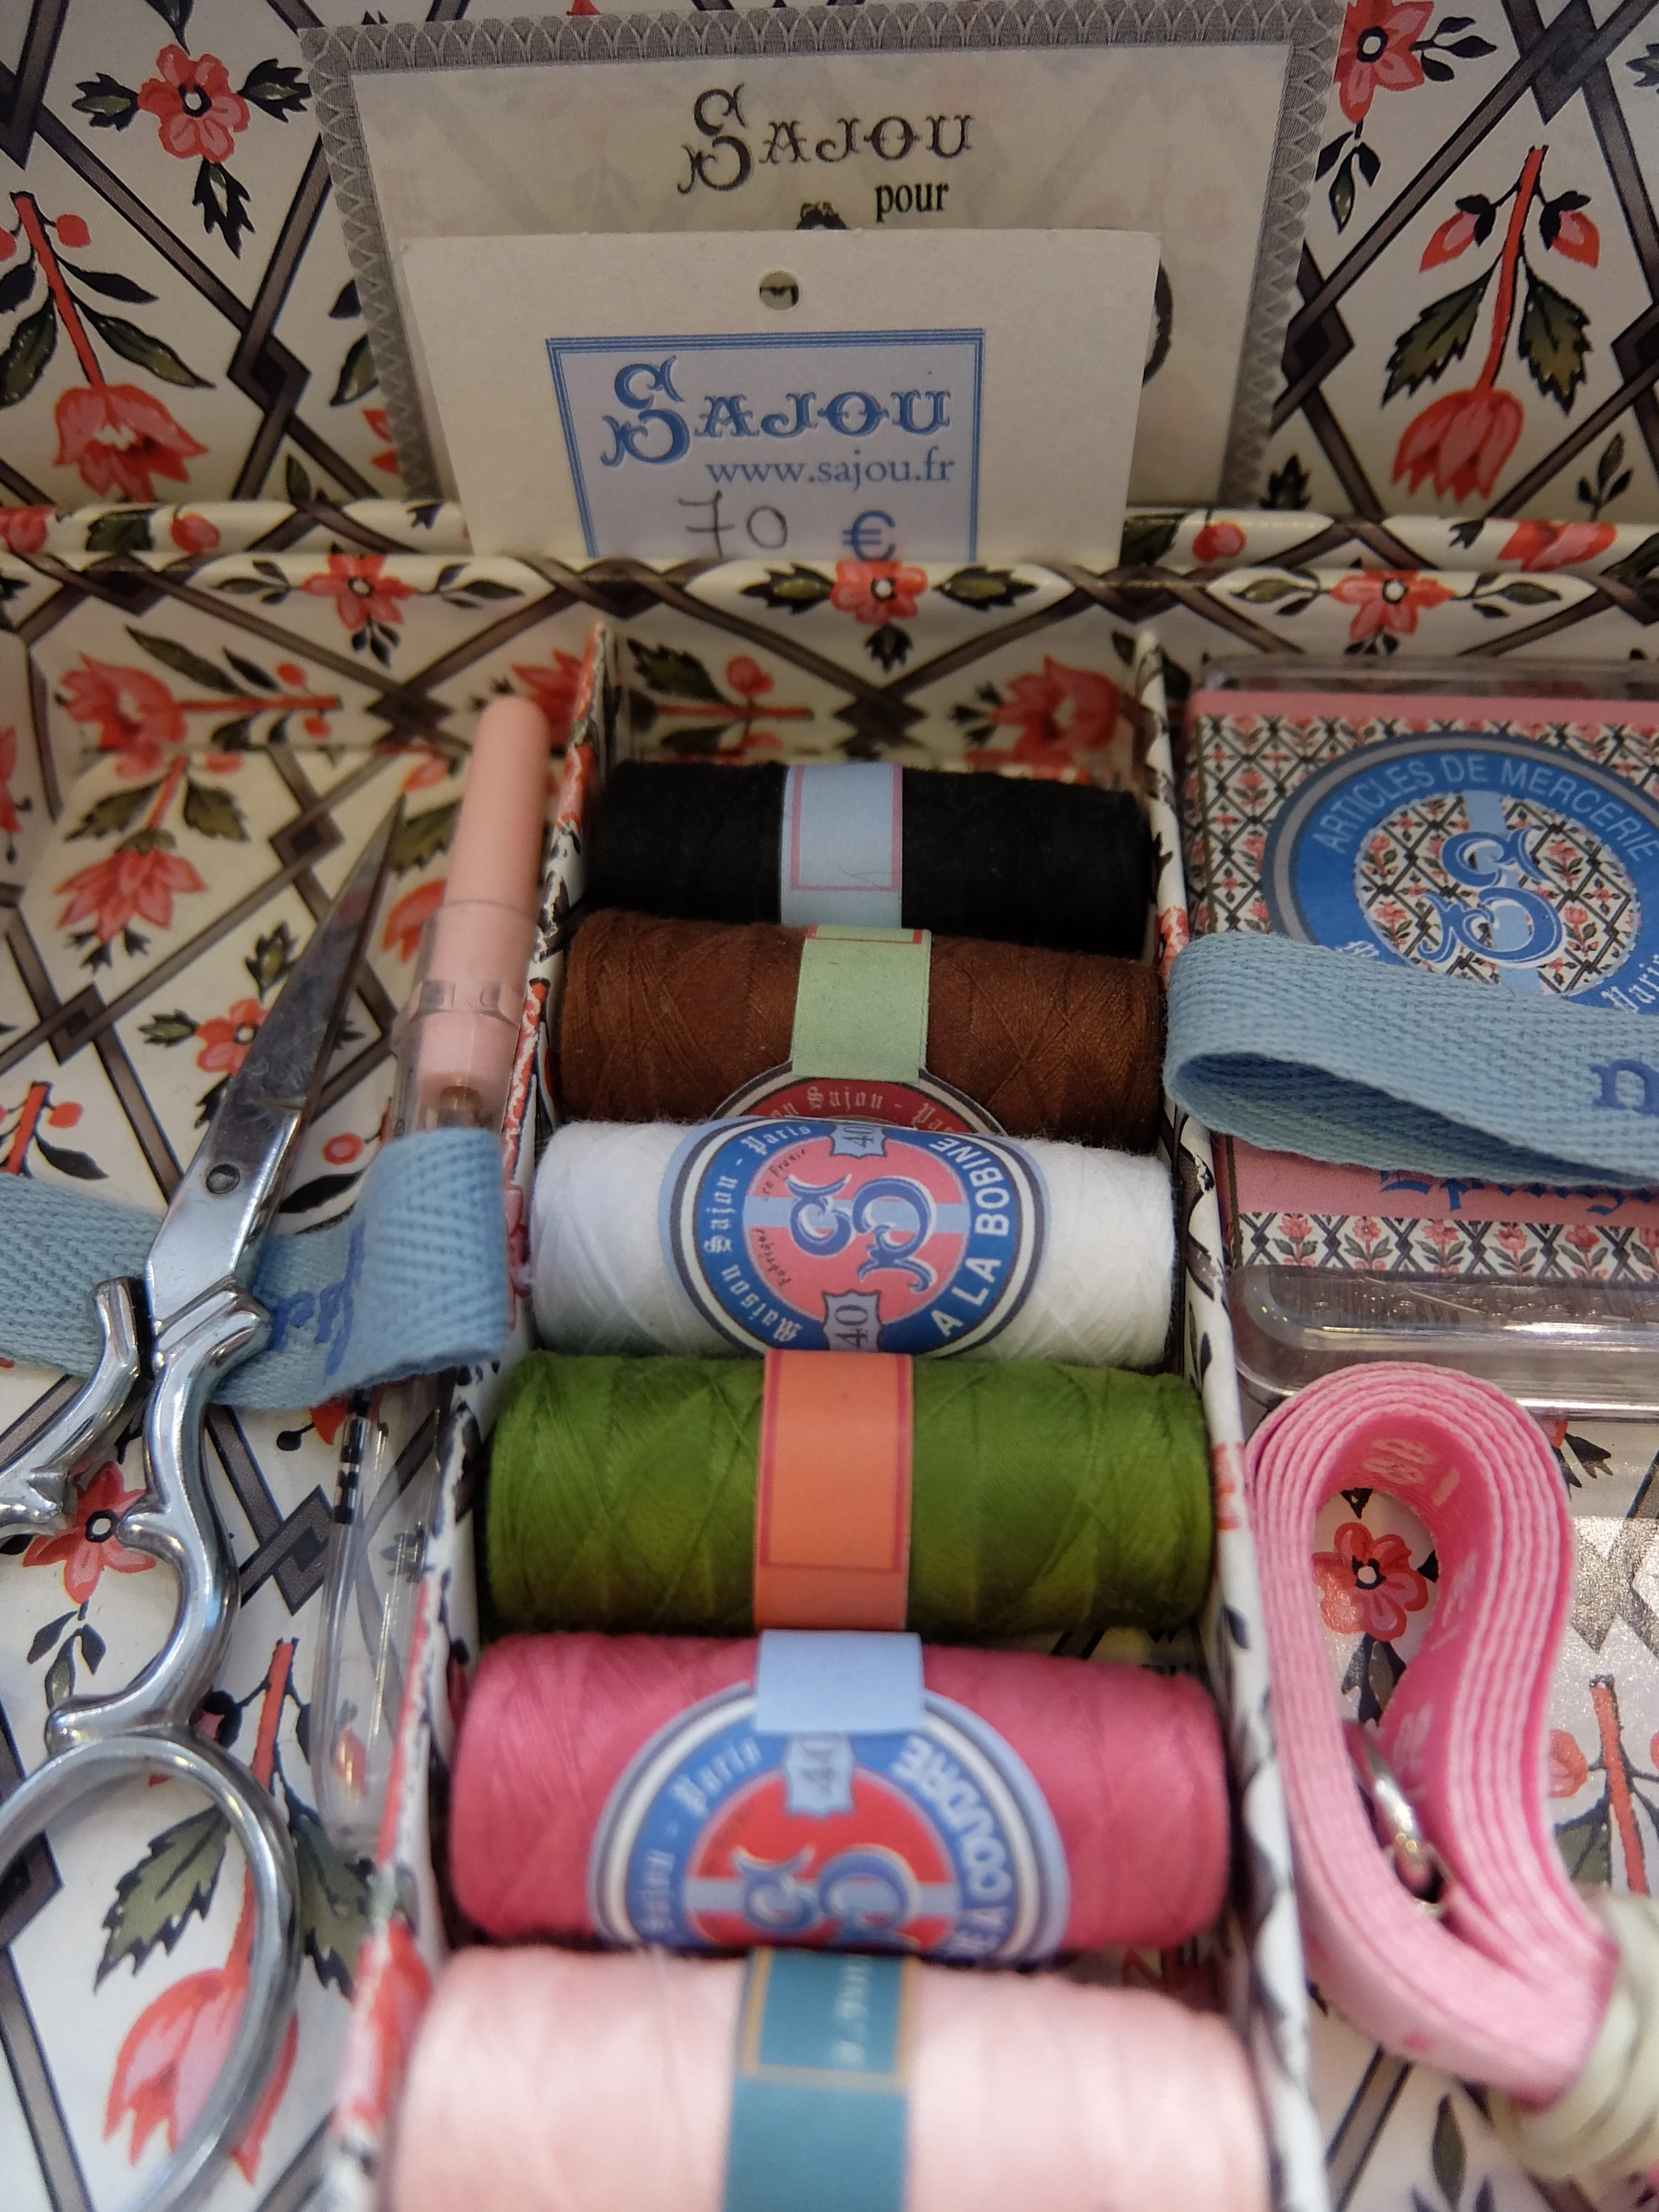
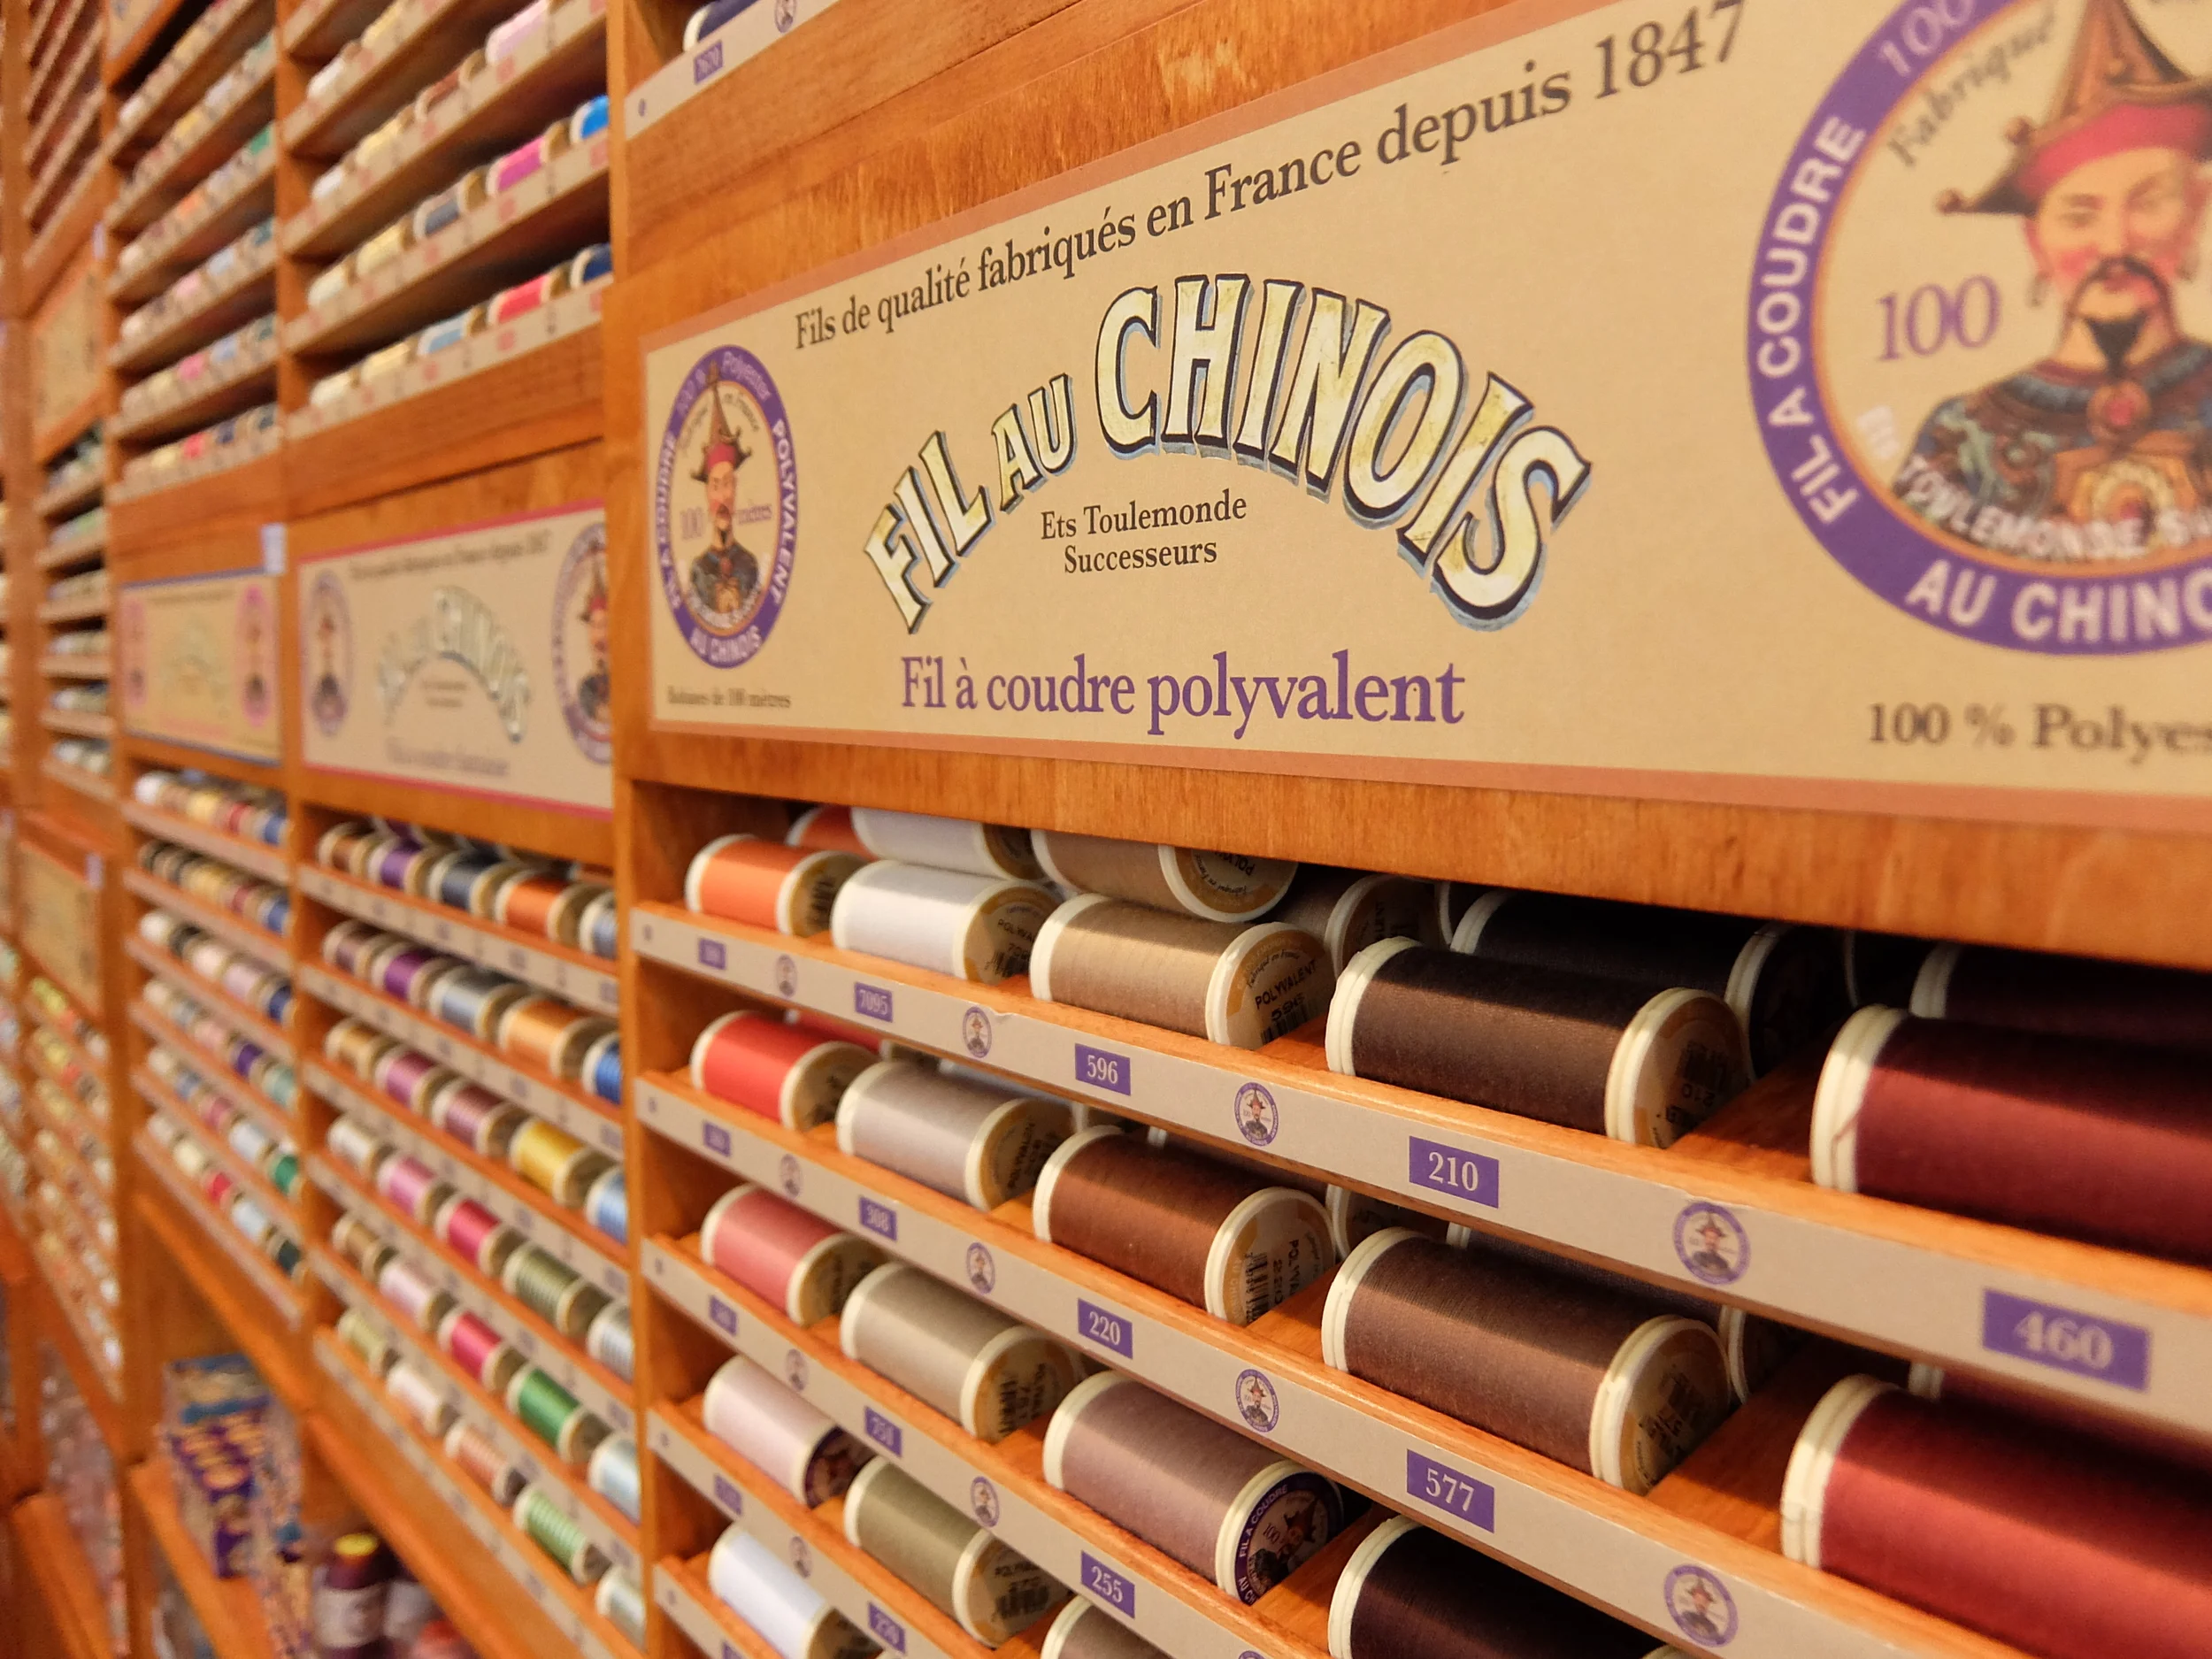
Join Rebecca on a tour of Paris’ charming haberdasheries nestled deep in the winding streets of Le Sentier, the city’s historic textile and fashion district. Enjoy a Sunday morning with Rebecca on a Flea Market Tour as she guides you through the labyrinth alleys of Paris’ oldest marché-aux-puces to uncover hidden treasure troves filled with vintage lace, linen, passementerie, golden threads and gossamer lingerie. To find out more visit Textile Tours of Paris.