In the second week of the sampler there were three new techniques each day; vermicelli stitch, beads and sequins, applying sequins in a river and graduating colours of sequins, creating relief with padding, point-riche with silk rayon and metallic thread, filling stitch, Come and Go and rolling ribbon techniques...
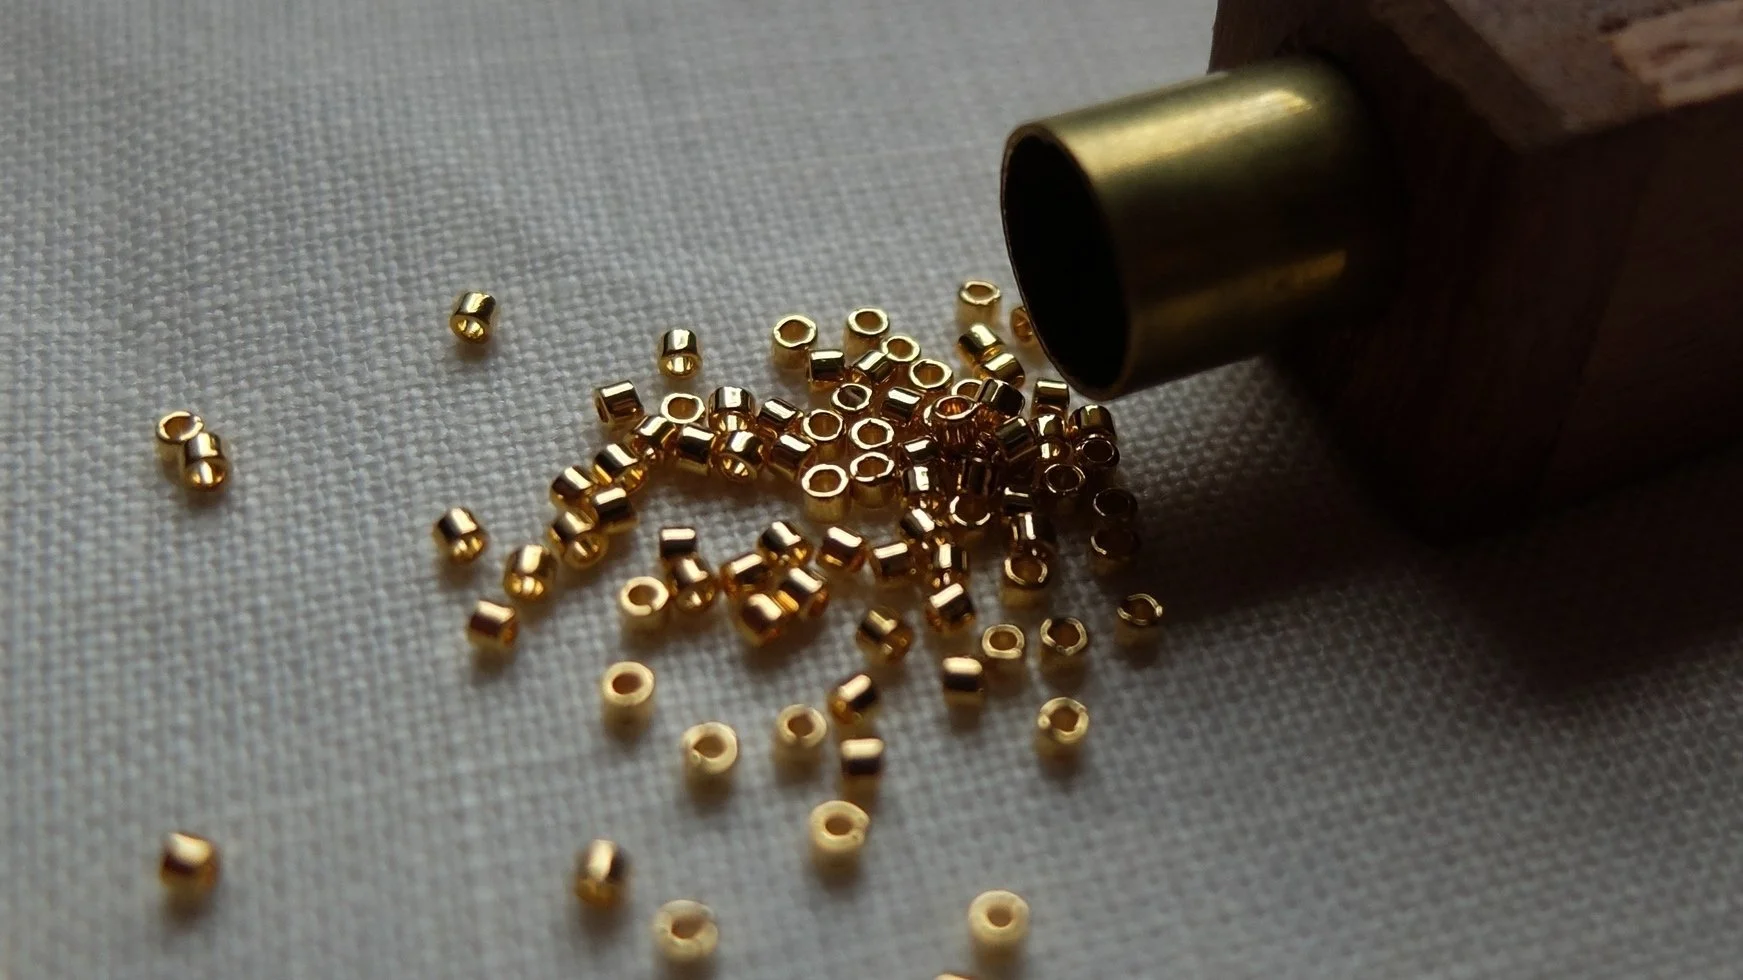
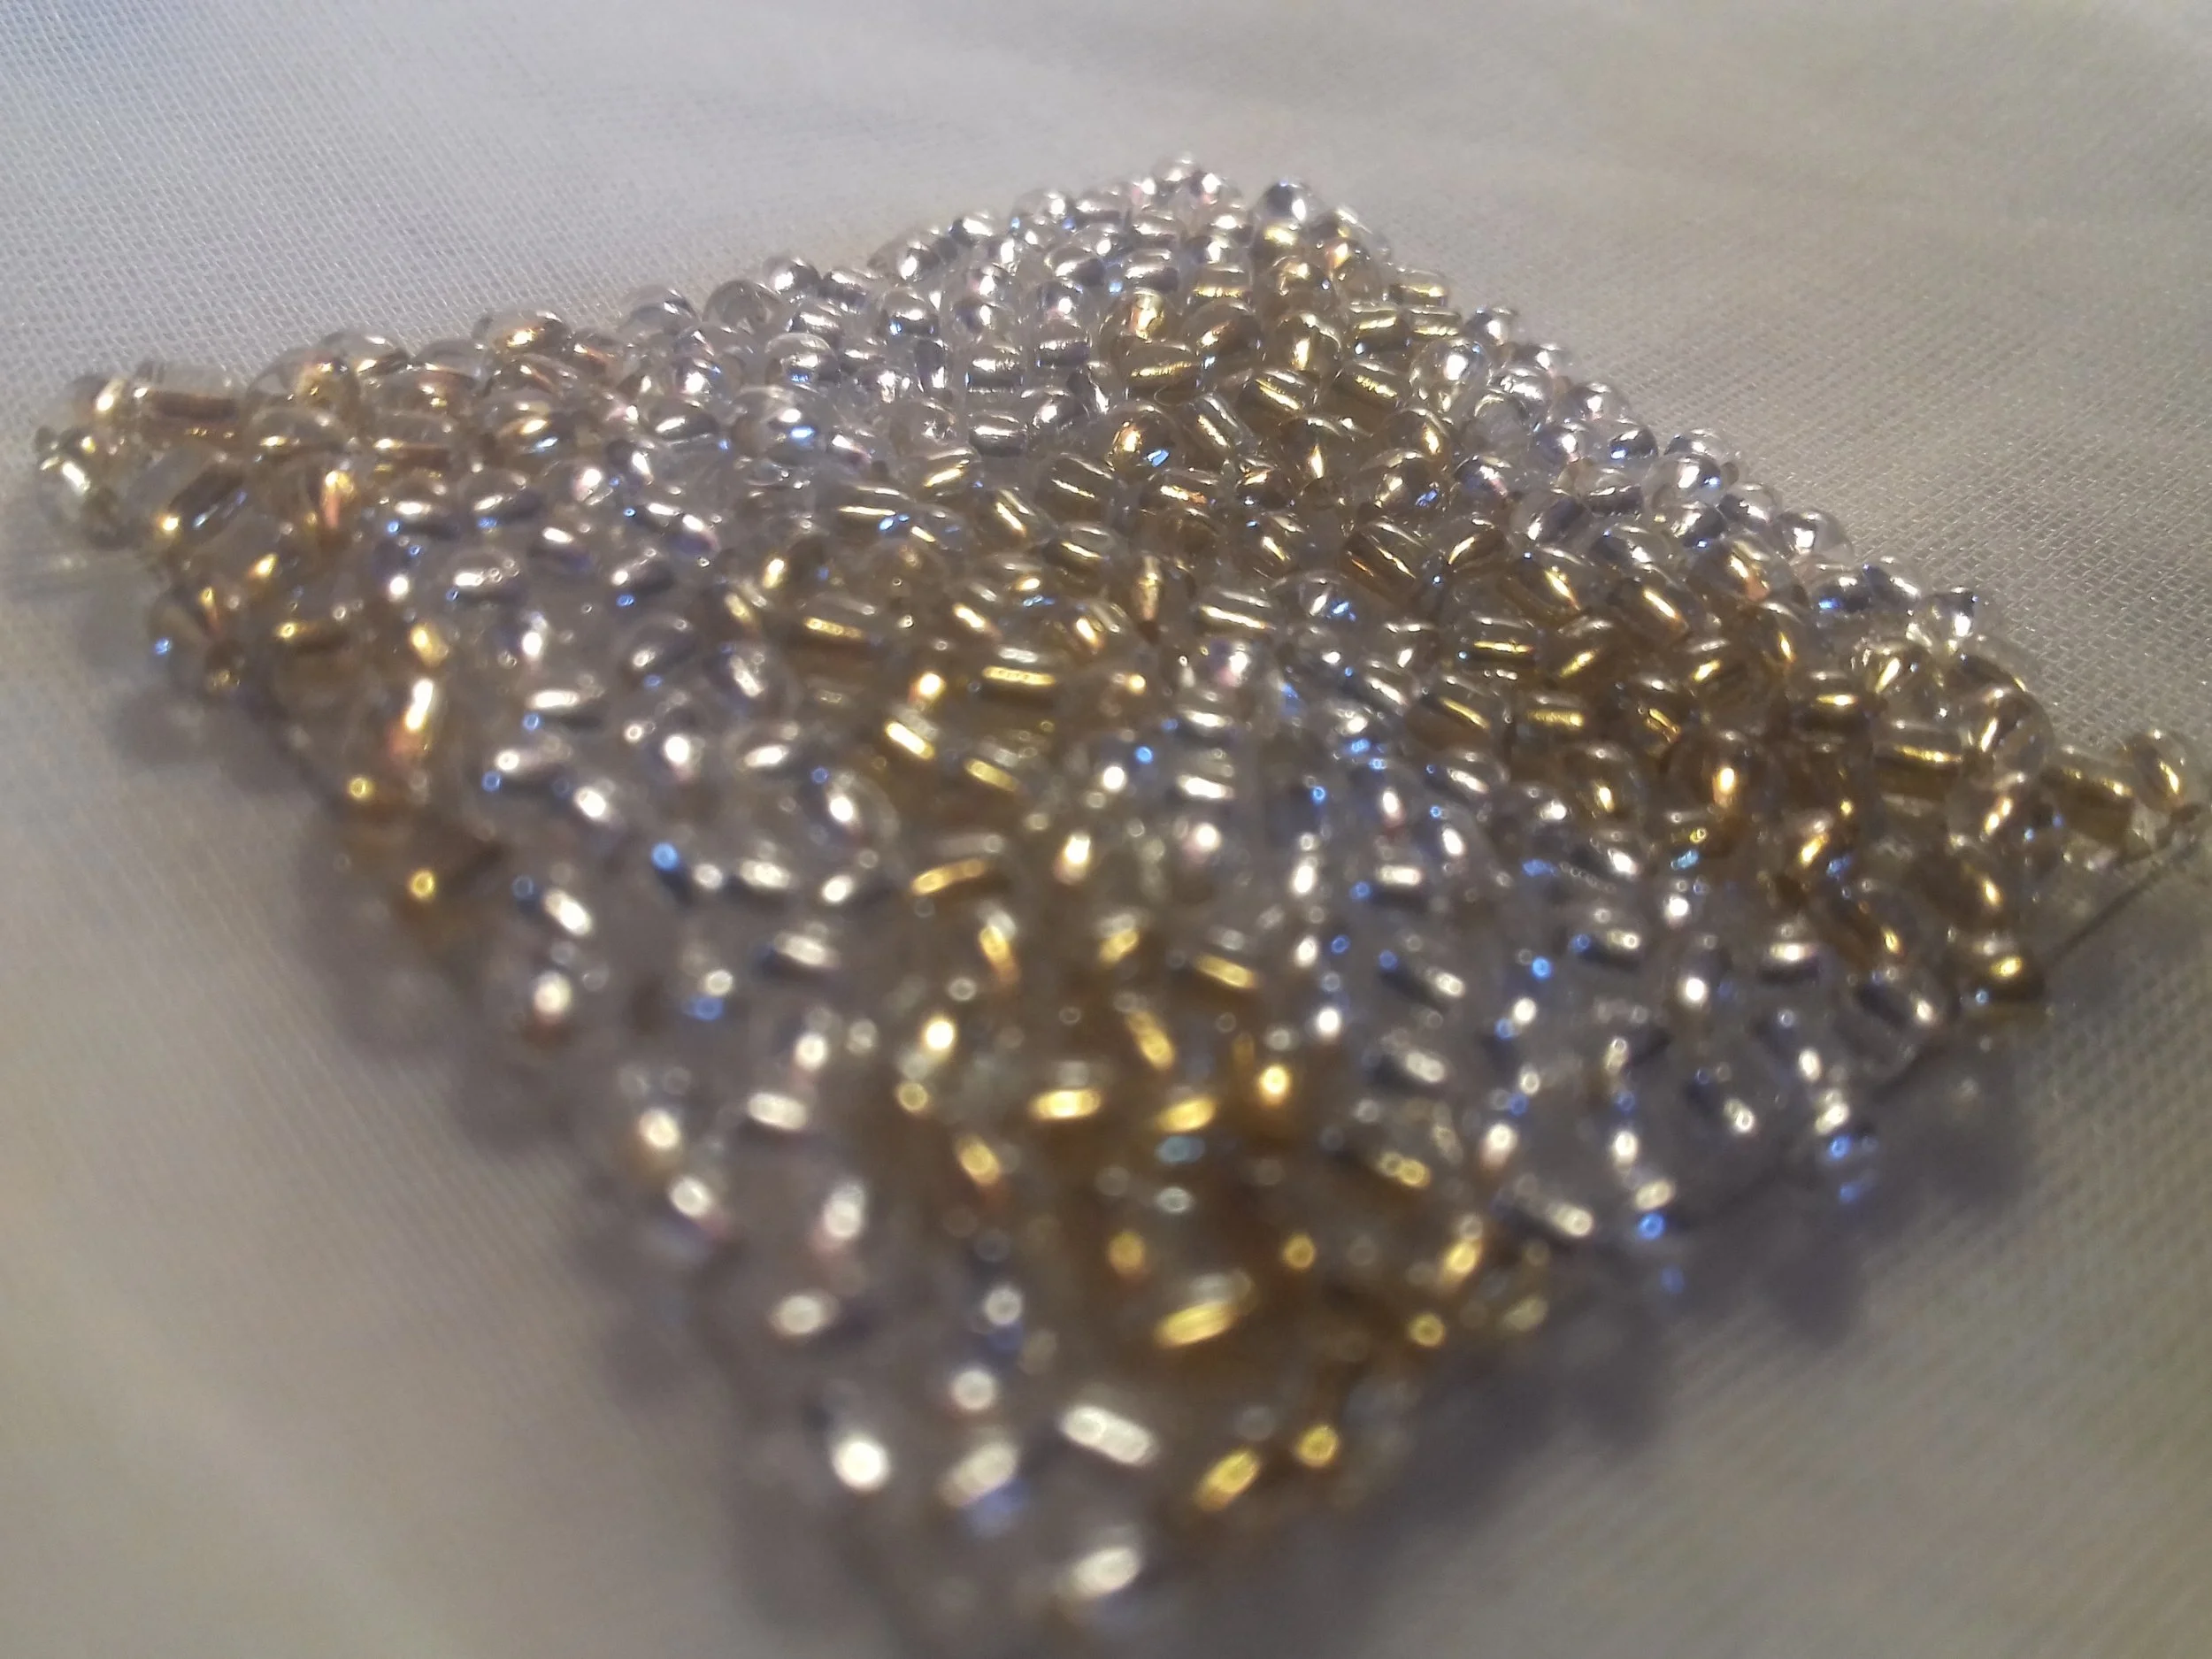
The first was the vermicelli technique which was created by Albert Lesage while he was working with Madeleine Vionnet. It can be rendered in stitches but is most often seen in beads or sequins and gives an organic, undulating effect of dense application.

The technique sounds simple - to change direction after each stitch so as to not have lines of stitches going in the same direction. Unfortunately this is deceptively difficult to do and in order to avoid straight lines it is much easier to develop a repeat pattern of waves. This is also considered a mistake and to be avoided. I felt like the technique and the thread was controlling me and found myself unpicking stitches after sewing myself into a corner or inadvertently developing a pattern.
Vermicelli Beads

Vermicelli Sequins

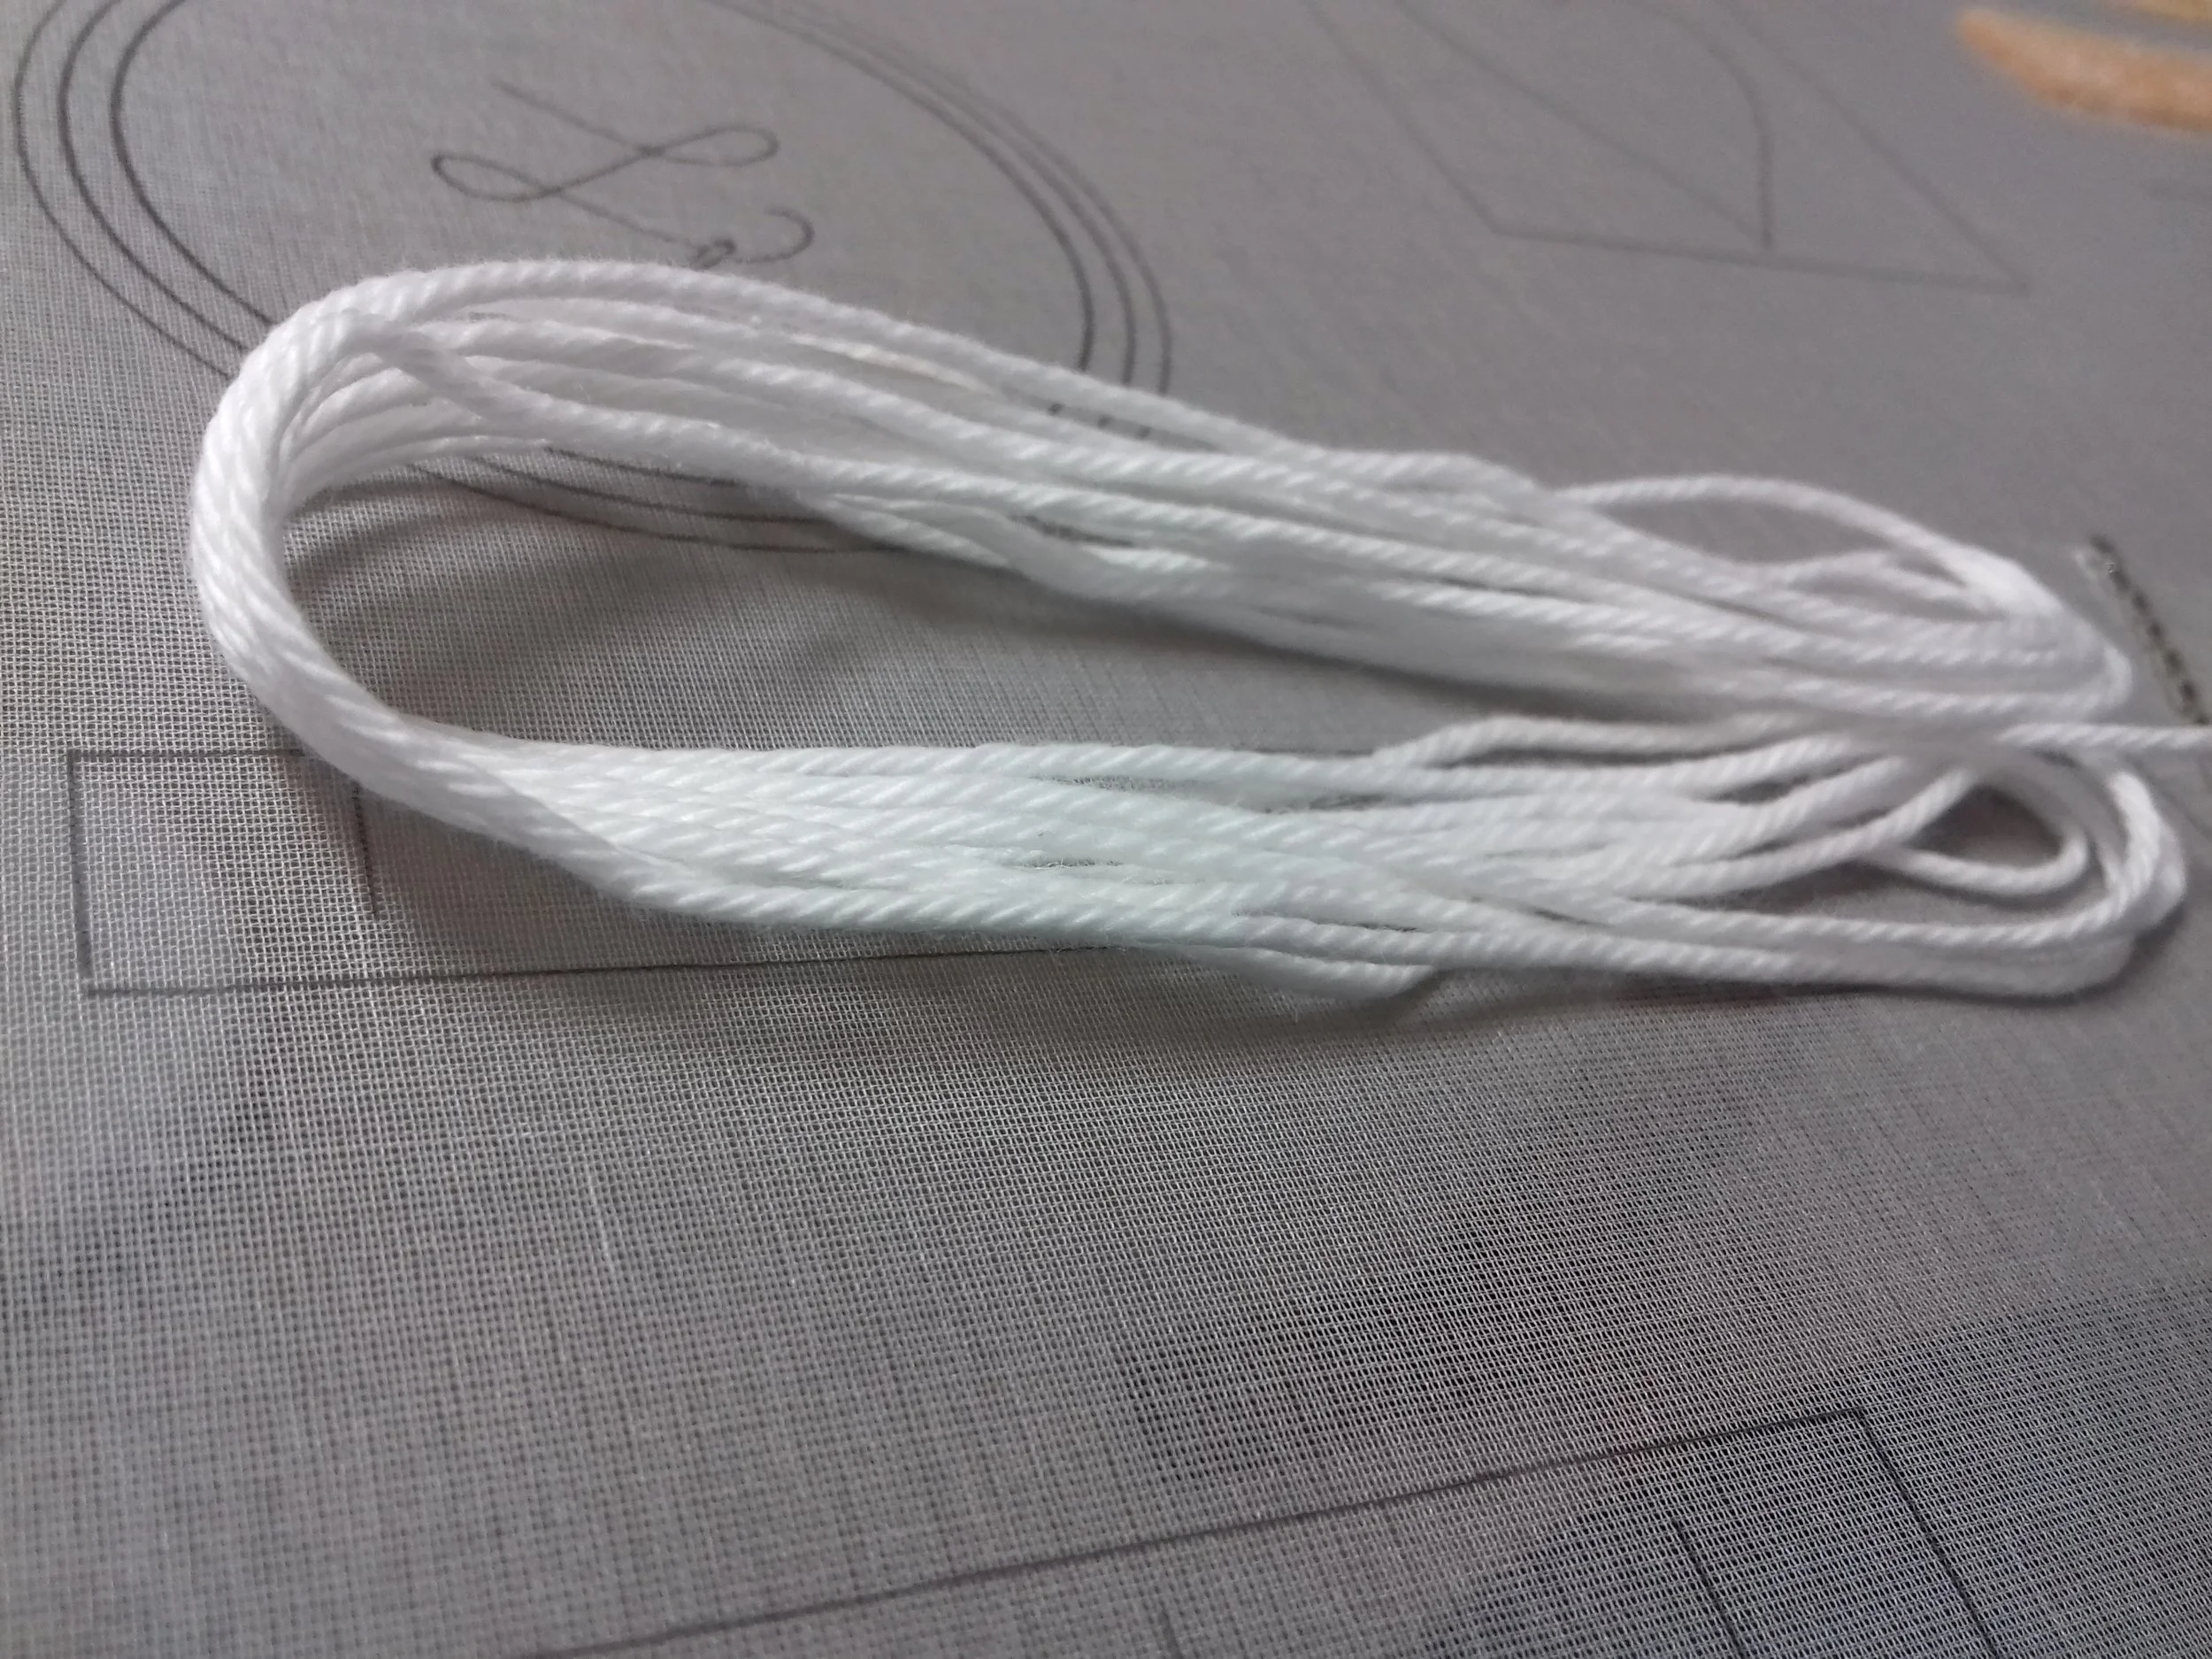
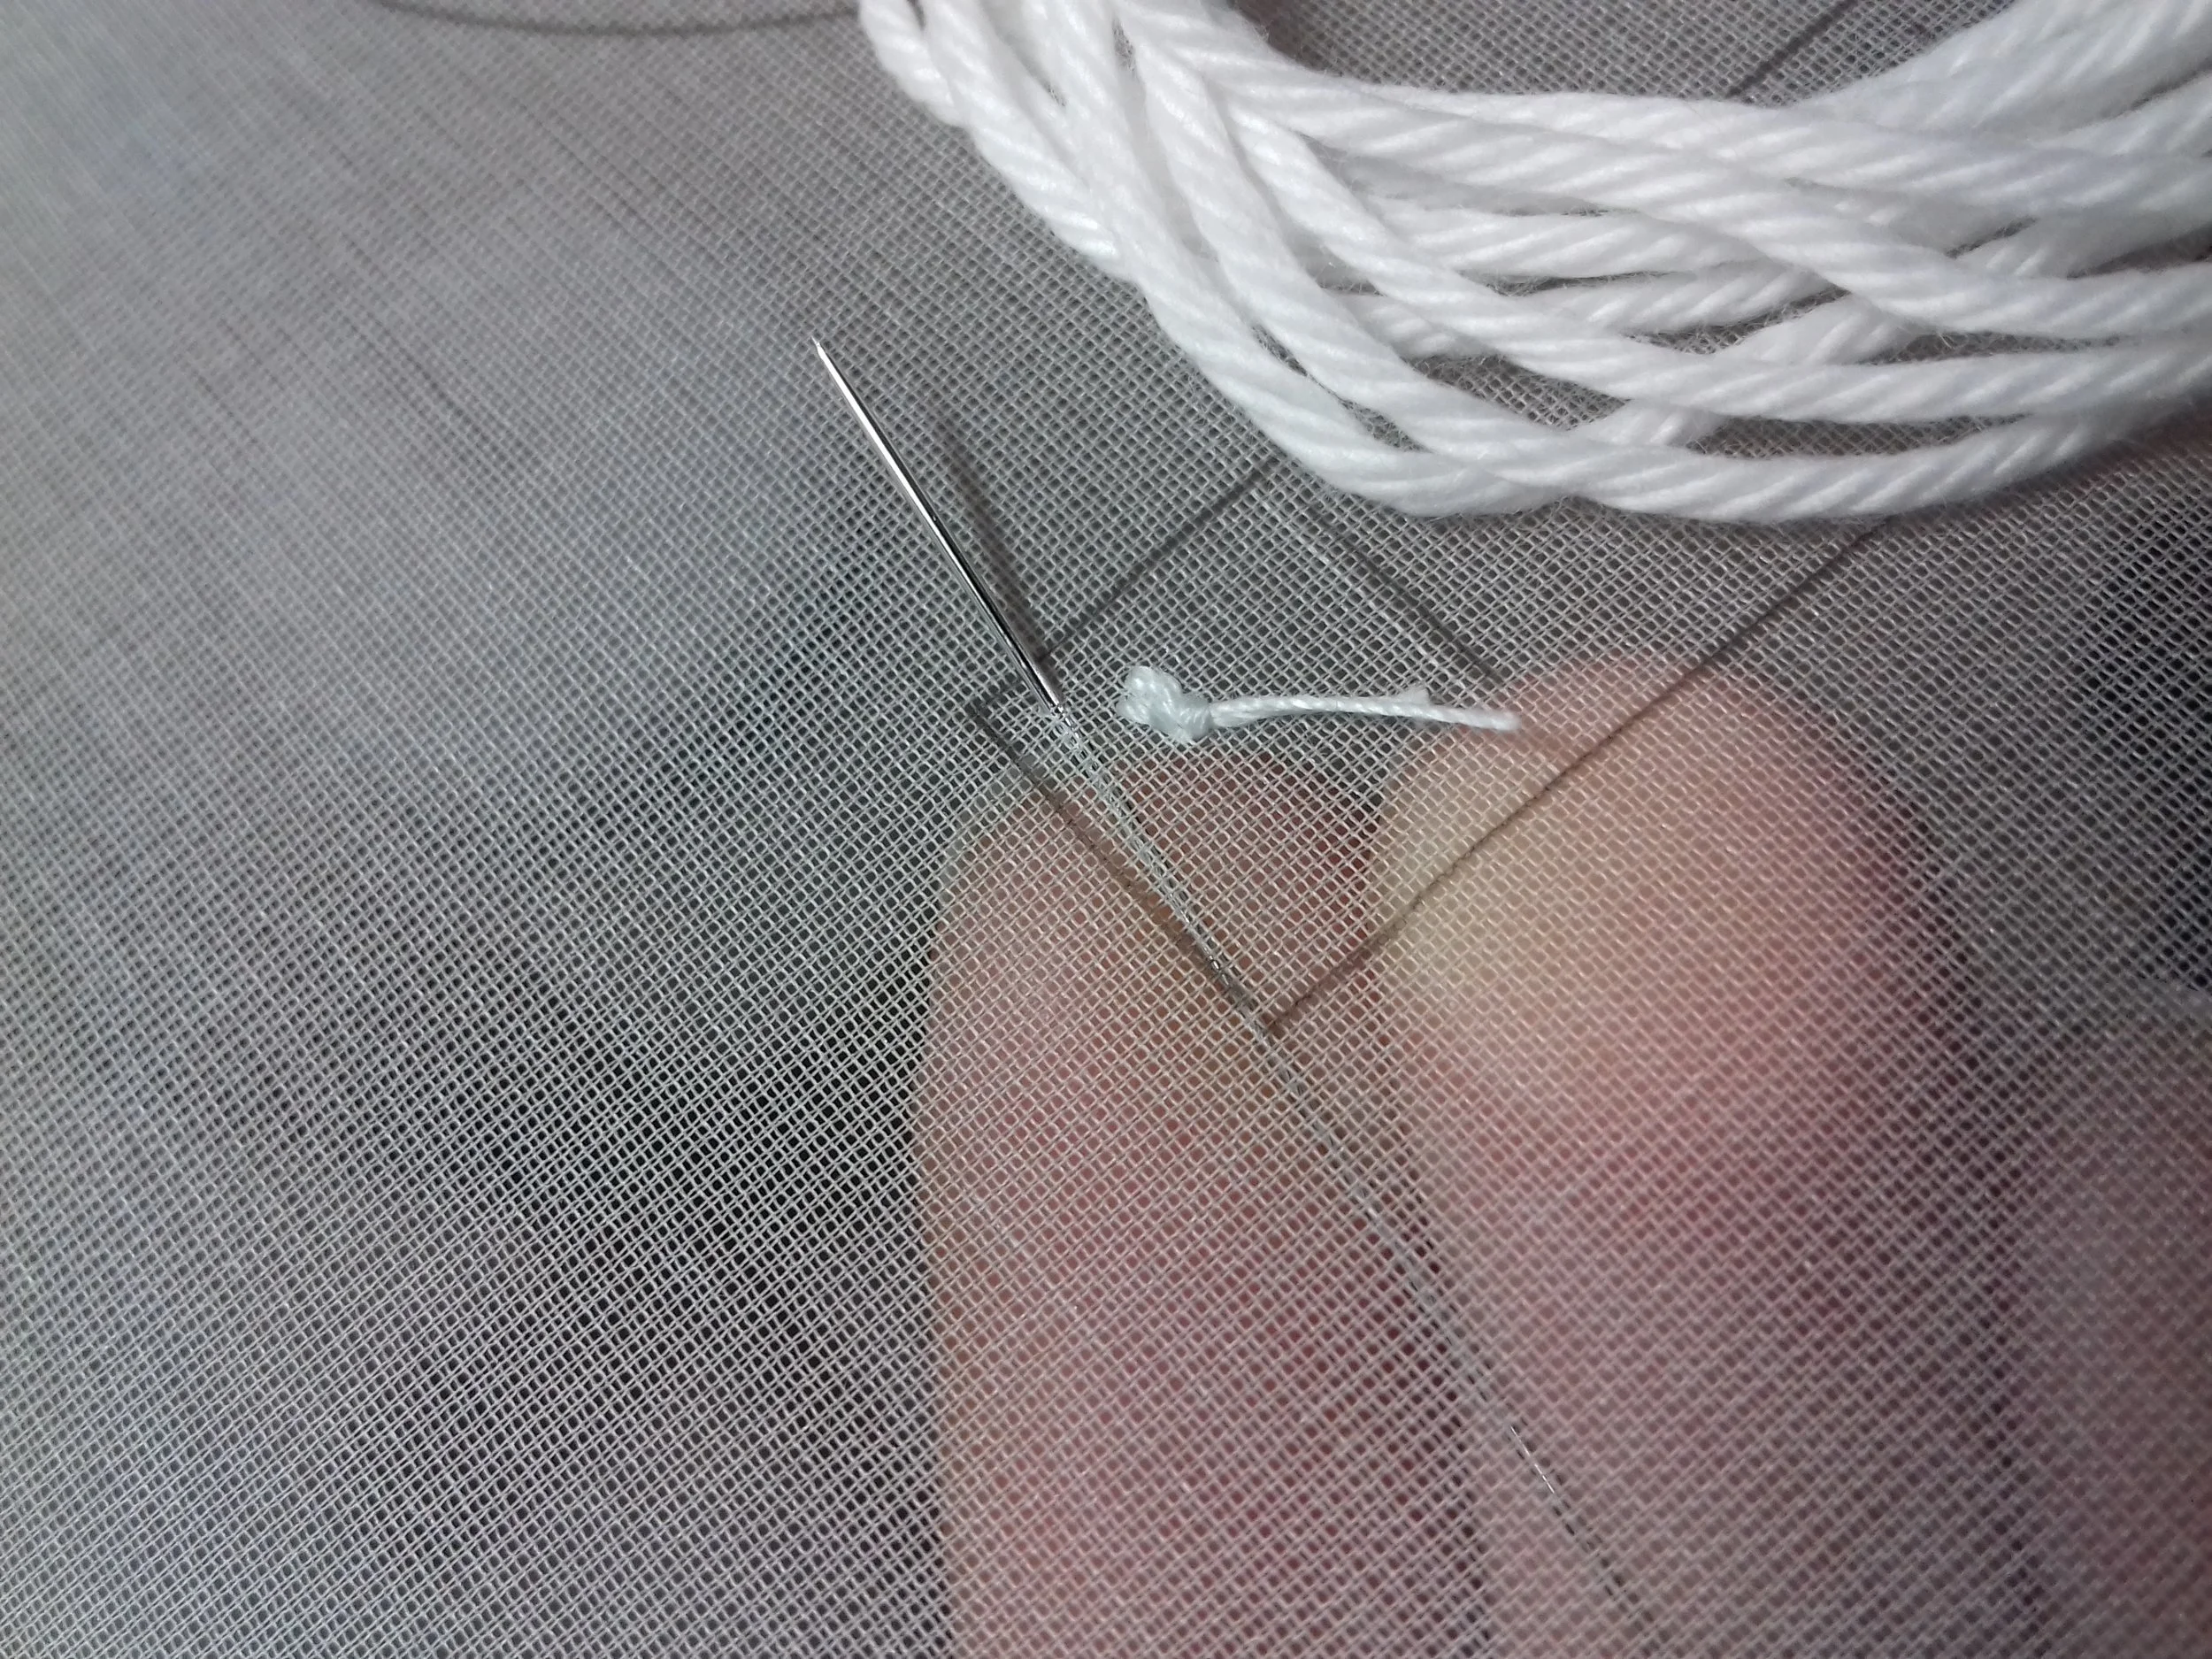
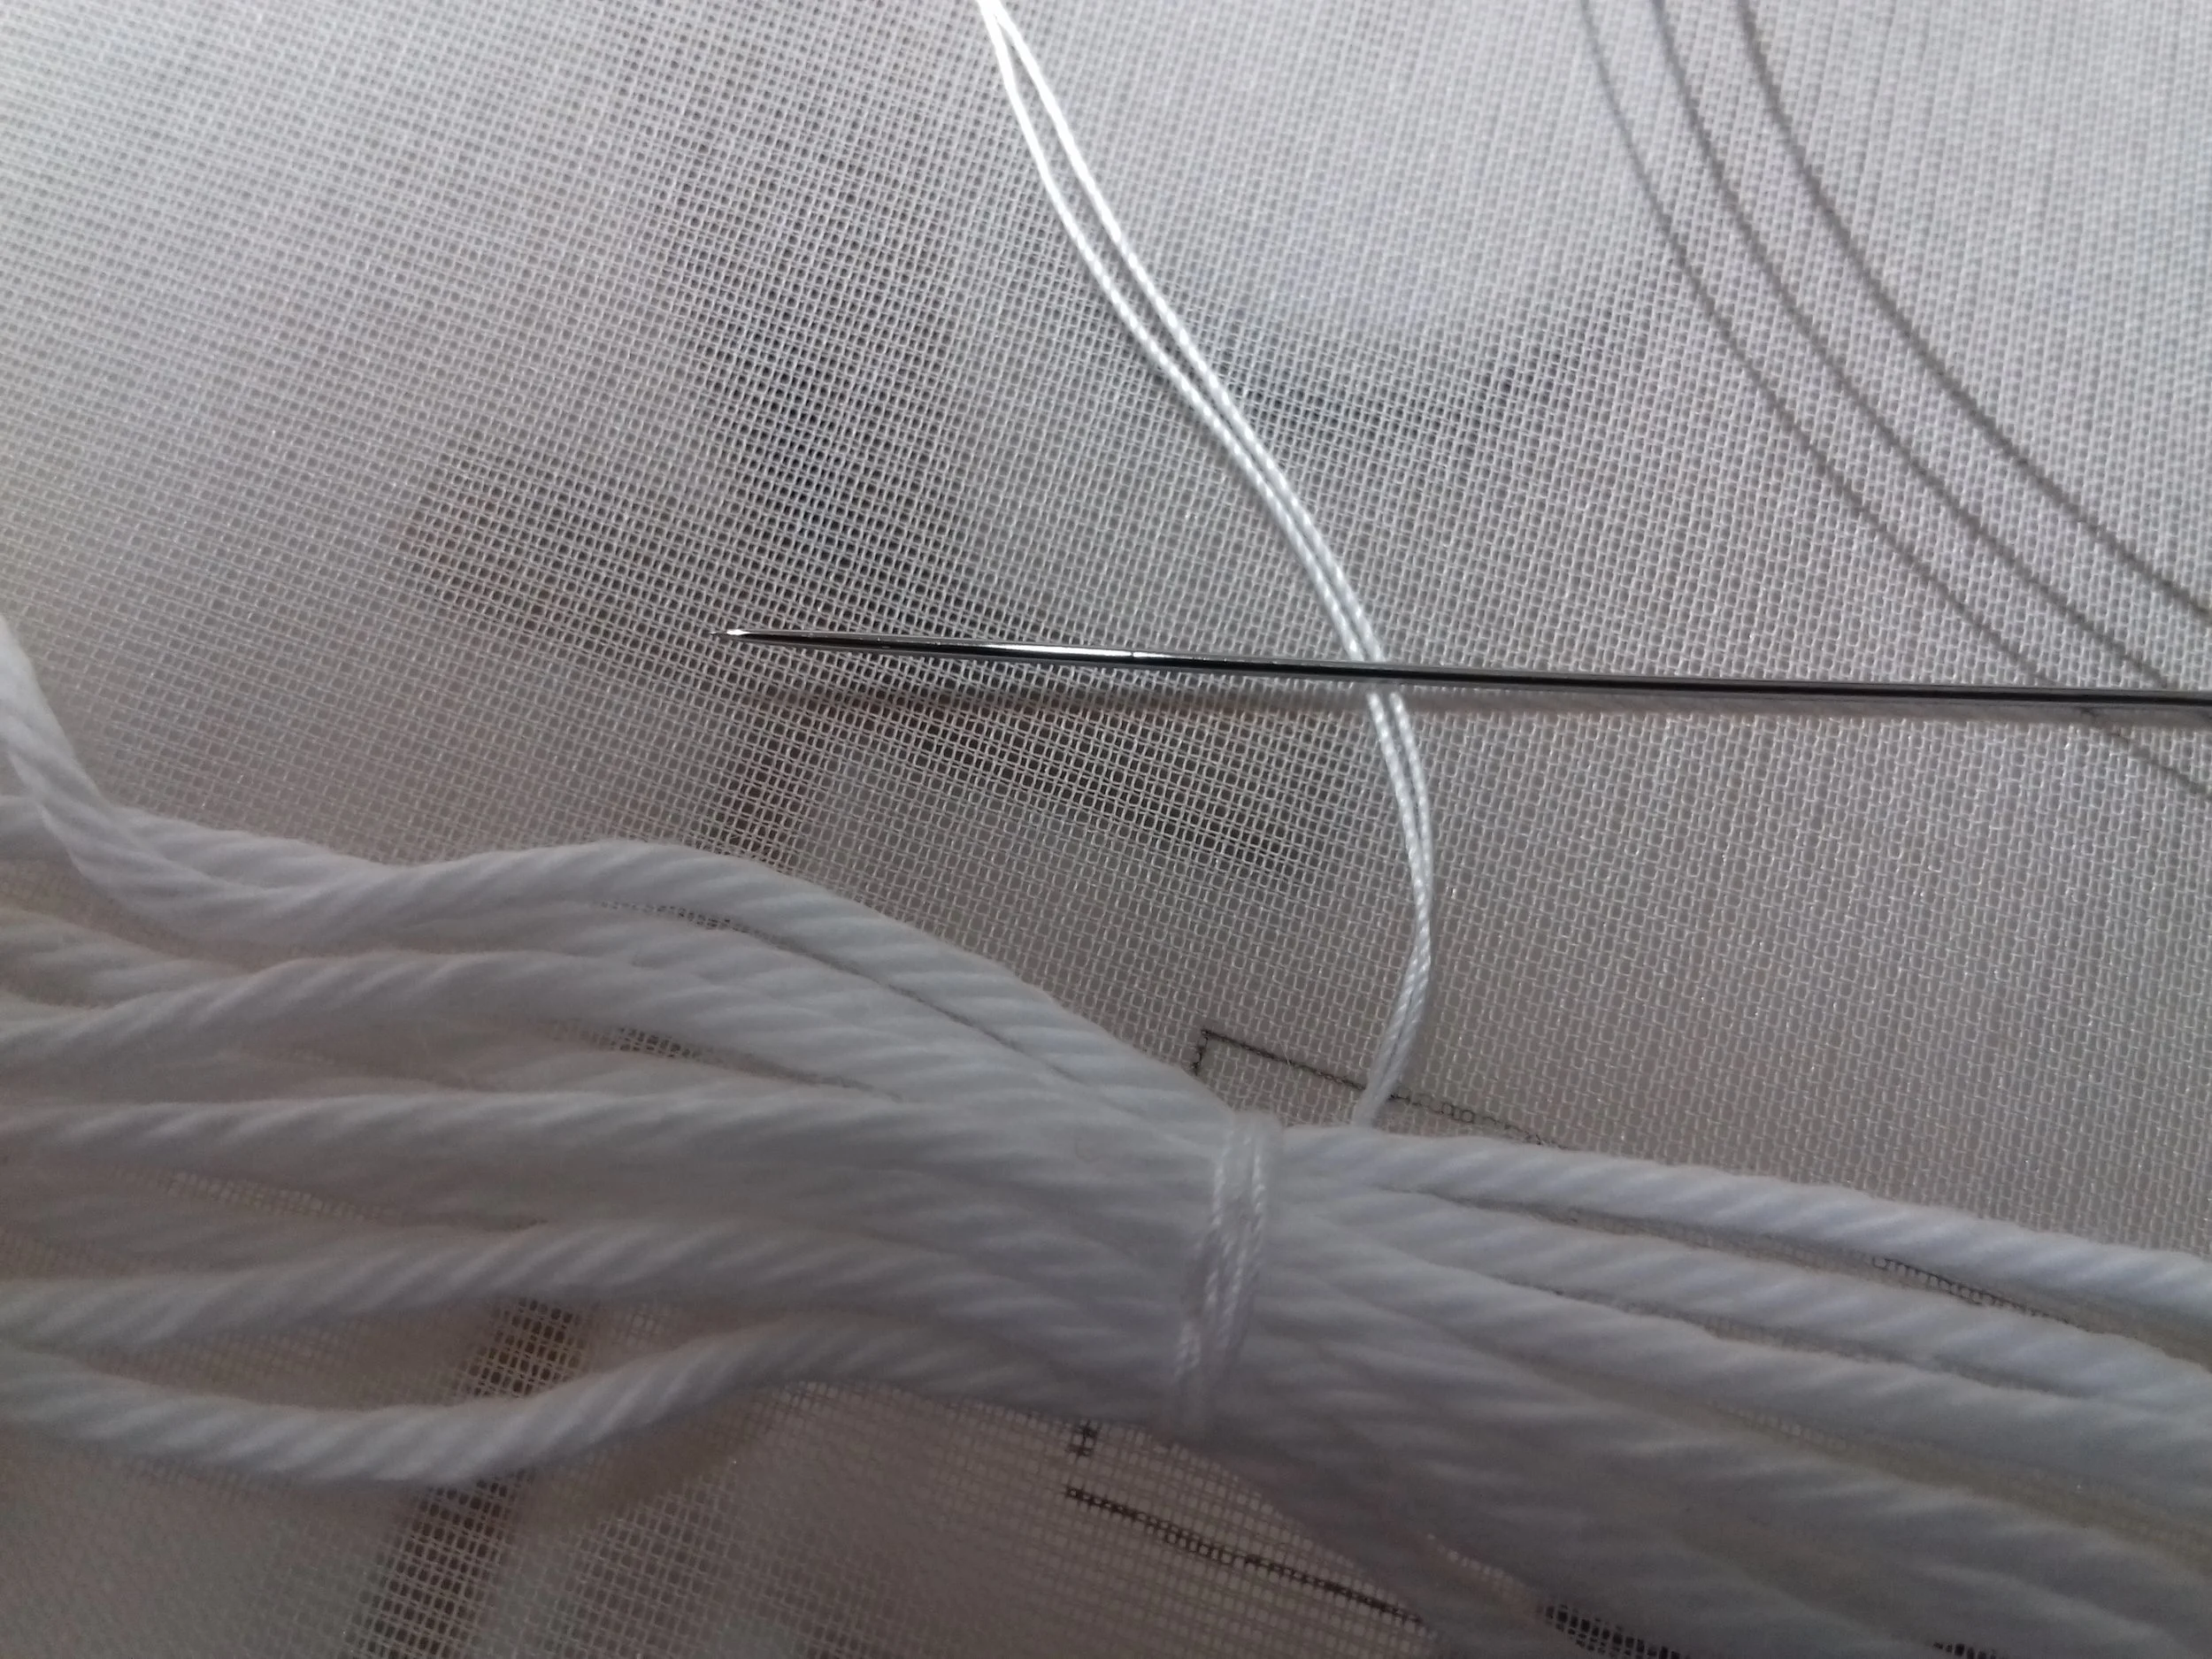
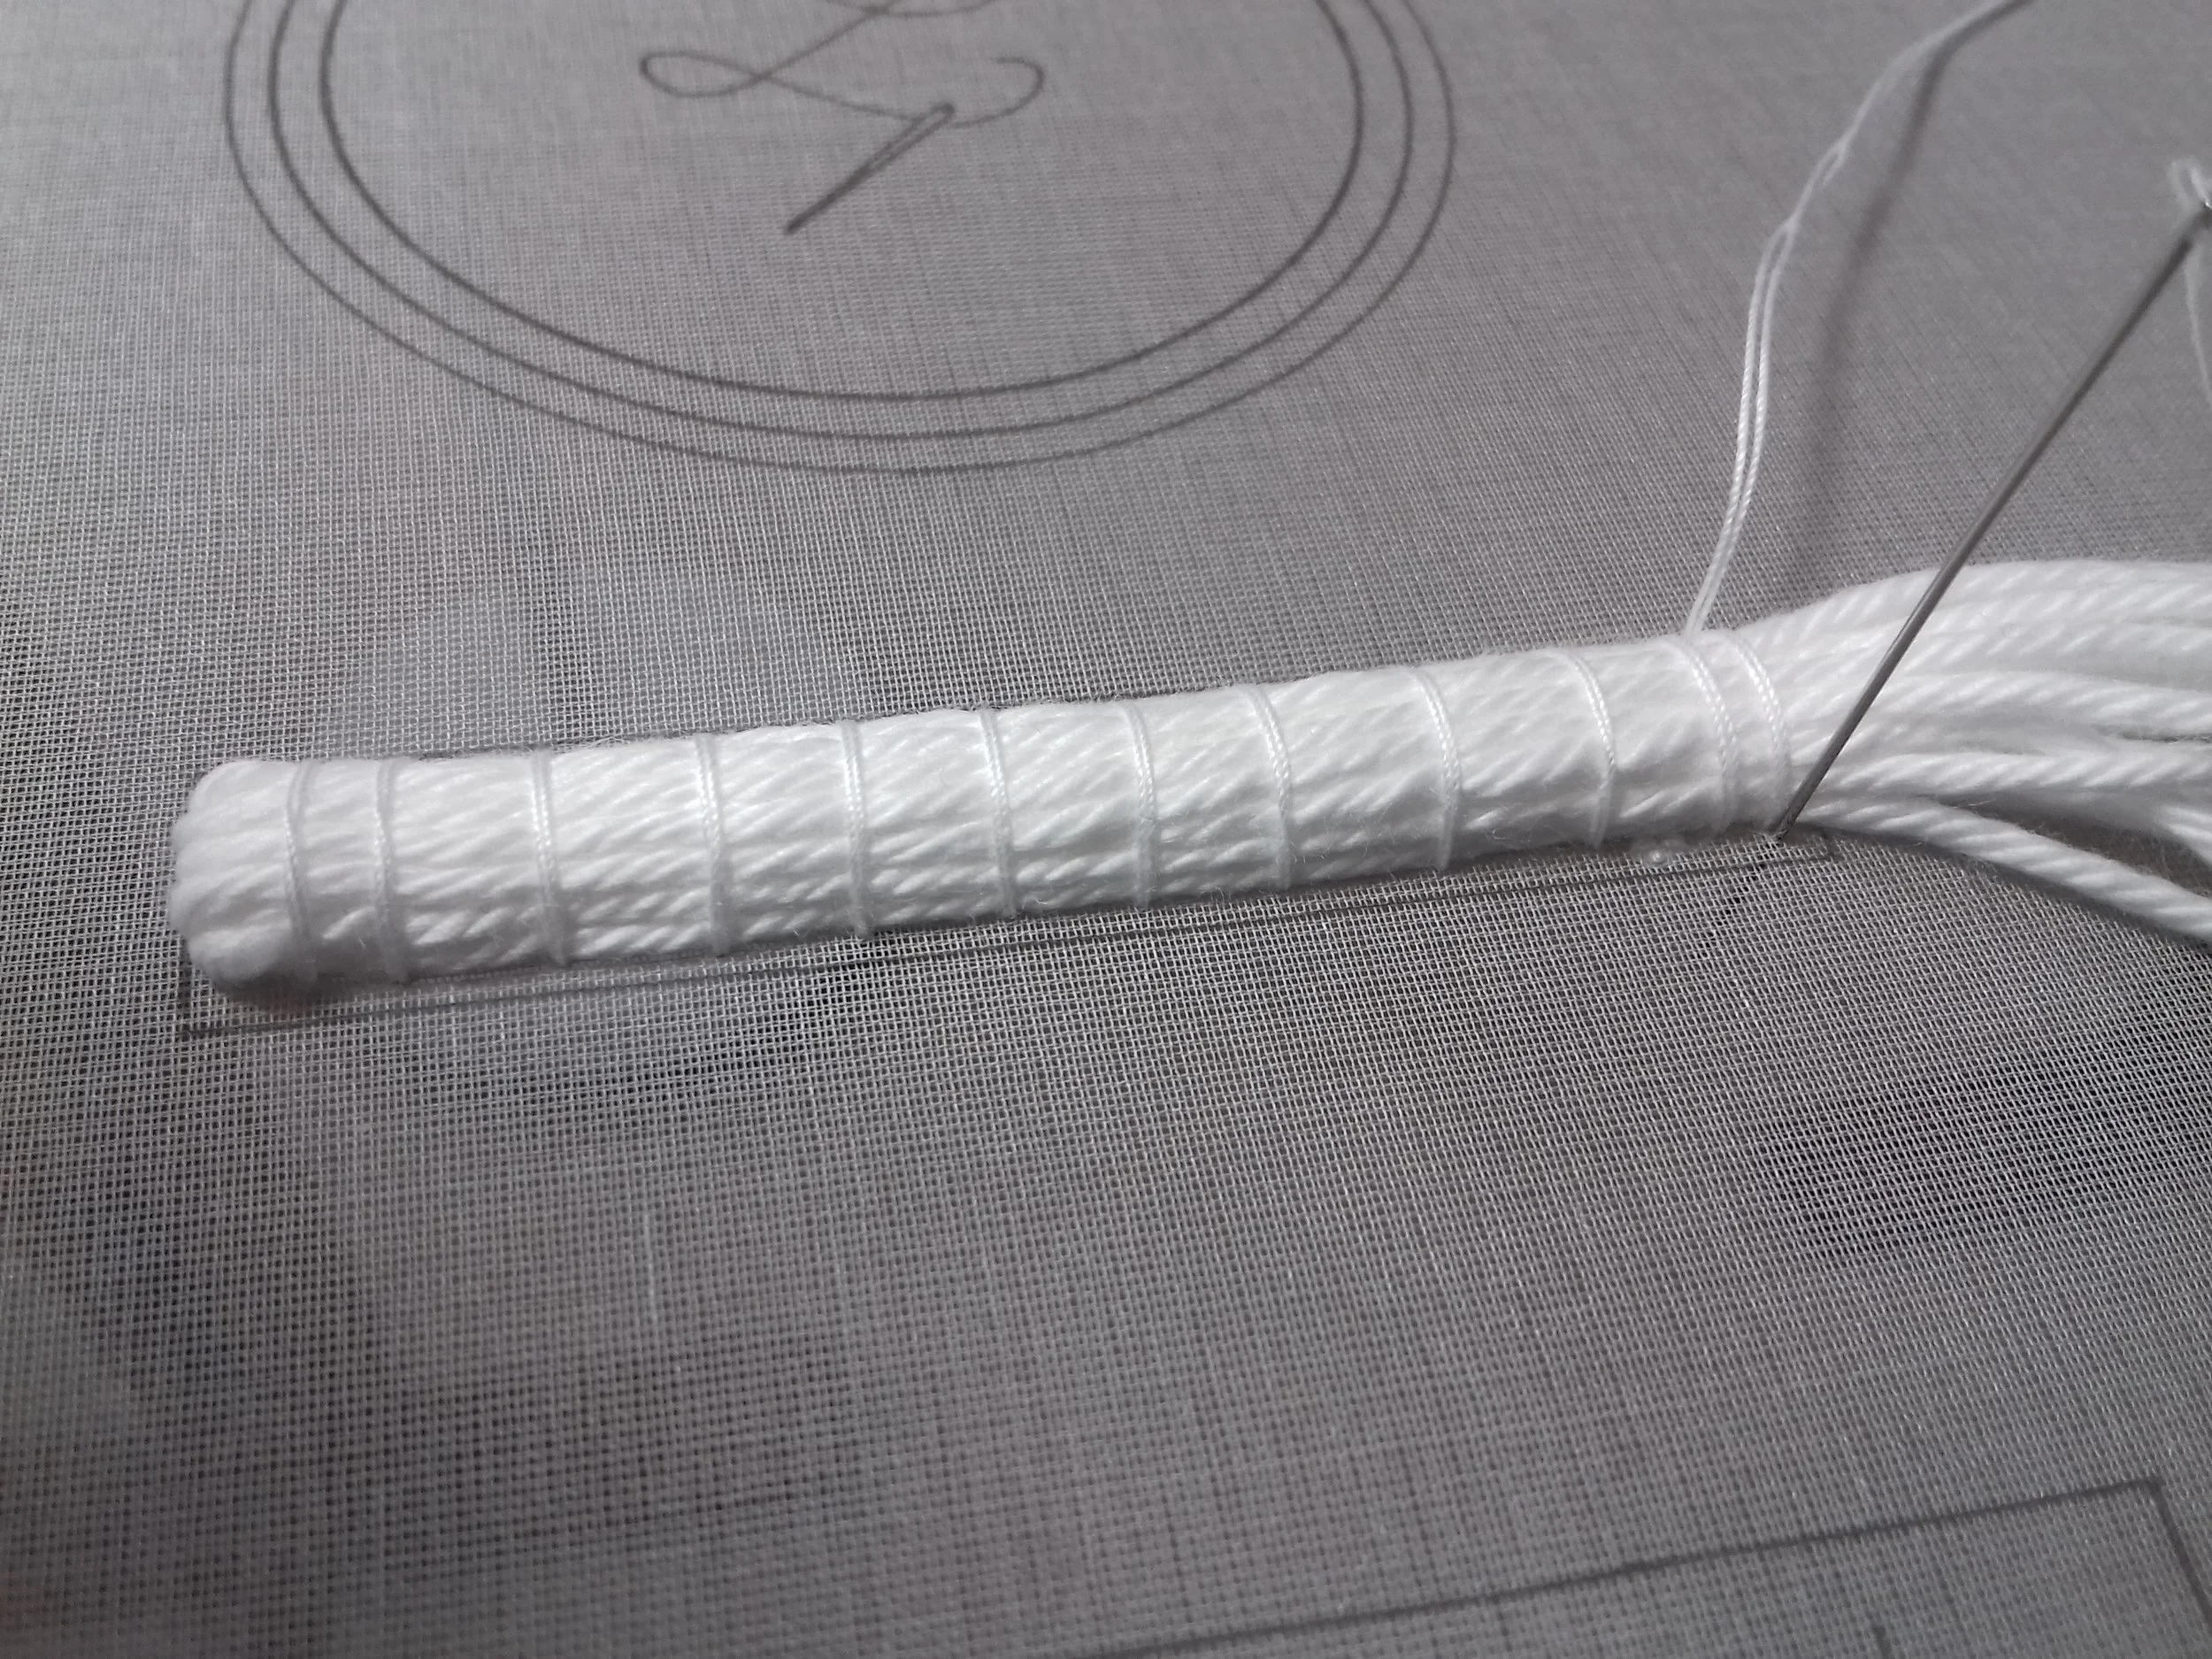
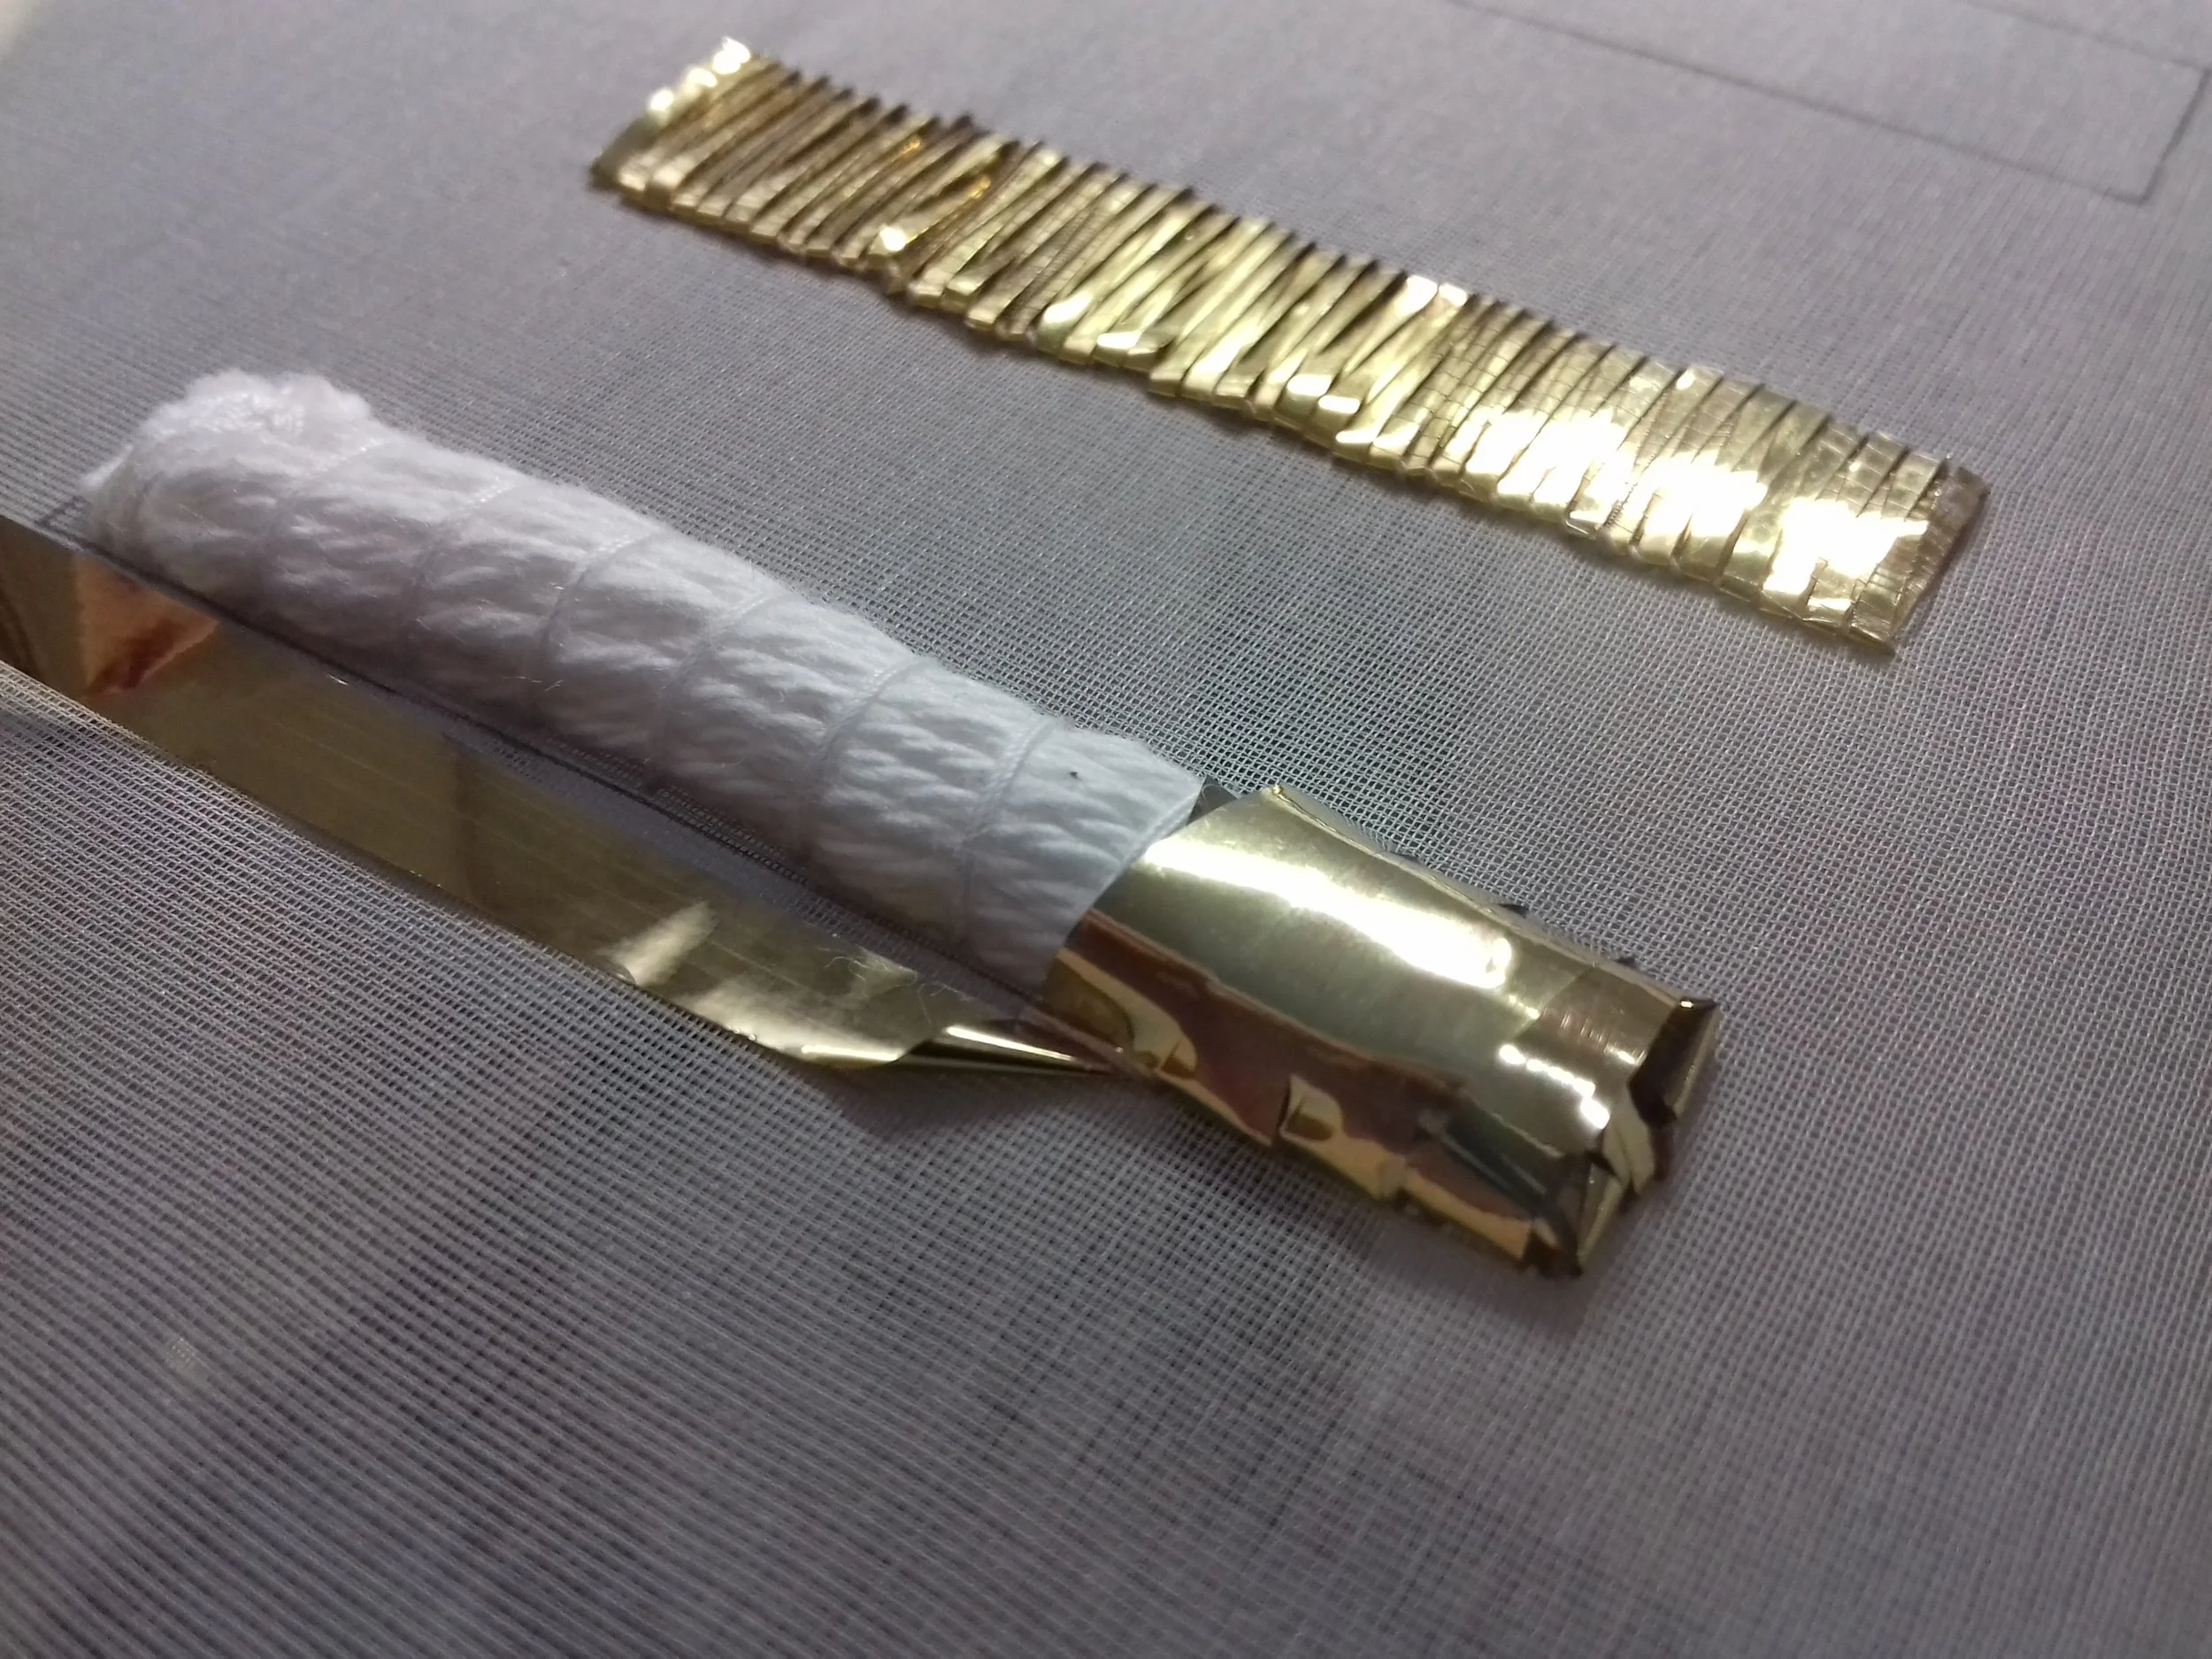
Padding
Relief is created by preparing the surface with bundles of thicker cotton thread. Ten lengths are measured, folded in half, gently smoothed down and secured in place with stitching while maintaining an even tension to keep the surface even. The cotton is cut 2mm from the edge and stitches are used to gradually slope the ends.
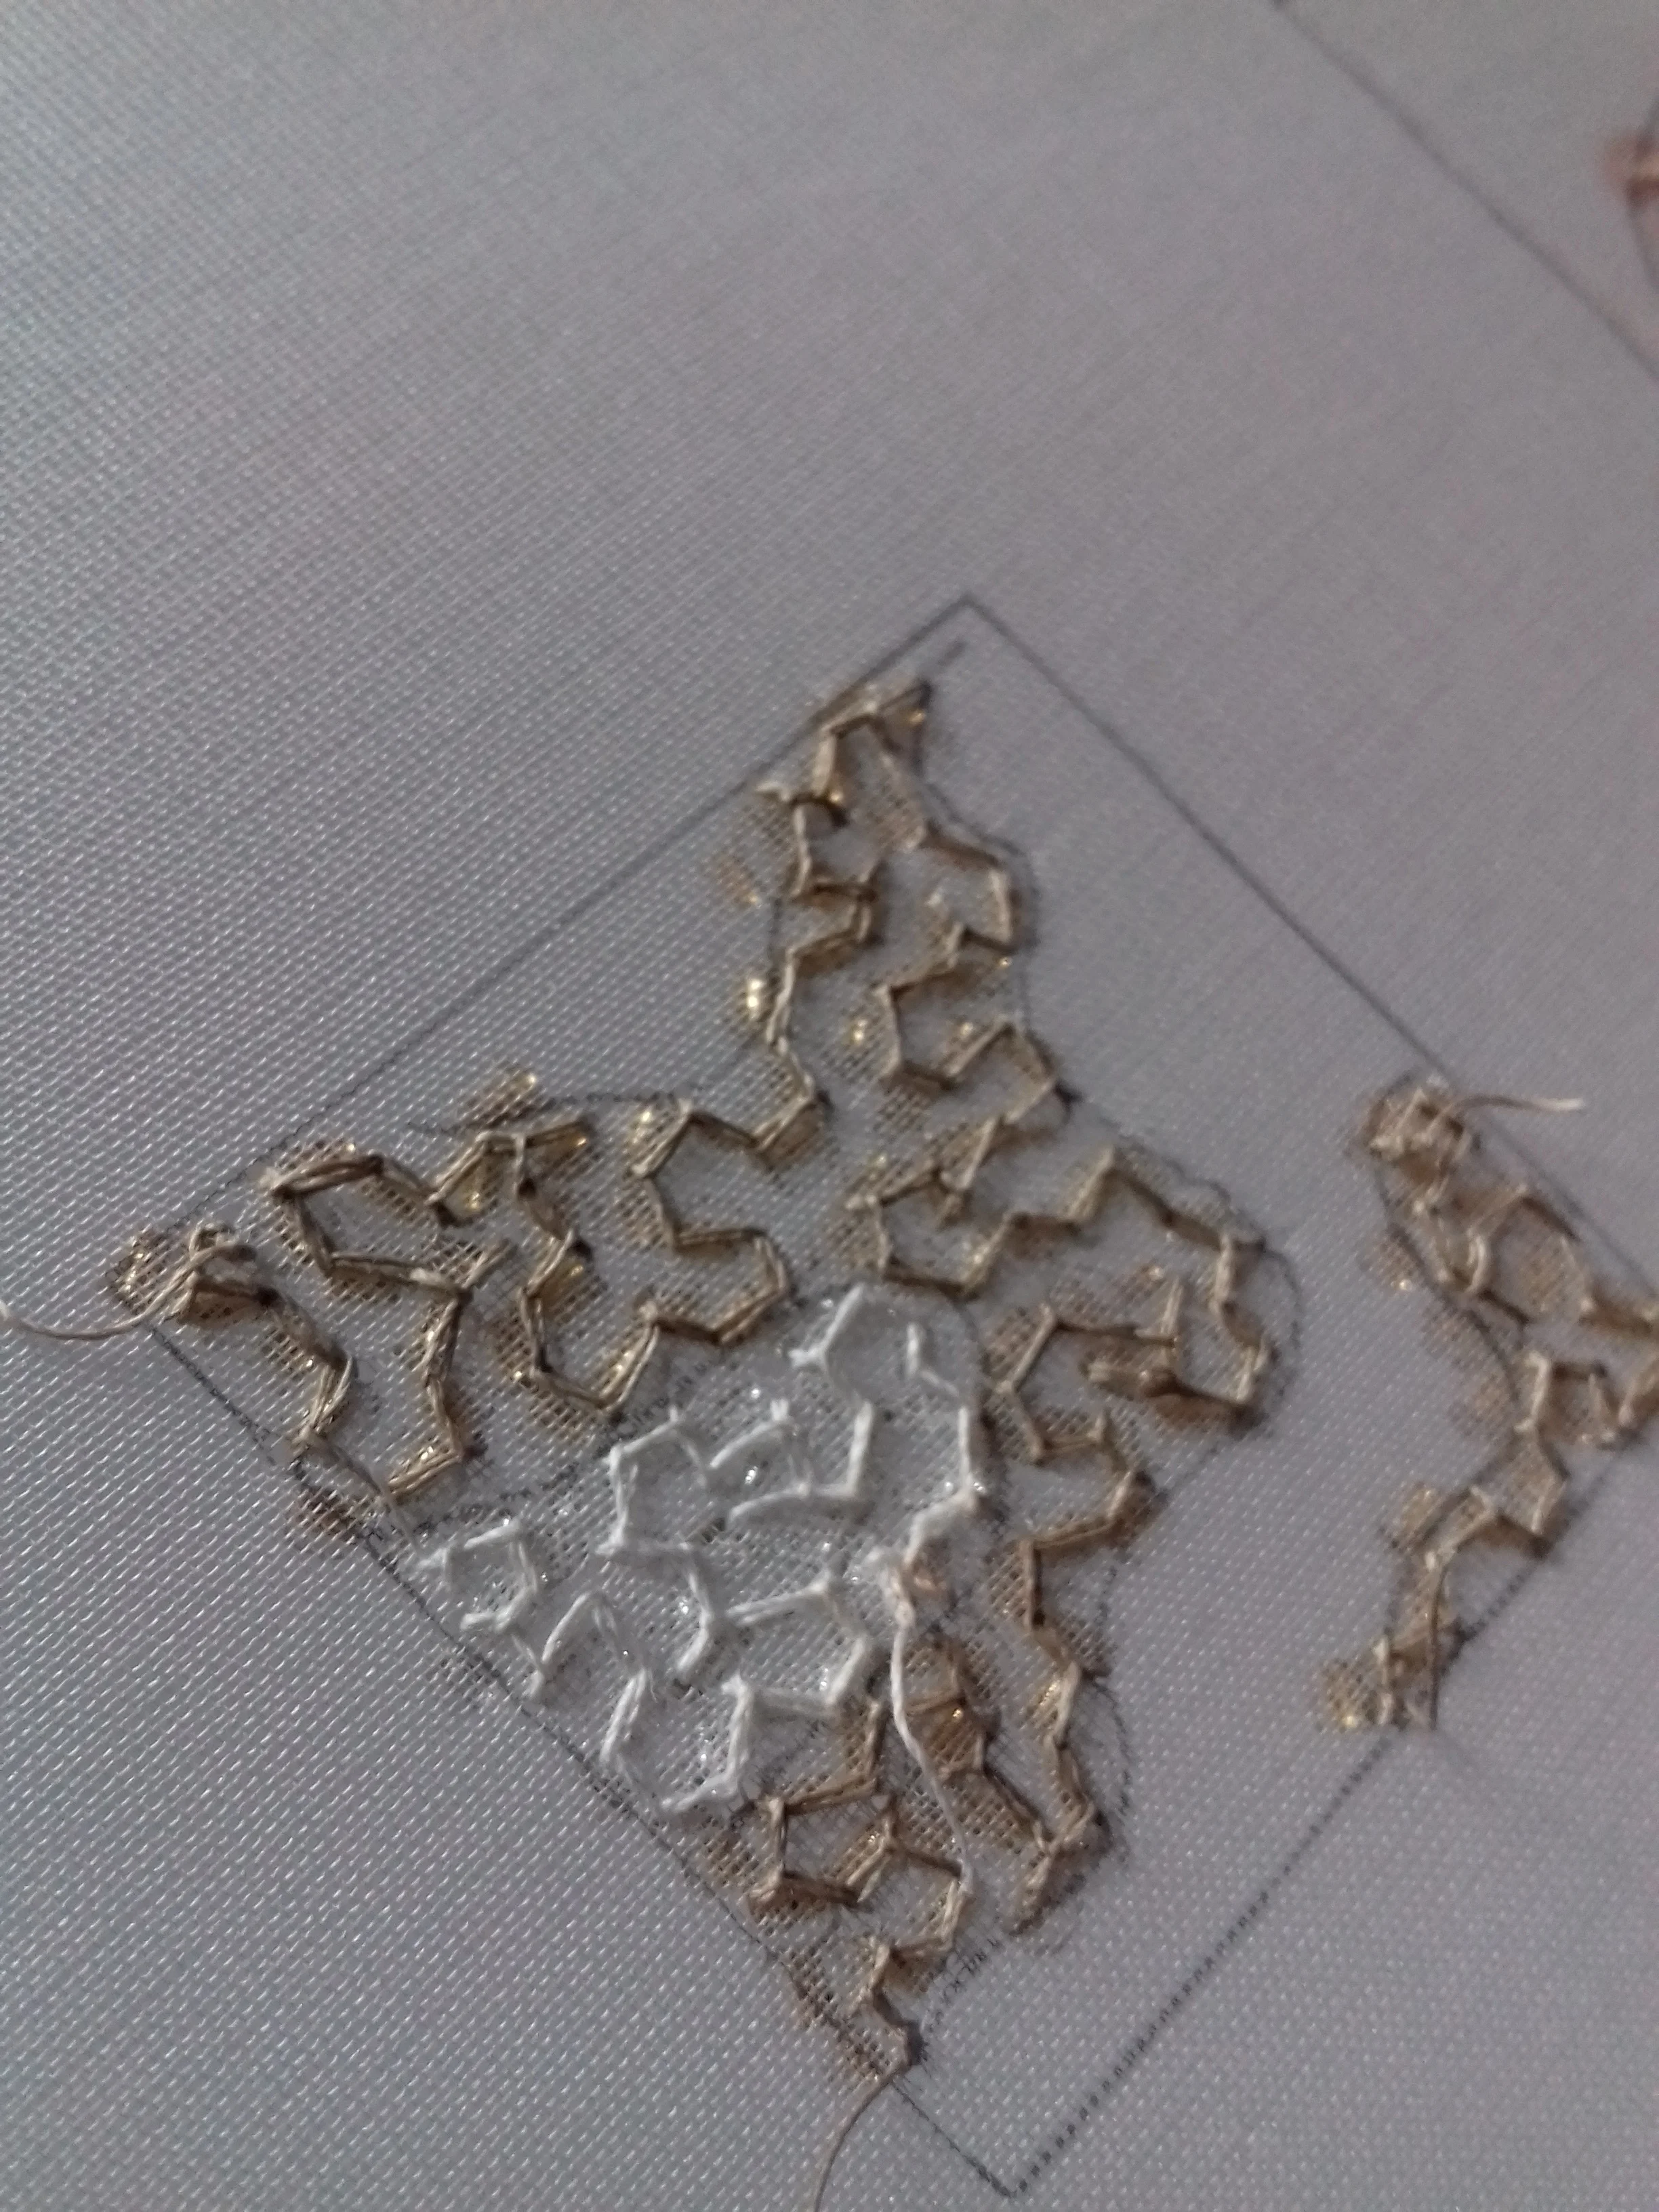
Come and Go Technique
The Come and Go technique can be used with ribbons, metallic threads and foils. It involves anchoring the material in place first and then folding it over and back the surface with stitches to secure it in place each time. Generally in one direction, the material is vertical and then on the return it is diagonal. Mine were all diagonal!
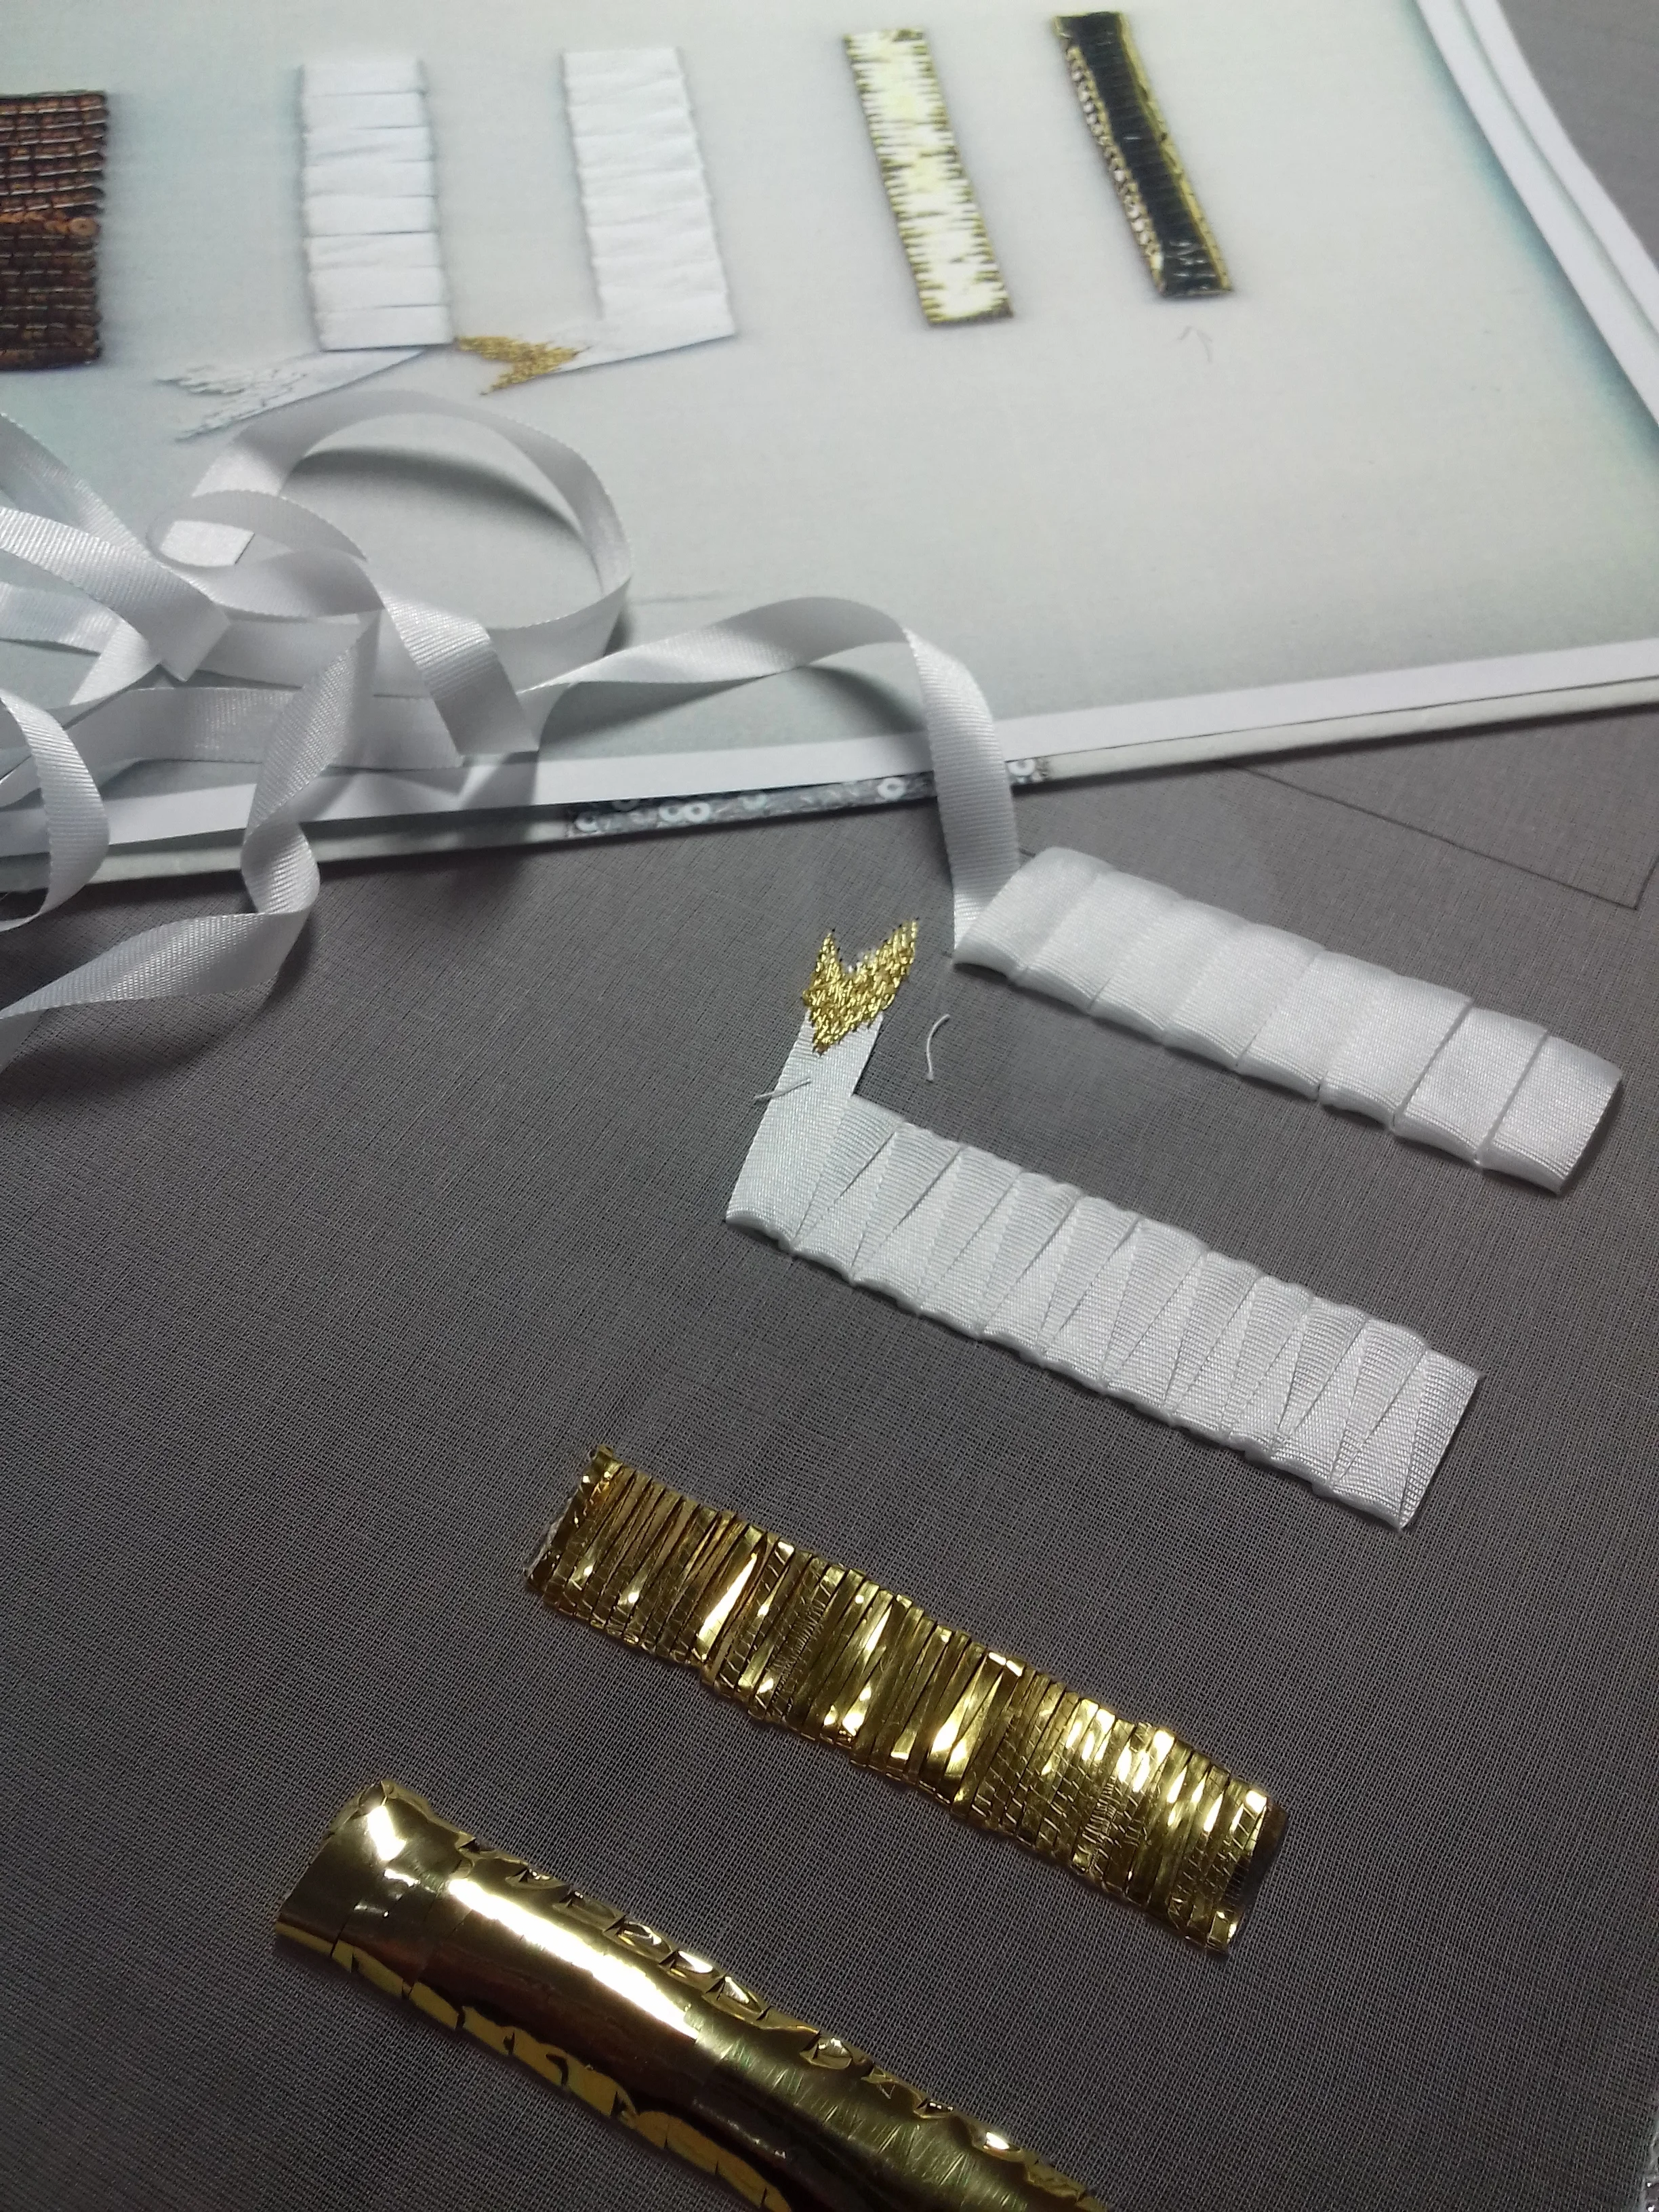
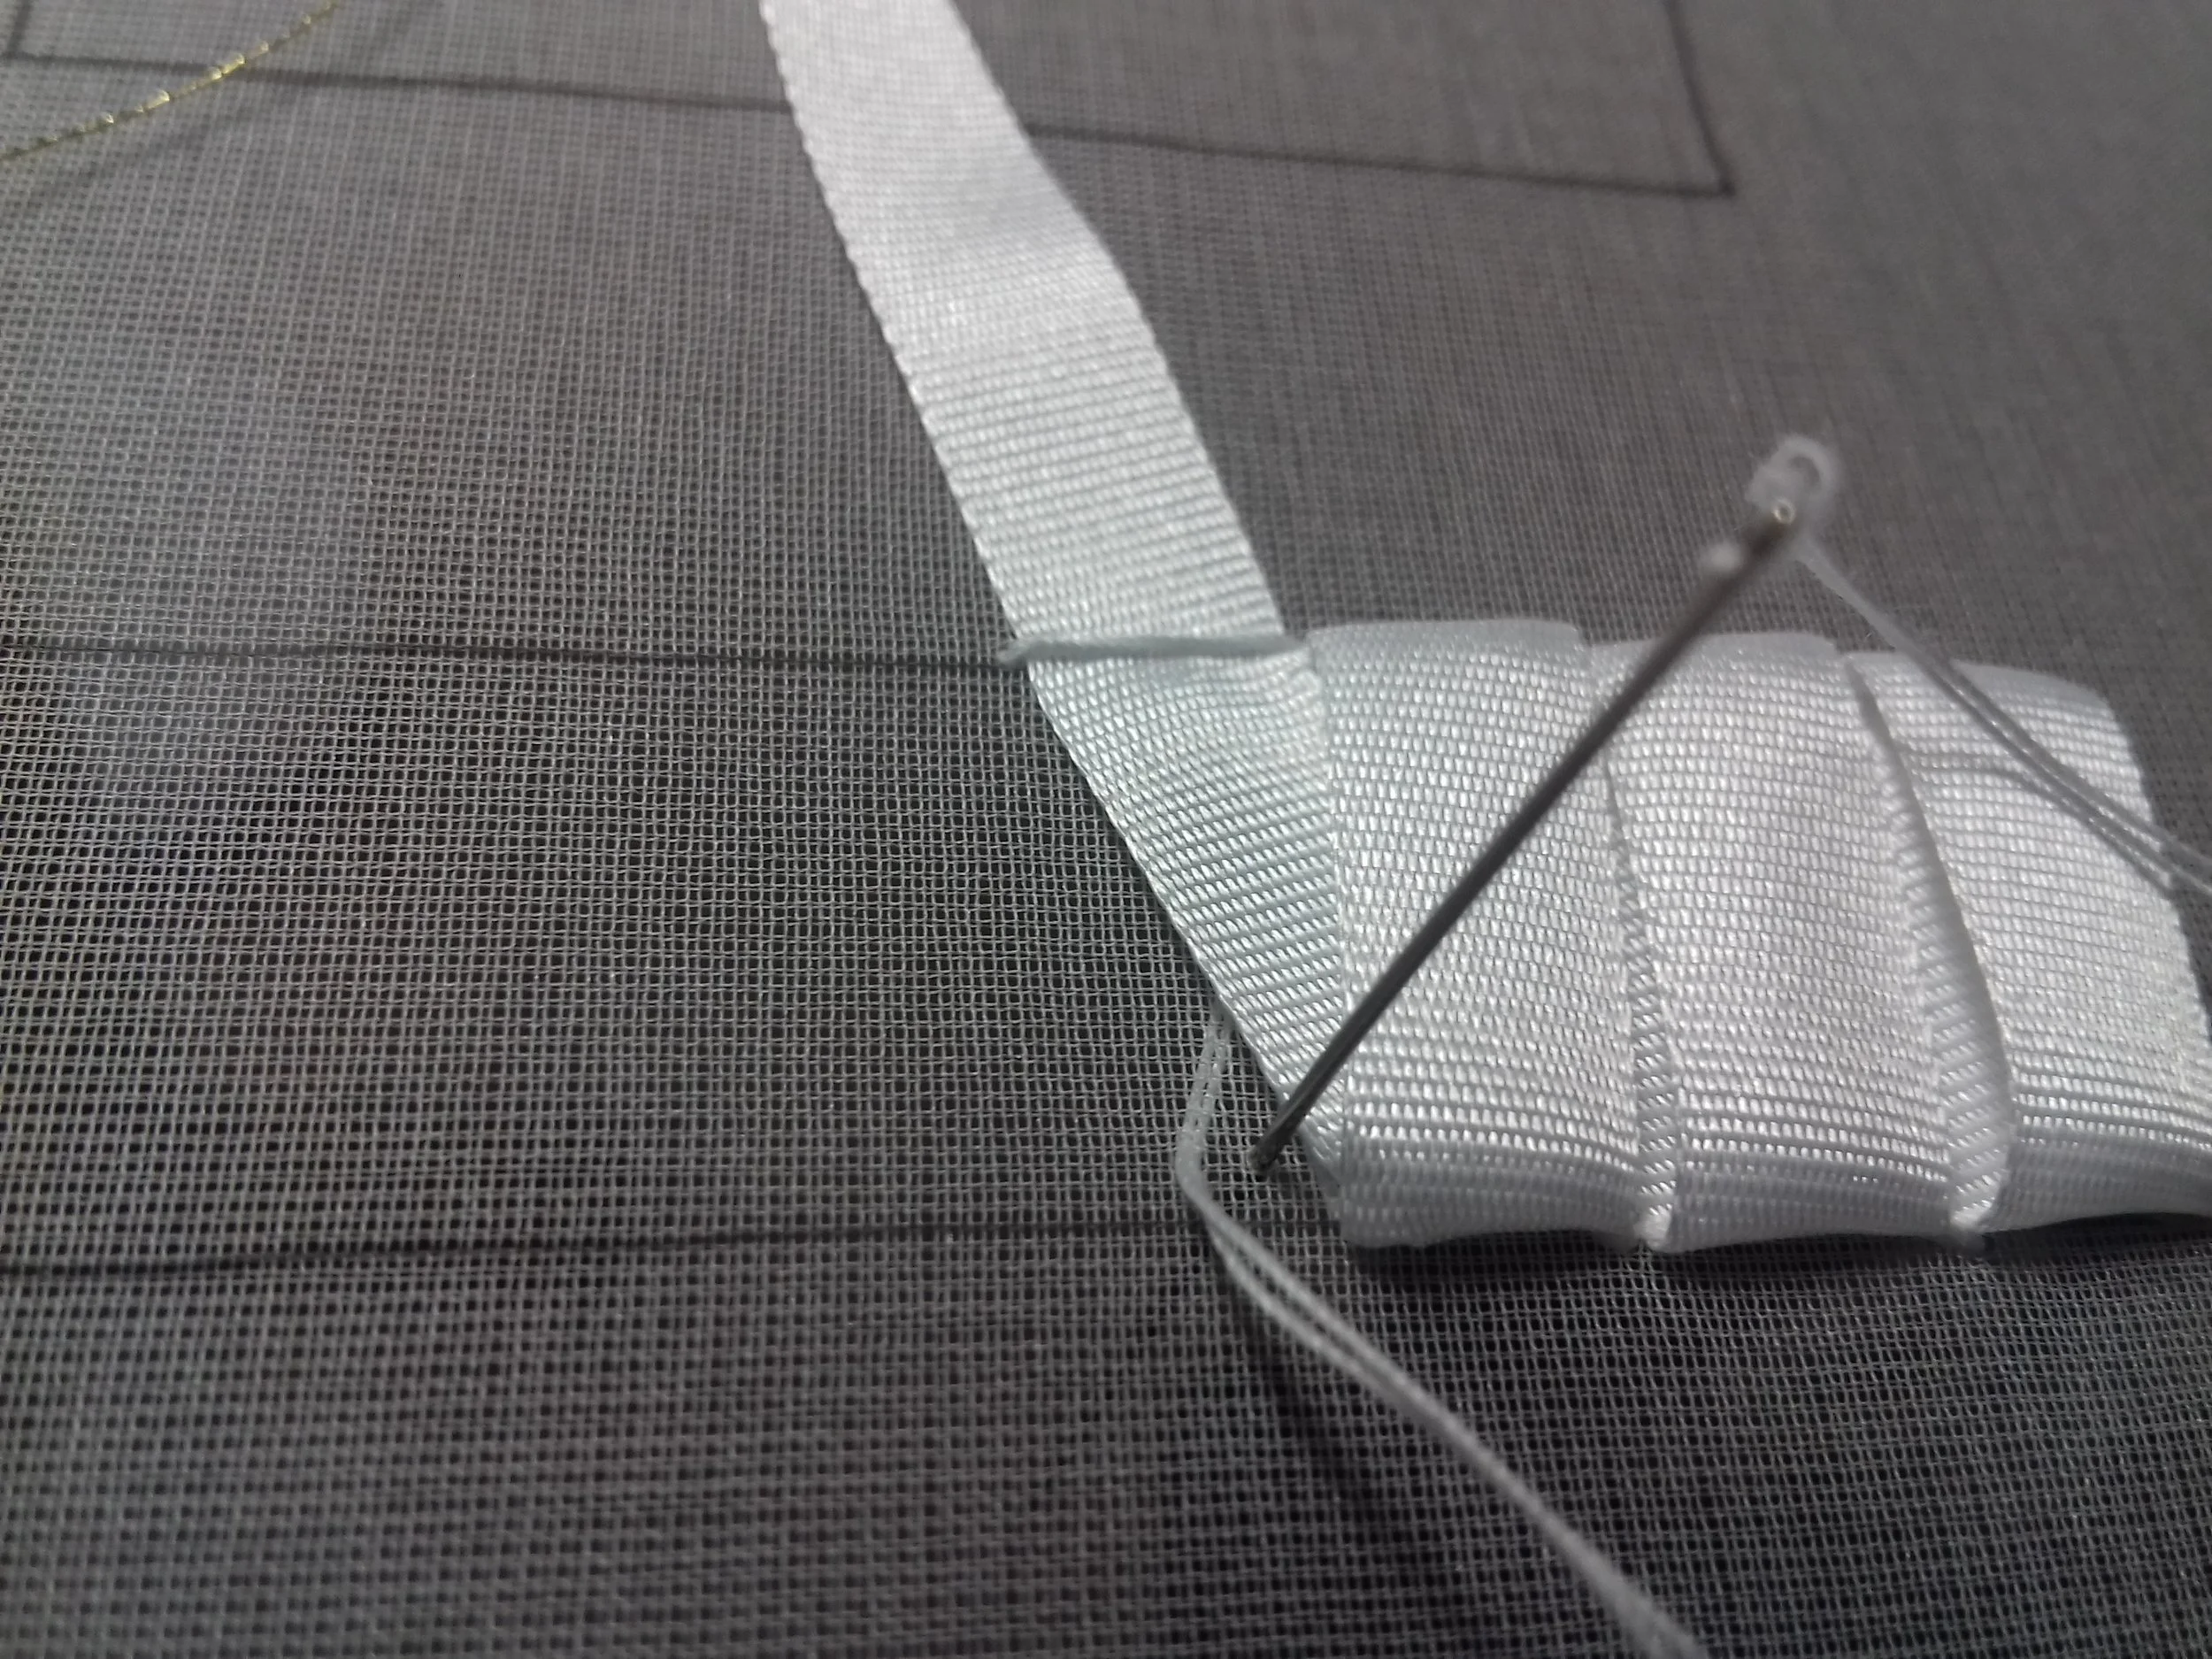
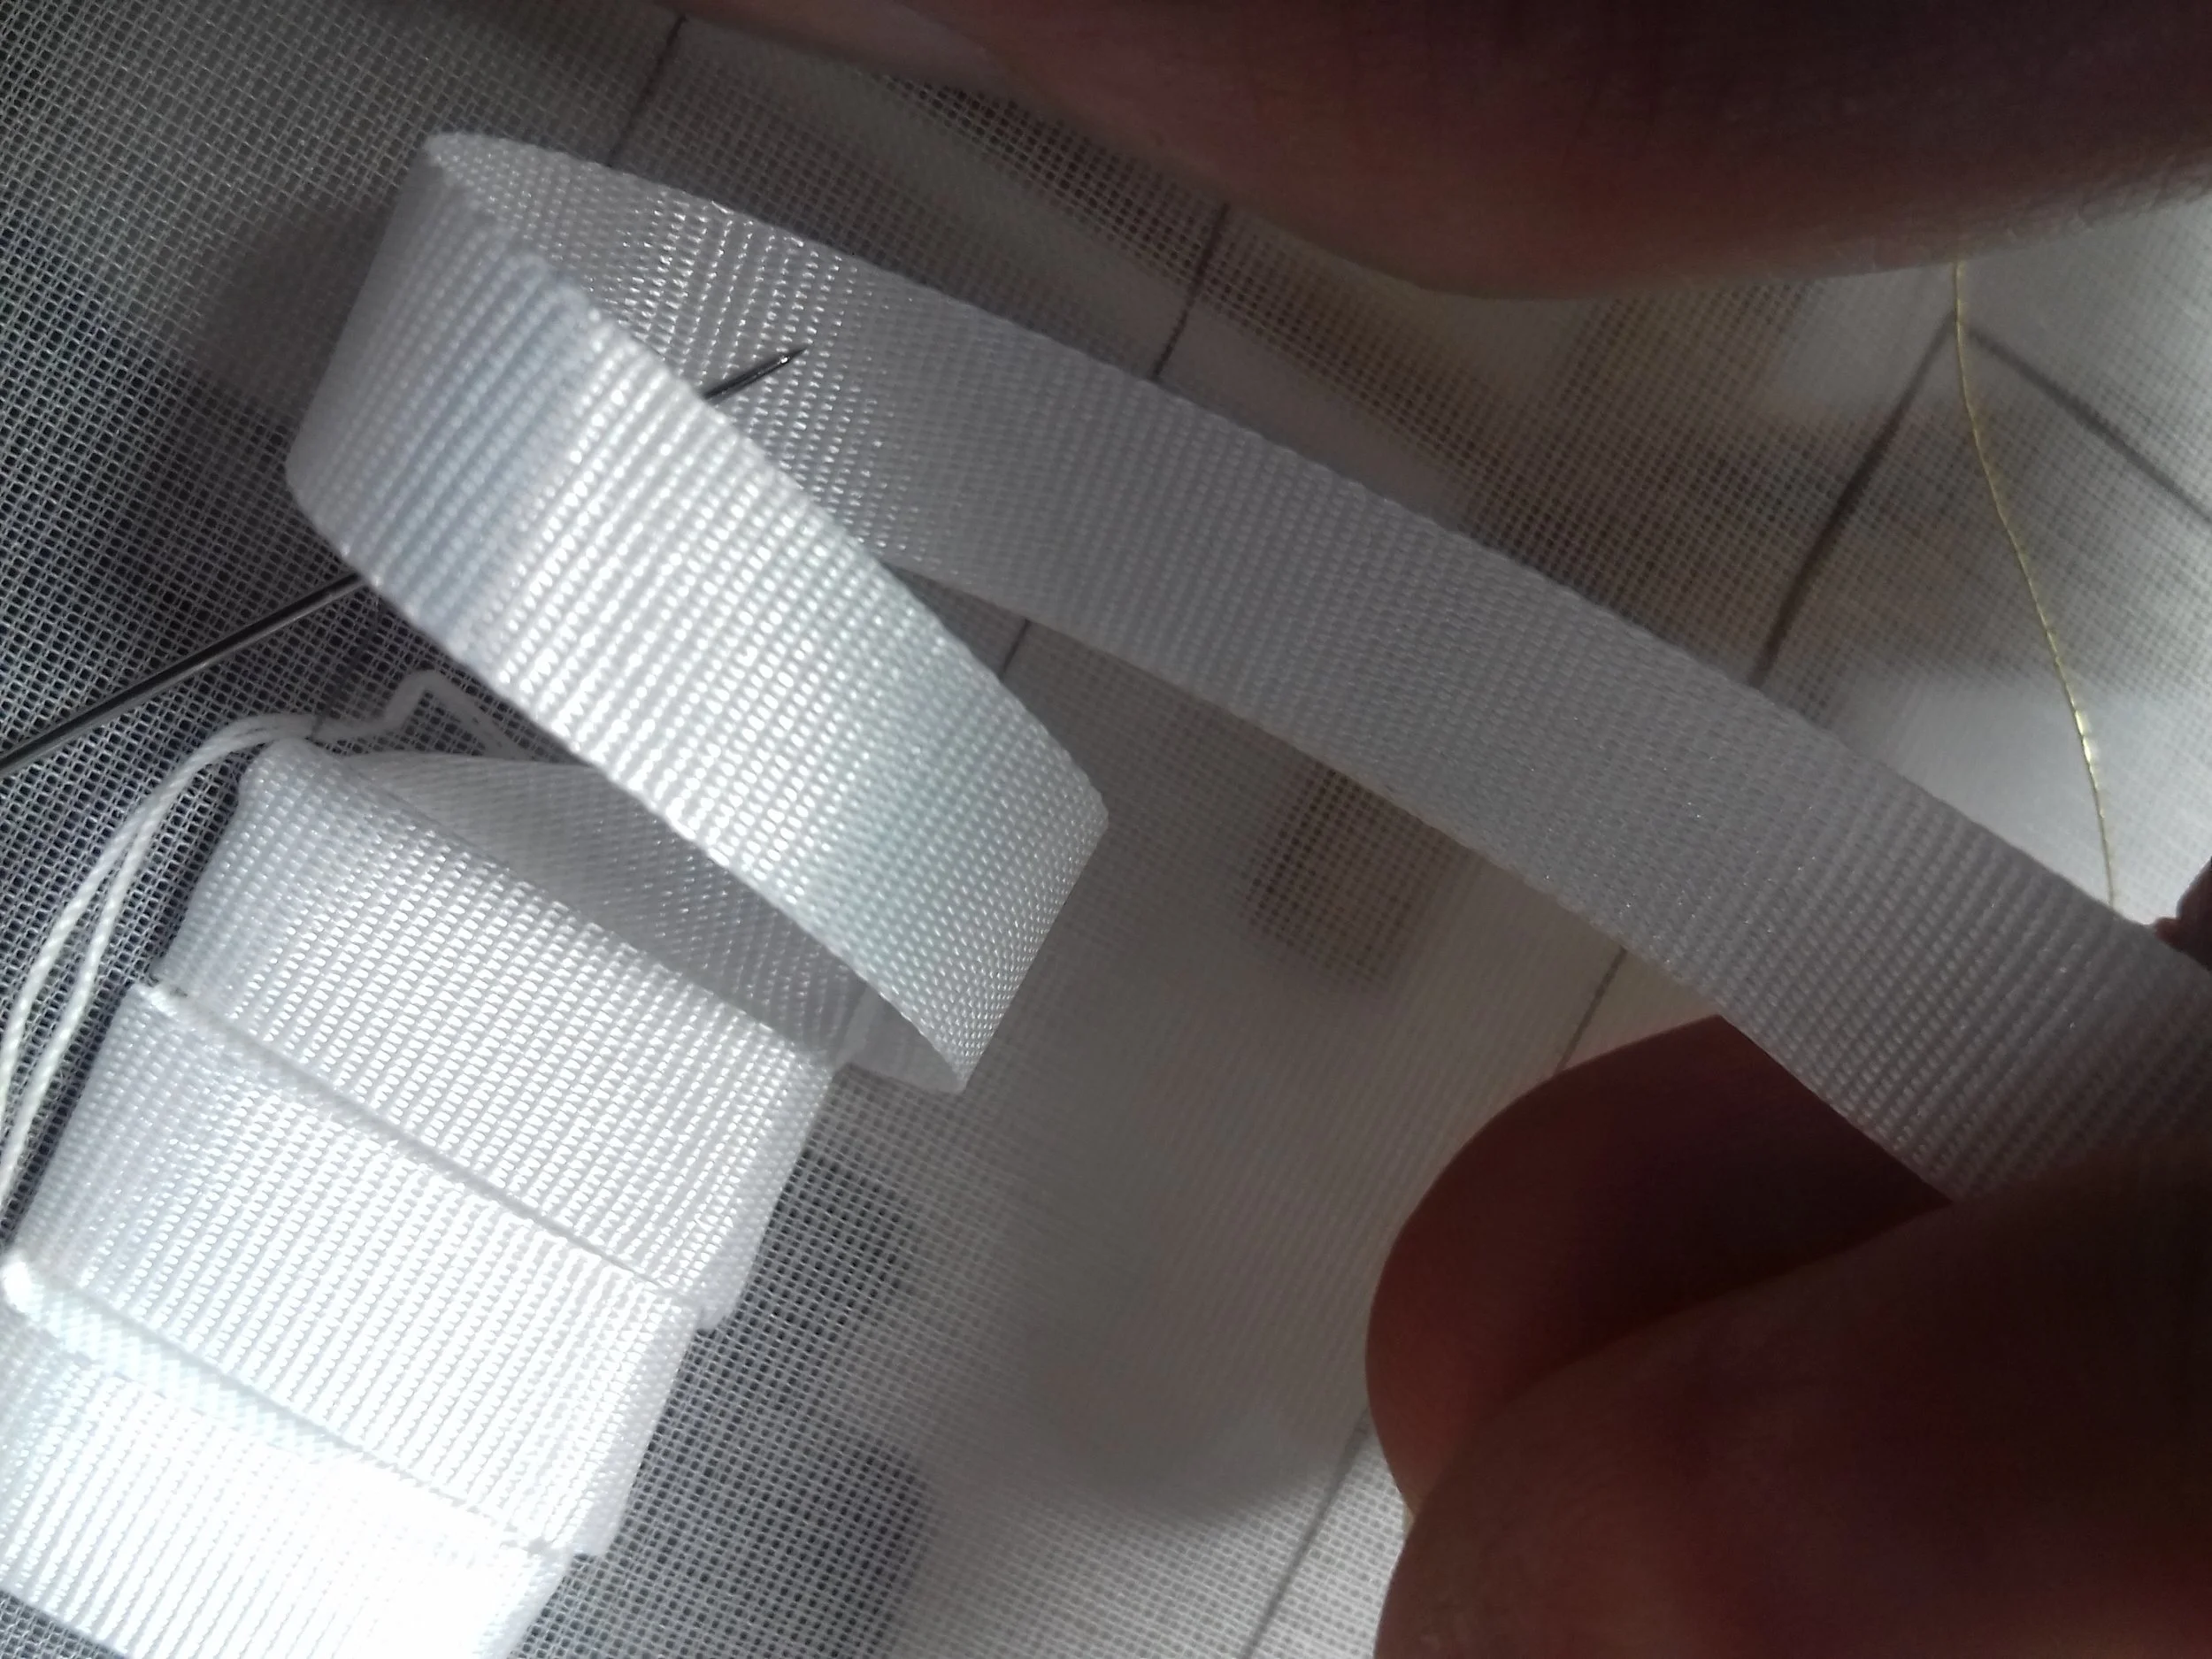
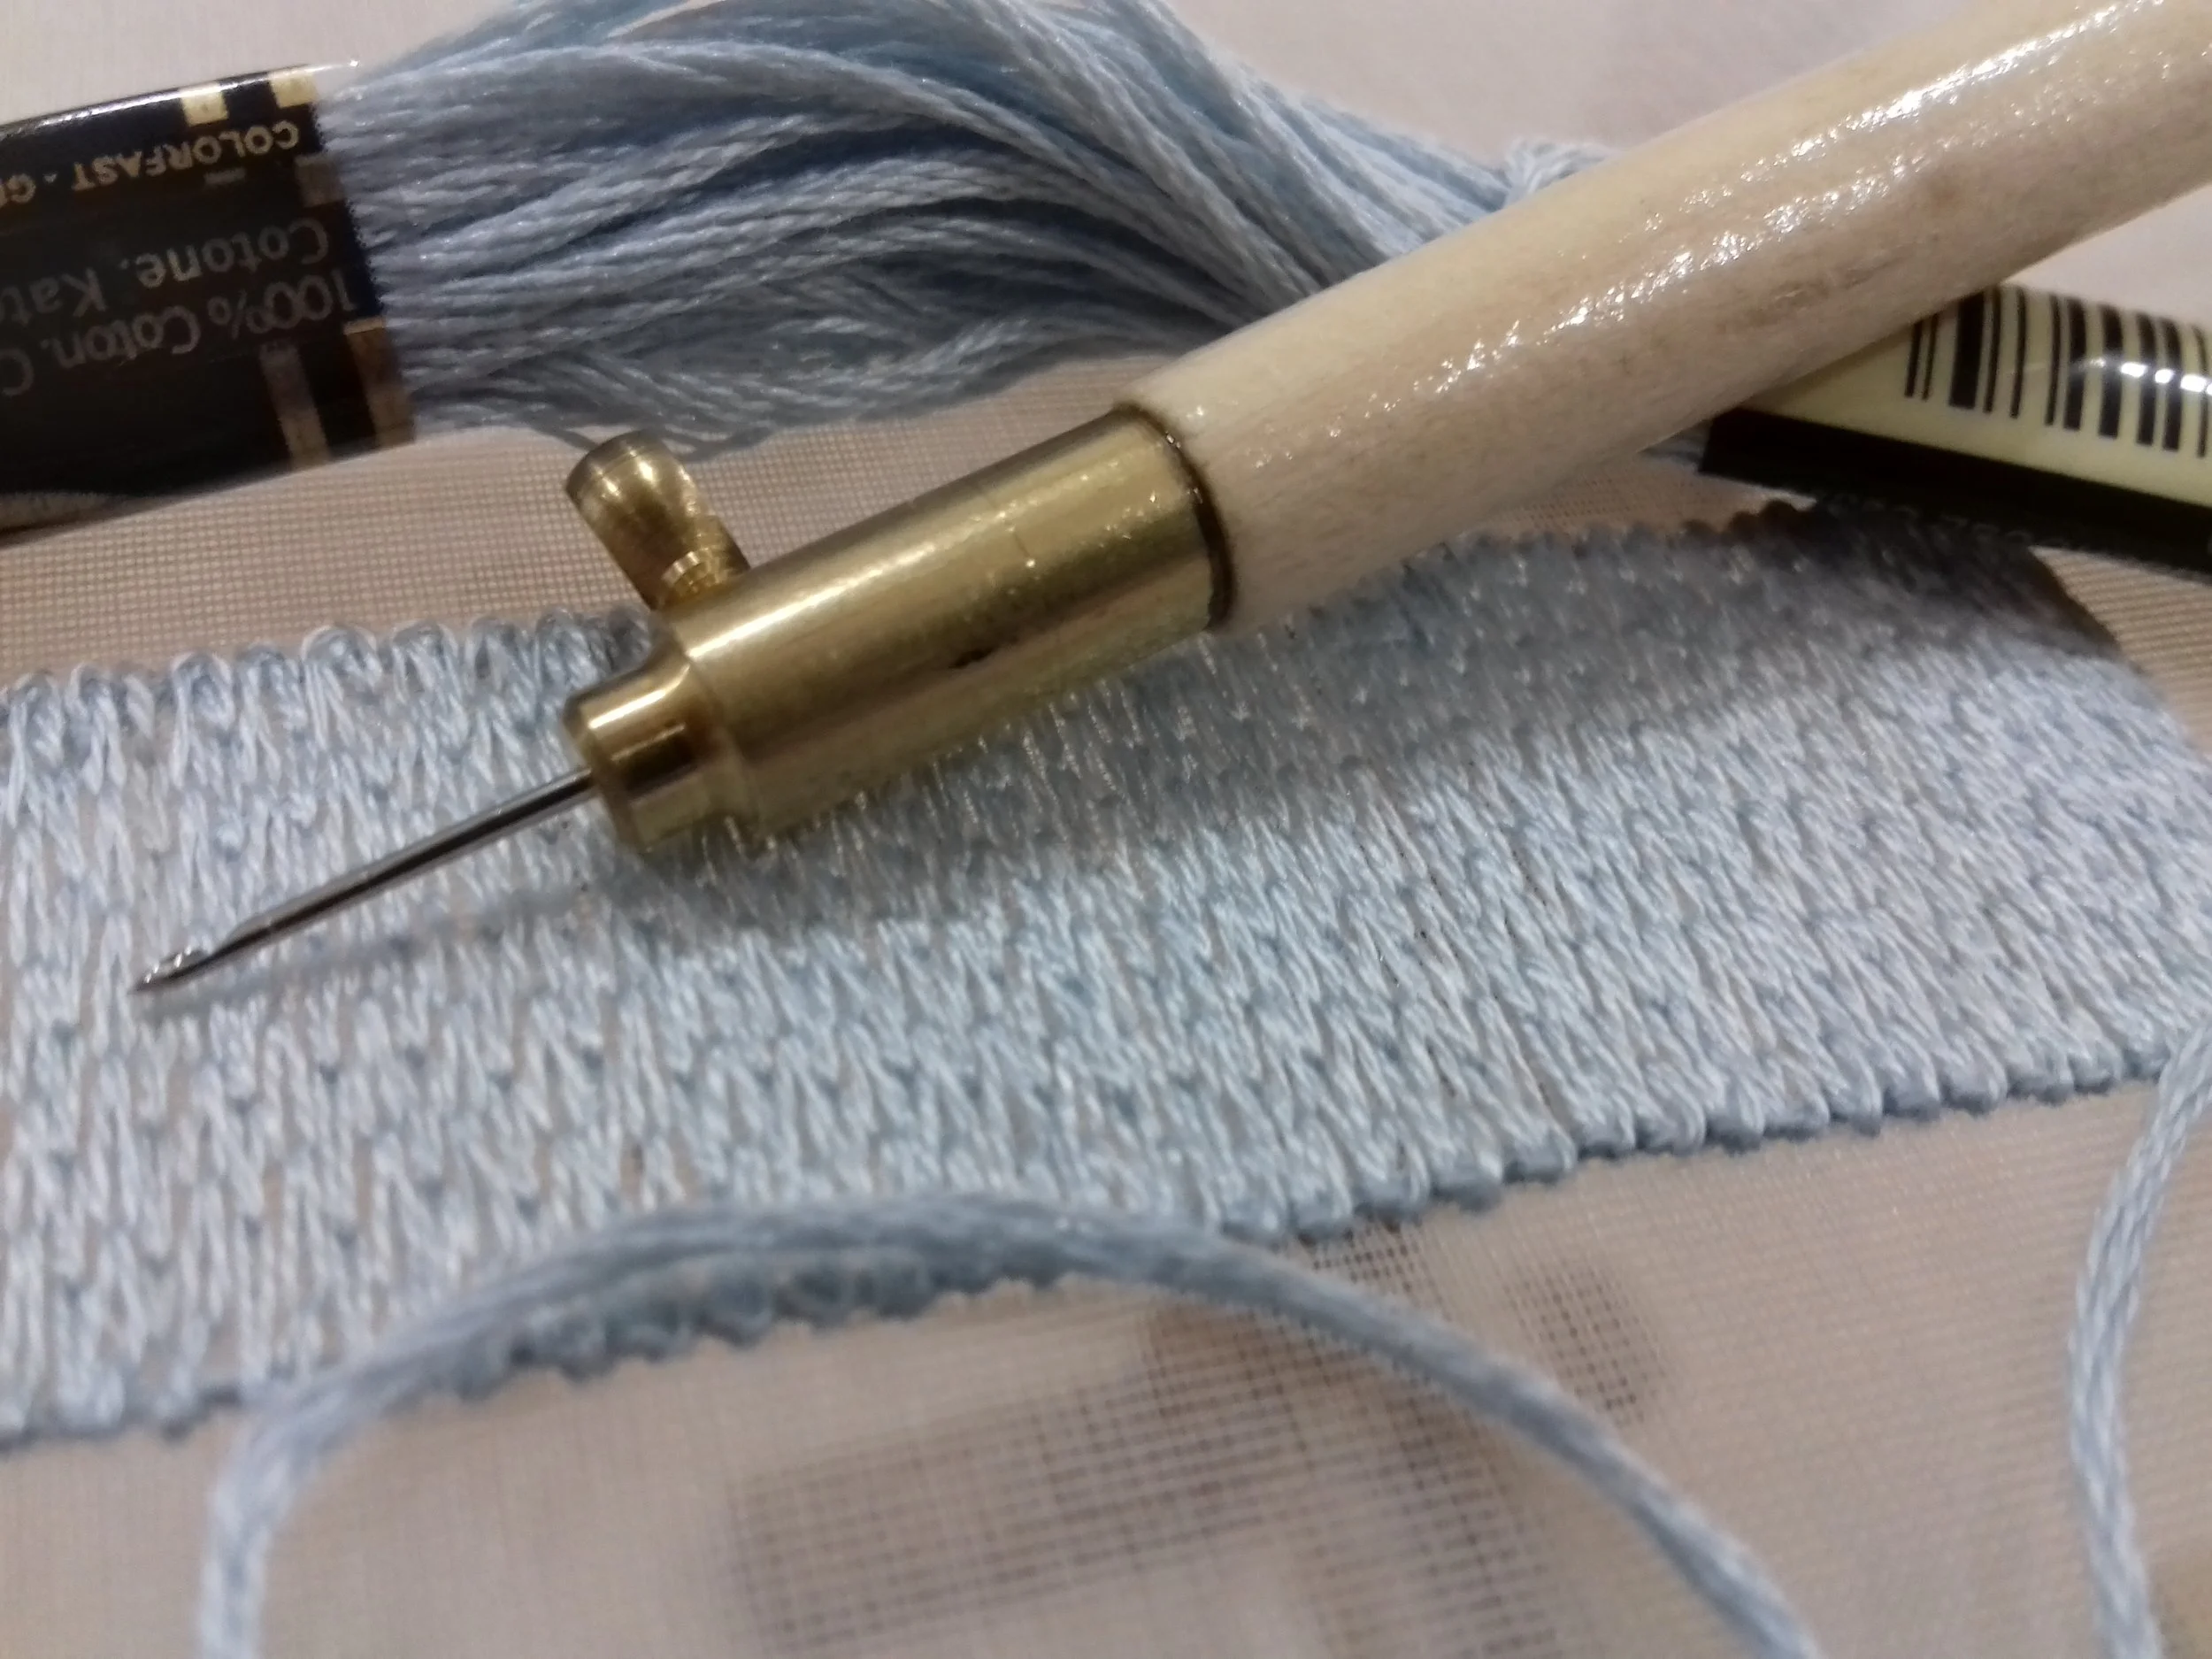
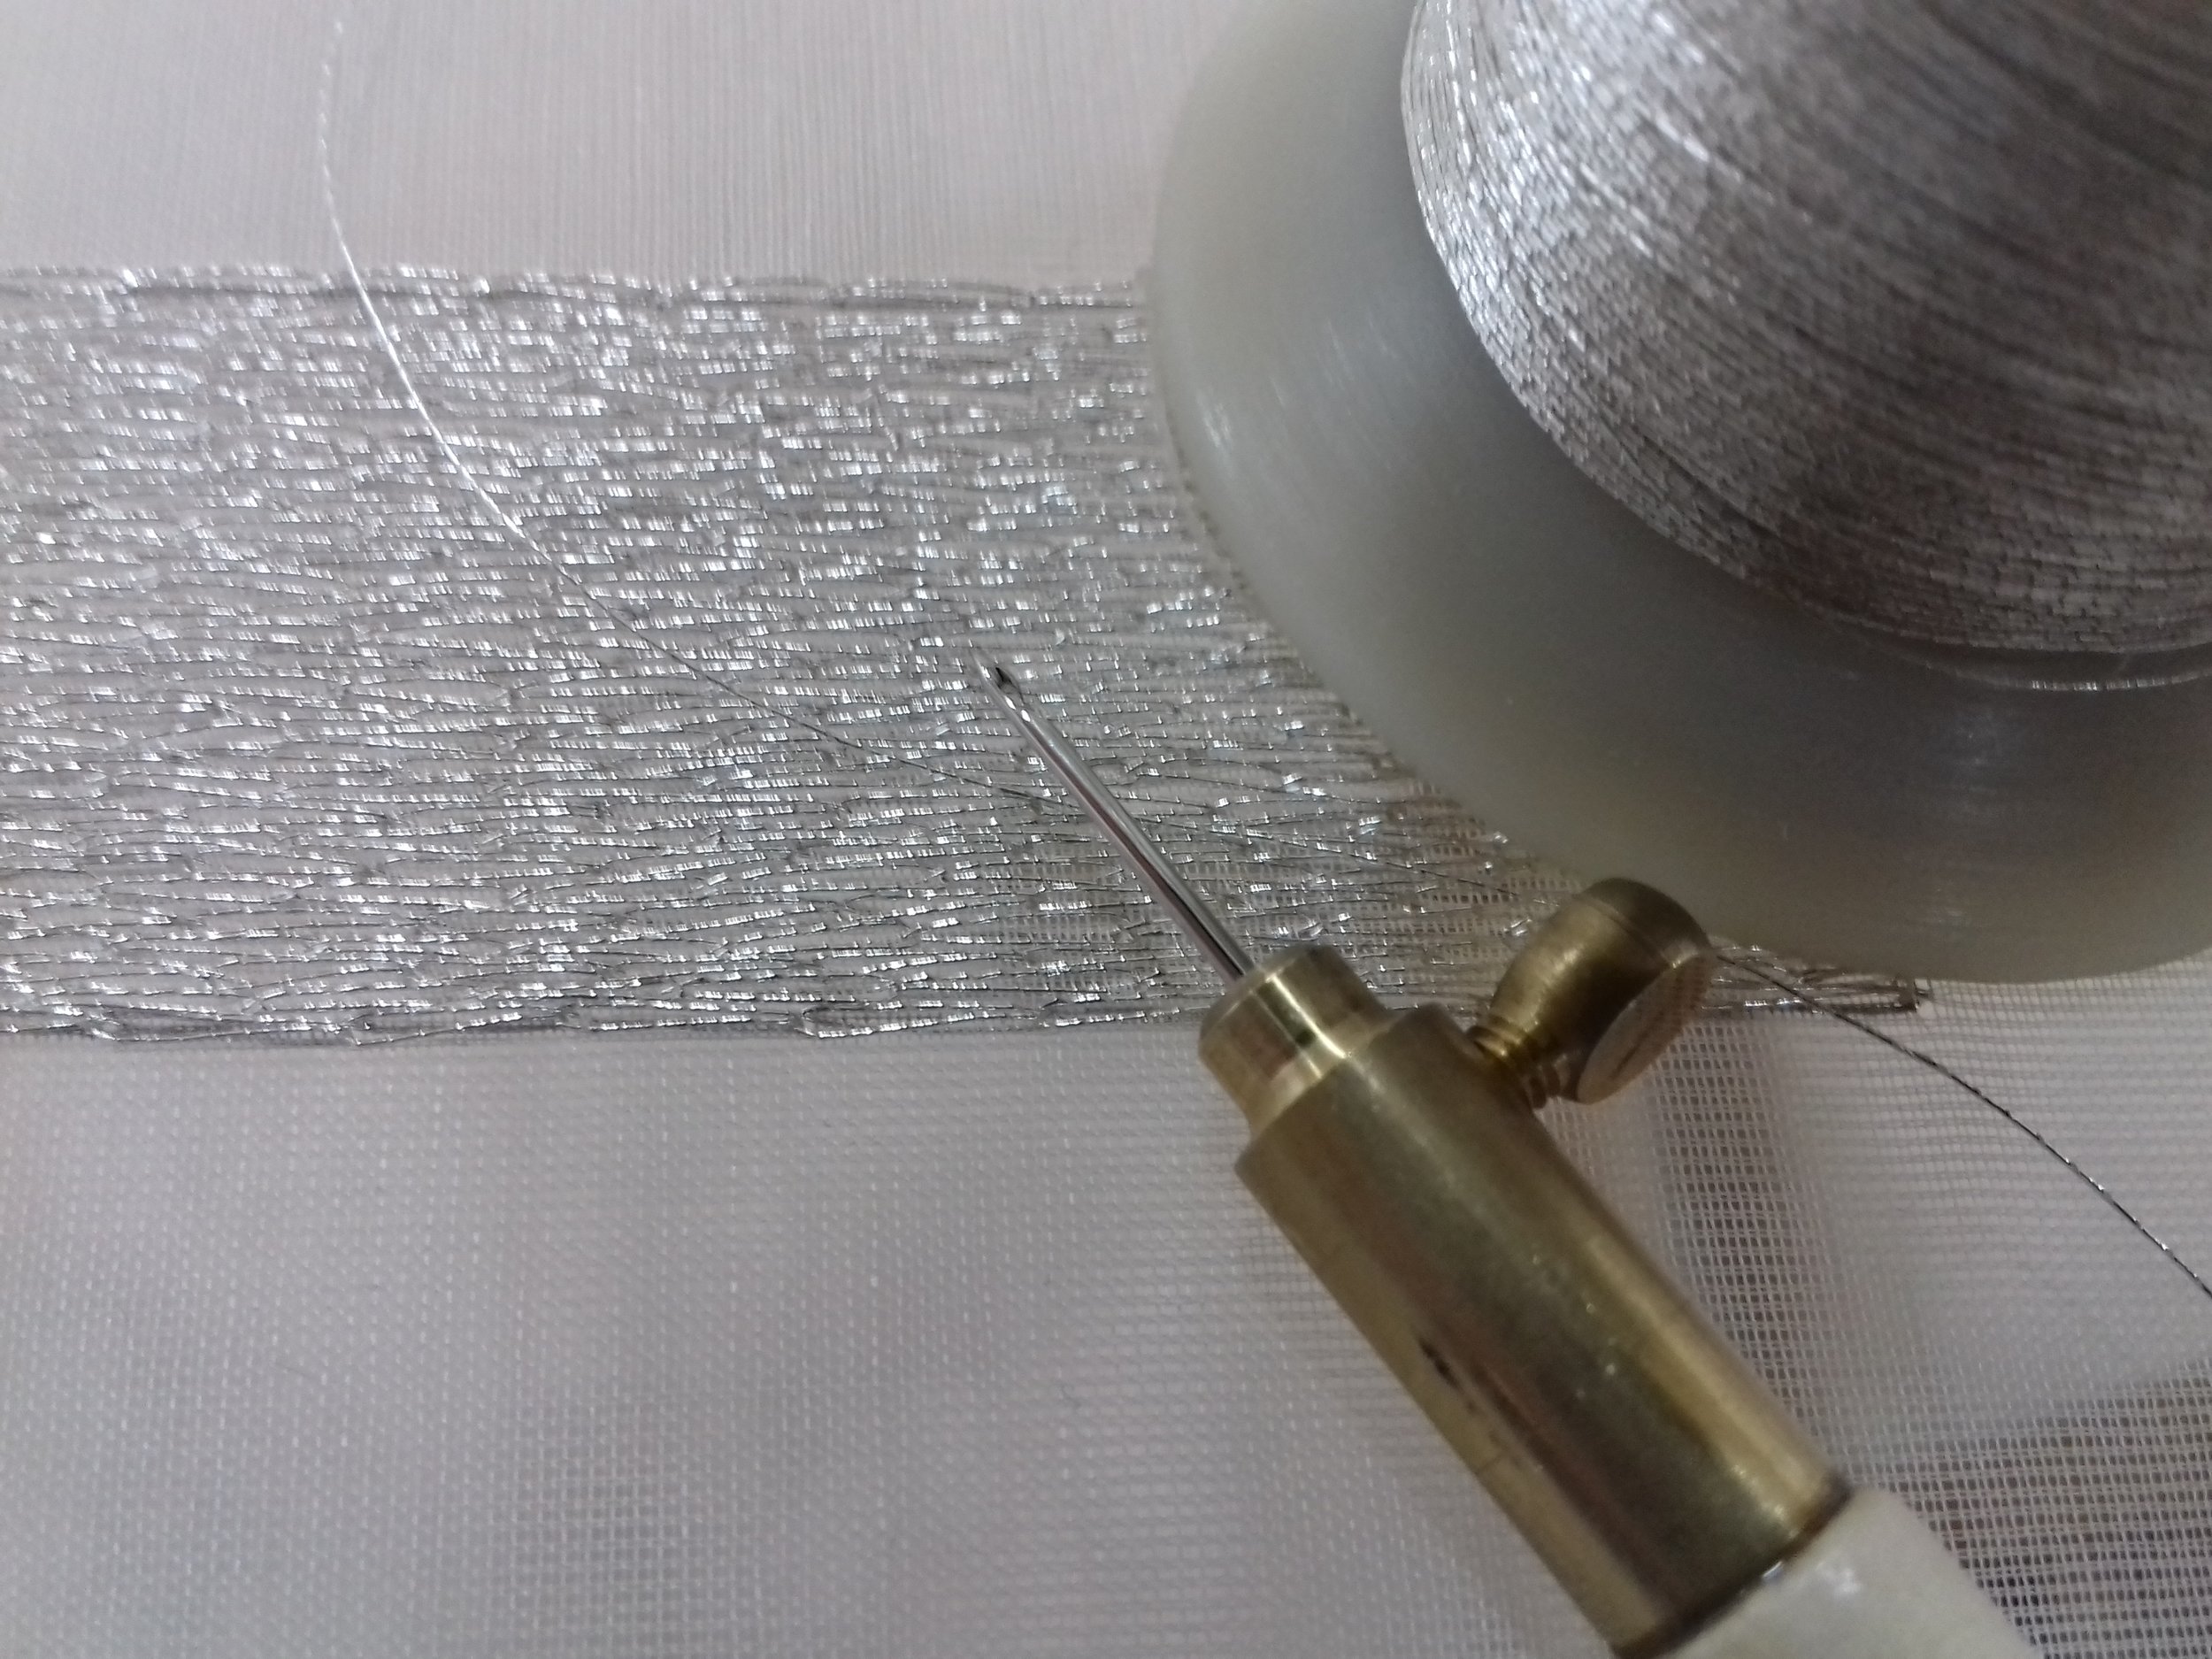
Rolling Ribbon Work
As with the Come and Go technique, I anchored the ribbon in place first with a little stitch. Then with my left hand I held the ribbon and wrapped it under the needle in my right hand. Next, I carefully brought the point of the needle to enter the fabric at exactly the width of the ribbon, making sure it didn't slip off the needle (it did), whilst maintaining the tension with my left hand until another anchoring stitch was done towards the top. With my right hand? I wished for another hand!

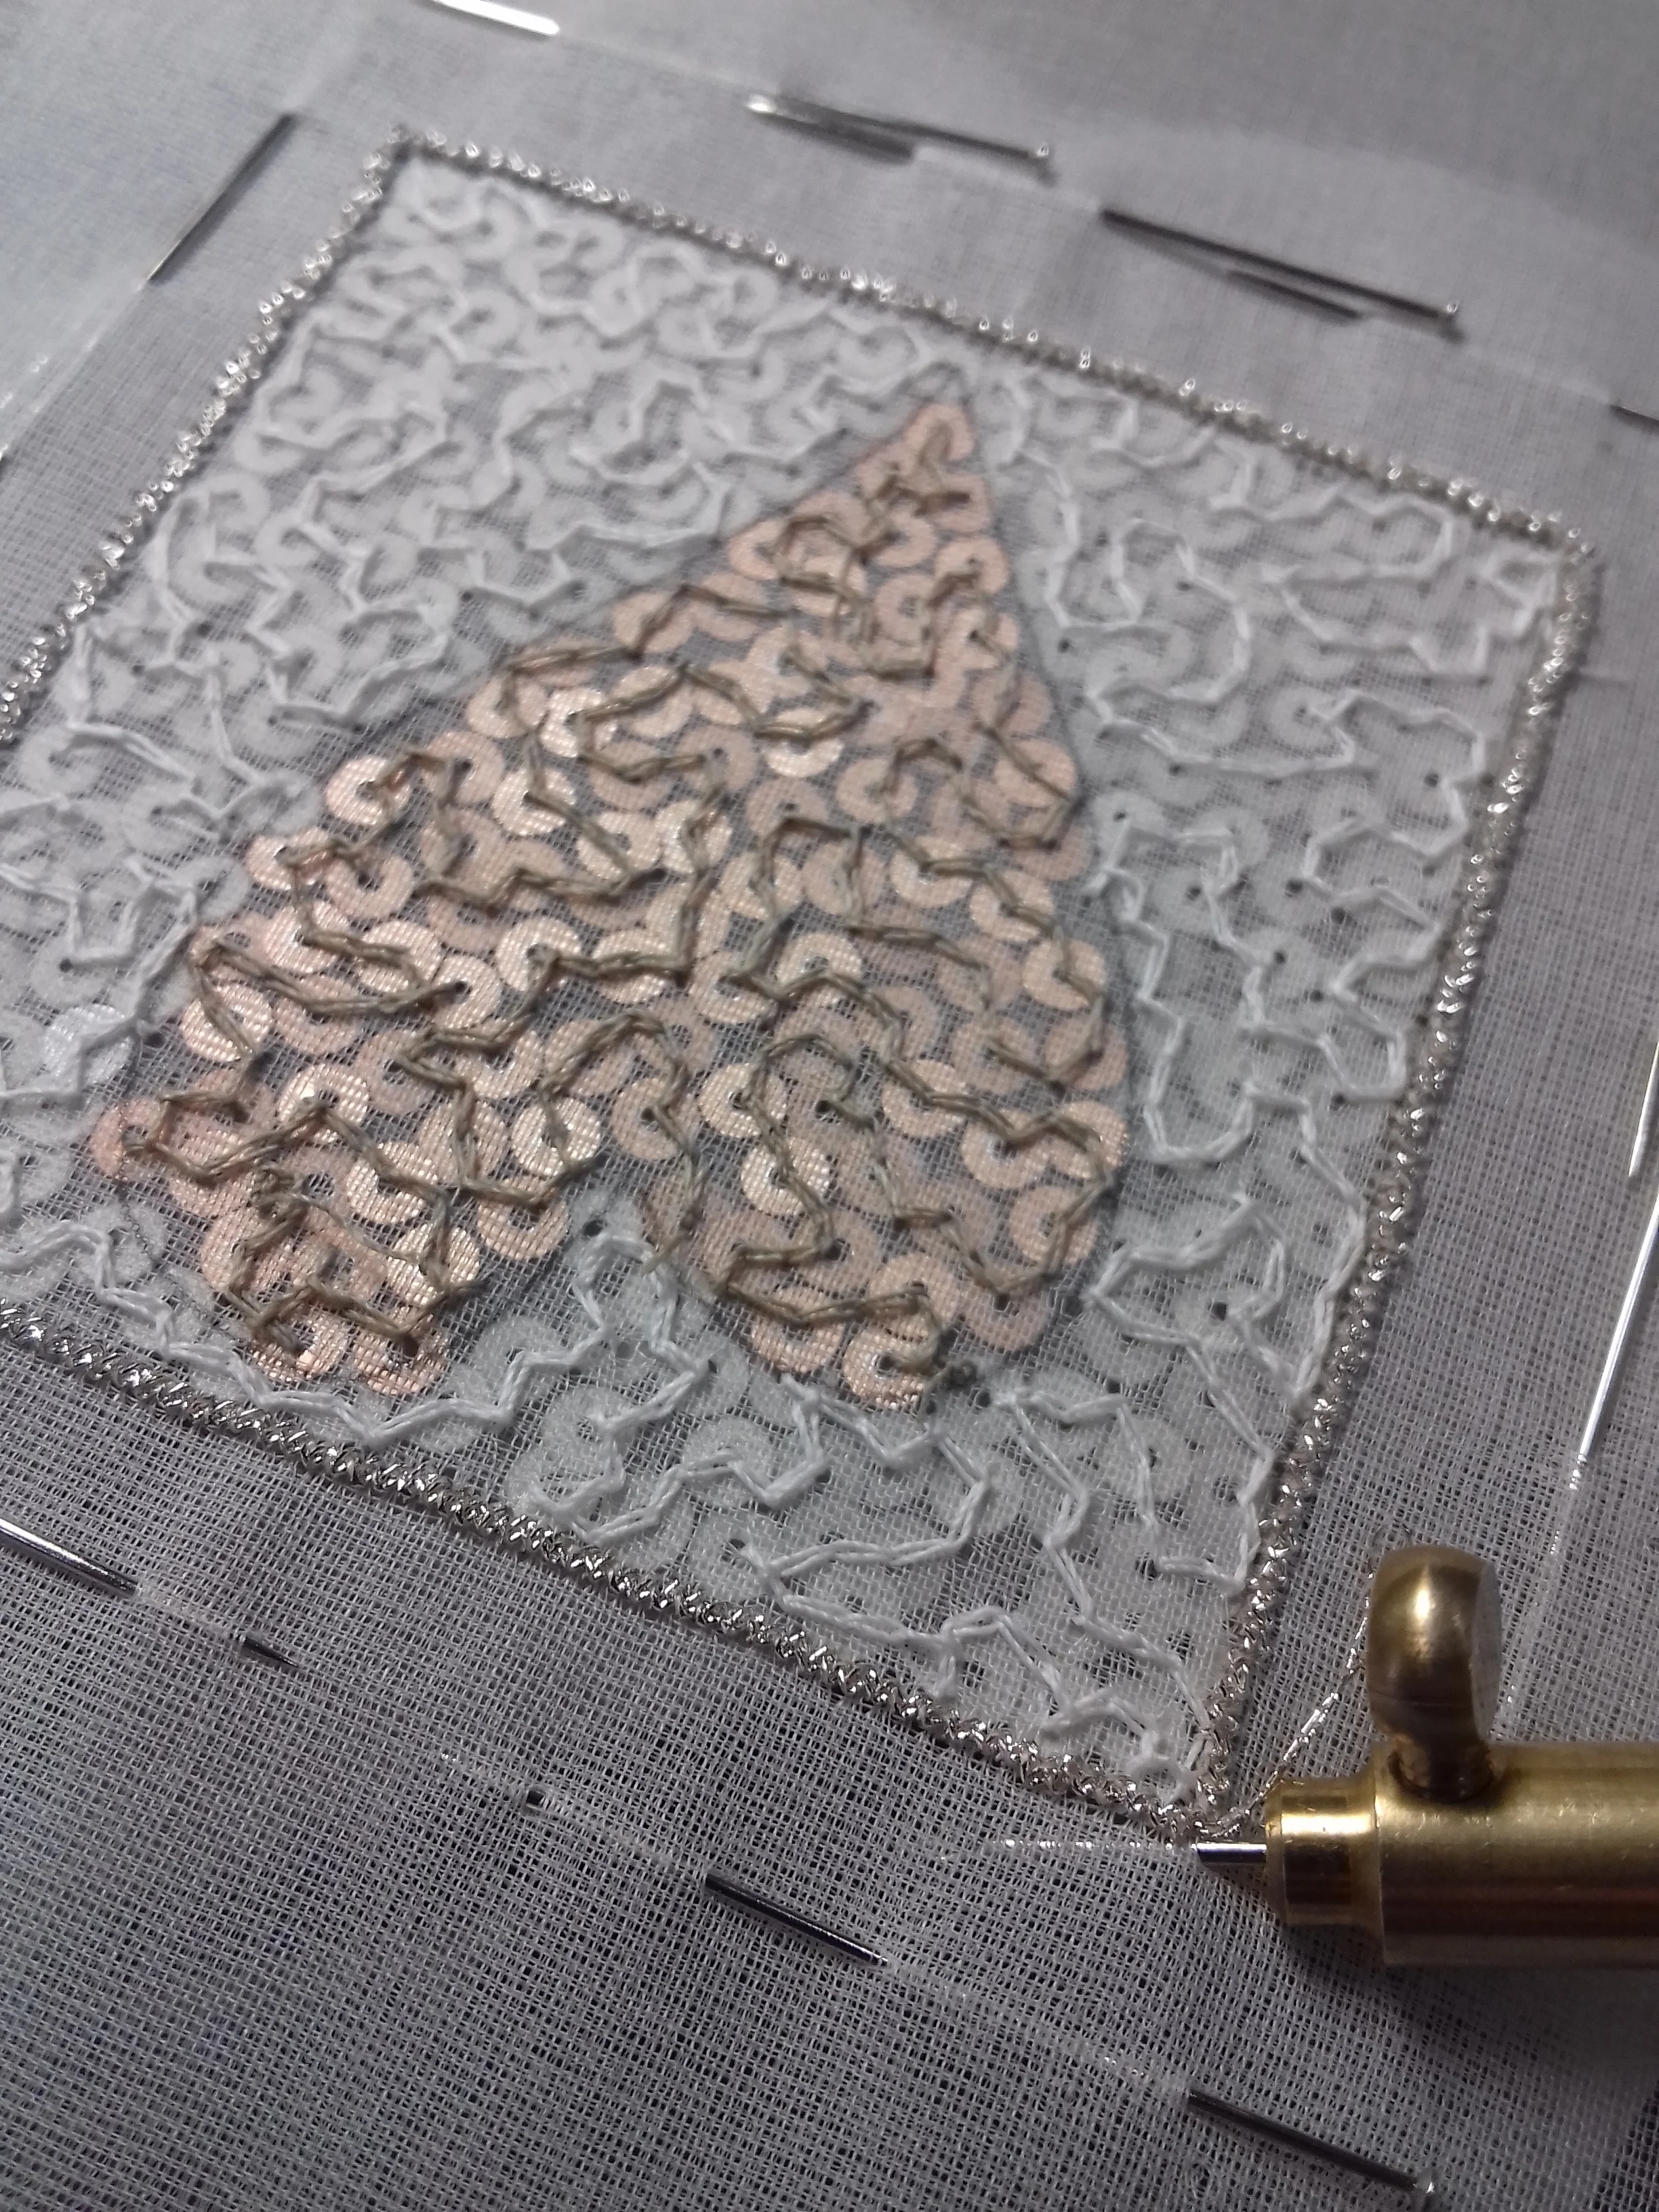
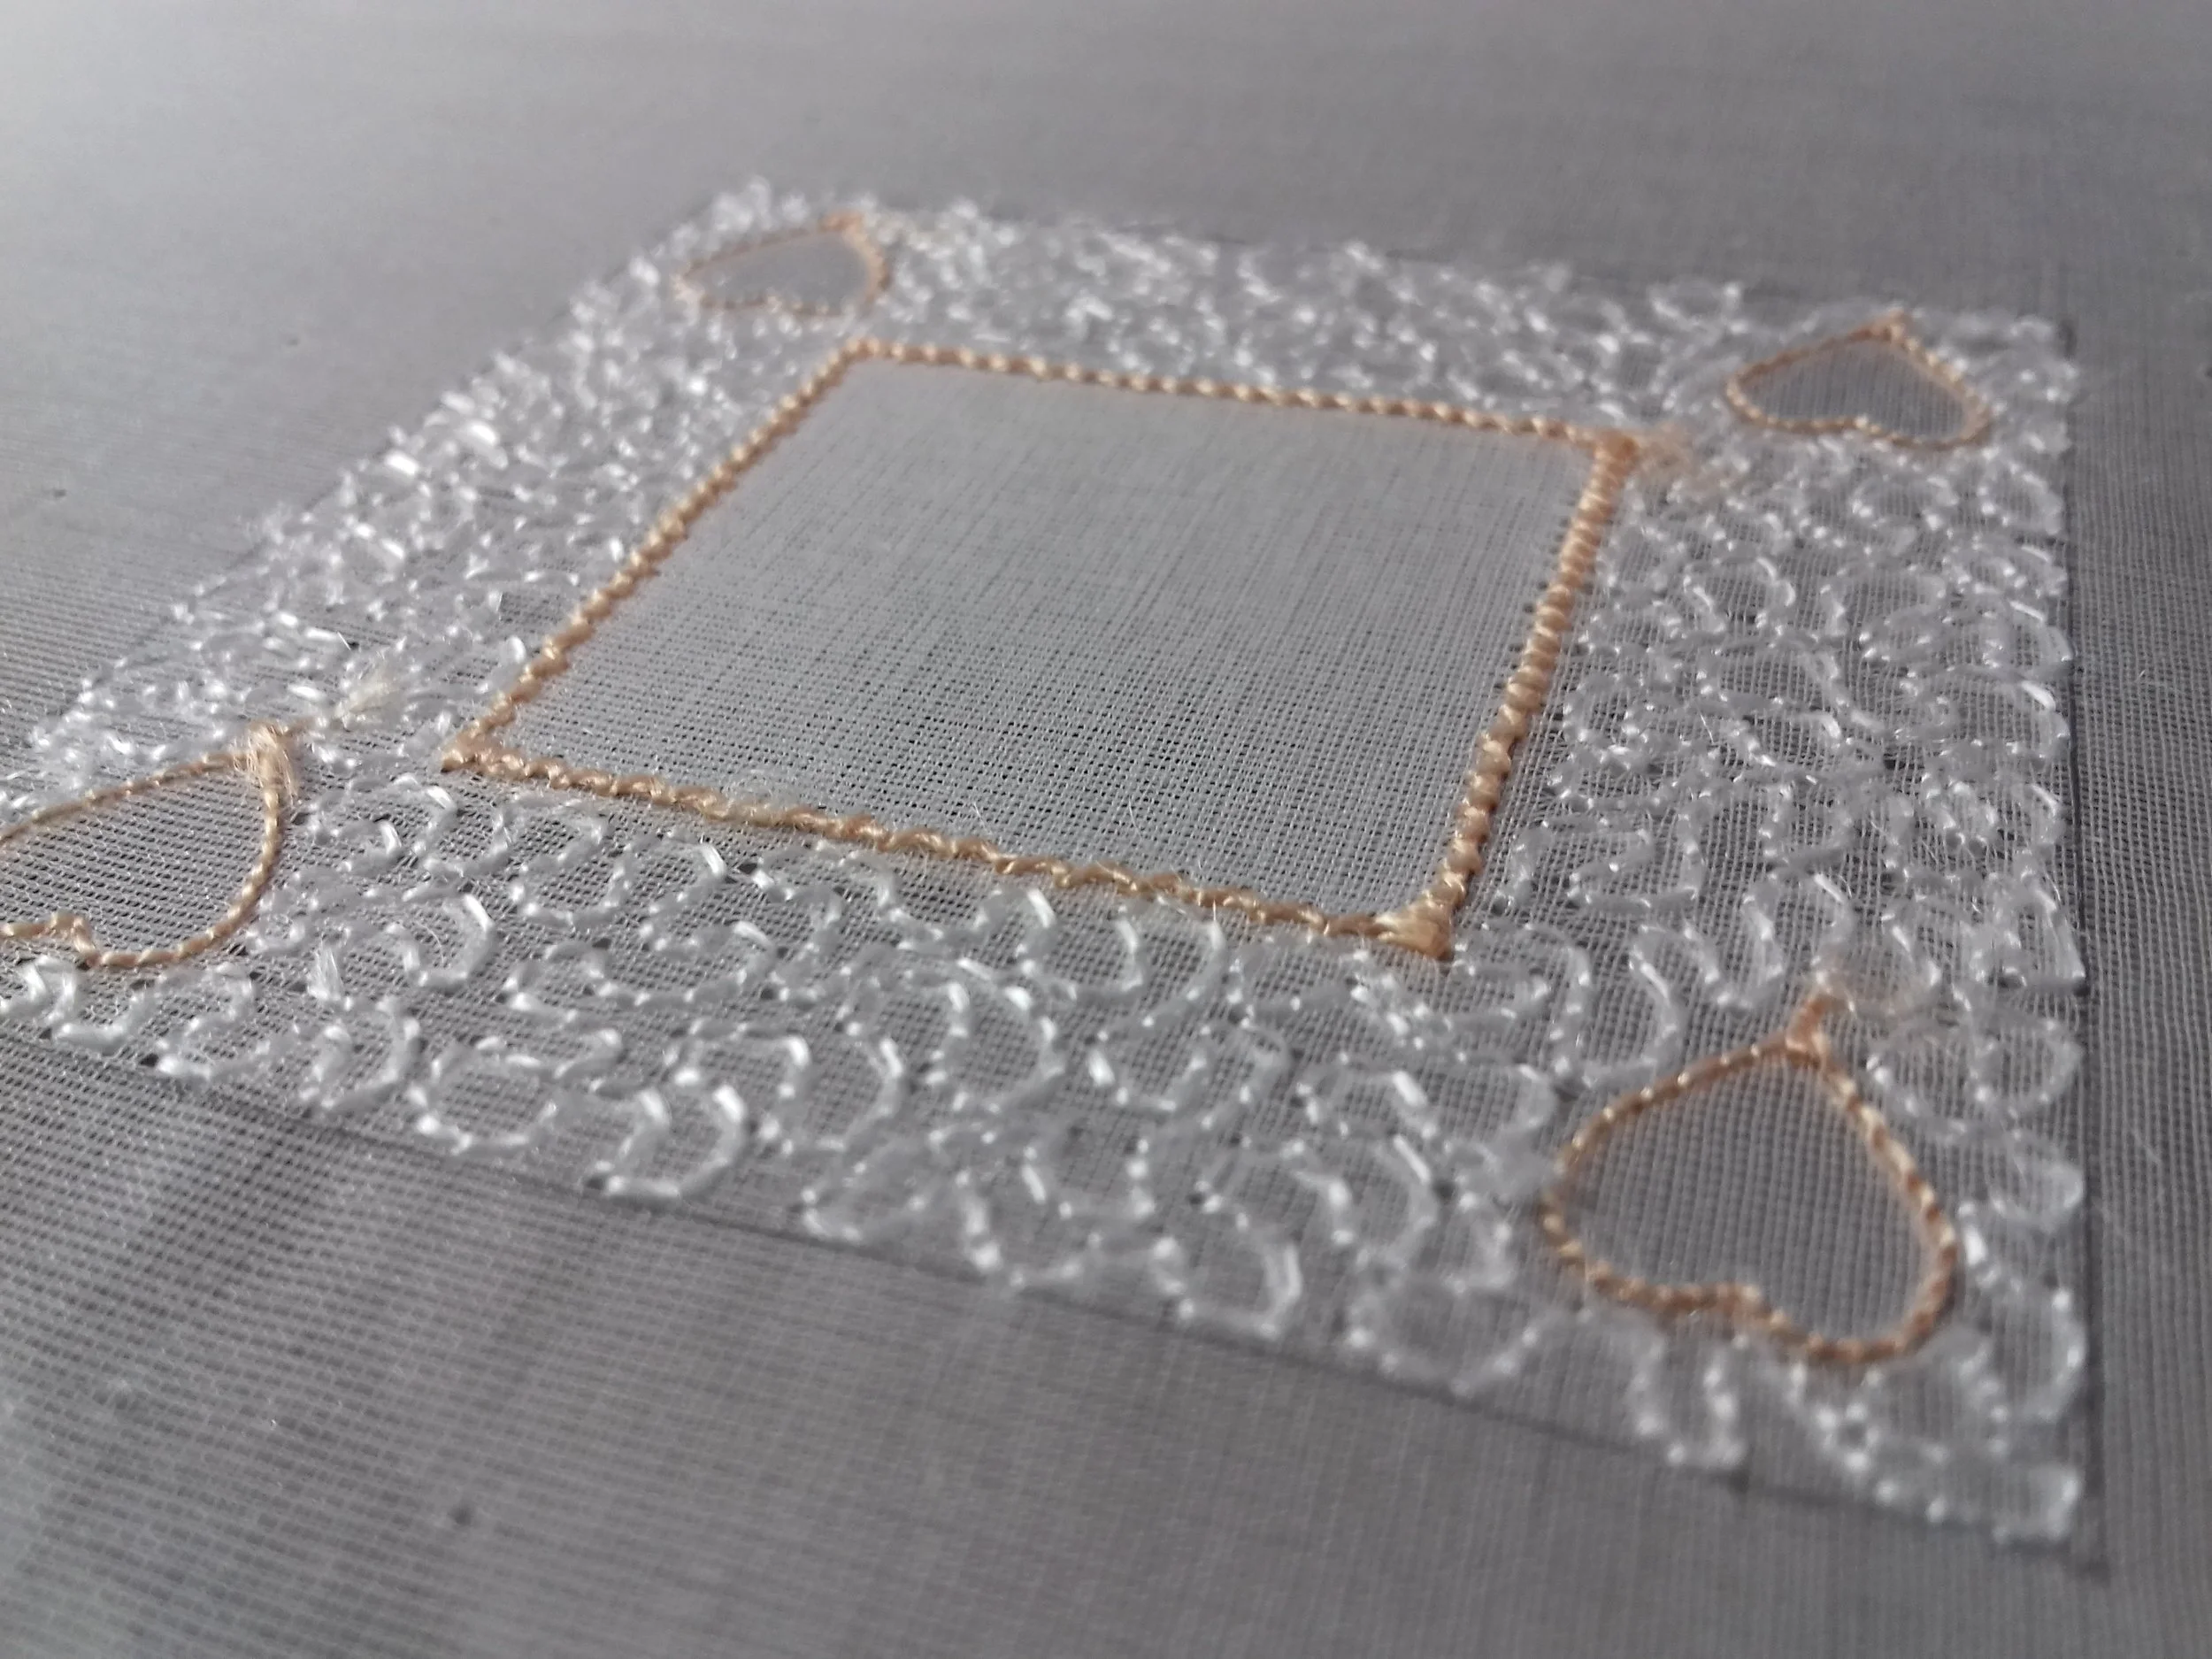
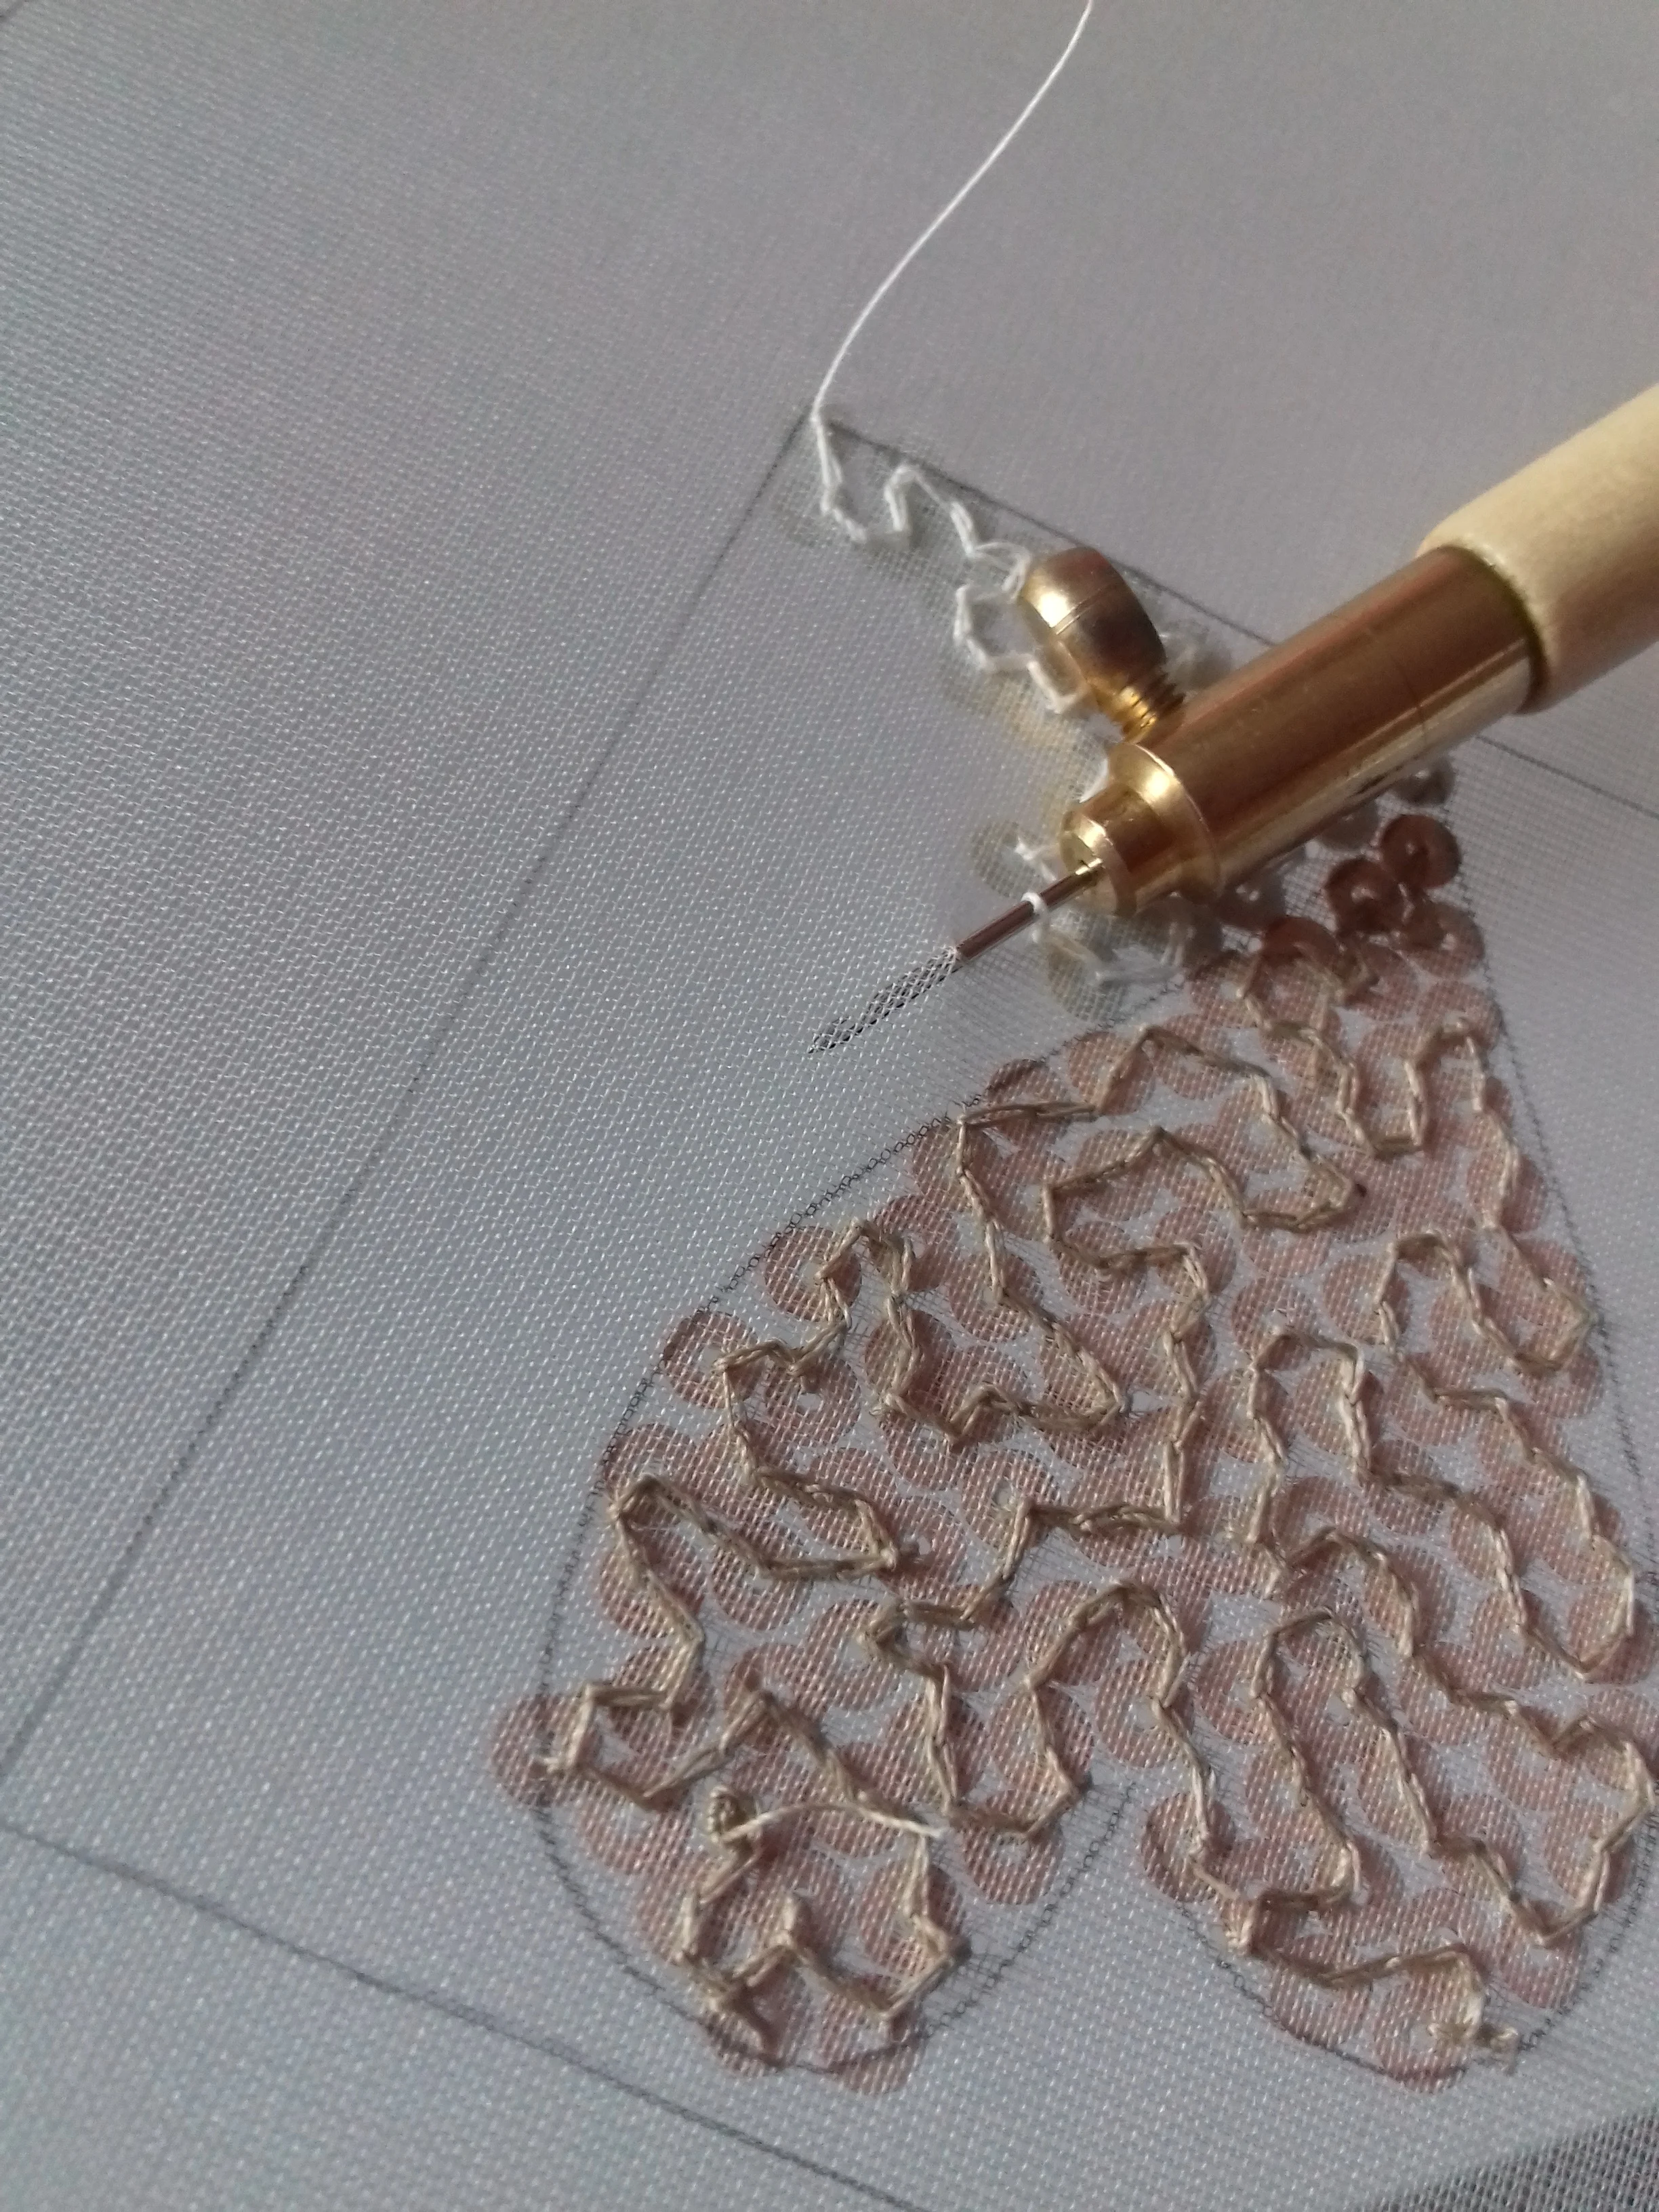
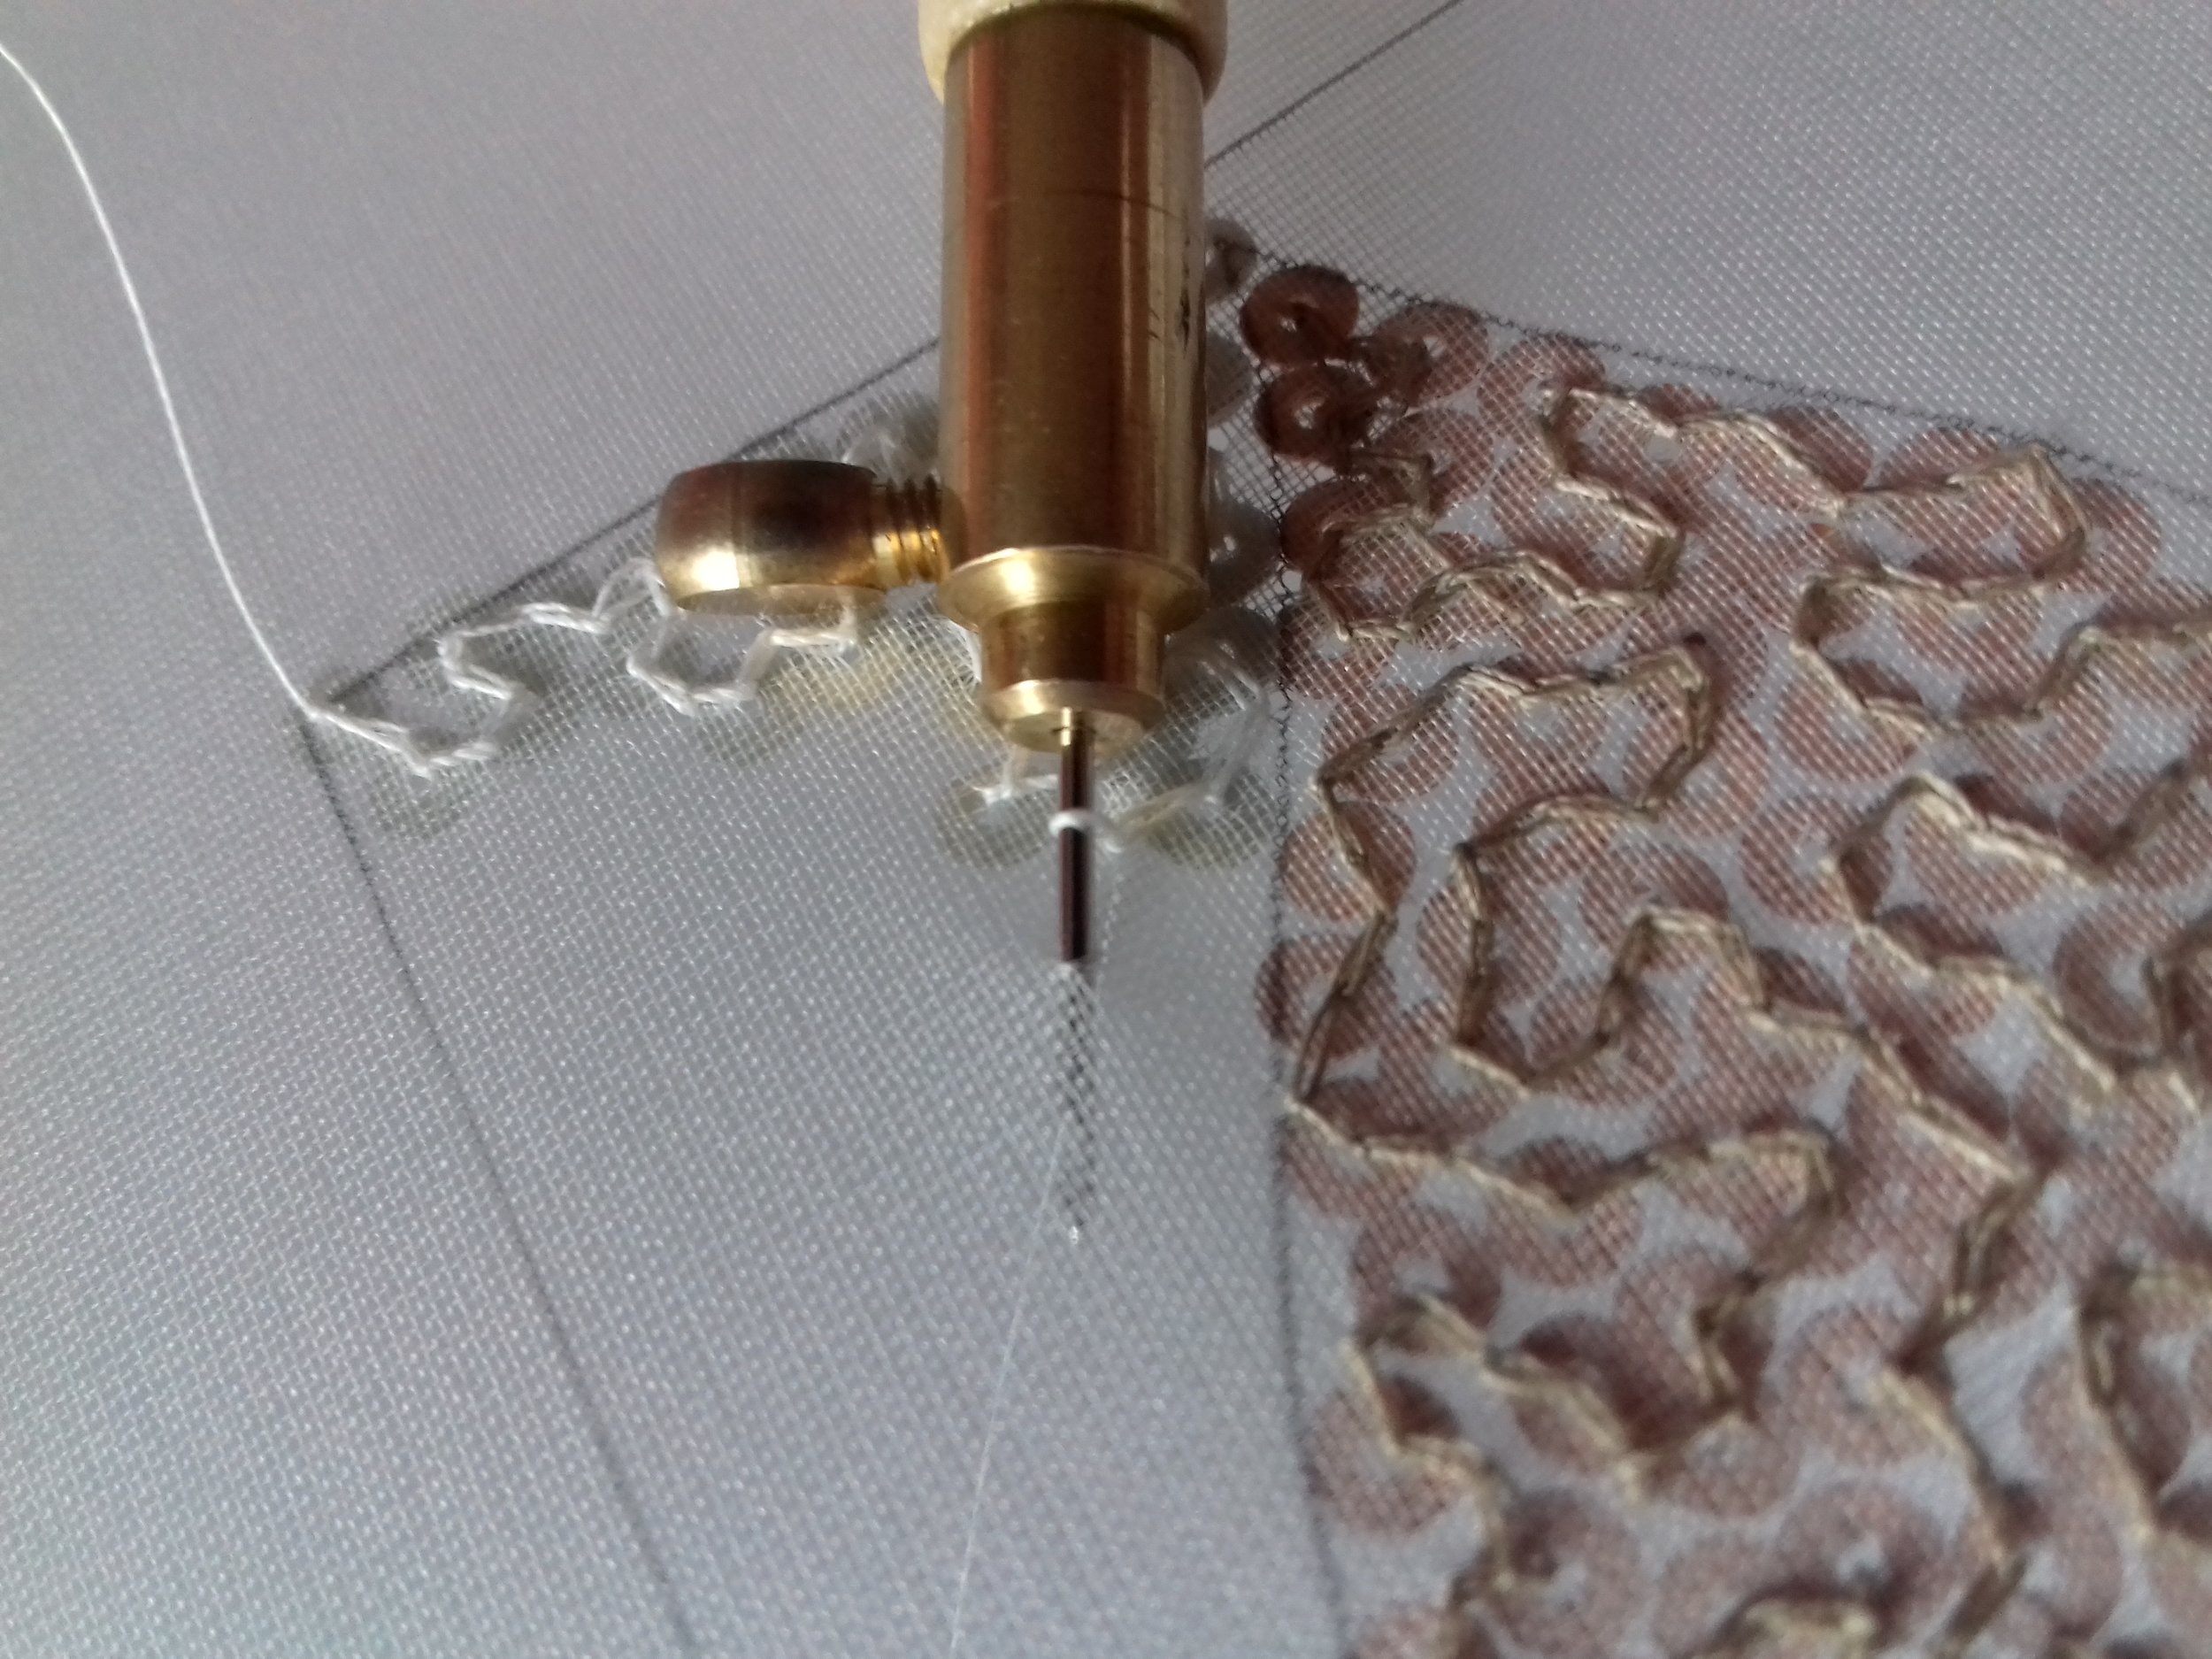
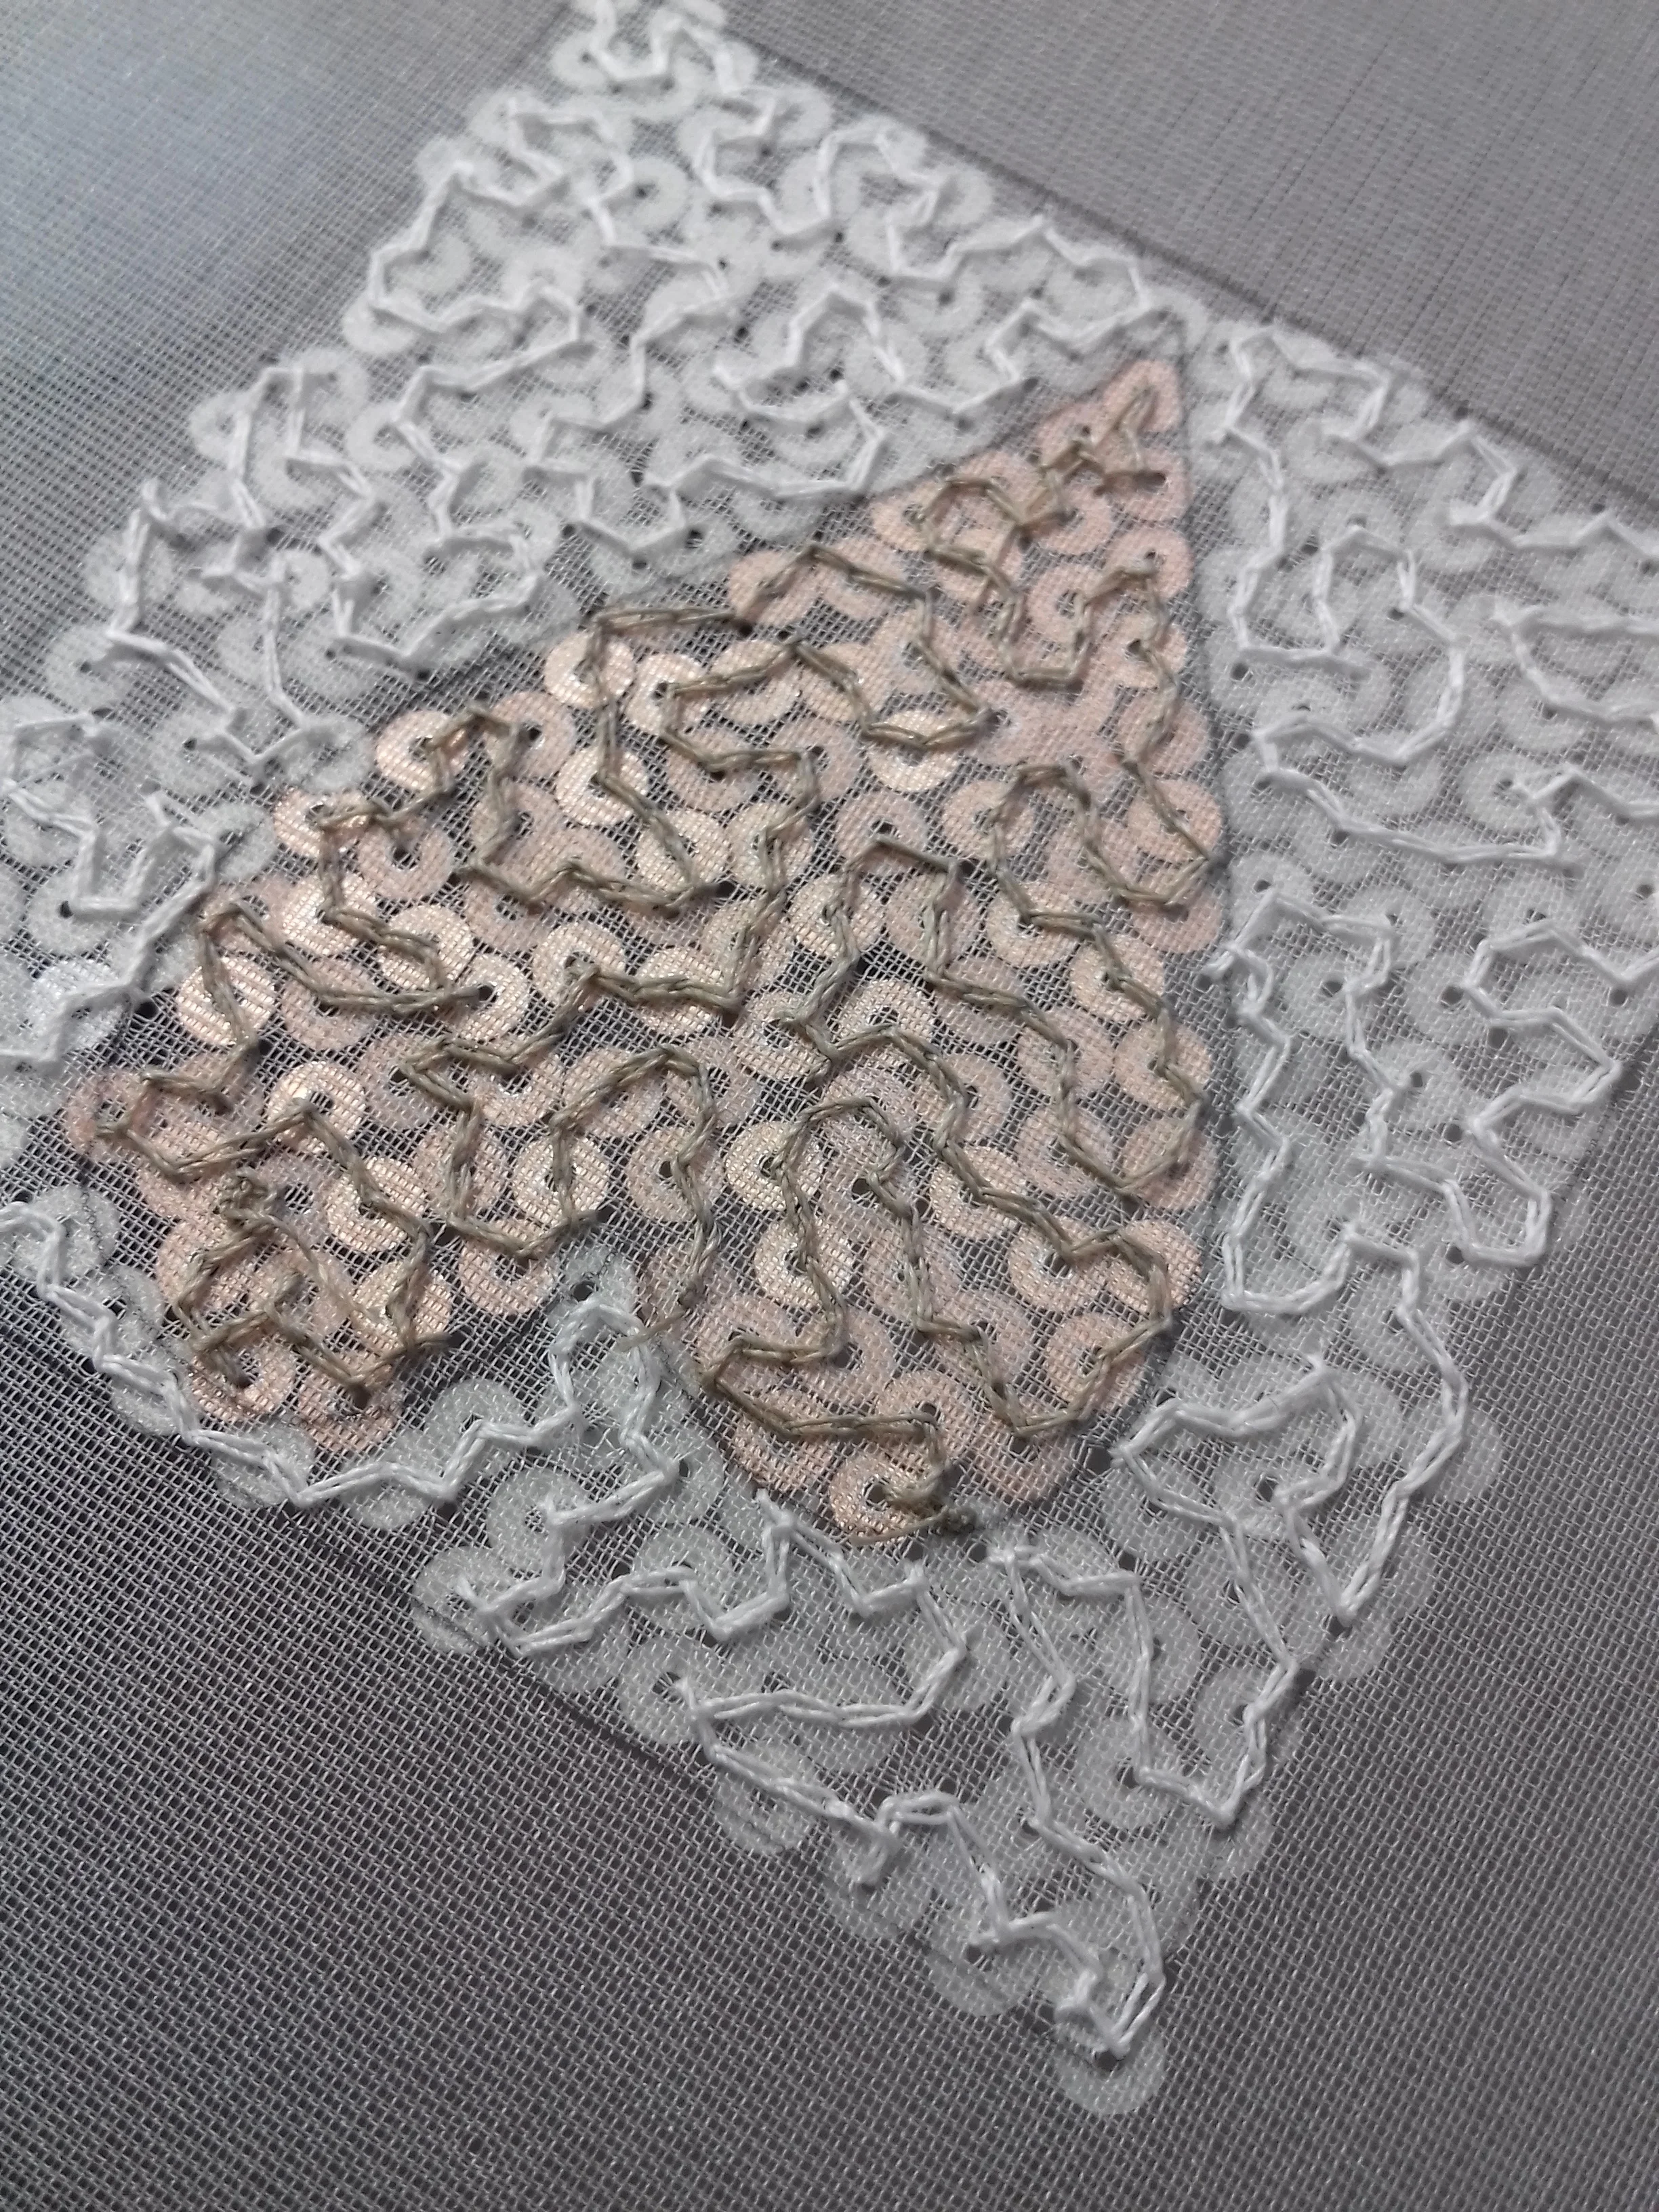
Filling Stitch
An outline of chain stitch is done first around the area to be filled and then staggered rows or columns of loose chain stitch are applied.
After all the vermicelli curving, padding, coming, going, rolling and filling I didn't know which way was up! I was so proud to have learned all the techniques and although I found a few of them really difficult I felt confident that with practice they would become easier. I thought it would be a good idea to get some inspiration for all these new techniques so I planned a trip to the Bibliothèque Forney....
Textile Tours of Paris
Join Rebecca on a tour of Paris’ charming haberdasheries nestled deep in the winding streets of Le Sentier, the city’s historic textile and fashion district. Enjoy a Sunday morning with Rebecca on a Flea Market Tour as she guides you through the labyrinth alleys of Paris’ oldest marché-aux-puces to uncover hidden treasure troves filled with vintage lace, linen, passementerie, golden threads and gossamer lingerie. To find out more visit Textile Tours of Paris.